Is a DIY Tarmac Driveway a Good Idea? What You Should Know
A DIY tarmac driveway can be a solid option if you’re willing to invest the time and effort. It’s durable and generally cheaper than concrete. However, be aware that proper base preparation and the right tools are crucial; if you’re not experienced, you might end up with unsatisfactory results.
For example, if the base isn’t laid correctly, it could lead to cracks and uneven surfaces later on. Also, ensure you use quality materials and have a proper drainage plan to avoid water pooling. If you’re keen to sidestep common mistakes and ensure a successful project, there’s quite a bit to consider.
Key Takeaways
- DIY tarmac driveways are tough and can handle heavy vehicles and daily use.
- It’s crucial to prepare the base properly and plan for drainage to prevent cracking and other structural problems.
- The specialised equipment needed for compaction can be hard to get hold of for DIYers, which might affect the quality of the finish.
- Regular upkeep, such as cleaning and sealing, is vital to extend the life of your tarmac driveway.
- Consider the potential cost savings against the risk of a subpar job due to a lack of experience and proper tools.
Advantages of a DIY Tarmac Driveway

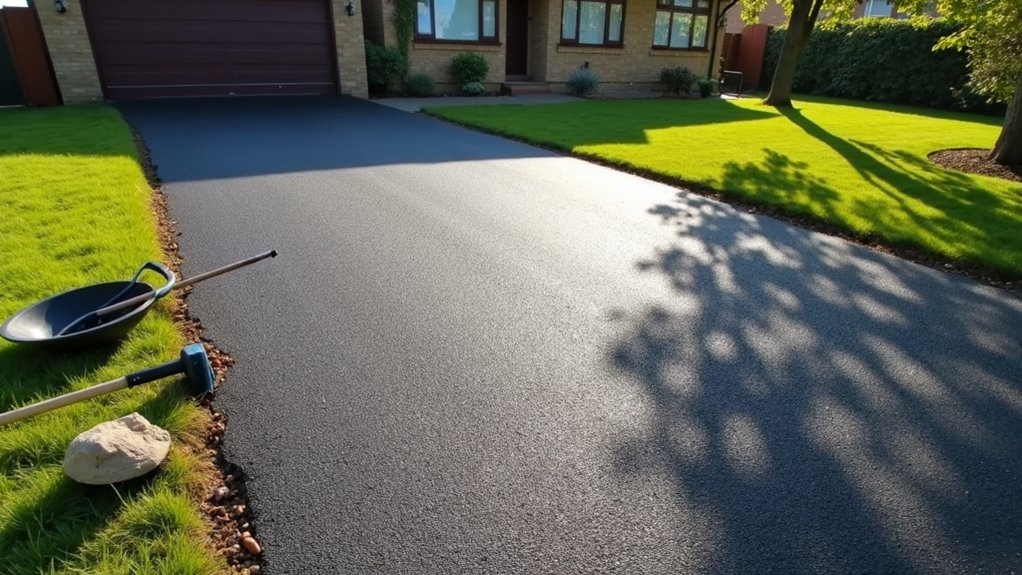
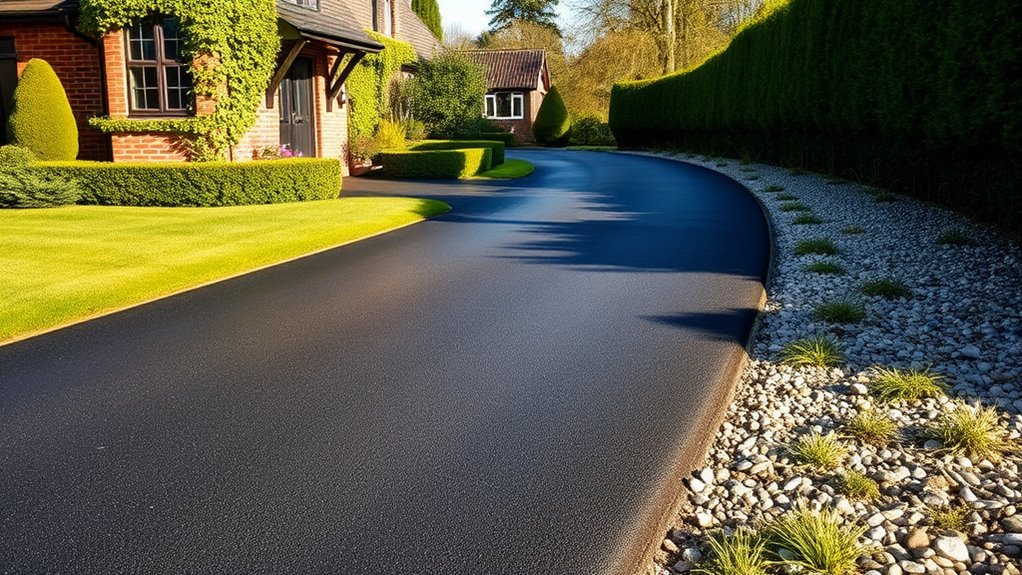
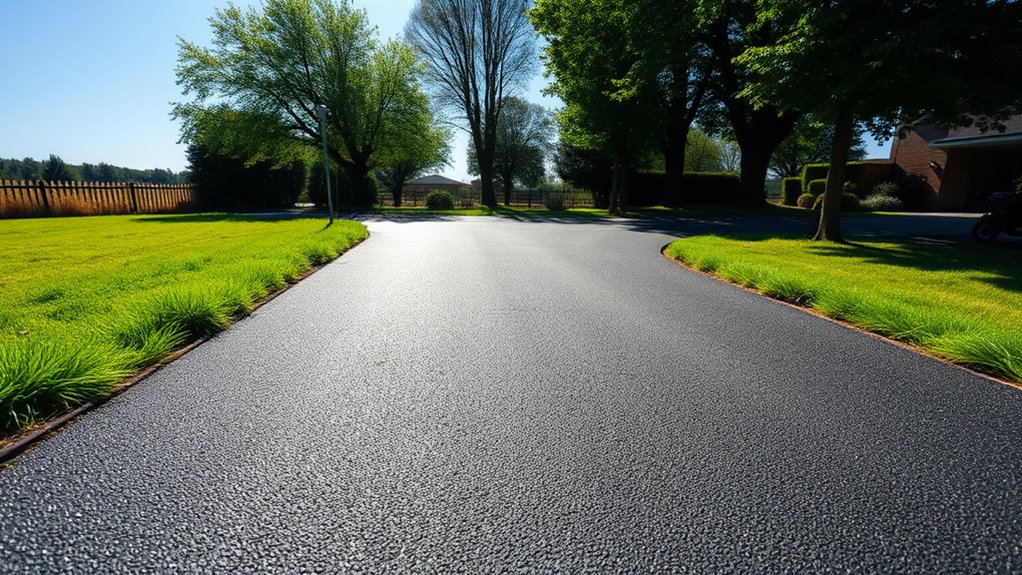
One of the main benefits of a DIY tarmac driveway is its outstanding durability and strength. It’s built to handle heavy loads and everyday vehicle use, resisting deformation and adapting to ground movement, which helps minimise cracking. With proper maintenance, this sturdy surface can last over 25 years, even in tough weather. Cost is another advantage; tarmac installation usually has a lower upfront price compared to options like concrete. Plus, the quick installation process means reduced labour costs, allowing you to complete the job efficiently. Lastly, a tarmac driveway offers a smooth, uniform finish that enhances your property’s appearance. You can customise the design to suit your style while also improving traction in wet conditions. Additionally, tarmac’s flexibility and resilience make it particularly suitable for the variable UK climate, further enhancing its practicality. A DIY tarmac driveway effectively combines practicality with visual appeal, and proper maintenance is essential for ensuring its longevity.
Challenges of a DIY Tarmac Driveway
While the benefits of a DIY tarmac driveway can be appealing, there are several challenges that could jeopardise your project.
Firstly, proper base preparation is crucial; if not done correctly, you may end up with uneven settlement and cracks. You’ll also require specialised equipment for effective compaction, which might be beyond the reach of a DIY enthusiast. Lack of expertise can lead to exacerbation of existing issues, making it even more difficult to achieve a satisfactory outcome. Additionally, proper installation ensures that the driveway can endure heavy traffic and diverse weather conditions, which is essential for its longevity.
Choosing the wrong materials can also affect the driveway’s durability, and if the tarmac is applied too thinly, you could face premature wear.
Moreover, insufficient drainage planning can lead to water pooling, causing structural issues over time.
Without professional experience, you may struggle with time management, physical effort, and safety concerns.
These factors can ultimately diminish the quality and longevity of your driveway, making professional installation a more dependable choice.
Essential Tools and Equipment for the Project
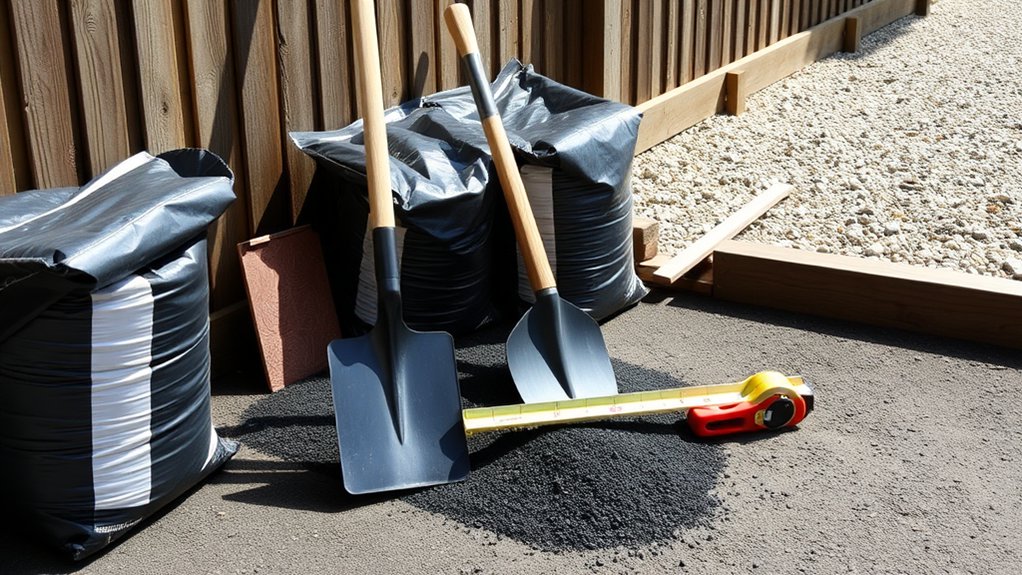
To successfully complete a DIY tarmac driveway, having the right tools and equipment is crucial. Choosing the proper tools ensures efficiency, while prioritising safety protects you during the project. Here’s a brief overview of essential tools:
| Category | Tools | Purpose |
|---|---|---|
| Hand Tools | Shovels, Rakes, Trowels | For lifting, levelling, and smoothing materials |
| Crack Repair Tools | Crack Filler Applicators | For applying filler effectively |
| Heavy Equipment | Excavators, Rollers | For site preparation and material compaction |
| Safety Gear | Hard Hats, Safety Glasses | To protect against injuries and hazards |
Equipping yourself with these tools will streamline the process and help ensure your safety throughout the project. Proper asphalt driveway repair requires specific tools to effectively address issues like cracks and potholes. Additionally, having edge restraints will aid in defining the boundaries of your driveway and enhancing stability during installation.
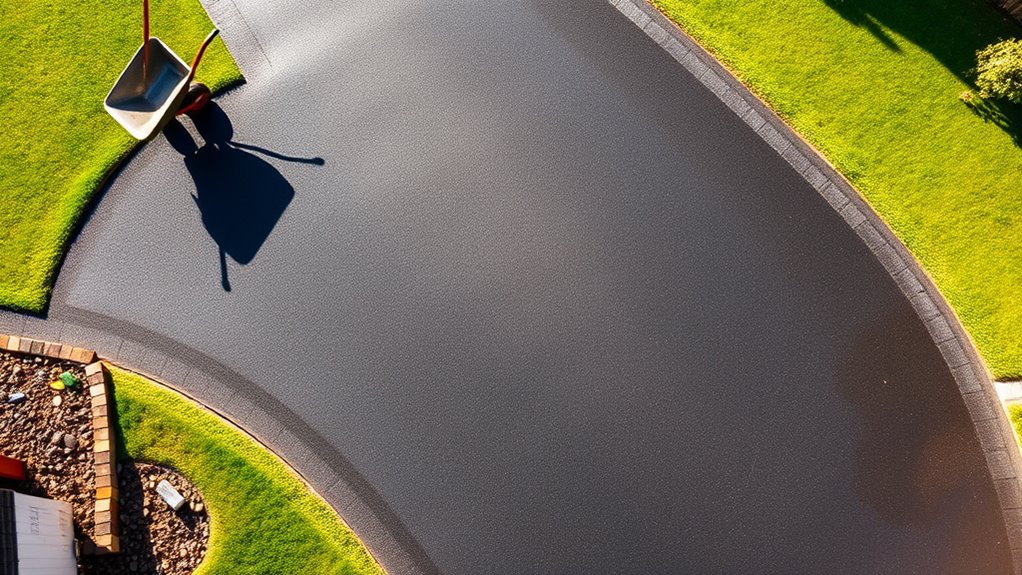
Step-by-Step Installation Process
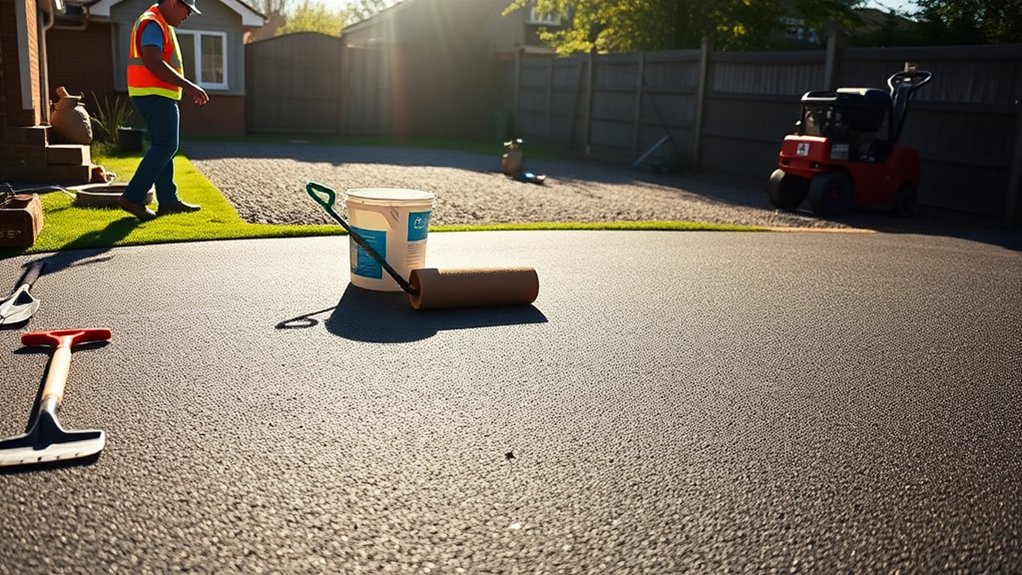
Installing a DIY tarmac driveway involves several essential steps that need to be followed in the correct order for a lasting and attractive finish.
- Assess the Area: Measure the size and shape of the driveway, making sure to consider drainage needs.
- Clear the Site: Remove any existing materials and excavate the area to the required depth using effective techniques.
- Grade and Slope: Ensure the area is graded and sloped properly for drainage, then compact the soil to prevent future settling.
- Install Edging: Add edging materials to define the driveway’s boundaries.
- Create a Subbase: Lay a layer of crushed hardcore to form a stable subbase.
- Apply Binder Course: Spread a tarmac binder course evenly across the subbase.
- Surface Layer: Follow up with the surface layer of tarmac, ensuring an even distribution.
- Seal Joints: Finally, seal the joints to prevent water ingress and inspect the driveway for any defects.
Maintenance and Upkeep Considerations
Regular maintenance is crucial for keeping your tarmac driveway in good shape. Remove debris like leaves and dirt weekly to stop stains and moss from forming.
When it’s time to clean, use mild detergents specifically for tarmac, and steer clear of harsh chemicals that could damage the surface. Always test any cleaning products on a small area first to be safe.
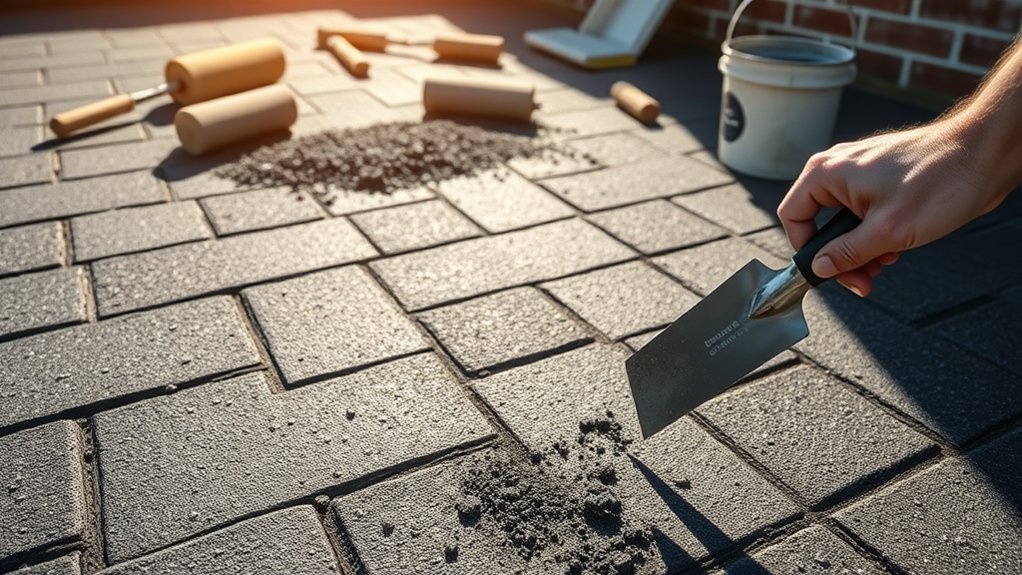
For repairs, tackle cracks and potholes promptly with tarmac repair compounds. If the damage is significant, it’s wise to seek professional help.
Additionally, apply sealcoating every 3-5 years to shield your driveway from the elements and prolong its lifespan. Regular inspections will help you spot problems early, keeping your driveway in top condition and saving you money in the long run.
Frequently Asked Questions
How Long Does a DIY Tarmac Driveway Last?
A DIY tarmac driveway usually lasts between 10 to 20 years, depending on the quality of the tarmac and how well it’s installed. To maximise its lifespan, it’s important to carry out regular maintenance, such as sealing and filling any cracks. For instance, applying a sealant every few years can help protect the surface from the UK’s weather, keeping your driveway in good shape for longer.
What Is the Best Weather for Installation?
For a successful tarmac installation, choose warm, dry days during spring or summer. The ideal temperature range is between 10°C and 32°C. These conditions are crucial for proper adhesion, curing, and the long-lasting quality of your driveway.
Can I Use Recycled Materials for the Sub-Base?
You can use recycled aggregates for the sub-base, providing a sustainable option. Properly processed materials improve durability and cost-effectiveness, while also supporting eco-friendly practices that help minimise waste in your driveway project. For instance, crushed concrete or reclaimed asphalt can serve as excellent alternatives to traditional materials.
How Do I Calculate the Amount of Tarmac Needed?
To calculate the amount of tarmac required, first measure the area of your driveway. Next, determine the desired thickness of the tarmac and take into account any slope. Remember to include waste and edging in your calculations. It’s essential for achieving a neat and professional finish. For example, if you’re covering a 50 square metre driveway with a thickness of 5 cm, you’ll need to factor in both the volume of tarmac and a bit extra for any mistakes or spillage.
Are There Any Legal Regulations for Driveway Installation?
Yes, you will need to obtain driveway permits to adhere to local regulations. These permits ensure that your installation complies with zoning laws, building codes, and safety standards, helping you avoid fines or the need for costly modifications later. Always check your local requirements before starting your project.
Conclusion
In summary, a DIY tarmac driveway can save you money and provide a sense of achievement. However, it’s important to consider the challenges and tools needed before you start. Are you prepared to dedicate the necessary time and effort for a successful installation? With careful planning and regular maintenance, you can have a durable and attractive driveway. Just keep in mind that the quality of your work will affect your home’s curb appeal and functionality.
How can a tarmac driveway enhance your home's appeal? Discover the key aspects of cost, installation, and maintenance in our Read more
Wondering if a tarmac driveway is the perfect fit for your home? Uncover the essential pros and cons before making Read more
Maximize the durability of your tarmac driveway by understanding the ideal weather conditions for installation—discover the secrets to perfect timing Read more