Can You Lay Pavers Over a Concrete Driveway?
Yes, you can lay pavers over a concrete driveway. The existing concrete provides a stable base and saves on removal costs. First, check the concrete for any cracks or moisture issues. Clean and prepare the surface to ensure good drainage. You can use methods like dry laying or adhesive for installation, making sure to focus on proper compaction and filling the joints. Be mindful of potential drawbacks, such as increased height or drainage problems. Keep these tips in mind for a successful paver installation.
Key Takeaways
Yes, you can lay pavers directly over a concrete driveway, using the existing surface as a stable base. Ensure the concrete is in good condition—free from cracks and with proper drainage to avoid future problems.
It’s crucial to clean the concrete thoroughly and make any necessary repairs for a solid bond between the pavers and the surface. You can choose between the dry lay method for quick placement or use adhesive for a more durable fix, depending on your preference.
Keep in mind that adding pavers will raise the height of the surface, which could create tripping hazards or interfere with doors if not managed properly.
Feasibility of Installing Pavers Over Concrete
When considering the feasibility of installing pavers over a concrete driveway, using the existing slab can be very advantageous. It provides a stable base, saving you the cost and hassle of removal, and can speed up the installation process. You have a wide variety of paver styles to choose from, which can significantly enhance the look of your outdoor space. Plus, individual pavers make future repairs simpler and more affordable. However, it’s important to tackle drainage solutions during the installation. Ensuring the correct slope will help direct water away from your driveway. Make sure to thoroughly clean the concrete surface and carry out any minor repairs to ensure proper adhesion. This will help your new pavers remain attractive and durable for years to come. Additionally, addressing drainage and water runoff during the installation process is crucial to protect your investment and prevent shifting of the pavers.
Assessing Your Concrete Surface
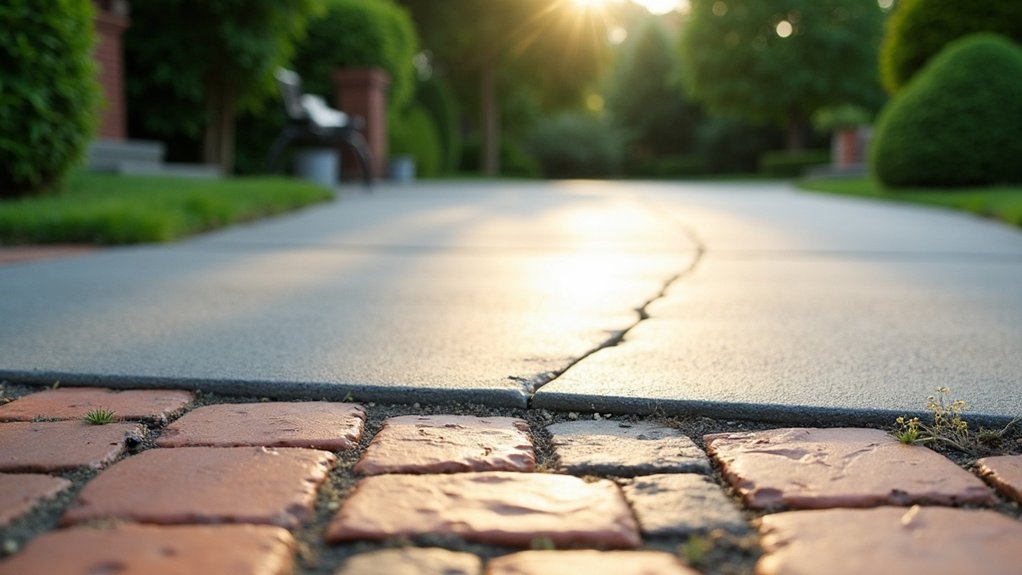
How can you tell if your concrete surface is ready for paver installation? Start with a careful inspection. Look for cracks, spalling, or any structural damage that might affect the pavers. Check for moisture issues or efflorescence, as these can impede adhesion. Proper preparation of the concrete surface is crucial for ensuring the longevity and durability of the paver overlay installation.
| Surface Condition | Action Required |
|---|---|
| Large Cracks | Repair or fill |
| Spalling or Scaling | Patch and smooth |
| Contaminants | Clean thoroughly |
| Uneven Areas | Level or repair |
| Moisture Issues | Sort out drainage |
Ensure your concrete is fully cured and free of debris before moving forward. If everything checks out, you’re set for a successful paver installation.
Preparation Steps Before Installation
Before laying pavers, inspect your concrete surface for cracks, stains, or any signs of damage. Clean the area thoroughly, removing all dirt and debris to ensure a strong bond between the pavers and the concrete. If you spot any imperfections, make the necessary repairs to create a solid foundation for your new driveway. Additionally, ensure that the concrete surface is quality of concrete finishing to provide optimal conditions for the paver overlay.
Inspect Concrete Surface
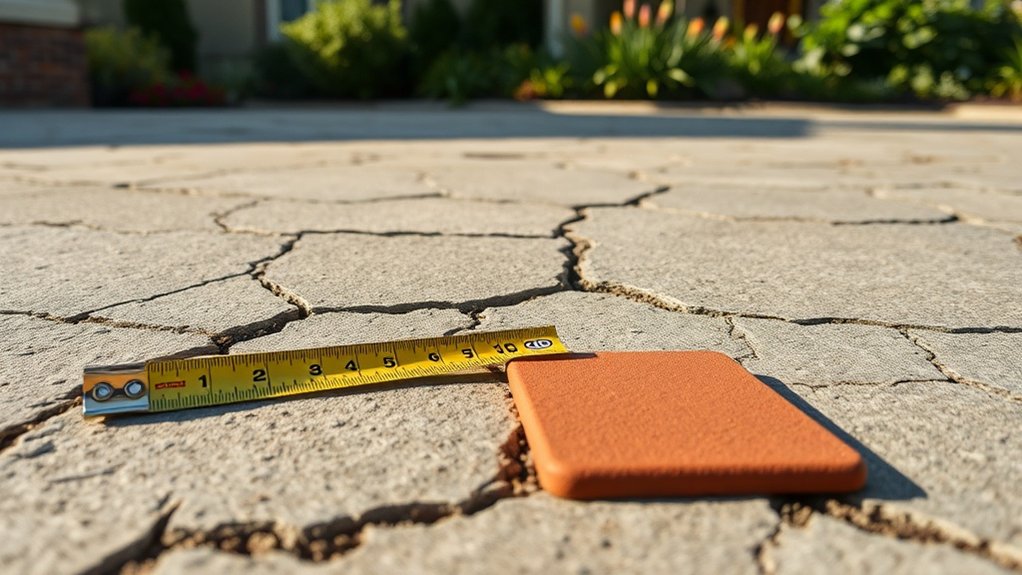
Inspecting the concrete surface is vital for ensuring a stable foundation before laying pavers, as even minor imperfections can cause major problems later on.
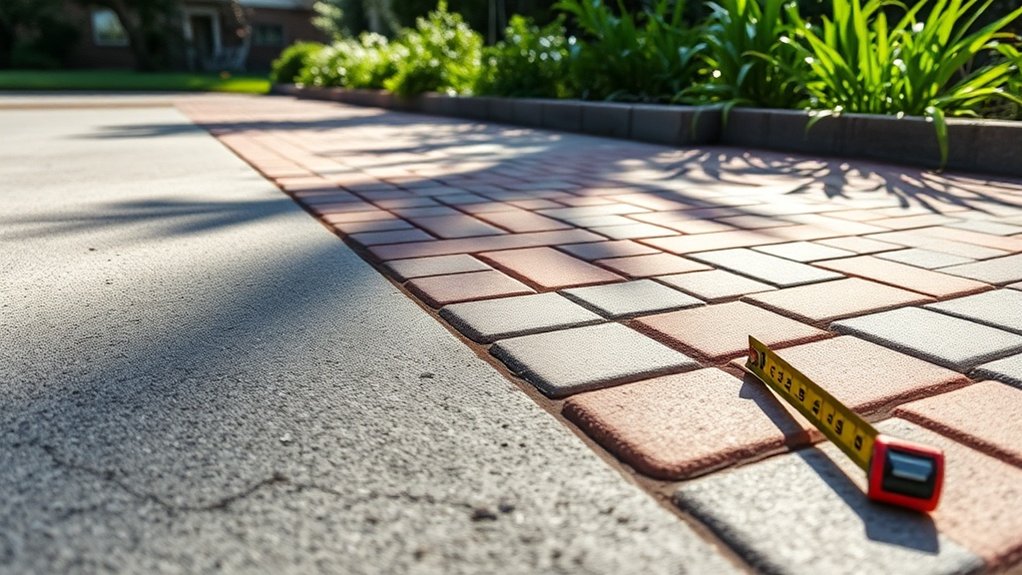
Begin with a detailed inspection of the surface, looking for large cracks, dips, and raised areas that could affect the stability of the pavers. Assess any damage to ensure the surface tolerance is within +/- 10mm over 3 metres; this is crucial for even paving.
Check that the concrete’s elevation and flatness meet project specifications, and avoid relying on additional bedding sand.
Also, examine the edges to ensure they’ve sufficient depth to support the pavers and prevent shifting.
Don’t forget to consider drainage; ensure there’s an adequate slope for runoff to protect both the concrete and the paver installation.
Clean and Repair
To ensure a successful paver installation, begin by thoroughly cleaning and repairing the concrete surface of your driveway.
Start by sweeping or blowing away all debris—dirt, leaves, and small stones. Move any obstructive items and clear away organic matter to prevent stains.
Next, apply a diluted bleach solution to treat any existing stains, making sure to wet the surrounding grass first to protect it.
For a deeper clean, select an appropriate concrete cleaner and use a soft bristle brush to scrub away stains, rinsing each section immediately after.
If stubborn grime persists, a pressure washer can be effective, but keep a close eye on the distance to prevent damage.
Finally, rinse the area thoroughly and allow it to dry completely, ensuring a clean and stable surface for your paver installation.
Installation Methods for Pavers
When installing pavers over your concrete driveway, there are a couple of effective methods to consider.
The dry lay method allows for quick placement without the need for adhesive, making it a straightforward option.
Alternatively, using adhesive ensures a strong bond, which adds to the durability of your installation.
Don’t overlook compaction; it’s crucial for stability and a long-lasting finish.
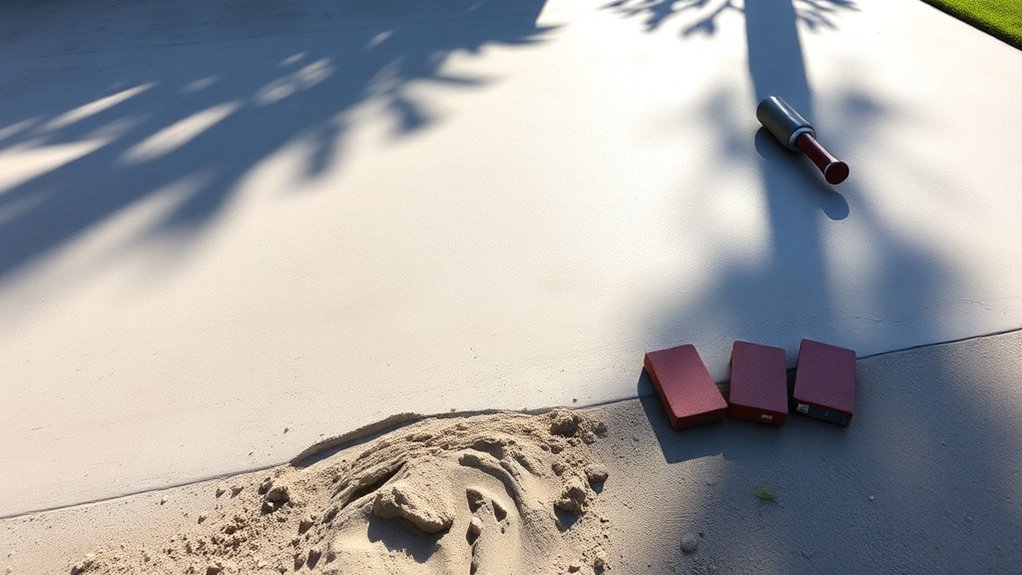
Dry Lay Method
The dry lay method for installing pavers provides a flexible and efficient solution, especially for overlaying existing concrete driveways. This technique requires a clean, stable surface to ensure proper drainage and level surfaces. Here’s a brief overview of the key steps:
| Step | Description | Importance |
|---|---|---|
| Surface Preparation | Clean the surface and check for slope | Ensures proper drainage |
| Bedding Layer Installation | Use 1-inch clean, coarse sand | Provides stability |
| Paver Placement | Lay pavers on sand with spacers | Maintains alignment |
| Joint Compaction | Fill joints with fine sand and compact | Prevents shifting |
This method is straightforward and can yield impressive results when done correctly. Additionally, ensuring a proper installation of a paver base is crucial to avoid future issues like cracking and shifting.
Adhesive Application Technique
Choosing the right adhesive application technique is crucial for successfully laying pavers over a concrete driveway. Start by selecting suitable adhesive types, such as construction adhesives or landscape block adhesive, ensuring they’re compatible with your concrete and paver materials.
Thoroughly clean the concrete surface to remove all dirt and debris, as this promotes a strong bond. Use a notched trowel to apply a consistent layer of adhesive, focusing only on the areas that will contact the pavers to reduce waste.
For edges, a caulking gun can provide a more precise application. Press each paver firmly into the adhesive to ensure full contact.
Always follow the manufacturer’s instructions regarding application thickness and curing time; proper bonding techniques are essential for durability.
Compaction for Stability
To ensure your pavers are stable and long-lasting, proper compaction of the base material is crucial before installation.
Begin by excavating the subsoil to establish a solid foundation. Use a mechanical compactor to compact any loose subsoil, which helps prevent settlement that could displace your pavers.
For the aggregate base, opt for crushed gravel, maintaining a thickness of 200-300mm for driveways and 100-150mm for patios. Use compaction techniques such as making at least three passes with a plate compactor for each layer of gravel. This maximises density and improves paver stability.
Finally, do a surface compaction after laying the pavers to secure them into the bedding sand, ensuring optimal interlock and durability for your installation.
Advantages of Laying Pavers Over Concrete

Many homeowners face the choice of upgrading their driveways, and laying pavers over an existing concrete surface offers several benefits that enhance both practicality and appearance.
Firstly, pavers provide excellent drainage thanks to their small gaps, allowing water to pass through and reducing the likelihood of puddles and water damage. This is particularly beneficial during heavy rainfall, promoting the longevity of your driveway.
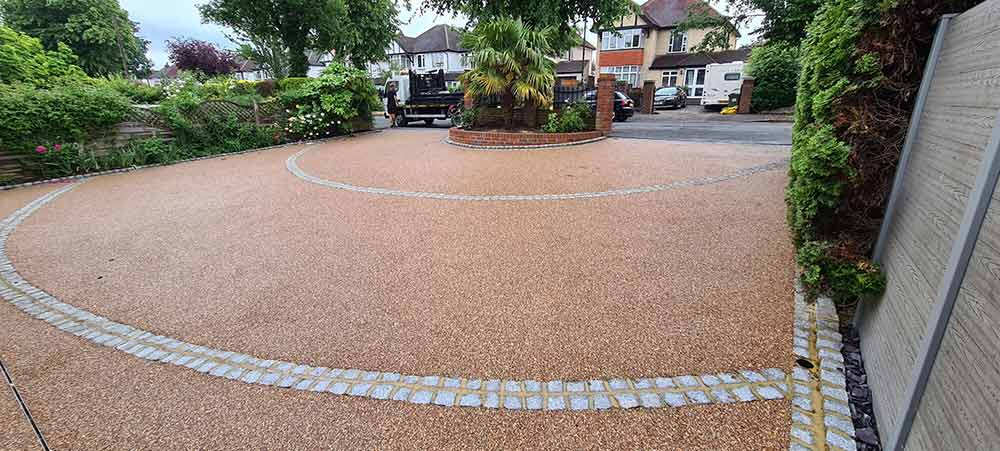
Aesthetically, pavers are a fantastic option. They come in a wide range of designs, colours, shapes, and patterns, giving you the freedom to customise your driveway to match your home’s architectural style.
This versatility can significantly enhance your property’s curb appeal without the hassle of complete demolition. Overall, pavers successfully combine style and functionality in driveway design.
Limitations and Considerations

Laying pavers over a concrete driveway has its benefits, but there are important limitations and considerations to keep in mind for a successful installation:
- Design Flexibility: Your design options may be limited by the size and shape of the existing concrete, which can restrict creativity.
- Height Issues: Adding pavers increases the surface height, which could create tripping hazards or interfere with doors if adjustments aren’t made.
- Drainage Solutions: If drainage on the concrete slab is inadequate, it may worsen under the pavers, leading to water pooling and potential structural damage to your home.
Before you start, ensure your concrete is in good condition and think about any necessary changes for a smooth and practical overlay.
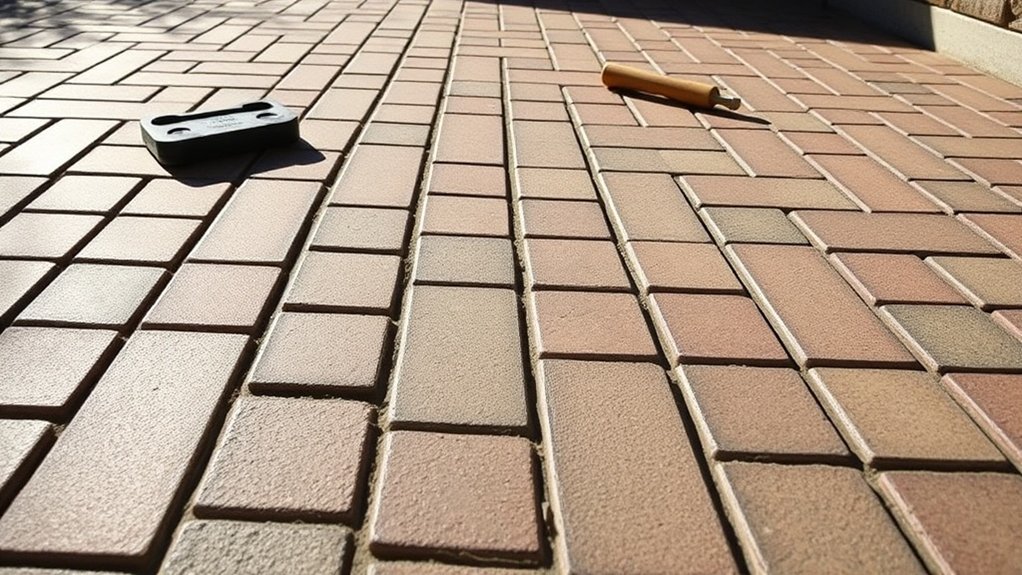
Essential Tools and Materials
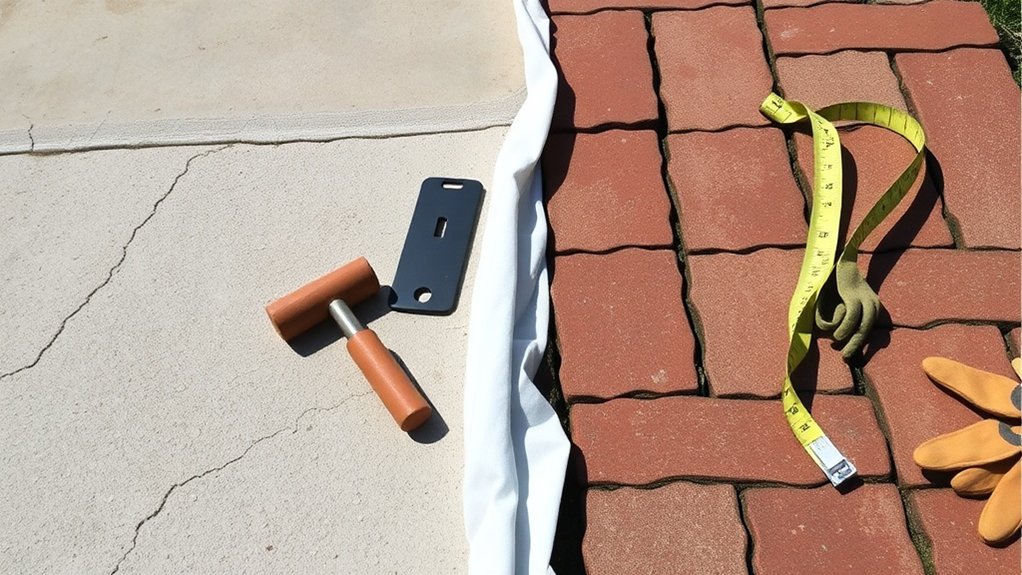
When installing pavers over a concrete driveway, it’s essential to have the right tools and materials for a smooth and durable finish. Here’s a quick list to guide you:
| Tool/Material | Purpose | Quantity Needed |
|---|---|---|
| Shovels | For digging and soil removal | 1-2 |
| Plate compactor | To compact layers | 1 |
| Tape measure | For precise measurements | 1 |
| Diamond-blade saw | To cut pavers to size | 1 |
Having these items ready will make your installation easier and help you achieve a professional look for your driveway. Don’t underestimate the importance of using the right tools!
Best Practices for Successful Installation
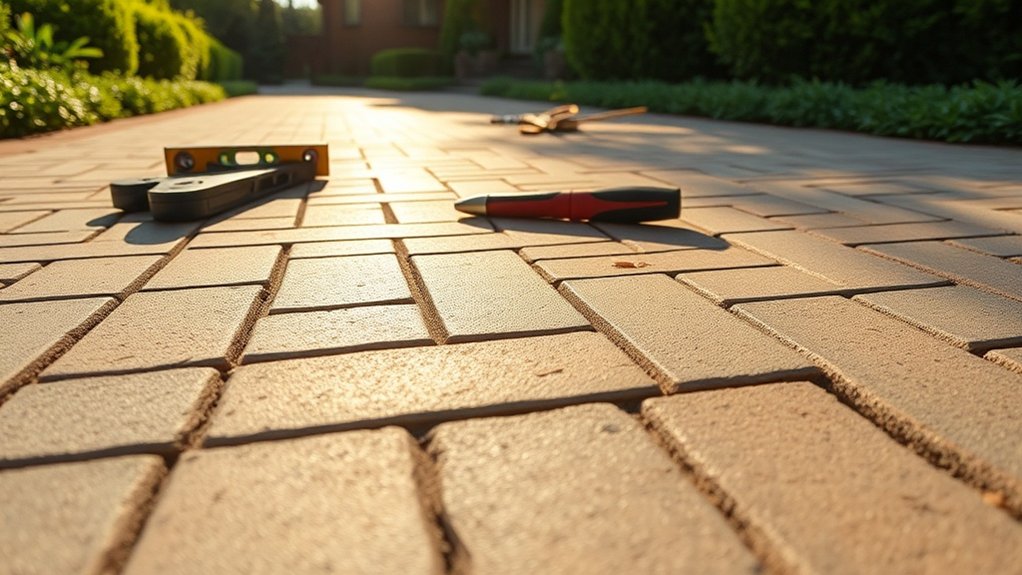
Having the right tools and materials is crucial for a successful paver installation over your concrete driveway. Here are some best practices to ensure durability and visual appeal:
- Check the Concrete Base: Inspect for cracks, ensure proper slope, and look for drainage solutions to avoid water pooling under the pavers.
- Select the Appropriate Installation Method: Choose between sand-set or mortar set depending on the load requirements and height restrictions of your project.
- Prepare the Surface Properly: Clean the concrete thoroughly and let it dry before laying the pavers.
This enhances bonding and minimises moisture problems.
Frequently Asked Questions
How Long Does the Paver Installation Process Take?
The paver installation process usually takes between 5 to 7 days for medium-sized projects. Factors such as site preparation, base work, complexity of the design, and weather conditions can all affect the duration. It’s important to consider these elements to ensure you achieve a sturdy and visually appealing outcome.
Can I Use Any Type of Paver on Concrete?
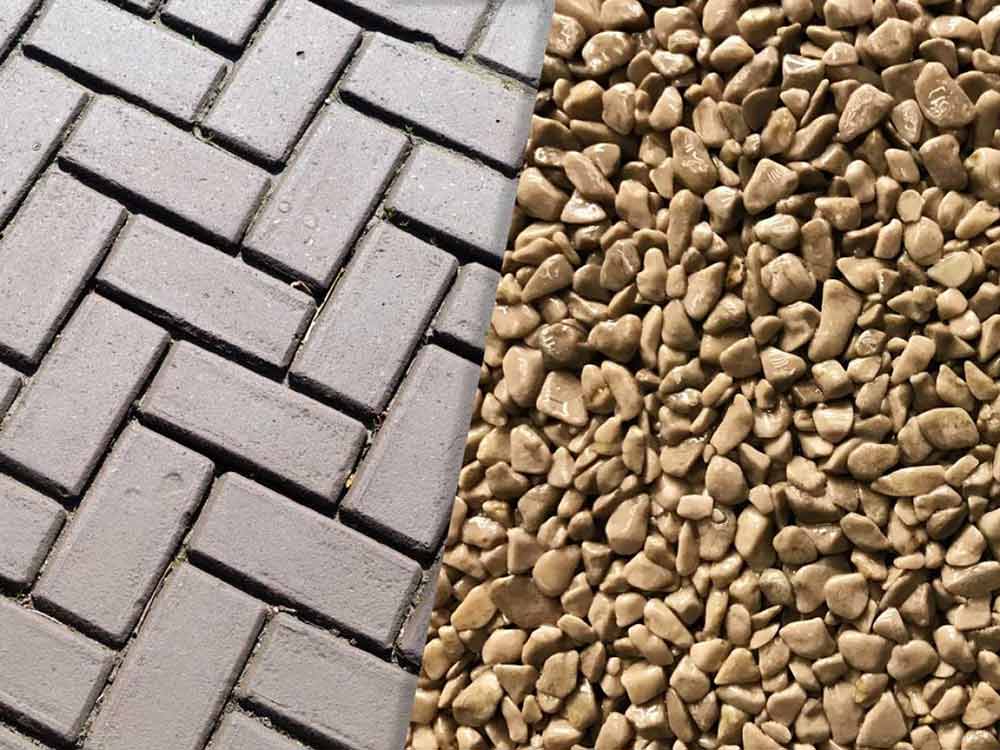
Not all paver materials are suitable for use on concrete. It’s important to select compatible options and use the correct installation methods. For the best results, consider using concrete, porcelain, or thin natural stone pavers that bond effectively to concrete surfaces.
Will Laying Pavers Over Concrete Affect My Driveway’s Weight Capacity?
Laying pavers over concrete can impact your driveway’s weight capacity by changing how weight is distributed. To ensure your driveway remains strong, make sure the underlying concrete is stable and free from cracks. Additionally, proper drainage is essential to maintain its load-bearing capabilities and prevent issues in the long run. For example, if your driveway often supports heavy vehicles, it’s crucial to assess the concrete’s condition before adding pavers.
How Do I Maintain Pavers Installed Over Concrete?
Maintaining pavers over concrete is straightforward. Regular sweeping and cleaning help prevent stains. It’s worth considering sealing every few years to protect against the weather. Check the joints and edges to ensure they remain stable for lasting beauty and functionality.
Do I Need a Permit for This Type of Installation?
You may need a permit for your block paving installation, depending on local regulations. It’s advisable to check with your local council to ensure you’re compliant, particularly if you’re changing the size, drainage, or paving over damaged concrete.
Conclusion
In summary, laying pavers over your concrete driveway is an effective way to improve its appearance and functionality. Much like upgrading from a traditional mobile phone to a smartphone, this change can significantly enhance your outdoor area. By assessing the condition of your concrete, preparing the surface properly, and following the correct installation techniques, you can achieve a durable and attractive finish. Embrace this modern upgrade and enjoy a refreshed driveway that lasts.
Adding curb appeal to your home is easier than you think! With the right design ideas, your resin driveway can Read more
Are you tired of the dull, worn-out look of your block paving? Well, have you ever considered putting resin over Read more
Are you considering whether to choose resin or block paving for your next project? Well, here's an interesting statistic for Read more