How to Install a Heated Concrete Driveway for Snow Removal
To install a heated concrete driveway for snow removal, start with site preparation by removing any existing materials and clearing away debris. Excavate to a depth of 200 to 300 millimetres, then lay down geotextile fabric and compact gravel. Next, install rigid foam insulation, followed by either hydronic tubing or electric heating cables. Pour concrete to a uniform thickness of around 100 millimetres, ensuring a smooth finish. Finally, connect it to a control system for managing the temperature. For further details and insights, stick around!
Key Takeaways
- Begin by assessing the site; remove any existing surfaces and ensure proper drainage before excavation.
- Lay insulation boards to improve thermal efficiency and minimise heat loss during the concrete pour.
- Decide between hydronic tubing or electric heating cables, placing them carefully for optimal heat distribution.
- Connect the heating system to a manifold and integrated controls, ensuring effective temperature management and compliance with safety standards.
- Pour the concrete to a uniform thickness, finish the surface, and protect it while curing to guarantee durability.
Site Preparation and Excavation
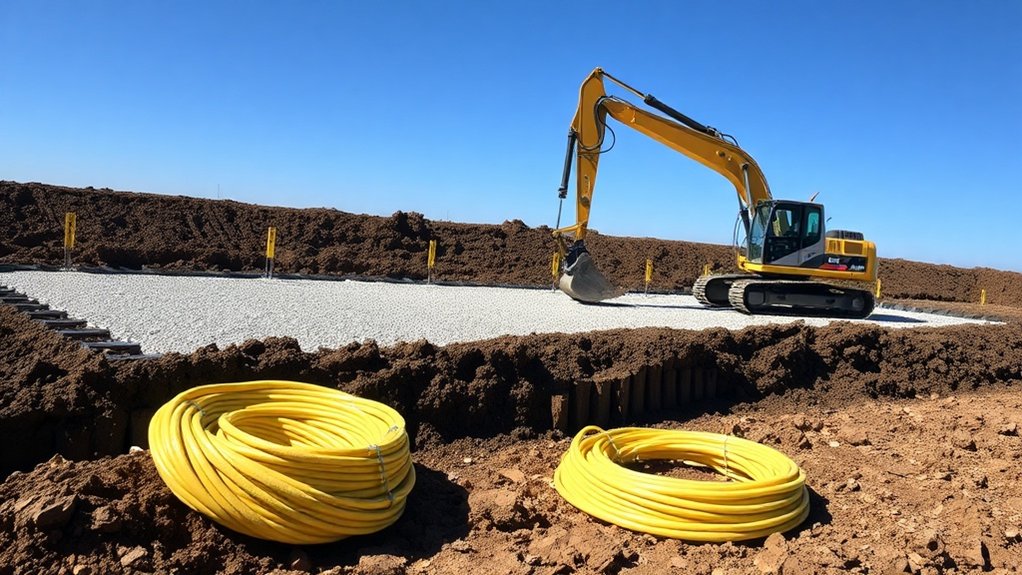
Before installing a heated concrete driveway, proper site preparation and excavation are crucial. Start by assessing the site to ensure all existing concrete, tarmac, or pavers are removed, revealing the subgrade. Clear away any debris and sharp objects, and check the site boundaries and gradient for effective drainage. Mark where control units and electrical access points will go.
Excavate to a depth of 200 to 300 millimetres using suitable techniques to achieve a uniform and compacted subgrade. Lay down geotextile fabric for soil separation, then add a gravel base, compacting it well for stability. It’s essential to consider insulation materials to prevent heat loss and improve the efficiency of the heating system.
Make sure the trench dimensions comply with engineering specifications to facilitate proper water runoff and prevent pooling on the finished surface.
Insulation Installation
When installing insulation for your heated concrete driveway, opt for materials like rigid foam boards or InsulHeat™ panels to boost thermal efficiency. Ensure you fit the insulation snugly against each other and choose the right thickness for your climate to prevent heat loss. This careful approach will enhance heat retention and improve the performance of your heating system. Additionally, selecting high-performance insulation materials is crucial for maximizing heat retention.
Insulation Material Types
Selecting the right insulation material for a heated concrete driveway is crucial for improving energy efficiency and overall performance.
There are several types of rigid insulation to consider, each with unique benefits for managing moisture and thermal resistance:
- Expanded Polystyrene (EPS): This option is lightweight and budget-friendly, but it can absorb moisture, which may not be ideal for all situations.
- Extruded Polystyrene (XPS): Denser and more resistant to moisture, XPS is a solid choice for insulating beneath concrete slabs.
- Polyisocyanurate (Polyiso): Known for providing the highest R-value per inch, Polyiso also effectively resists water vapour, making it a top performer.
- Reflective Foil: This material boosts thermal performance by reflecting radiant heat, particularly beneficial in warmer climates. Proper insulation is essential to minimize heat loss, ensuring that your heated driveway operates efficiently.
Choosing the right type will depend on your specific needs and local climate conditions.
Installation Techniques
Proper installation techniques are crucial for ensuring the effectiveness of insulation in a heated concrete driveway system.
Begin by excavating to the necessary depth and laying a compacted gravel base for stability and drainage. Place rigid foam insulation panels directly over this base, ensuring flat and continuous coverage.
When addressing installation challenges, adhere to insulation thickness guidelines, which usually range from 25mm to 50mm, balancing thermal performance and load-bearing capacity.
Secure the heating tubing in pre-cut grooves or with fasteners to ensure accurate positioning. It’s important to avoid direct contact between heating cables and insulation to prevent any damage.
Before pouring concrete, inspect seams for tightness and ensure there are no voids. Always comply with local regulations for optimal performance.
Heat Loss Prevention
To effectively prevent heat loss in a heated concrete driveway, proper insulation installation is essential. Choosing the right insulation boosts thermal performance and ensures maximum heat retention.
- Use rigid foam insulation panels, such as EPS or XPS, beneath the heated slab to reduce downward heat loss.
- Opt for high-density rigid polystyrene boards (1-2 inches thick) for better efficiency and quicker heat response.
- Lay insulation directly over compacted gravel to form a continuous thermal barrier, stopping heat from escaping.
- Ensure all materials meet local regulations for load limits and moisture resistance, ensuring durability over time.
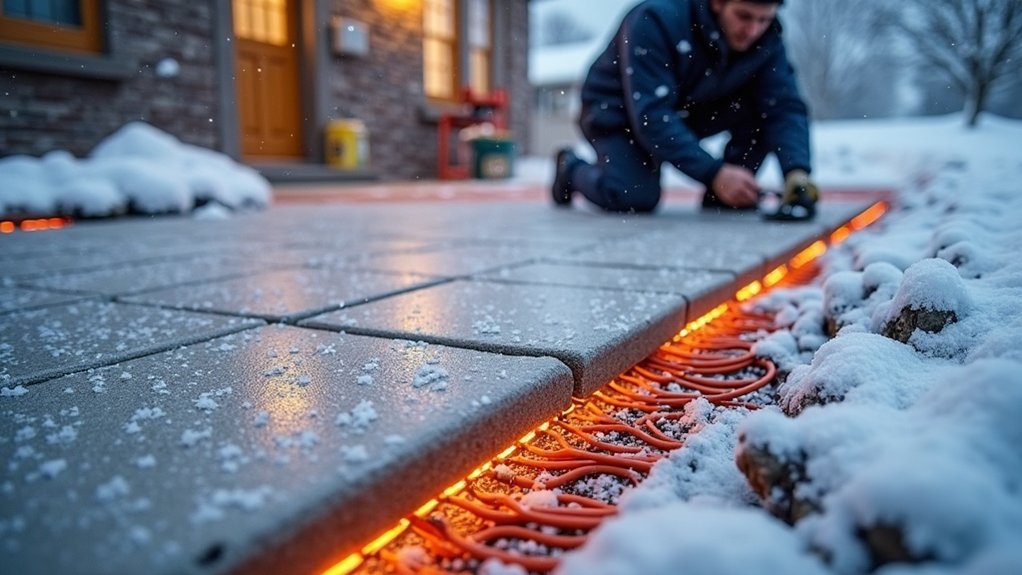
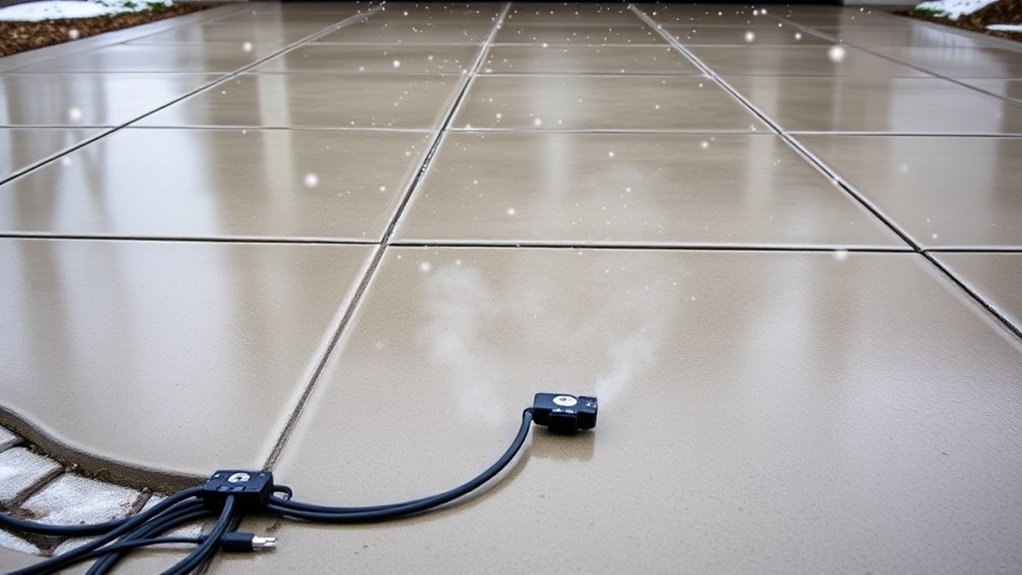
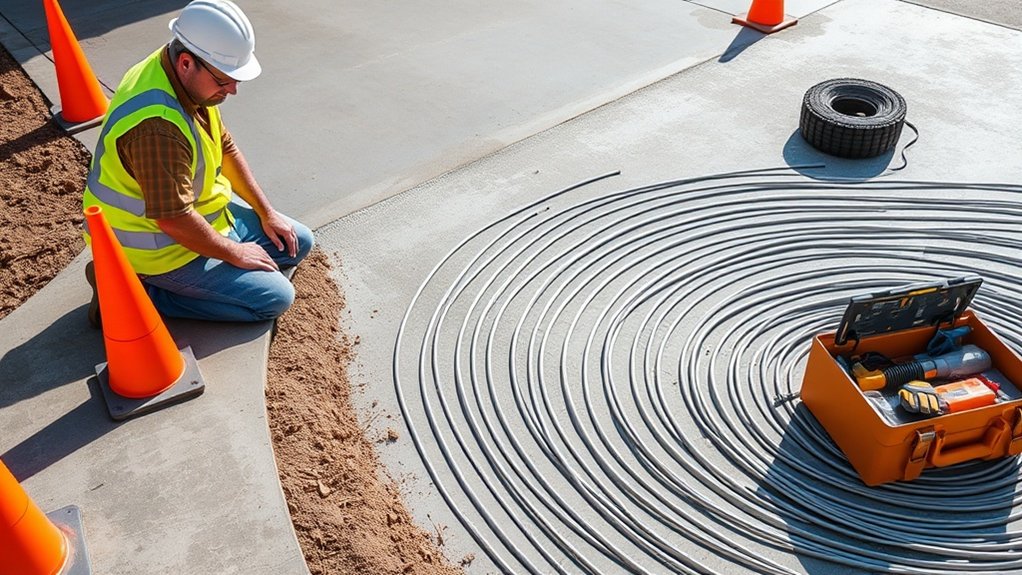
Heating Elements Installation (Hydronic or Electric)
When installing heating elements for a concrete driveway, you need to choose between hydronic and electric systems, each with distinct installation requirements and advantages.
Hydronic systems use plastic tubing, like PEX or PE-RT, to circulate heated water and need to connect to a boiler. The tubing must be secured to insulation boards and positioned 5 to 8 cm below the surface.
In contrast, electric systems consist of metal heating cables or mats that should be spaced at least 5 cm apart and buried under a few inches of concrete or sand.
Your choice of material can affect both the complexity of the installation and the efficiency of heat output. Be sure to consider your preferences and any local regulations when deciding the best heating element for your driveway.
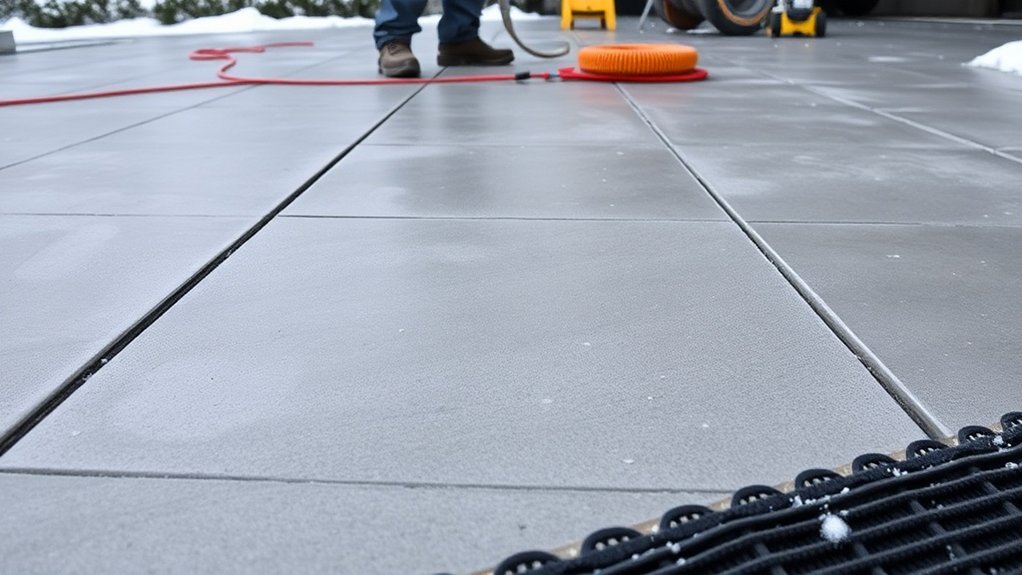
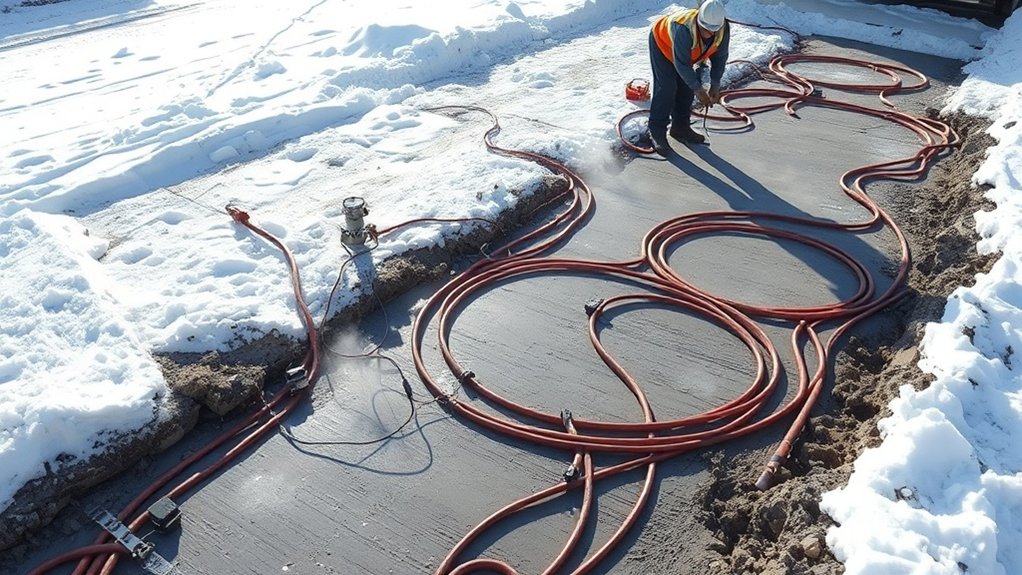
Concrete Pour and Surface Installation
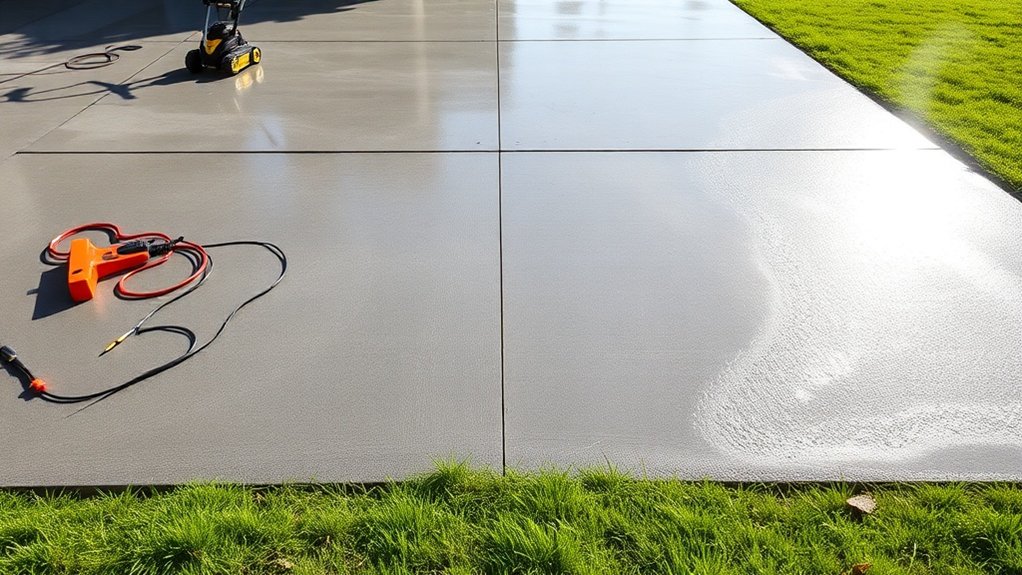
Once you’ve secured the heating elements, it’s time to concentrate on the concrete pouring techniques.
Ensure you maintain a consistent thickness of around 4 inches and use the right tools to prevent damaging the embedded cables.
Once the concrete has set, you can look into methods for installing pavers to enhance the aesthetics, ensuring they complement your heated driveway system.
Concrete Pour Techniques
Prepare for the concrete pour by closely following all pre-pour steps to ensure a robust and visually appealing driveway. Proper techniques during the pour and surface finishing will significantly enhance the driveway’s durability and functionality.
- Choose a concrete mix suited to your local conditions, aiming for a strength of 4000 psi.
- Ensure consistent delivery to avoid cold joints, which can weaken the structure.
- Level the surface using a screed and then smooth it with a float.
- For added traction, consider a broom finish or other specialised finishes depending on your requirements.
During the curing process, keep a close eye on the weather. Protect the surface from harsh conditions to avoid defects, ensuring the final result meets your expectations while maintaining structural integrity.
Paver Installation Methods
Once you’ve completed the concrete pour and established a strong foundation, it’s time to consider paver installation methods that improve both the function and appearance of your driveway.
Start by choosing appropriate paver types, such as concrete, permeable plastic, or exposed aggregate pavers. Ensure the surface is level and prepare the existing concrete by thoroughly cleaning it and fixing any damage.
You can lay pavers directly on the concrete or use a thin bedding layer, making sure to stabilise the joints with joint sand. Incorporate drainage solutions to avoid water pooling, and install edge restraints to keep the pavers aligned. A solid sub base is crucial to ensure longevity and stability of your driveway.
Finally, use surface vibration or compaction to securely set the pavers, guaranteeing a durable and attractive driveway for years to come.
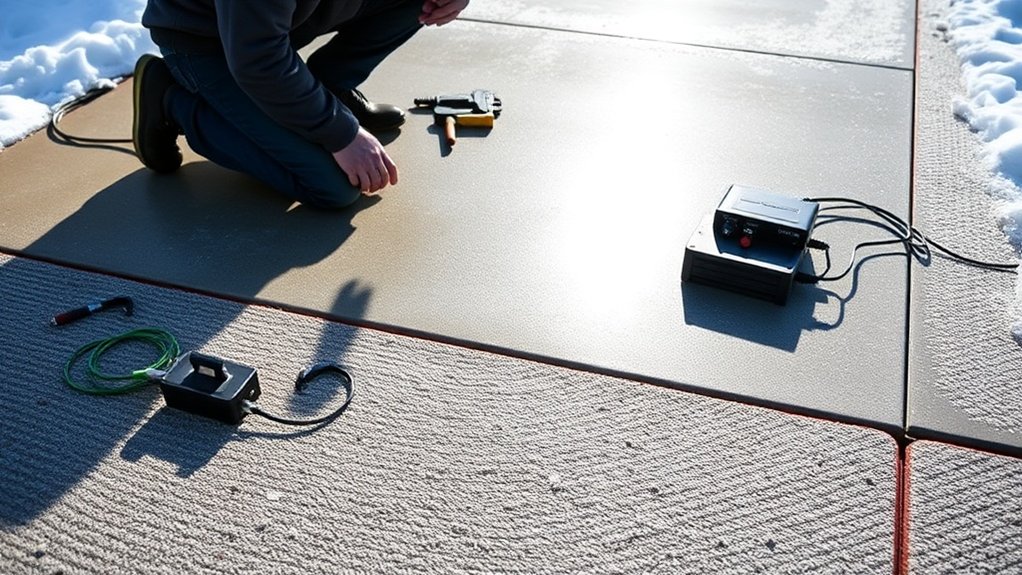
System Connection and Controls Integration
When integrating a heating system into your concrete driveway, connecting the hydronic tubing to a well-positioned manifold is crucial for effective heat distribution.
This manifold ensures balanced flow rates and links to your heat source for optimal performance. Here are some key points to consider:
- Place the manifold in a sheltered spot for easy access and maintenance.
- Utilise in-ground and aerial sensors to obtain accurate temperature and moisture readings.
- Incorporate programmable thermostats for seamless automation.
- Regularly calibrate sensors to adapt to local weather conditions.
Design and Performance Considerations
When designing a heated concrete driveway, it’s crucial to consider heat output needs, insulation methods, and the overall strength of the system.
In the UK, the required heat output generally ranges from 25 to 60 BTUs per square foot, influenced by local weather conditions. For optimal performance, ensure that the heating tubes or cables are installed within 5 to 7.5 cm of the surface for a quick heat response.
Using rigid foam insulation panels beneath the heating elements can significantly reduce heat loss and improve energy efficiency. It’s also important to ensure even heat distribution to prevent cold spots.
You might want to include temperature and moisture sensors in your design; this way, you can activate the system only when necessary, which helps to enhance efficiency while keeping energy consumption low.
Choosing the Right Heating System

When selecting a heating system for your driveway, consider the pros and cons of hydronic and electric options.
Electric systems are generally easier to install and have lower initial costs, making them appealing for smaller areas.
In contrast, hydronic systems, while pricier to set up, are more efficient for larger spaces.
Assess your specific needs, including your energy sources and potential long-term expenses, to make a well-informed choice.
For example, if you have a larger driveway, the investment in a hydronic system may pay off in the long run.
Hydronic vs. Electric Systems
When considering the best heating system for your concrete driveway, you have two main options: hydronic and electric.
Here’s a straightforward comparison to help you decide:
- Hydronic systems circulate heated water through PEX tubing, providing uniform heat distribution. They’re particularly suited for larger driveways.
- Electric systems use cables or mats that heat up quickly, making them ideal for smaller areas or when you need fast snow melting.
Installation varies in complexity.
Electric systems are generally easier to install in existing driveways, while hydronic systems involve significant excavation and planning.
Maintenance also differs: hydronic systems require regular servicing, while electric systems typically need very little upkeep.
Consider your driveway size, typical snow conditions, and your installation preferences to ensure you choose the most effective and efficient heating system.
Efficiency and Cost Analysis
Choosing the right heating system for your concrete driveway depends on understanding the efficiency and cost implications.
Electric systems usually have lower installation costs, ranging from £12 to £30 per square foot, which makes them appealing for smaller areas. On the other hand, hydronic systems, despite their higher initial costs, often provide better long-term savings due to lower running expenses. They can use various fuel sources, improving overall efficiency.
While electric systems can work well with renewable energy, their operating costs may increase if electricity prices rise.
Maintenance is another factor; electric systems generally require less upkeep compared to hydronic systems, which might lead to additional costs.
Ultimately, your decision should weigh the initial investment against operational efficiency and potential long-term savings.
Tools and Materials Needed
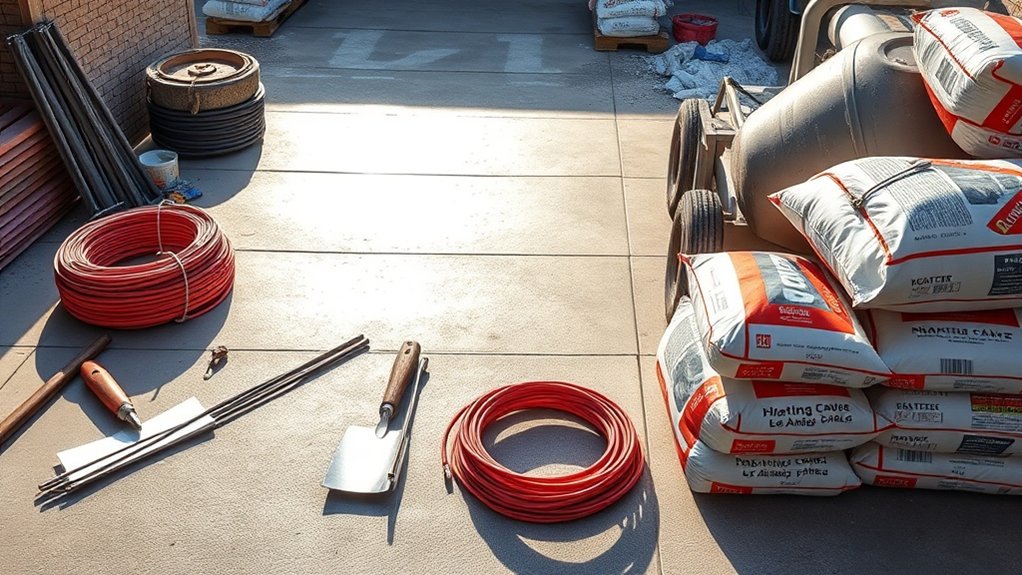
To successfully install a heated concrete driveway, you’ll need a selection of essential tools and materials to ensure the process goes smoothly.
Here’s a straightforward checklist to get you started:
- Excavation Tools: A shovel, pickaxe, and a compactor.
- Insulation Panels: Rigid foam insulation (XPS or EPS) with a high R-value.
- Heating Elements: PEX tubing for hydronic systems or electric heating cables.
- Concrete Materials: Standard concrete mix, expansion joints, and any paving options if required.
Make sure to source materials that comply with local building regulations and suit the climate.
With the right tools and materials, you’ll make the installation process easier and ensure a durable, effective heated driveway.
Safety Precautions During Installation
When installing a heated concrete driveway, safety should be your top priority to avoid accidents and ensure a successful installation. Following proper safety measures creates a secure work environment.
| Safety Measure | Importance | Action Required |
|---|---|---|
| PPE Requirements | Protects against injuries | Wear gloves, safety goggles, and masks |
| Utility Marking | Prevents damage to underground lines | Confirm and mark all utilities before starting |
| Worksite Organisation | Reduces trip hazards | Keep the area tidy and free of clutter |
| Cable Spacing | Prevents electrical faults | Maintain at least 5 cm (2 inches) spacing between cables |
| Electrical Testing | Ensures system functionality | Conduct OHM resistance tests to verify connections |
Always check that your system is compatible and consider installing moisture sensors for improved performance. Protect your equipment and be careful not to damage components during the installation process.
Maintenance Tips for Heated Driveways
Maintaining your heated driveway is crucial for its durability and efficiency, especially as the seasons change. Here are some straightforward maintenance tips:
- Carry out seasonal visual checks for cracks, uneven heating, or damage to the cables.
- Keep an eye on thermostat readings to ensure the heating system activates properly and that sensors are working accurately.
- Before winter sets in, check the antifreeze levels and ensure the surface is clear of debris.
- After the winter months, inspect for any damage, flush the hydronic systems, and look for freeze-thaw effects.
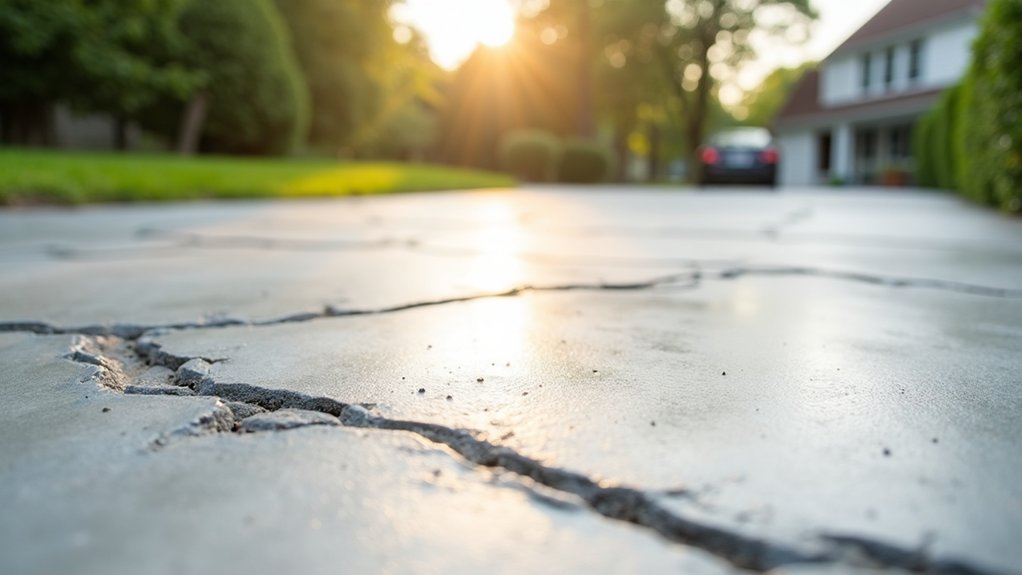
Cost Considerations and Budgeting

Proper maintenance is crucial for a successful heated driveway installation, but it’s equally important to understand the costs involved.
Here’s a breakdown: installation typically ranges from £12 to £28 per square foot, with an average two-car driveway costing between £7,000 and £16,000.
Don’t forget to include the cost of driveway removal, which can be £1 to £2 per square foot. Material choice matters too; concrete tends to be pricier than asphalt.
Electric systems may have a lower upfront cost, while hydronic systems could offer long-term energy savings. Additionally, consider that tarmac driveways can provide a cost-effective alternative for homeowners looking for durable surfaces.
Labour costs add another £5 to £11 per square foot. Consider financing options and potential rebates for energy-efficient systems to help manage initial expenses.
Always set aside a budget for future maintenance and repairs to ensure the system remains functional for years to come.
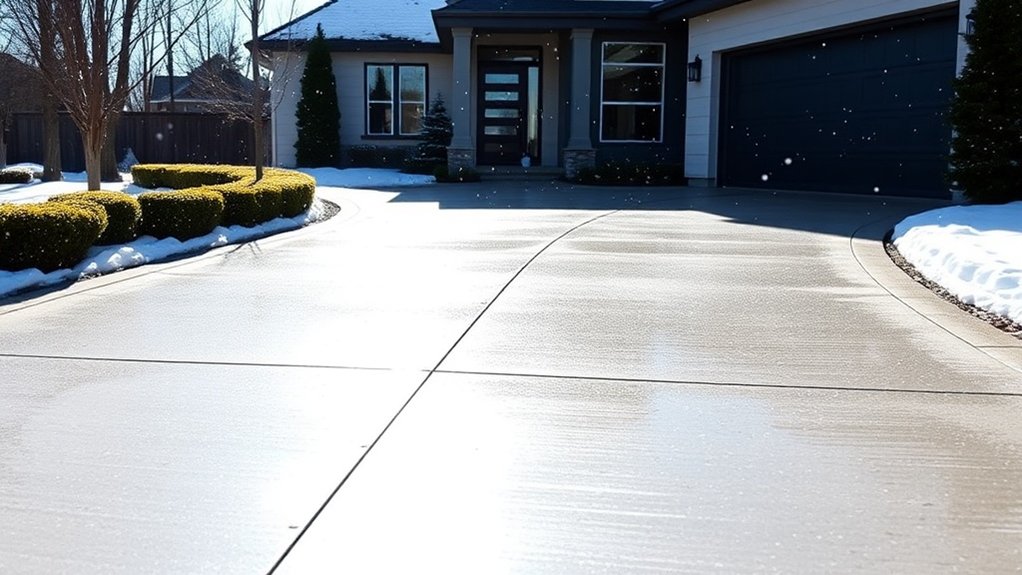
Benefits of a Heated Driveway

While the initial installation cost of a heated driveway may be a consideration, the advantages far outweigh the expense. These systems effectively melt snow and ice, significantly reducing the risk of slips and falls, which enhances safety during winter months.
- Enjoy hassle-free snow removal, saving you time and effort.
- Maintain consistent temperature control, which can extend the life of your driveway.
- Increase your property’s appeal and value, especially in snowy areas.
- Help protect vulnerable individuals from winter hazards.
With a heated driveway, you improve your property’s functionality while contributing to a safer and cleaner environment. Investing in this system is a wise decision for managing winter conditions.
Frequently Asked Questions
Can I Install a Heated Driveway Myself, or Should I Hire a Professional?
You can try a DIY installation, but be aware of the complexities and costs involved. Hiring a professional ensures compliance with regulations, safety, and efficiency. This often makes the initial expense worthwhile, as you’ll benefit from reliable performance and warranty protection for your investment.
How Long Does It Take to Install a Heated Driveway?
Installing a heated driveway typically takes between 5 to 14 days. This timeframe allows for thorough preparation, which includes excavation, insulation, and careful installation of the heating tubing. Ensuring each step is done correctly is essential for optimal heating efficiency.
What Is the Expected Lifespan of a Heated Driveway System?
A heated driveway system usually lasts between 15 to 20 years. This lifespan can vary based on factors such as the quality of installation and ongoing maintenance. Regular checks and prompt repairs are crucial for ensuring longevity and avoiding expensive problems down the line.
Are There Any Zoning Regulations for Heated Driveways?
Yes, you will require planning permission due to local regulations regarding heated driveways. These rules often specify the materials used, construction standards, and distance from property boundaries, all aimed at ensuring safety and environmental compliance. It’s advisable to consult your local council before proceeding.
Can Heated Driveways Be Installed in Existing Concrete?
Yes, heated driveways can be installed in existing concrete. Techniques such as saw-cut technology or overlaying heating cables with asphalt are effective methods. These approaches ensure proper heat distribution while maintaining the integrity of the original concrete. It’s crucial to prepare the surface correctly for a successful installation.
Conclusion
In summary, installing a heated concrete driveway can greatly improve your winter experience. Similar to upgrading a classic car with a powerful engine, a heated driveway will effectively melt away snow and ice, keeping your entrance clear and safe. By investing in this system, you enhance your property’s practicality and gain the reassurance of a reliable winter solution.

Just how do stamped and plain concrete driveways compare in durability, cost, and aesthetics? Discover which option truly suits your Read more

Achieve a pristine tarmac driveway this winter—discover the best snow removal methods that will keep your surface safe and clear.
Knowing whether your concrete driveway needs expansion joints could save you from costly repairs—discover the importance of these joints for Read more