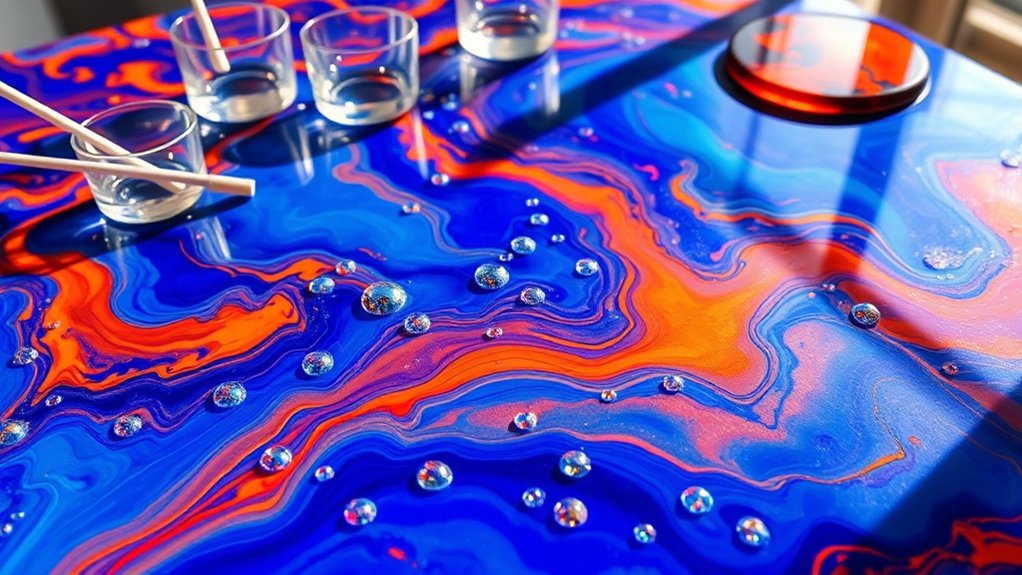
Can You Mix Different Resin Colors for a Custom Look?
Yes, you can mix different resin colours for a unique finish! Start by adding small amounts of dye gradually and stirring well to achieve a smooth blend. Mixing transparent and opaque pigments can add depth to your design. Just ensure that pigment levels stay below 5% to ensure proper curing. Experimenting with different combinations can lead to striking results that enhance your project. Keep trying out new techniques to elevate your resin art!
Key Takeaways
Yes, you can mix different resin colours to create custom looks by combining transparent and opaque dyes for unique effects. Start by adding small amounts of dye gradually and stir thoroughly to ensure even colour distribution without affecting the curing process.
Using high-quality pigments will help you achieve vibrant, consistent colours while keeping the right ratio of colourant to resin. You might experiment with layering colours or mixing complementary shades for striking palettes and added visual depth.
Always test with small batches first to observe how the colours interact and to ensure proper curing.
Understanding Resin Color Mixing Techniques
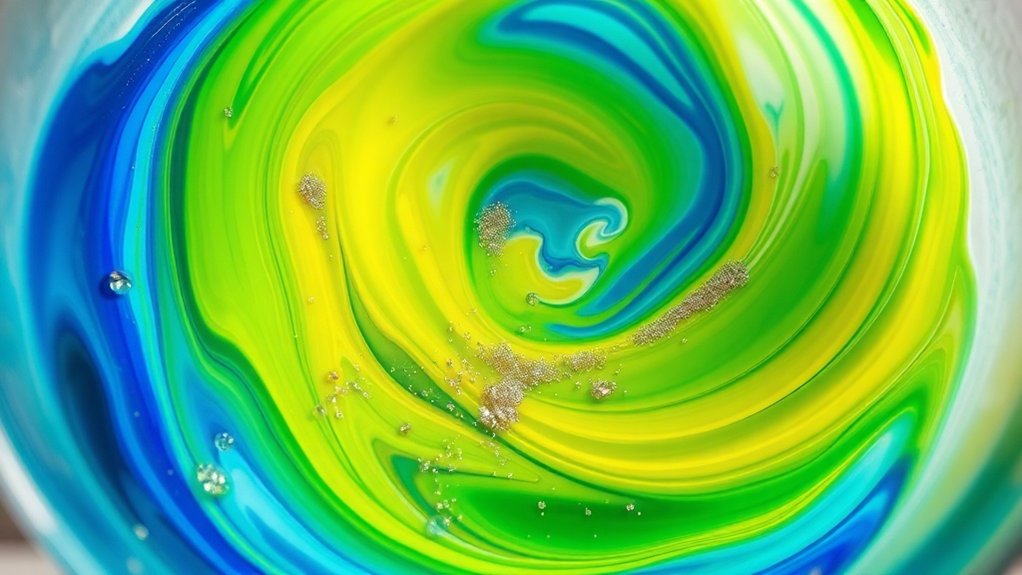
When exploring the vibrant world of resin colour mixing, technique is crucial for achieving stunning results. Start by adding small amounts of dye gradually and stir thoroughly to see how the colours interact. You can mix multiple dyes in one batch of resin or pre-mix coloured resins for more control. Combining transparent and opaque dyes can lead to exciting creative possibilities. Aim for a ratio of about 1 part colourant to 20 parts resin to ensure proper curing. Remember to consider the mixing guidelines for optimal color outcomes. Additionally, using a permeable design in your project can enhance both aesthetics and functionality. Use clean tools and separate containers to avoid cross-contamination, ensuring your piece turns out brilliantly coloured and cohesive. Enjoy mixing!
Compatibility of Different Resin Types
When mixing resin colours, it’s crucial to consider the compatibility of different resin types. Epoxy, polyester, and polyurethane resins each have unique chemical properties and curing processes that can lead to problems if mixed incorrectly. For instance, if you combine epoxy with polyester, you risk poor adhesion and a compromised finish. Always check compatibility before you begin, and remember to factor in curing times to achieve the best results. Understanding resin characteristics is essential to avoid issues during the mixing process. Additionally, ensuring proper surface preparation before installation can significantly improve the overall quality and longevity of the finished product.
Resin Type Compatibility
Understanding resin type compatibility is crucial for achieving successful results in your projects, especially if you’re considering mixing different resin types.
Each resin—epoxy, polyester, and polyurethane—has distinct chemical properties that can create adhesion issues when combined. For example, epoxy doesn’t bond well with polyester or polyurethane, resulting in layers that may separate or remain tacky. Ensuring a well-compacted base is essential for maintaining stability in resin applications.
If you’re using colour blending techniques, remember that colourants made for one resin often won’t work in another. A color mixing chart can help visualize how different colors will look when blended, ensuring a more cohesive final product.
It’s best to stick to one resin type throughout your project to ensure compatibility and effective curing. This approach not only improves the durability of your design but also helps avoid the frustration of uneven colours and structural failures. Embrace the benefits of a smooth finish consistency!
Curing Time Considerations
When mixing resin colours, it’s crucial to understand how curing times can vary depending on the colourants you use. Adding too much pigment—more than 5%—can completely halt the curing process, resulting in a sticky mess.
Be aware that different colourants interact in various ways; for example, acrylics can speed up curing, while some pigments may slow it down. Always conduct tests with small batches first!
Keep an eye on environmental factors like temperature and humidity, as these can worsen curing issues.
Exploring Colorant Options for Resin
When you venture into resin art, you’ll find a lively range of colourant options that can enhance your projects. Choosing the right colourant is crucial, as each type has distinct pigment properties.
Resin dyes come in both transparent and opaque forms, significantly changing the look of your piece. Mica powders provide a lovely shimmer, while alcohol inks offer bright, transparent shades. Liquid pigments are ideal for mixing, allowing you to control the intensity of your colours.
Start with small amounts and stir gently to minimise bubbles. Be cautious with non-resin-specific colourants, as they may interfere with the curing process.
Exploring these options will reveal countless possibilities for your creative vision.
Customizing Resin Properties Through Mixing
Mixing resin colours isn’t just about changing shades; it also alters the resin’s fundamental properties. By choosing compatible pigments and refining your mixing methods, you can improve characteristics like hardness or flexibility, ensuring your projects last.
For instance, blending a flexible pigment with a standard resin can enhance its durability without sacrificing appearance. Experimenting with different ratios and types of colours will yield striking visual effects while preserving the quality of your creation.
Resin Compatibility Essentials
Understanding resin compatibility is crucial for customising the properties of your creations through mixing.
Start by using compatible resin types—mix epoxy with epoxy or UV with UV for the best results. Be mindful of mixing ratios; for example, blending flexible and tougher resins can enhance durability without increasing costs.
Colour stability is important; not all pigments are suitable for every resin. Traditional alcohol inks can interfere with UV curing, so choose specialised colourants instead.
Keep your pigment levels below 5% to prevent curing issues. Experiment with swirling colours to maintain their individual properties while achieving beautiful visual effects.
With careful consideration, you can create truly unique resin pieces!
Custom Color Mixing Techniques
Custom colour mixing techniques unlock a range of creative options for your resin projects, enabling you to achieve striking shades that embody your personal style.
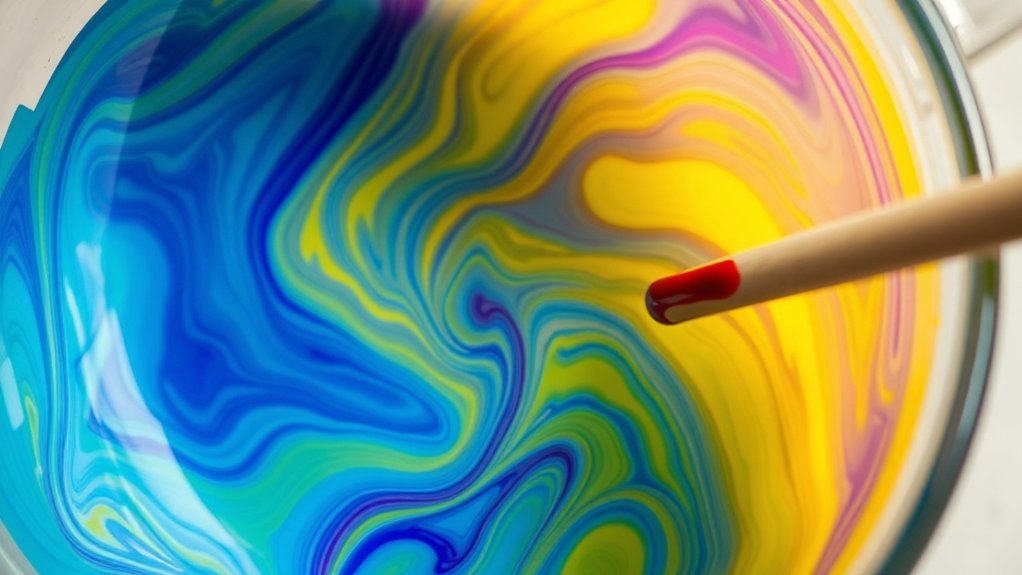
By blending various dyes into a single batch of clear resin, you can produce vibrant secondary and tertiary colours. For precise shades, mix pre-coloured resin portions in a separate cup. Adjust the colour intensity by adding dye drops gradually, ensuring you mix thoroughly each time.
Consider using transparent dyes for a see-through effect or opaque pastes for solid colours. Adding mica powders can introduce a captivating shimmer.
Always stick to the recommended mixing ratios, keeping colourants below 5-6% of your total resin mix to ensure proper curing and maintain a beautiful finish.
Adjusting Mechanical Properties
As you delve into resin mixing, you’ll find that adjusting mechanical properties can significantly impact your creations.
Combining different resin formulations can improve durability, helping you strike the right balance between strength and flexibility. However, be mindful—overloading with colour modifiers can hinder polymerisation efficiency, resulting in reduced microhardness and flexural strength.
Experimenting with resin ratios is crucial; even minor adjustments can lead to major changes in the final outcome.
Ensure consistent post-curing conditions to solidify these properties. The right mix can transform weaknesses into strengths, enhancing long-term stability while keeping the vibrant colours you want.
Embrace resin mixing and see your creations flourish!
Best Practices for Mixing Colors
When mixing colours for resin art, following best practices can enhance your project significantly.
Start with epoxy-specific pigments for bright, consistent hues. Control the intensity of your colours by adding small amounts of pigment or dye, and ensure thorough mixing for even distribution.
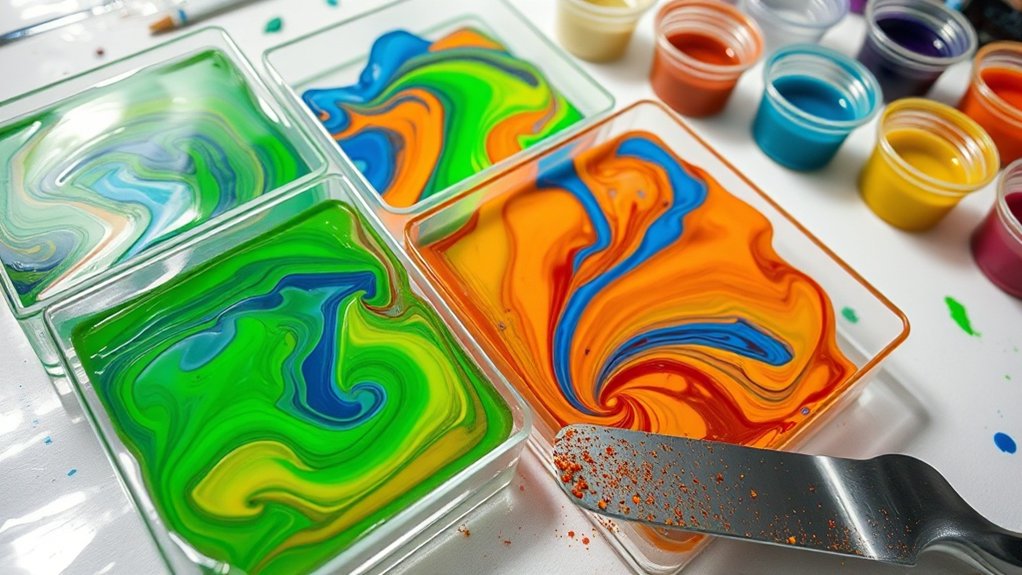
Keep your ratios in check—roughly 5% of the total resin volume—to prevent curing issues. For striking contrasts, use separate tools and cups for each colour to avoid contamination.
Try mixing transparent and opaque colourants, and don’t hesitate to combine primary colours to create new shades.
With these techniques, you’ll unlock a world of possibilities for your resin creations!
Troubleshooting Common Mixing Issues
To create beautiful resin art, it’s crucial to be aware of common mixing issues that can affect your project.
Incomplete mixing can result in sticky spots, so always scrape the sides of your mixing cup. Using a dual-head mixer can improve blending—mix for 3 to 5 minutes until no streaks are visible.
Ensure your resin-to-hardener ratios are accurate; even slight variations can lead to soft spots. Watch the temperature, as colder conditions can slow down the curing process.
When adding colourants, stick to those designed for resin and don’t exceed 5% by volume.
Lastly, address air bubbles by stirring gently and using heat tools. These tips will help you achieve a flawless finish in your resin mixing.
Tips for Achieving Desired Color Effects
Achieving the ideal colour effects in resin art can elevate your project significantly. Start by using digital scales to measure your colourants accurately; this ensures precise ratios for maintaining colour intensity.
Experiment with layering; use 1-2 drops of dye per ounce for transparency, or increase to 3-4 drops for semi-transparency. Combine complementary colours for striking palettes, and consider adding white or black to adjust brightness.
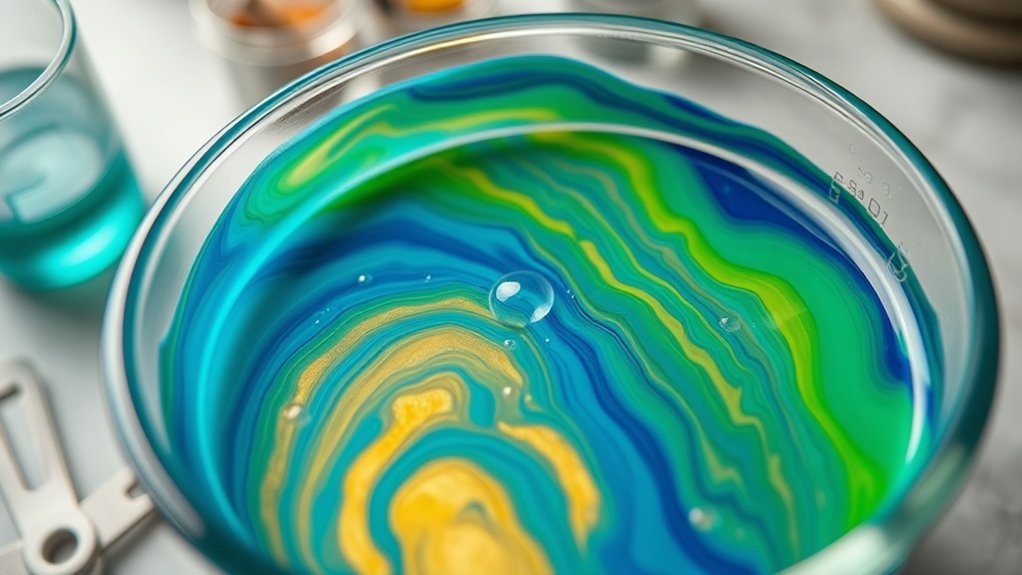
For depth, layer different coloured resins and observe their interactions as they cure. Test colour samples under various light sources to see how hues change.
Keep a record of your “recipes” for future reference, and store any leftover mixes for touch-ups. Your creativity has no limits!
Experimenting With Resin Combinations
As you explore the world of resin combinations, you’ll find countless opportunities to create unique and striking colour effects. Experimenting with different resin colours can significantly enhance your projects.
Here are some straightforward tips to help you get started:
- Mix various dyes directly into clear resin for immediate blending.
- Adjust the ratios of primary colours to create secondary shades.
- Add dye incrementally, mixing thoroughly to achieve the desired colour intensity.
- Combine transparent and opaque colourants for interesting visual effects.
Try different blending techniques and observe how each combination changes your resin.
Keep experimenting, adjusting exposure times, and watching for colour shifts as the resin cures. Each attempt moves you closer to mastering your custom resin colours!
Frequently Asked Questions
Can I Mix Resin Colors Directly in the Mold?
Yes, you can mix resin colours directly in the mould! Try careful pouring to create unique blends, swirl for interesting effects, or layer for a striking appearance. Just be mindful of your mixing to prevent muddy colours!
How Do I Prevent Bubbles When Mixing Colors?
Did you know that around 90% of resin bubbles result from improper mixing? To avoid bubbles, stir gently, warm your components, and pour slowly. These simple techniques will help you achieve a flawless finish every time.
Can I Use Food Coloring to Tint Resin?
You can’t effectively use food colouring to tint resin. Instead, consider alternatives like alcohol inks or mica powders. These options can help you achieve vibrant, uniform colours without compromising your project’s quality.
What Happens if I Mix Too Many Colors?
If you mix too many colours, you’ll end up with muddy tones and unpredictable saturation. For example, blending multiple shades of blue and yellow might leave you with a dull, greenish hue instead of vibrant greens. This can obscure individual colours and detract from the clarity of your resin pieces, making them less appealing overall. Stick to a few colours to maintain brightness and definition.
How Long Do Mixed Resin Colors Last Before Curing?
Mixed resin colours typically last between 20 to 45 minutes before they start to cure, depending on the type of resin used. This gives you a good window to experiment with colour mixing techniques. For best results, keep an eye on the curing times and aim for vibrant outcomes.
Conclusion
Mixing different resin colours can elevate your projects into striking creations. Much like a painter blends colours on a canvas, you can craft unique shades that showcase your personal style. Embrace the experimentation—try unexpected combinations and watch them come to life in your resin. With a bit of practice and creativity, you’ll uncover countless possibilities that make each piece truly one-of-a-kind. Dive in and let your imagination lead the way!
Whilst it is true that there are certain conditions required in order to lay a resin bound stone patio, pathway Read more
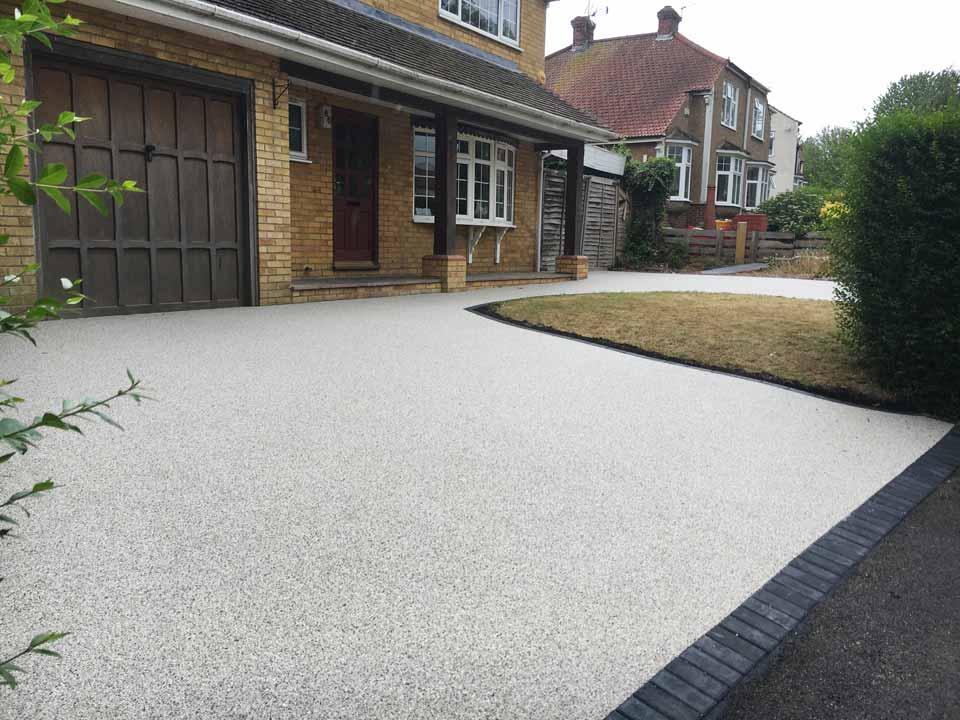
If your driveway is looking old and tired, a new one can help revamp your property. Modern driveways are available Read more
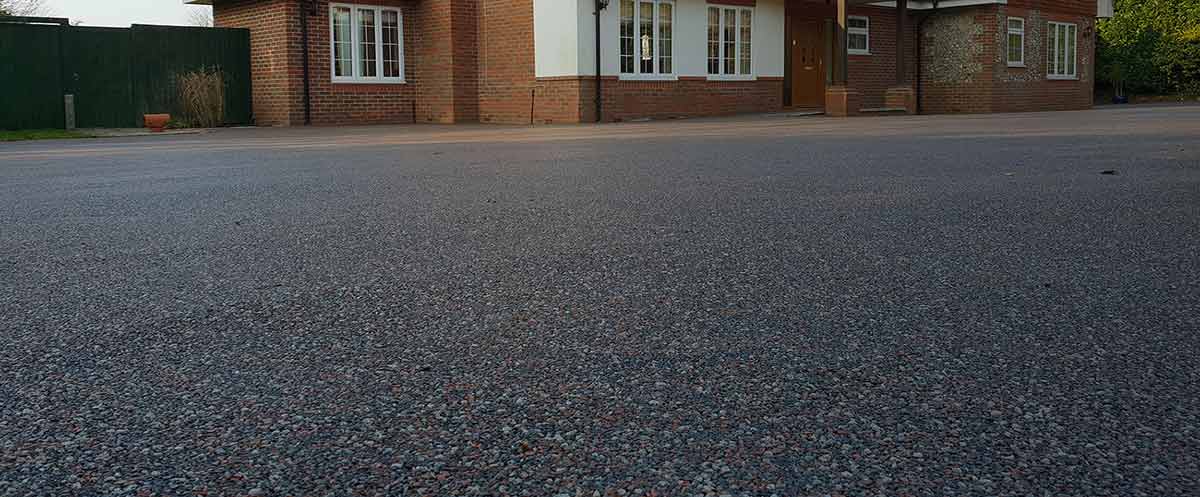
Driveways are the gateway to your home - a dependable path that sets a welcoming tone for guests and visitors Read more