How to Install a Gravel Driveway Step-by-Step
To install a gravel driveway, begin by planning your layout and ensuring there’s a slight slope for drainage. Clear the area of grass and debris, then excavate to a depth of 4-6 inches. Lay down a base of large angular stones and compact it for stability. Next, add a layer of medium gravel (50-75mm) and compact it thoroughly. Finish with a top layer of clean stone, ensuring it’s well-compacted and evenly spread. Follow these steps, and you’ll have a durable driveway that requires minimal maintenance to keep it looking good.
Key Takeaways
- Plan and mark the layout of the driveway, ensuring it has the proper width and slope for drainage away from buildings.
- Clear the area by removing grass, debris, and digging down to a depth of 4 to 6 inches.
- Lay a solid base layer with large crushed stones, compacting it thoroughly for stability.
- Add a middle layer of 20mm gravel, moisten it, and compact to ensure a level surface and effective drainage.
- Regularly check and maintain drainage systems to prevent pooling, preserving the integrity of your driveway.
Planning and Preparation
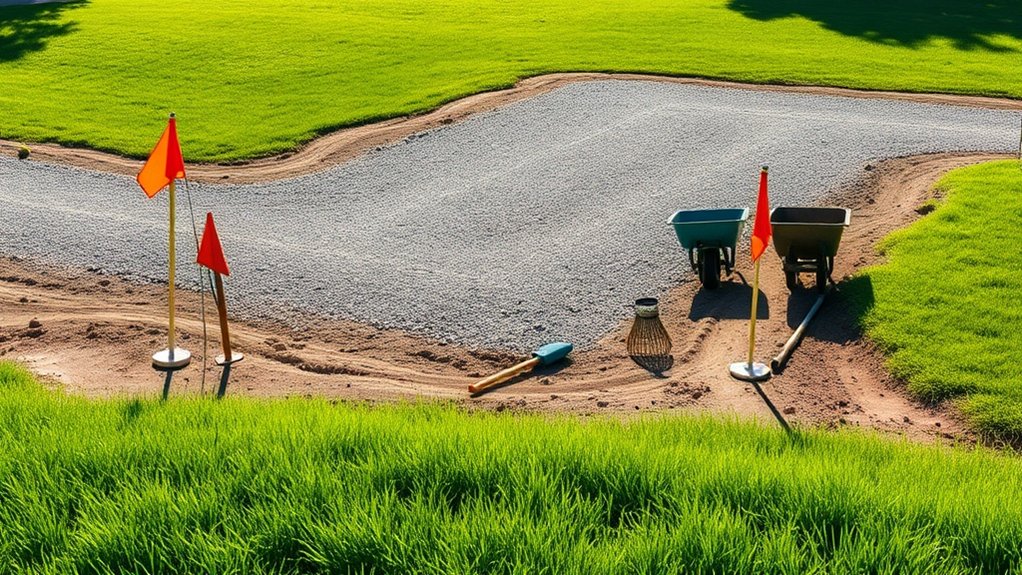
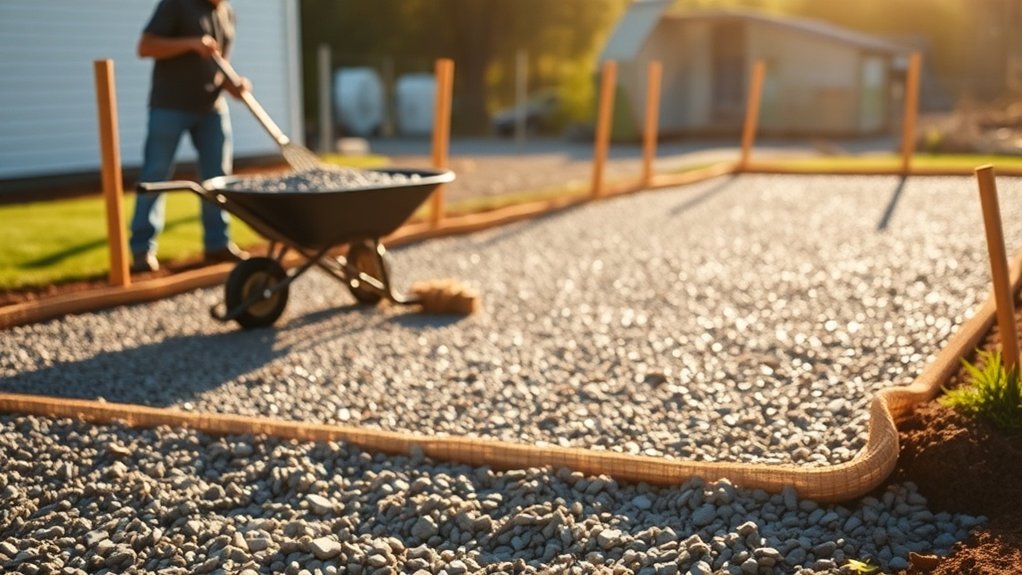
When planning your gravel driveway installation, it’s crucial to establish a clear layout before you start digging.
Begin by marking the driveway boundaries with stakes, string, and marking paint for easy reference. For a standard single vehicle, aim for a width of 3–4 metres, adjusting for multiple vehicles if necessary.
Ensure there’s a slight slope of at least 2% away from buildings to facilitate proper drainage. Choose an appropriate gravel type, such as 20mm crushed stone, making sure it’s clean and free from debris. Excellent drainage capabilities make gravel driveways an ideal choice for areas prone to pooling and flooding.
To calculate the amount of gravel needed, multiply the length, width, and desired depth to find the cubic metres required.
Lastly, check local regulations regarding driveway placement and permits before commencing the installation.
Site Clearance
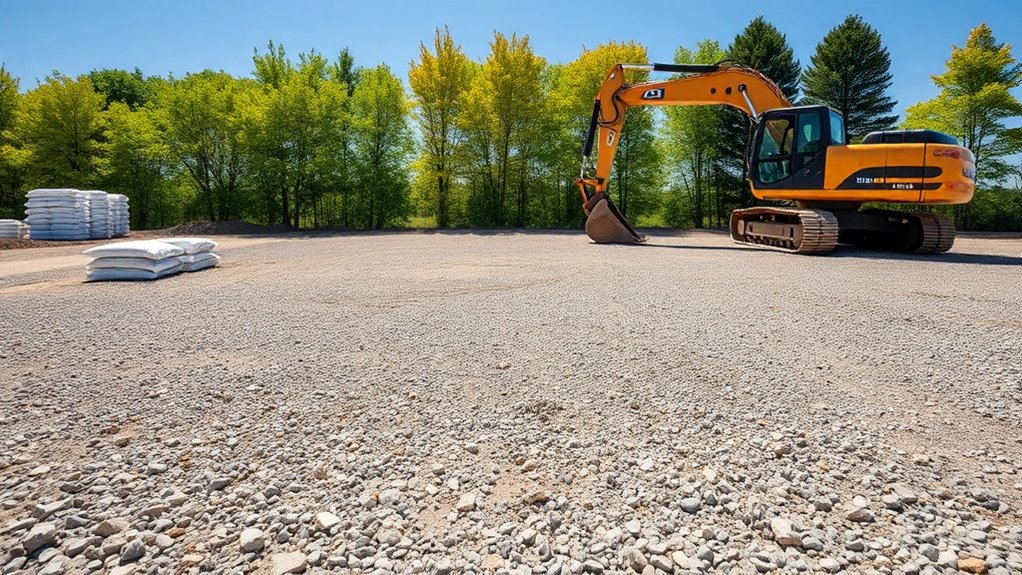
Site clearance is an essential step in preparing for your gravel driveway installation, as it lays the groundwork for a robust and stable surface. Start with vegetation management by removing all grass, shrubs, and debris. A sod cutter can make this process more efficient. It is important to ensure a proper gravel driveway installation to prevent future issues with stability.
Next, you’ll need to excavate the area to the required depth. For this, tools such as a mini-excavator or skid steer will be handy.
| Task | Tools Needed |
|---|---|
| Vegetation Removal | Sod cutter, brush cutter |
| Excavation | Mini-excavator, skid steer |
| Grading and Slope Setup | Laser level, string line |
Thoroughly inspect the area for any leftover organic material that could affect the stability of your driveway. Ensure all debris is disposed of properly to maintain a clean working environment before proceeding.
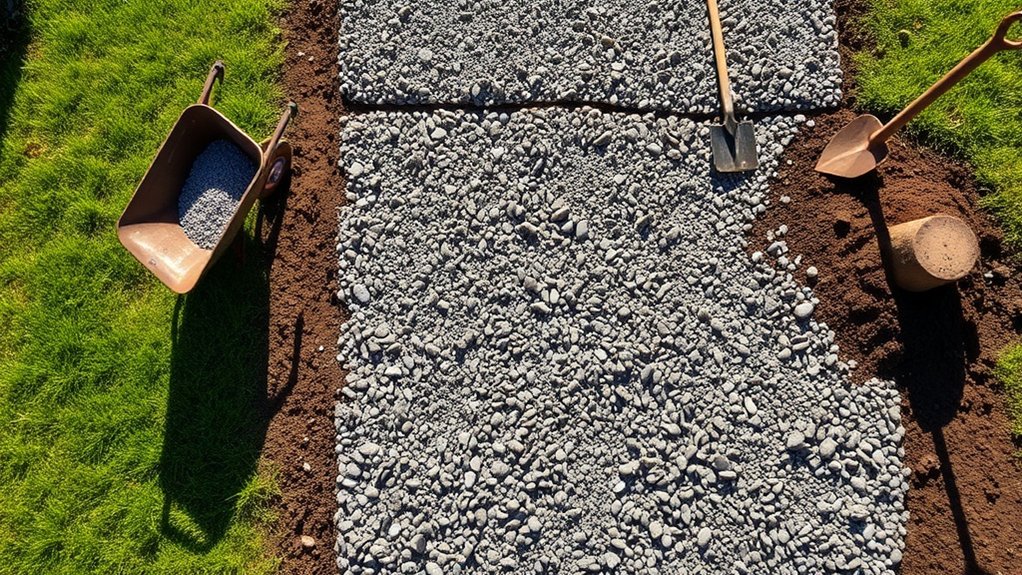
Base Layer Installation
Base layer installation is crucial for building a long-lasting gravel driveway and requires careful material choice and preparation. For optimal stability, use large, angular crushed stones, ideally sized between 25 to 75mm, alongside drainage-friendly materials like MOT Type 1. Enhanced stability is achieved through the use of BaseCore™ geocell, which helps distribute weight evenly across the grid. A properly installed sub-base is essential for ensuring the longevity of your driveway.
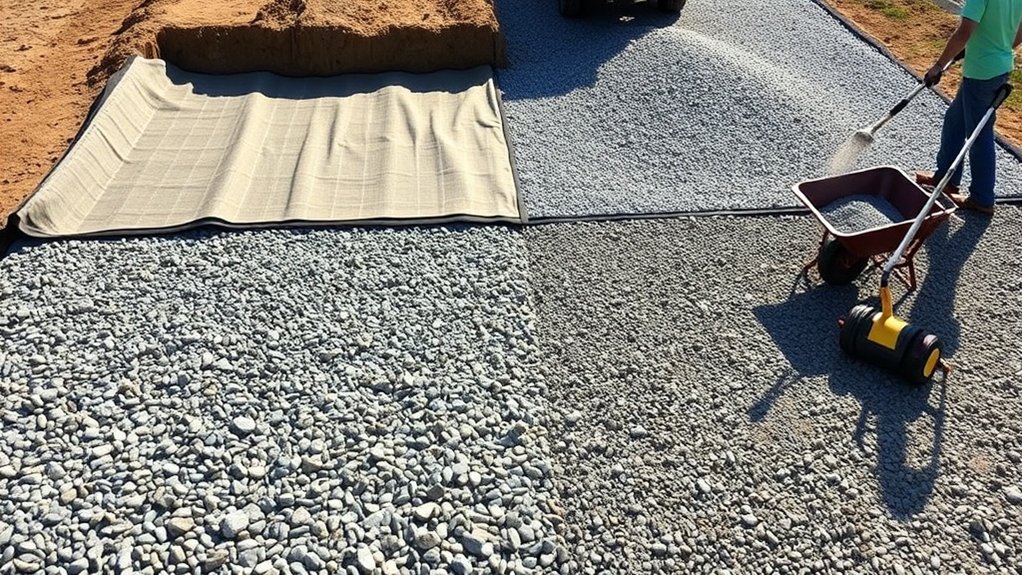
Excavate the area to a depth of at least 150-200mm, removing topsoil and any soft spots, then compact the subgrade to create a solid foundation. Lay down permeable geotextile fabric to prevent soil mixing, securing it with landscape staples.
Spread the crushed stone evenly over the fabric, compacting it in layers for thorough stability. Repeat the compaction process until you achieve a dense, stable surface that can support heavy loads and ensure durability.
Middle Layer Addition
After laying a solid base layer, it’s time to add the middle layer, which is crucial for enhancing the driveway’s stability and drainage.
For this layer, opt for medium-sized gravel, like 20mm clean stone, approximately 50–75mm thick.
Follow these steps:
- Spread the middle layer materials evenly over the base.
- Moisten the gravel slightly to improve compaction.
- Compact the layer with a flat plate vibratory tamper, making several passes.
- Check the evenness and stability post-compaction to ensure maximum density.
Using these compaction methods will help prevent settling and maintain the driveway’s structural integrity, ensuring it lasts and functions well.
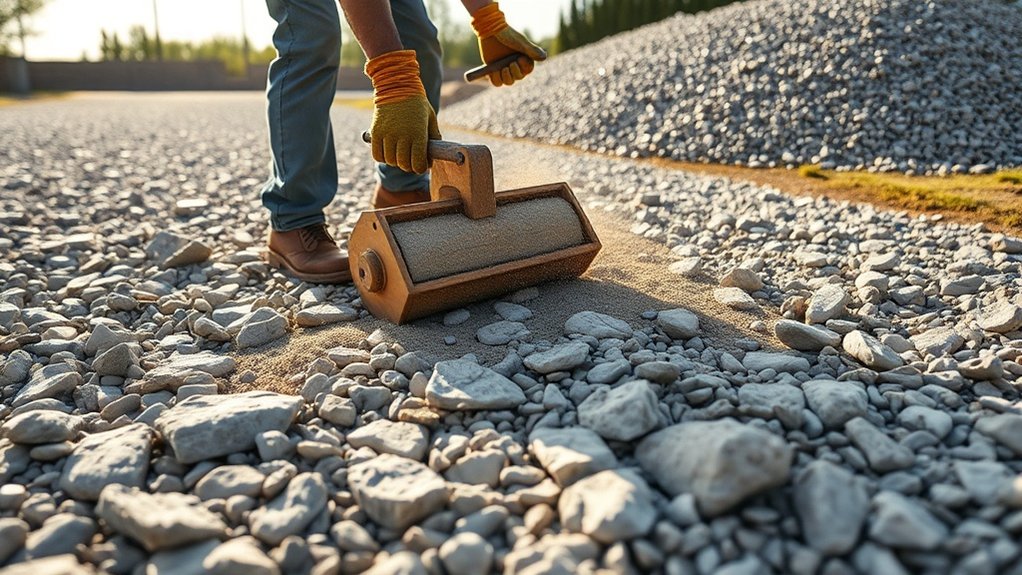
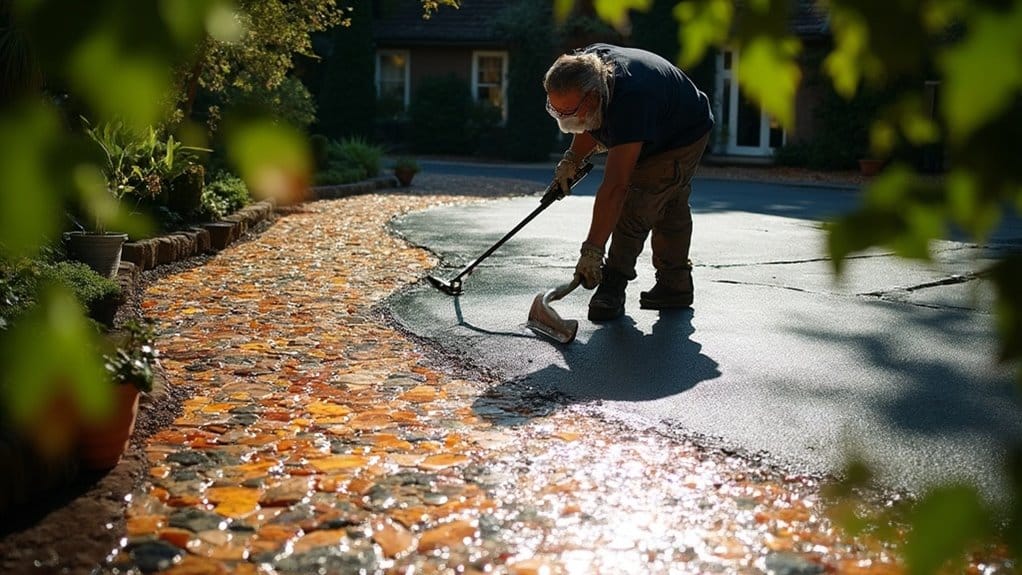
Surface Layer Application
Start the surface layer application by selecting the appropriate type and size of gravel for optimal performance.
Choose angular gravel types, such as crushed stone or granite, as they interlock effectively and provide stability. Aim for a size between 10mm and 20mm to ensure proper compaction and traction.
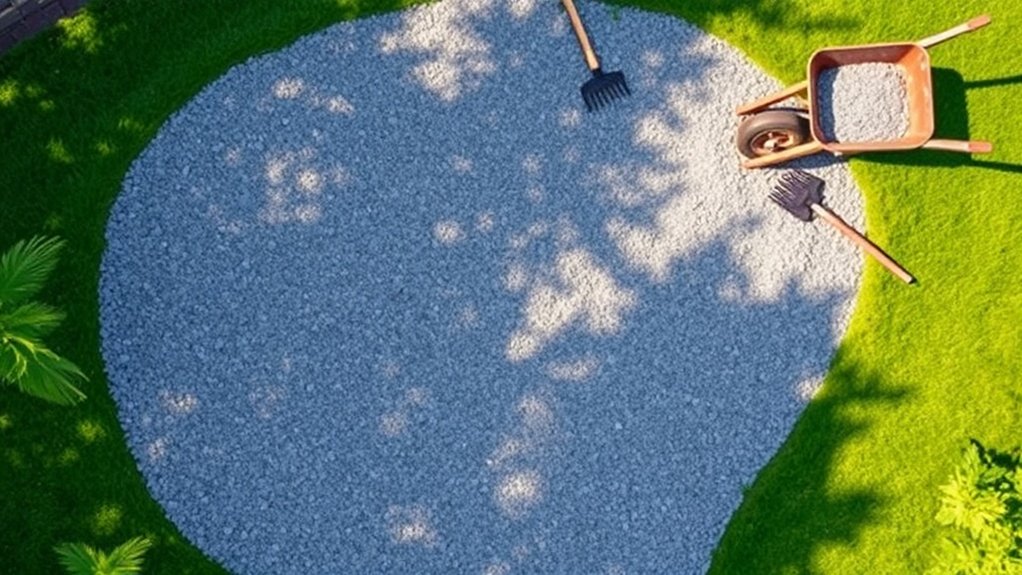
Using your tools, place the gravel in manageable piles, then rake it evenly to achieve a uniform depth of 50–100mm.
Lightly compact the gravel with a plate compactor, making several passes, particularly in high-traffic areas.
After compacting, check the slope to ensure adequate drainage.
This meticulous approach will improve the durability and functionality of your gravel driveway. Additionally, maintaining ideal moisture content during the compaction process will enhance the interlocking of the gravel particles.
Edging Installation
When installing edging for your gravel driveway, it’s important to select the right material for your needs. Options include strip edging, wood, masonry, Belgian blocks, and gravel grid systems.
Each material requires specific installation techniques, such as digging a trench or securing the edges to ensure stability and function. Knowing these factors is key for a durable and well-defined driveway perimeter.
Edging Material Options
Selecting the right edging material for your gravel driveway is crucial for both appearance and practicality. Here are four top options to consider:
- Bender Boards: Constructed from recycled plastics, these are cost-effective and straightforward to install.
- Aluminium Edging: Lightweight and resistant to corrosion, this option provides a sleek, contemporary look.
- Wood Edging: Pressure-treated wood gives a rustic feel but will need regular maintenance.
- Steel Edging: Strong and stylish, this type effectively prevents gravel from spilling over.
For a more traditional touch, consider concrete curbing or brick borders for a classic finish.
If you prefer a timeless look, stone edging, such as cobblestones, can add character.
Choose based on the shape of your driveway and your personal style to enhance both its beauty and functionality.
Installation Techniques
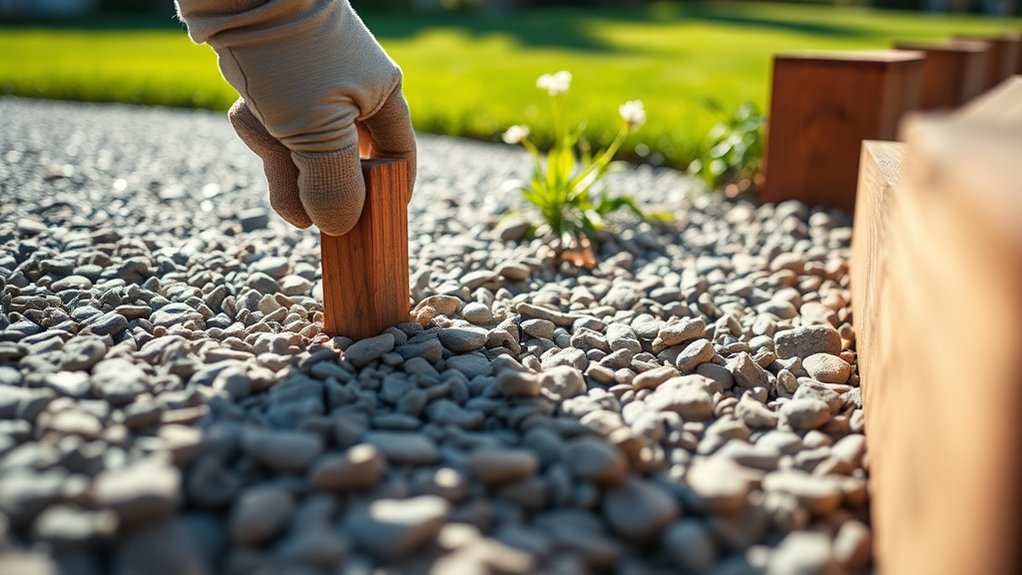
Installing edging for your gravel driveway is straightforward if you follow these essential steps to ensure it lasts.
Begin by digging the area to about 200mm deep and lay down a weed membrane to stop unwanted growth beneath the gravel. Compact a base layer of MOT in two stages for a solid foundation. Use tools like a mini digger or manual tools to create neat edges.
Next, place your chosen edging—whether blocks or strips—directly on the compacted base, securing them with concrete or anchors. For strips, make sure to align them properly and use stakes for added stability.
It’s important to set the edging deep enough to prevent any movement. Regularly check and reinforce your edging, especially after bad weather, to keep it looking good and functioning well.
Maintenance and Care
Maintaining a gravel driveway is crucial for its durability and effectiveness. Follow these simple steps for proper upkeep:
- Regular Grading: Grade your driveway 2–3 times a year, particularly after heavy traffic or storms. Use a landscape rake or box blade to fill any ruts and ensure a slight crown for effective drainage.
- Gravel Replacement: Add fresh gravel every 1–3 years, compacting it well to ensure stability.
- Weed Control: Regularly clear away weeds and debris to keep the driveway looking tidy and to prevent drainage problems.
- Drainage Maintenance: Keep ditches and drains clear to direct water away from the surface, addressing any pooling or washout issues promptly.
Frequently Asked Questions
How Long Does It Take to Install a Gravel Driveway?
Installing a gravel driveway usually takes 1-2 days, depending on factors such as size and the type of terrain. Your timeline may vary due to excavation, compaction, and weather conditions, all of which can significantly affect the duration of the project. For instance, a small, flat driveway will generally take less time than a larger one with slopes or obstacles.
Can I Install a Gravel Driveway Myself?
Yes, you can install a gravel driveway yourself! With the right tools and materials, the process can be quite simple. Just remember, sometimes it’s okay to ask for help if you need it!
What Tools Are Needed for Gravel Driveway Installation?
For installing a gravel driveway, you’ll need a few key tools. Start with a shovel for excavation and a rake for leveling the surface. A grading tool will help ensure a smooth finish. Don’t forget a plate compactor for compacting the gravel. Lastly, safety gear is crucial to protect yourself while you work.
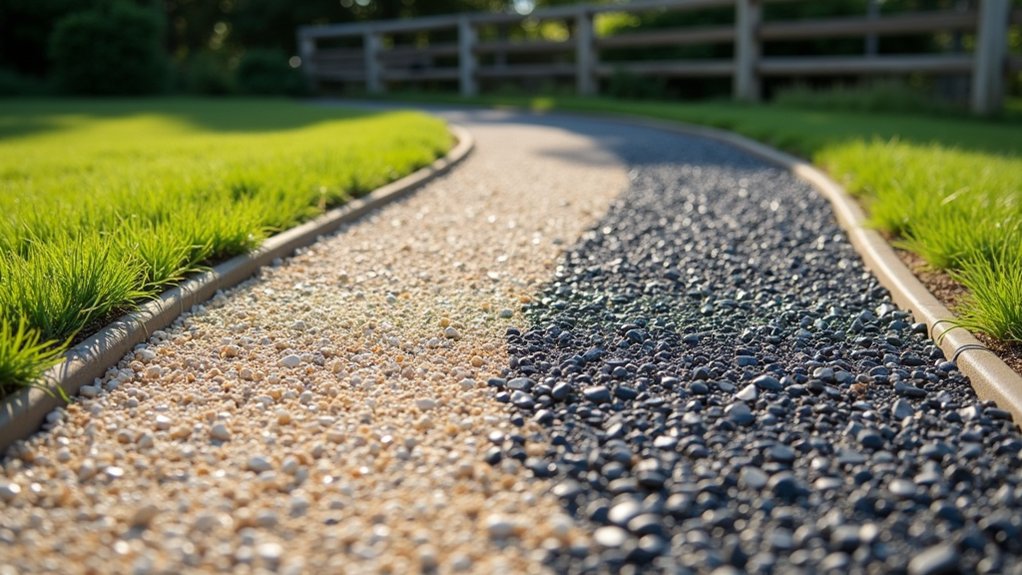
How Do I Choose the Right Gravel Type?
To choose the right type of gravel, think about both the look and function of your driveway. Crushed stone provides a solid surface, while pea gravel is more visually appealing. Consider drainage and compaction based on your local weather and how much traffic your driveway will see. For instance, if you live in an area with heavy rain, opt for gravel that promotes good drainage.
Will My Gravel Driveway Wash Away During Heavy Rain?
Yes, a gravel driveway can wash away during heavy rain. To prevent this, consider installing proper drainage solutions and using gravel stabilisation techniques. For example, adding a French drain can redirect water and reduce erosion. This will help maintain the surface and save you from costly repairs due to washouts and displacement.
Conclusion
In the end, your gravel driveway is a testament to your effort and planning. Much like building a house, each layer you’ve laid down supports the path ahead. Regular upkeep will keep it in good shape, similar to tending to a garden. As you drive over the smooth surface, remember you’ve created not just a route, but a welcoming entrance to your home. Take pride in your achievement and enjoy your driveway for years to come.

Understand the best seasons for tarmac driveway installation to ensure optimal results; discover why timing is crucial for your project.
Perfect your tarmac driveway with stunning decorative finishes; discover essential tips and techniques that will transform your outdoor space beautifully.
Keen to enhance your driveway with the right gravel? Discover the best types and find out which one suits your Read more