How to Install a Block Paving Driveway Step by Step
To install a block paving driveway, begin by planning and measuring your area, then select the appropriate block pavers for your style and needs. Excavate the area to the correct depth, ensuring you create proper drainage slopes to prevent water pooling. Lay a compacted sub-base using MOT Type 1 material, and install edge restraints to keep your pavers in place. Next, add a bedding layer, lay the blocks in your chosen pattern, and fill the joints with jointing material. Each step is vital for a successful driveway, so take your time to get it right.
Key Takeaways
- Choose suitable block pavers and plan a layout with a slight slope for effective drainage before starting the excavation.
- Measure and excavate the area for your driveway, ensuring you achieve the right depth and drainage slopes based on the soil type.
- Lay a solid sub-base using compacted materials in layers, ensuring a minimum thickness to provide strength and proper drainage.
- Install edge restraints around the perimeter securely to keep the paving in shape and prevent shifting.
- Fill the joints with sand or polymeric sand, compacting it well, and allow the materials to set as per the manufacturer’s instructions for a durable finish.
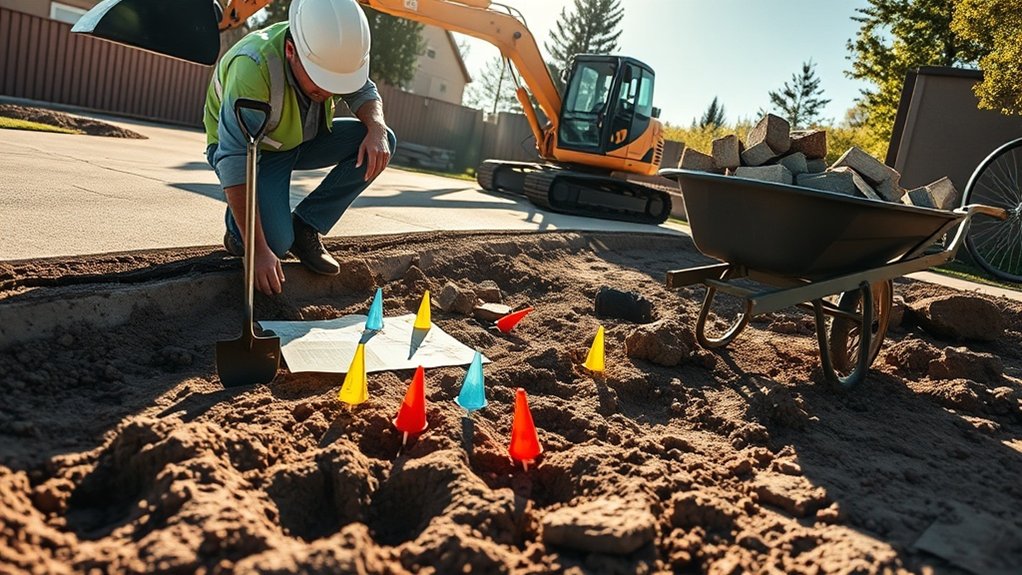
Planning and Preparation
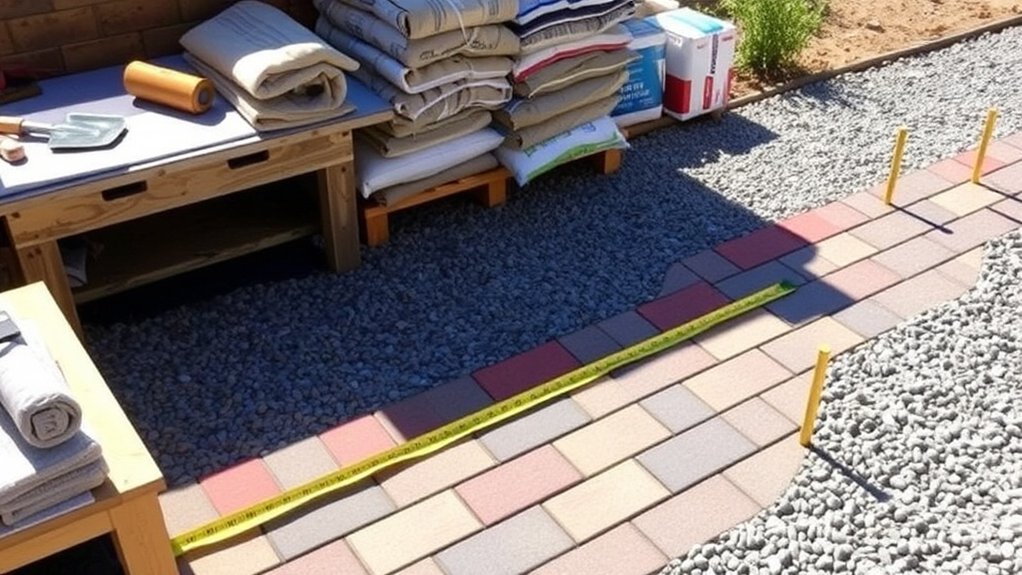
When planning to install a block paving driveway, it’s important to have a clear vision and pay attention to detail. Select block pavers suitable for your local climate, opting for permeable concrete or clay blocks that allow water to drain through. Measure your driveway area accurately in square metres, and add 5-10% to account for cuts and wastage. Consider the aesthetics of your design and include a gentle slope of 1-2% to ensure effective drainage and prevent water pooling. Use stakes and string lines to outline the boundaries and shape before starting the excavation. Choosing the right materials not only enhances the look of your driveway but also improves its durability, making it a practical and attractive addition to your home. Additionally, selecting permeable block pavers can help reduce surface runoff and promote natural groundwater recharge.
Excavation
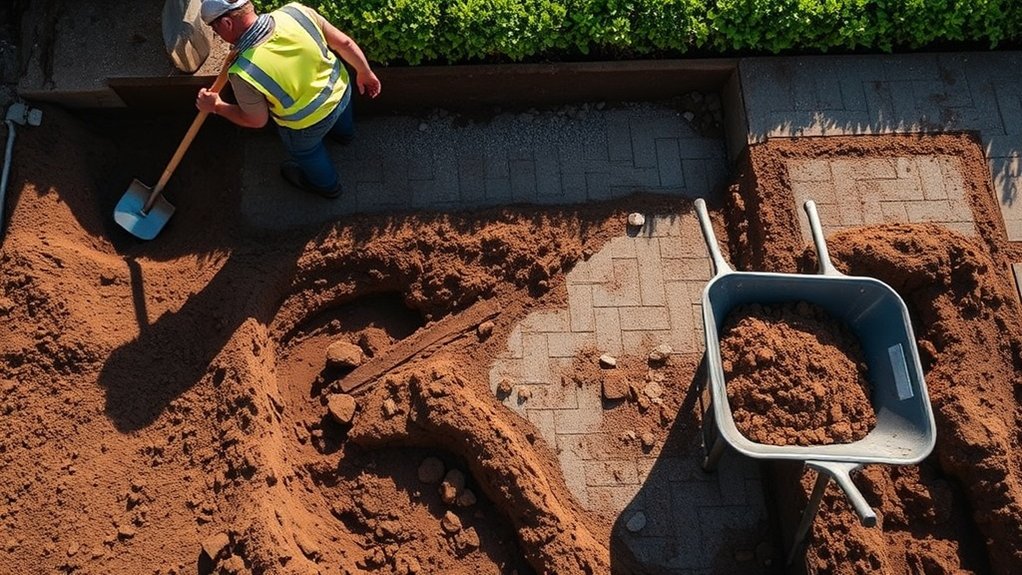
With your planning and preparation done, it’s time to start the excavation phase. First, determine your excavation depth, which usually ranges from 150mm to 370mm, depending on the soil firmness and block thickness. Conduct a soil analysis to check ground conditions and identify any drainage issues. Use appropriate excavation techniques for your site; hand tools work well for smaller areas, while mini-excavators are best for larger spaces.
As you dig, ensure a 1:40 fall across the width of the driveway and a 1:80 fall along its length to ensure proper drainage. Level the ground carefully and remove any existing surfaces. Regularly check your depth as land can vary, and mark the excavation area with staves, pegs, and string lines to maintain the correct slope and height. Always wear appropriate safety protection throughout the excavation process to minimize risks.
Sub-base Installation and Compaction
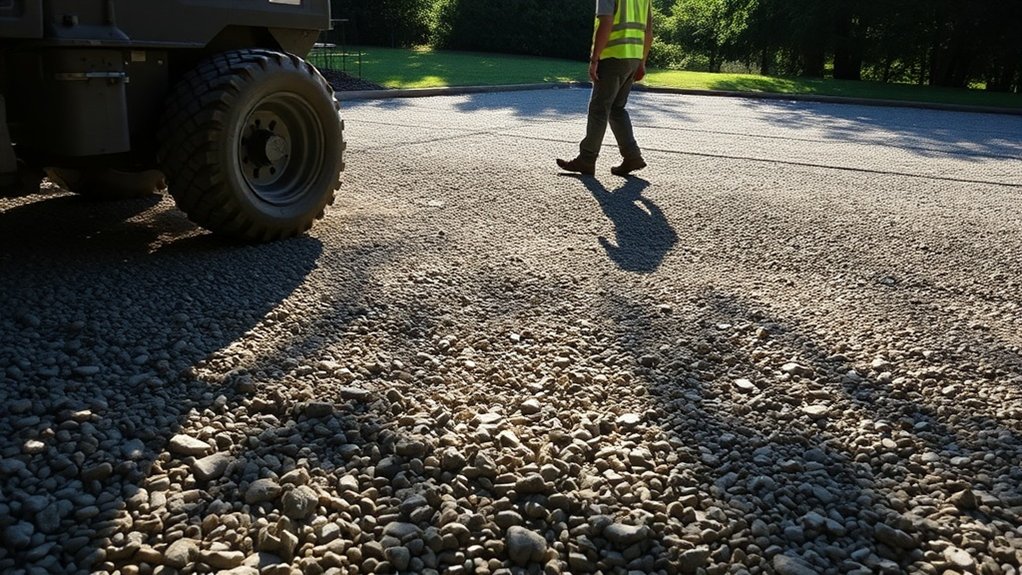
Before laying your block paving, it’s crucial to install and compact the sub-base for a solid foundation.
Choose suitable materials, such as MOT Type 1 roadstone, and lay them in layers no thicker than 50mm. For permeable paving, opt for open-graded aggregates to improve drainage. Remember to consider drainage solutions as part of your sub-base preparation to ensure effective water management. A well-prepared sub-base is essential for gravel driveways to ensure stability and prevent sinking.
Use a vibrating plate compactor and make at least seven passes per layer to ensure proper compaction. Aim for a minimum thickness of 100-150mm, adjusting based on soil conditions.
Check that the surface is level with a slight slope of 1-2% for effective water runoff. Regularly inspect for any low spots and correct them before proceeding to the bedding layer.
Edge Restraints Installation
To ensure your block paving remains secure, installing edge restraints is crucial.
Start by preparing the edges of the pavers with a concrete trowel to remove sand, creating room for the restraints. You can choose from plastic, metal, or concrete edge restraints depending on your project requirements.
For spike installation, use non-galvanised landscape spikes; place one in every third hole for pedestrian areas and every second hole for areas with vehicular traffic, making sure they’re driven in at a slight angle for added stability.
Once installed, cover the restraints with sand or gravel to protect them from thermal damage.
Additionally, ensure that the base material extends about 12 inches beyond the edge to properly anchor your spikes, keeping the system secure against shifting.
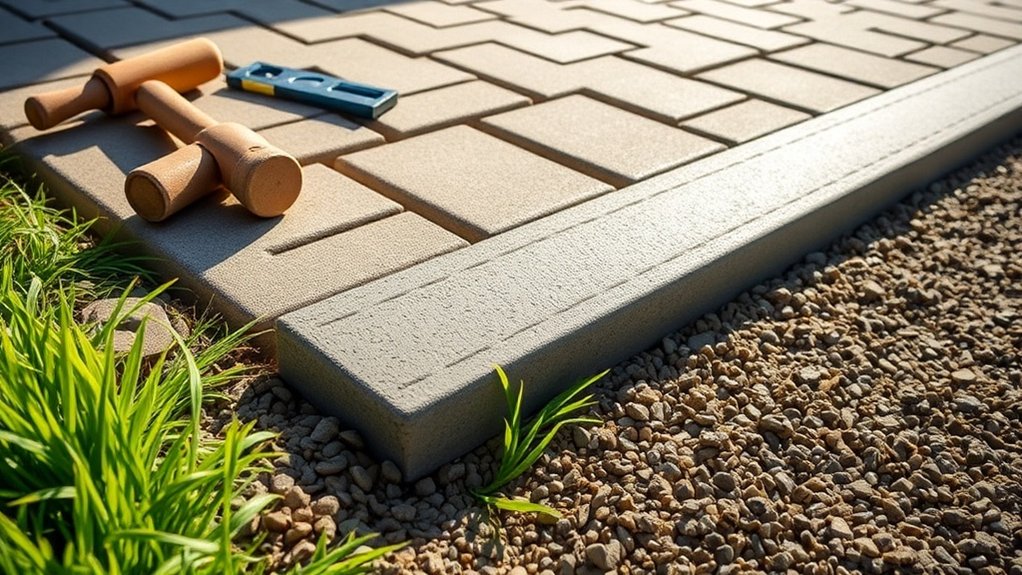
Bedding Layer and Laying the Blocks
To build a sturdy foundation for your block paving driveway, start by preparing the bedding layer—this should be level and firm.
Once that’s done, lay the blocks carefully, ensuring an even surface and tight joints for added stability.
A well-prepared bedding layer is crucial; it supports the blocks and significantly impacts the longevity of your driveway.
Preparing the Bedding Layer
Creating a solid bedding layer is crucial for the longevity and stability of your block paving driveway. Start by choosing the right bedding material; sharp sand or washed concrete sand works best for drainage and support.
Ensure your sub-base is fully compacted and stable before laying the sand. Use screed boards or rails to maintain a consistent depth of 40–50mm. It’s helpful to keep the sand slightly damp for easier screeding.
Spread the sand evenly, using a straightedge to level it out and fill any gaps. Lightly compact the layer with a plate compactor, regularly checking for smoothness and the correct slope to aid drainage. The sub-base stability is essential for successful block laying, as it directly impacts the overall durability of the driveway.
Getting this prep right is essential for successful block laying.
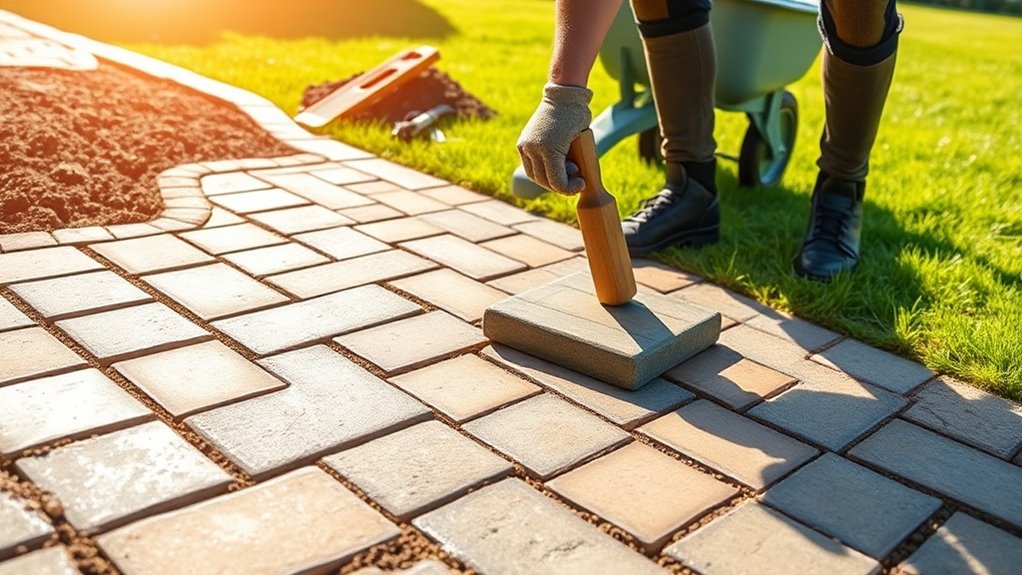
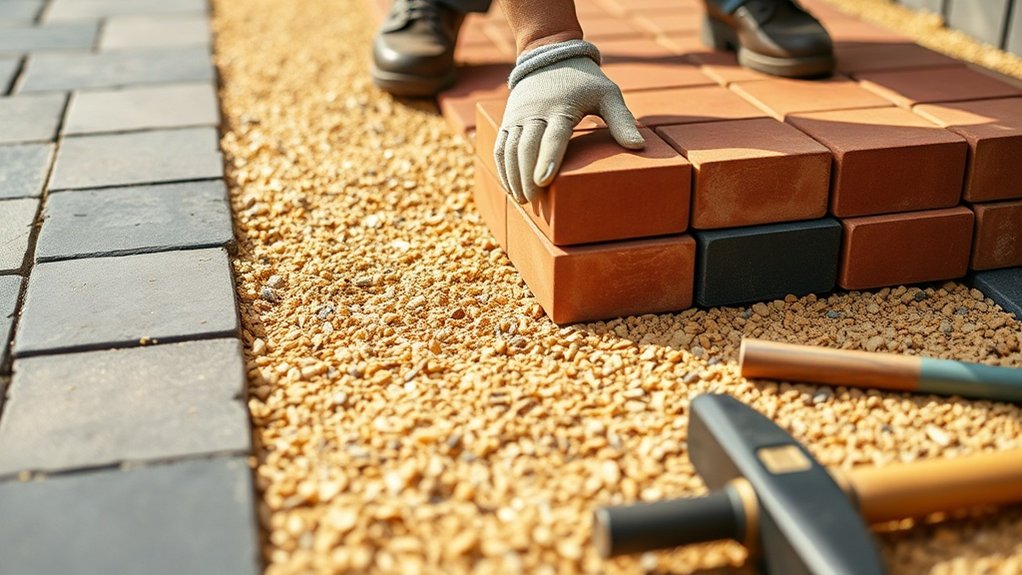
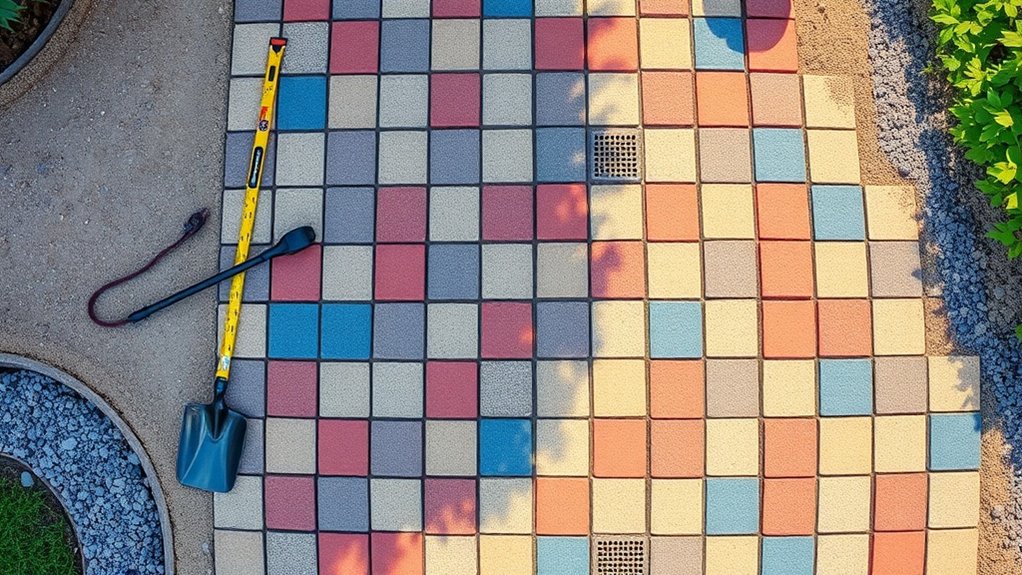
Laying the Blocks
Start laying your block paving by placing the first block at the lowest point of the driveway slope to ensure proper drainage. Align it with a straight edge for accuracy, and use string lines to keep your blocks consistently aligned.
- Choose a block pattern that suits your design, like herringbone or basketweave.
- Keep a height of 45mm above your desired final level for compaction.
- Regularly check the levels with a spirit level to avoid any dips.
As you lay each block, make sure they fit snugly together to minimise joint gaps and enhance stability. Gently tap them into position with a rubber mallet, taking care not to disturb the blocks already in place.
This careful approach helps maintain both the appearance and strength of your paving.
Jointing and Compaction
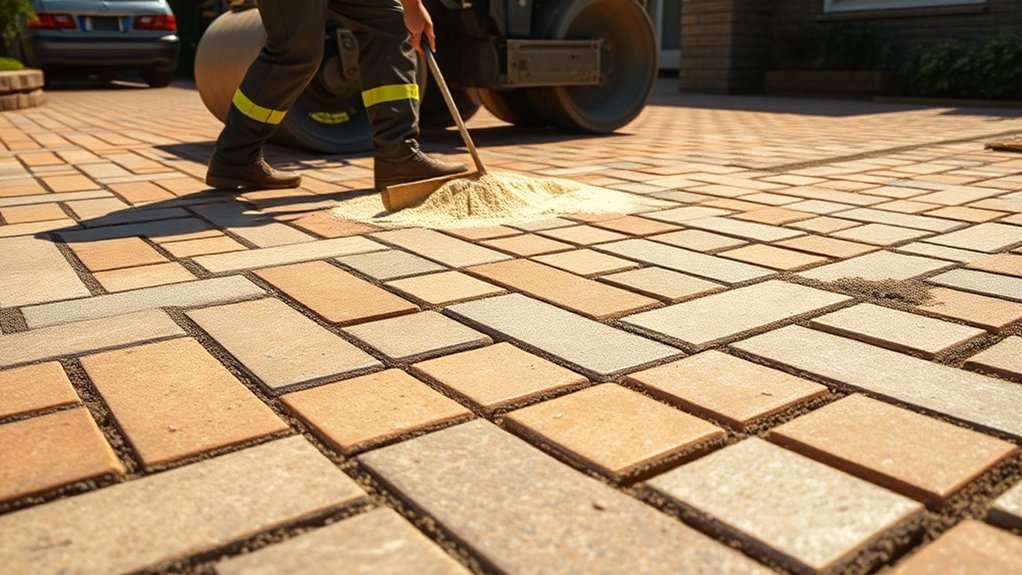
To create a durable and attractive block paving driveway, effective jointing and compaction are essential.
First, ensure your joints are clean and measure between 2mm and 5mm wide. For a budget-friendly option, use kiln-dried sand; for added strength, consider polymeric sand. Once you’ve spread the jointing material, sweep it into the joints using a soft-bristled broom.
To achieve maximum compaction, use a plate compactor to secure the blocks in place. If you’re refreshing an existing driveway, simply walking over the surface may be enough.
Keep an eye out for underfilled joints and top them up with more sand if necessary. Allow the jointing material to cure as per the manufacturer’s instructions to ensure long-lasting results.
Measuring and Marking the Driveway Area
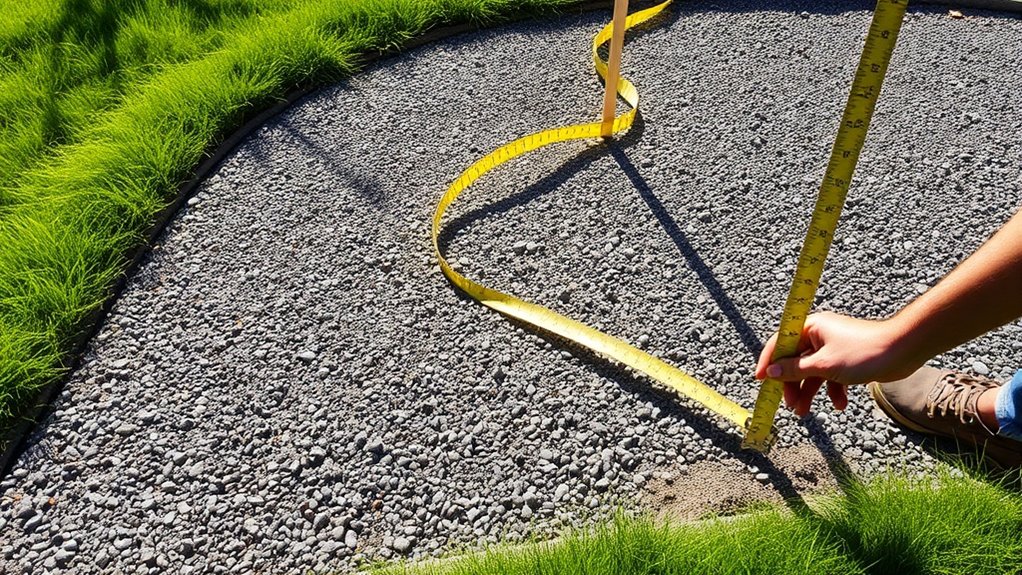
Accurate measurements are vital for a successful block paving driveway. They ensure you lay a solid foundation and sidestep future issues.
Before you begin, check for any underground services to avoid costly damage during excavation.
Also, think about your drainage plan; the right slope and grading will direct water away from your home, helping to prevent flooding.
Accurate Measurements Importance
When installing a block paving driveway, precise measurements are crucial for a successful outcome.
Accurate dimensions determine the amount of materials needed and ensure compliance with construction standards.
- Use tools like tape measures and string lines for clear measurements.
- A spirit level is essential for checking the slope for proper drainage.
- Clearly marking boundaries helps prevent uneven surfaces, ensuring a durable driveway.
Underground Services Identification
Before laying the foundation for your block paving driveway, it’s crucial to identify any underground services. Start by submitting a locate request to your local One Call system at least 48 hours before you plan to excavate. This ensures that utility companies can mark their infrastructure, which enhances safety during excavation.
Utilise utility mapping technologies, such as Ground Penetrating Radar (GPR) and electromagnetic locators, for accurate identification. It’s also important to mark these utilities on the surface using standard colour codes:
| Utility Type | Colour Code | Detection Method |
|---|---|---|
| Electric | Red | EM Locators |
| Water | Blue | GPR |
| Gas | Yellow | EM Locators |
| Communications | Orange | RF Transmitters |
| Sewer | Green | Non-destructive techniques |
Thorough identification helps avoid costly damage and ensures compliance during your driveway installation.
Drainage Plan Considerations
To ensure your block paving driveway drains properly, it’s crucial to establish the right drainage gradient and accurately measure the area. Aim for an 80:1 ratio, which means there should be a 72mm drop over a 5.76-metre run.
Make sure the finished surface is at least 150mm below the damp-proof course to avoid any water issues.
- Use spray paint or sand to mark out your driveway area clearly.
- Install drainage solutions, such as channels, at any low points to guide water away from your home.
- Keep in mind the results of your site assessment, particularly in areas where puddles tend to form.
Identifying Underground Services
Identifying underground services is crucial for a successful block paving driveway installation. It helps prevent damage to existing utilities and ensures compliance with safety regulations.
Start by using utility mapping techniques, such as electromagnetic (EM) locators, to detect conductive lines like gas and water pipes. For non-conductive materials, ground-penetrating radar (GPR) is effective, offering visual images of PVC and ceramic utilities beneath the surface.
Combining both methods improves detection accuracy, particularly in busy areas. To confirm utility locations with minimal disruption, consider vacuum excavation.
Using Real-Time Kinematic (RTK) technology can provide precise measurements, making your project safer and more efficient. Prioritising thorough identification will help you avoid costly mistakes and ensure a smooth installation process.
Designing a Drainage Plan
When designing a drainage plan for your block paving driveway, start by assessing the soil’s permeability and drainage capacity. This initial step will guide you in selecting the right drainage methods.
For instance, free-draining soils may only need minor adjustments, while heavy clay soils might necessitate soakaways or drainage pipes.
- Aim for a gradient of 1-2% to direct water towards drainage points effectively.
- Consider using permeable materials like porous pavers or gravel to improve drainage.
- Implement subsurface drainage systems, such as geotextile membranes and layered gravel, to manage excess water efficiently.
Ensuring Proper Installation of Edge Restraints

Proper installation of edge restraints is vital for the durability and stability of your block paving driveway. There are several types of edge restraints available, including polyethylene, vinyl, concrete, aluminium, and steel. The installation method will vary based on the type you choose. For pre-manufactured systems like Edge-Pro, install them before laying the pavers. On the other hand, concrete restraints should be fitted after the pavers are in place. Don’t forget to secure them with spikes—use 10-inch spikes for pedestrian areas and 12-18 inch spikes for heavier loads.
| Edge Restraint Type | Installation Timing | Securing Technique |
|---|---|---|
| Polyethylene | Before pavers | Non-galvanised spikes |
| Vinyl | Before pavers | Non-galvanised spikes |
| Concrete | After pavers | Drill-and-anchor method |
| Aluminium/Steel | Before/After | Non-galvanised spikes |
| Hard Edges | N/A | Natural restraint |
Final Touches and Maintenance Tips
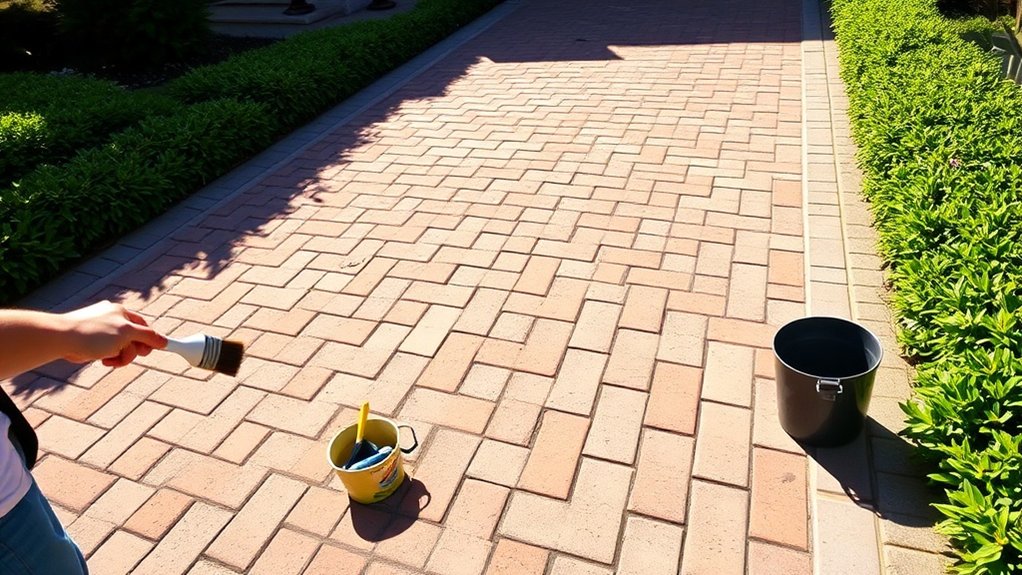
To ensure your block paving driveway remains attractive and functional for years, regular maintenance and final touches are key. A solid maintenance routine not only keeps your driveway looking good but also helps avoid expensive repairs later on.
- Sweep your driveway regularly to clear away debris and hinder weed growth.
- Replace jointing sand every few years to keep the structure stable.
- Apply a quality sealant every 2 to 5 years to shield against stains and weather damage.
These steps help keep your driveway both visually appealing and practical.
Don’t forget to check for cracks and moisture build-up with the changing seasons. By following these simple practices, you’ll boost your driveway’s durability while enjoying its charm for many years.
Frequently Asked Questions
How Long Does It Take to Install a Block Paving Driveway?
Installing a block paving driveway typically takes between 5 to 10 working days. The exact duration depends on the size of the area and the complexity of the design. Factors such as site preparation, the actual installation process, and cleanup can all affect the timeline. For instance, a small driveway might be completed in just a week, while a larger or more intricate layout could take the full 10 days. Ultimately, the goal is to create a durable and attractive surface that meets your needs.
Can I Install a Driveway Myself or Hire a Professional?
You can install a driveway yourself and save on costs, but think about hiring a professional for their expertise, quicker results, and assurance of quality. For instance, a poorly laid driveway may result in costly repairs down the line. Weigh the pros and cons carefully before deciding.
What Types of Block Paving Materials Are Available?
There are various options for block paving materials available in the UK. Concrete blocks are popular for their durability, while permeable pavers are designed to improve drainage in outdoor areas. Both types add visual appeal and provide practical solutions for your driveways and patios.
Will a Block Paving Driveway Increase My Property Value?
Certainly! While you might dream of a driveway made of gold bricks, opting for a block paving driveway can genuinely enhance your property’s appeal and resale value. You can expect an increase in value of around 5-10%, all without the extravagant cost of gold!
How Do I Maintain My Block Paving Driveway?
To maintain your block paving driveway, concentrate on regular weed control and sealing the blocks. Sweep away debris, remove weeds as soon as you spot them, and apply a sealant every 12-18 months. This will help protect against stains and wear from the elements, keeping your driveway looking its best.
Conclusion
Installing a block paving driveway is much like creating a jigsaw puzzle—every piece must fit together correctly to achieve a beautiful finish. Just as a craftsman carefully chooses the right tiles, you’ll need to ensure each block is placed accurately on a solid base. Remember, this driveway is more than just a route; it’s the first impression of your home. With regular upkeep, it can last for many years, much like a well-made piece of furniture.
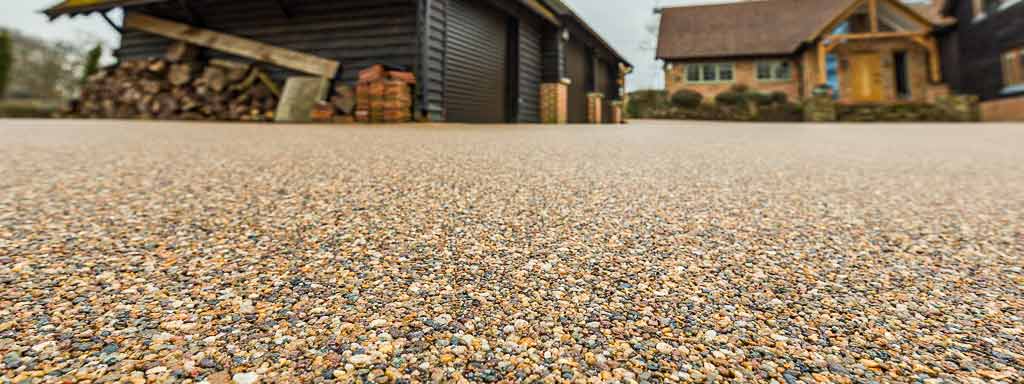
Adding curb appeal to your home is easier than you think! With the right design ideas, your resin driveway can Read more
Are you tired of the dull, worn-out look of your block paving? Well, have you ever considered putting resin over Read more
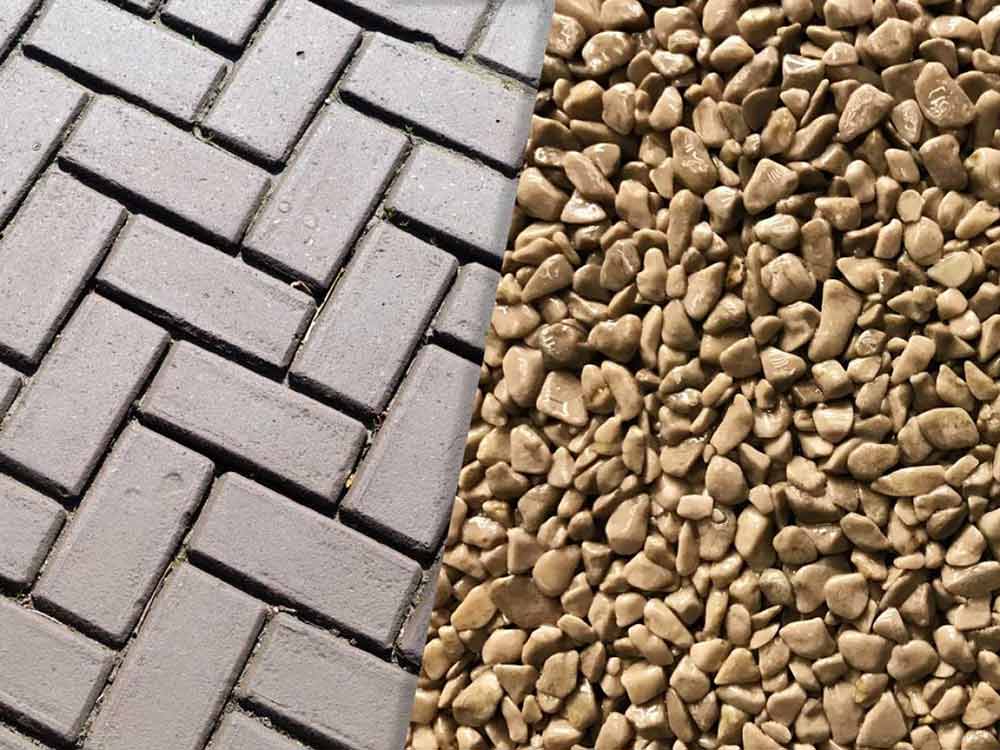
Are you considering whether to choose resin or block paving for your next project? Well, here's an interesting statistic for Read more