How to Repair Cracks in Your Manchester Tarmac Driveway
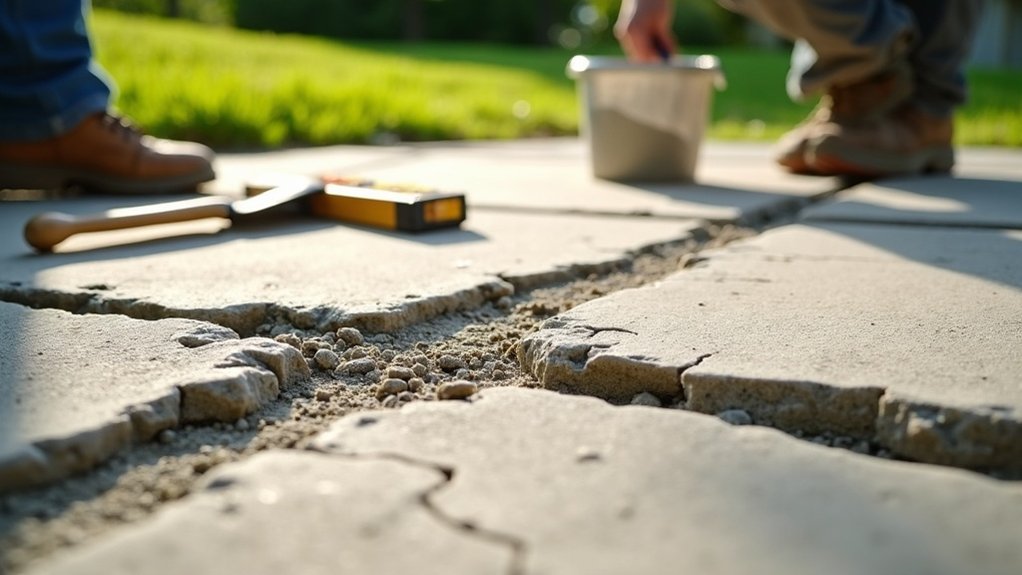
To repair cracks in your tarmac driveway in Manchester, begin by assessing the damage. Use a wire-bristle broom to clear away any debris. For small cracks, apply cold-pour fillers; larger cracks will require hot-pour fillers. If you have potholes, clean out any loose material and compact cold-lay tarmac into the hole. Remember to seal your driveway afterward to protect it from moisture and UV damage. Following proper application techniques will help ensure lasting results. For more maintenance tips, feel free to explore further.
Key Takeaways
- Start by visually inspecting the driveway to determine the size and depth of any cracks, which will help you choose the right repair method.
- Use a wire-bristle broom to clean the area and remove any debris, ensuring that repair materials adhere properly.
- For small cracks, opt for cold-pour fillers, while larger cracks require hot-pour options for a solid bond.
- If you have deeper potholes, clear out any loose material and fill them with cold-lay tarmac, compacting it to be level with the surrounding surface.
- Remember to seal your driveway every 1-3 years to protect it from moisture and UV damage, which helps extend its lifespan.
Assessing the Condition of Your Driveway
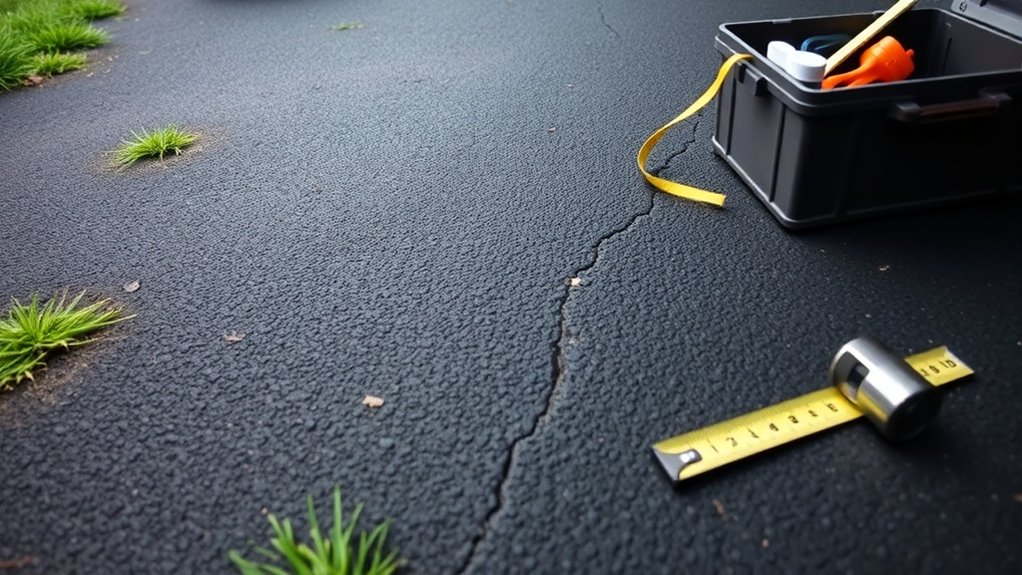
How can you assess the condition of your driveway effectively? Start with a thorough visual inspection. Look for signs like cracks, potholes, and ruts. Loose gravel and wavy lines indicate surface distress. Pay attention to any alligator cracking, as this suggests underlying structural issues. A well-maintained tarmac driveway can last over 25 years, depending on installation quality and climate.
Use a severity rating system: low-severity issues may need preventive maintenance, while high-severity ones require immediate attention. Regular evaluations every 2-3 years—or more often for high-traffic driveways—will help you catch issues early, ultimately saving you from costly repairs. Additionally, be sure to document findings with photos for future reference, as this can enhance your understanding of the pavement’s condition over time.
Check for drainage problems; depressions and standing water indicate poor water flow. Keep a record of any deterioration patterns and compare them to previous assessments.
Cleaning and Preparing the Surface
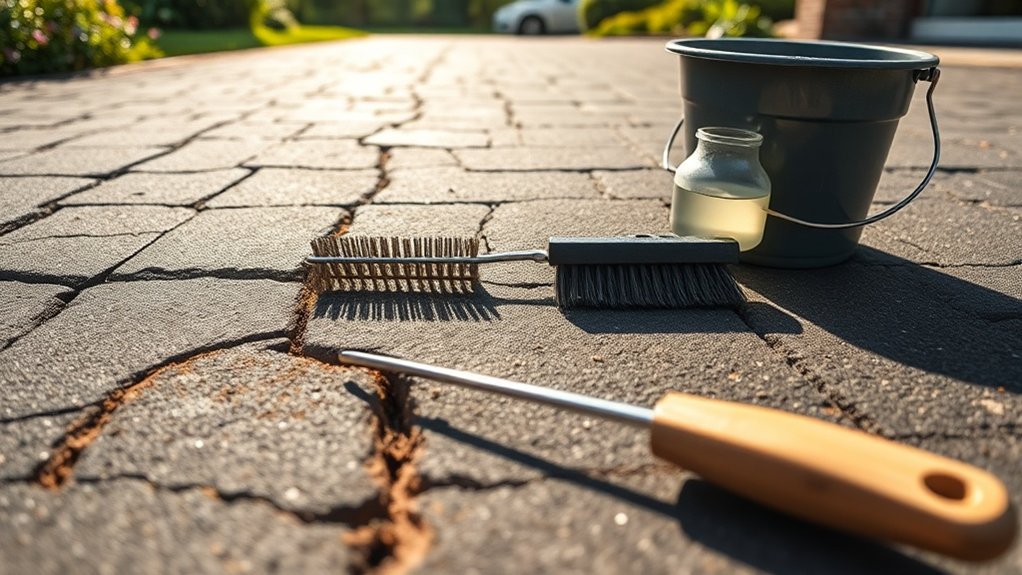
Once you’ve assessed the condition of your driveway, the next step is to clean and prepare the surface for repairs.
Begin by removing all debris with a wire-bristle broom to clear away loose particles, dust, and any weeds. This ensures a clean foundation for the repairs.
Next, tackle any stains using a degreaser, followed by applying a primer to aid adhesion. A clean surface is essential for effective and long-lasting repairs to ensure proper bonding during the crack repair. Regular inspections can help identify common staining issues before they escalate, ensuring your driveway remains in good condition.
It’s important to eliminate dirt and obstacles to prevent the growth of moss or algae.
Finally, ensure all loose aggregates are cleared away, as this will help with proper bonding during the crack repair. A clean surface is crucial for effective and long-lasting repairs.
Identifying Suitable Crack Filling Techniques
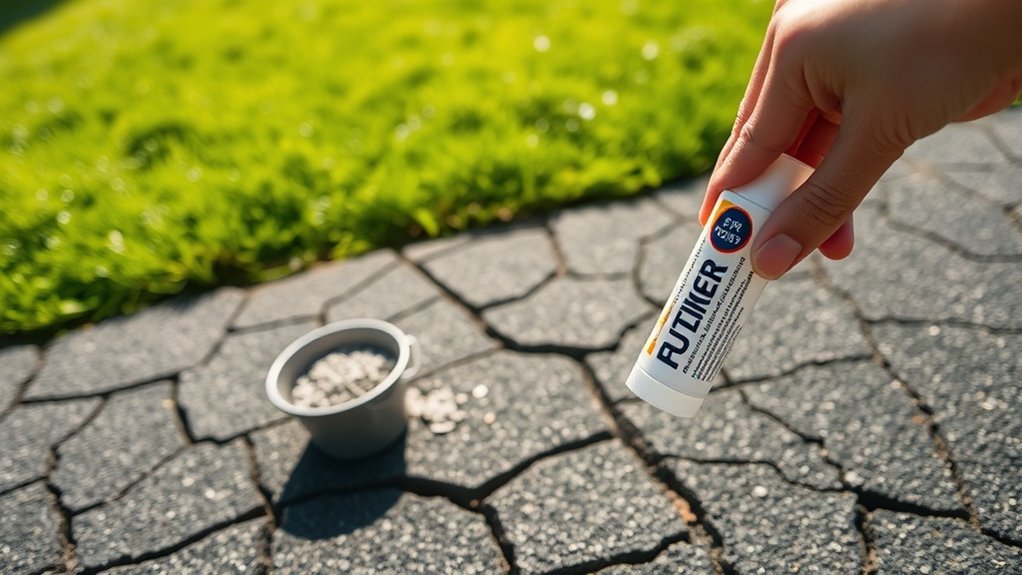
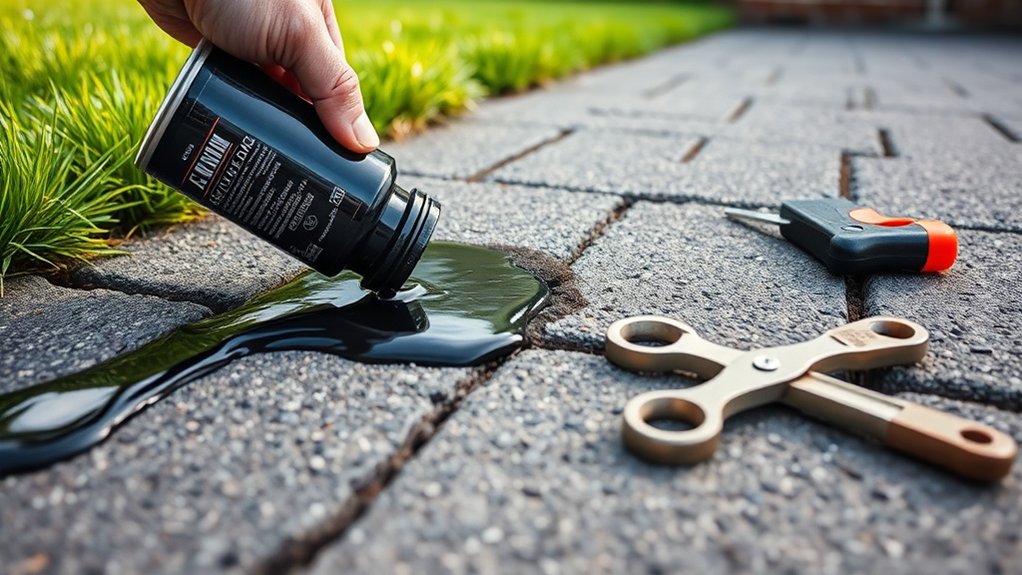
When filling cracks in your driveway, choosing the right type of crack filler is crucial for a lasting repair. Consider both the size and depth of the cracks to decide whether cold-pour or hot-pour products are more appropriate. For instance, cold-pour fillers are ideal for smaller, shallow cracks, while hot-pour options work best for larger, deeper ones. Understanding how to apply each type properly ensures strong adhesion and performance, helping to prolong the life of your driveway. Additionally, regular inspections are essential for identifying cracks early before they escalate into major issues, ensuring effective maintenance and repair.
Types of Crack Fillers
Choosing the right crack filler for your driveway is crucial for effective repairs and durability. There are several types available, each with its own benefits.
Coal tar fillers are cost-effective but can release VOCs and deteriorate when exposed to sunlight. Asphalt-based fillers, made from rubberised asphalt emulsion, offer good durability and water resistance, plus they’re more environmentally friendly.
If you need something more flexible, epoxy and acrylic fillers are excellent choices. They can withstand UV damage and chemicals, with acrylic fillers lasting around five years and epoxy fillers lasting up to ten years.
For added flexibility, consider rubberised and polymer-modified sealants. Mastic and specialty fillers are designed for wider cracks, providing a waterproof and air-tight seal.
Selecting the right filler will enhance your driveway’s longevity and overall performance.
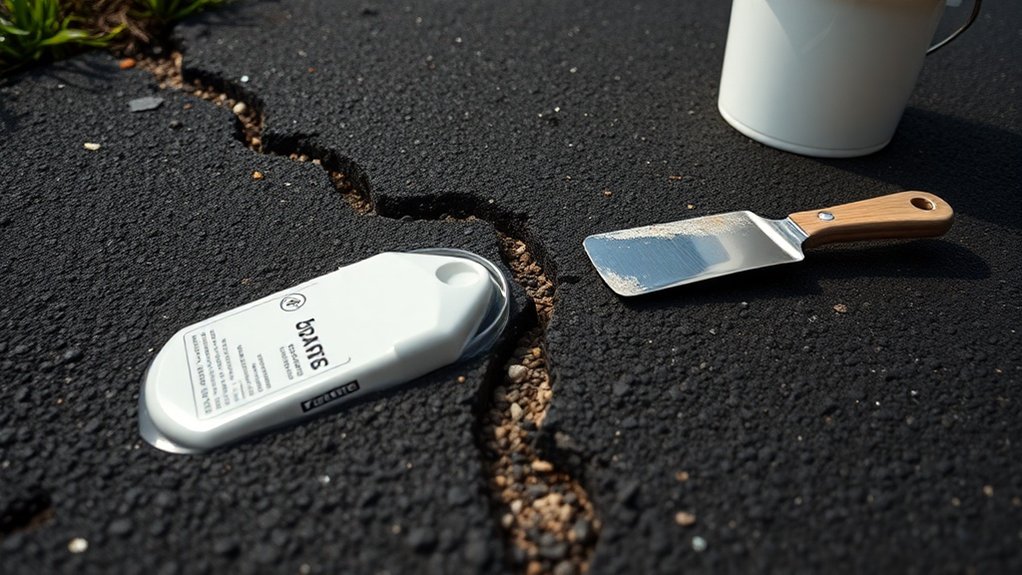
Application Methods Explained
Choosing the right crack filler is crucial for effective repairs, but proper application is equally important.
Begin by thoroughly preparing the surface—remove any loose material and debris from the cracks.
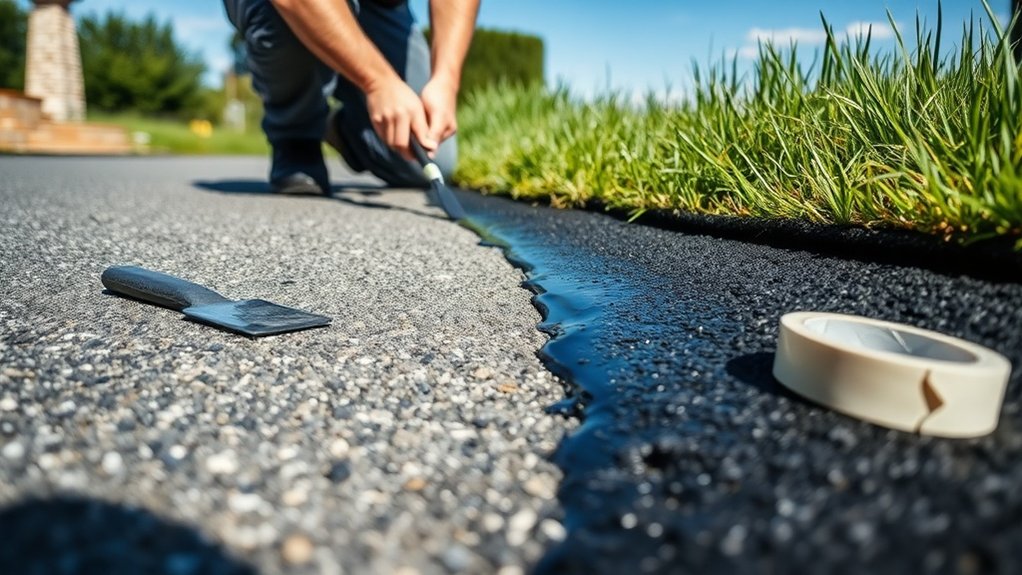
For small cracks under 6mm, use cold-pour fillers; simply pour them in and smooth with a trowel.
For larger cracks up to 25mm, heat hot-pour fillers as per the instructions, then pour and compact them for a seamless finish. A caulking gun can help ensure precision in narrower applications.
After filling, allow sufficient curing time before sealing the surface to prevent future problems.
Proper application of different filler types is essential for durable driveway repairs.
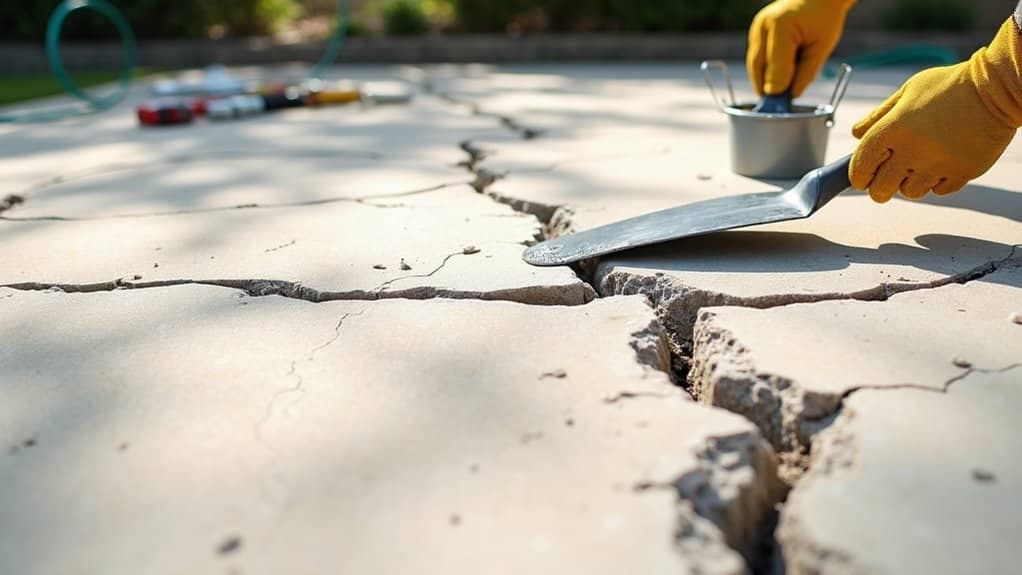
Patching Larger Cracks and Potholes
To patch larger cracks and potholes in your driveway effectively, follow a straightforward process for lasting results.
Begin by assessing the cracks; use an air blower or vacuum to remove any loose debris. For deeper potholes, dig out the dirt with a spade and square off the edges for better adhesion.
For pothole repairs, use cold-lay tarmac, ensuring it’s compacted level with the surface.
If you’re tackling larger cracks up to 1 inch, choose hot-pour fillers—heat them up, pour them in, and level off with a squeegee.
Allow the patch to cure for 24-48 hours, adhering to the manufacturer’s instructions. This careful approach helps keep your driveway strong and looking good for years.
Sealing the Driveway for Longevity
Sealing your driveway is crucial for prolonging its life and keeping it looking good. By selecting the right sealant and applying it properly, you can guard against weather damage and improve its durability.
Let’s look at why sealing is important, how to choose the right sealant, and tips for effective application.
Importance of Sealing
To maintain the longevity of your driveway, applying a sealant is essential. The benefits of sealing are significant: it offers moisture protection, UV resistance, and chemical durability. By sealing your driveway, you create a barrier that reduces water infiltration, helping to avoid expensive repairs.
- Extend the lifespan of your driveway.
- Guard against harmful UV rays that can cause cracking.
- Save money by reducing the need for frequent maintenance.
- Maintain the visual appeal of your driveway.
- Have confidence in your investment.
Regular sealing can lead to cost savings and enhance your driveway’s overall durability.
In areas with harsh weather, sealing provides crucial protection against potential damage, ensuring your driveway stays in excellent condition for years to come.
Choosing the Right Sealant
Choosing the right sealant for your driveway is crucial for its durability and appearance. When comparing sealants, think about your driveway’s specific needs.
Acrylic sealers, available in both water- and solvent-based options, create a thin, tough layer and are perfect for premium projects.
Coal tar emulsion sealers provide strong protection against UV rays and chemical spills, lasting around 3 to 5 years.
On the other hand, asphalt emulsion sealers are an eco-friendly choice that offers a matte finish.
If you have an older surface, oil-based sealers can effectively rejuvenate it, though they do have a strong smell.
For high-traffic areas, consider polyurethane and fast-dry sealers.
By understanding these options, you can select the best sealant based on your driveway’s age, local climate, and traffic levels.
Prioritising durability and appearance will help you get the most out of your investment.
Application Techniques and Tips
To ensure a long-lasting seal on your driveway, proper application techniques are vital. Start with thorough surface preparation to guarantee effective sealant application and prevent cracks.
Here are some key tips:
- Clear away debris and plants to ensure the sealant adheres properly.
- Use a pressure washer to remove oils and dirt effectively.
- Fix any underlying issues before applying the sealant.
- Mask edges to create clean lines and prevent overspray.
- Choose ideal weather conditions for the best results.
Applying two thin coats instead of one thick coat will improve durability.
Use the right tools, such as squeegees or sprayers, for even coverage.
Finally, allow enough curing time to ensure the longevity of your seal, protecting your driveway from future damage.
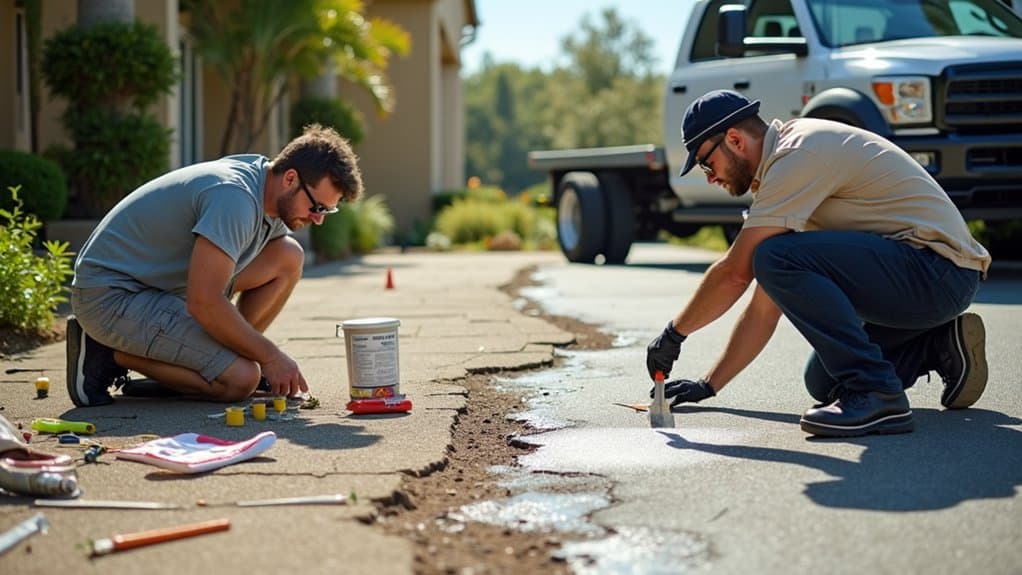
DIY Repairs vs. Professional Services

Many homeowners consider DIY repairs for minor cracks in their driveways.
It’s important to know the differences between DIY methods and professional services. DIY repairs can be effective for small cracks under 1.5cm, using products like cold pour fillers. However, these methods often lack durability and may not address underlying issues, such as problems with the sub-base.
On the other hand, professional services provide significant benefits. They use high-quality materials and conduct thorough assessments of your driveway’s condition.
Professionals can achieve a seamless finish, ensuring both long-term stability and visual appeal. If you have larger cracks or more complex patterns, like alligator cracking, it’s wise to hire a professional. They can tackle complicated issues effectively, preventing further damage and ensuring a lasting solution.
Preventive Maintenance Tips for Your Driveway

Maintaining your driveway is crucial for avoiding expensive repairs in the future. A regular preventive maintenance routine can significantly extend its lifespan.
Here are some straightforward tips to consider:
- Sweep weekly to remove debris and prevent moisture build-up.
- Pressure wash every 3-6 months to keep the surface clean and free from stains.
- Seal your driveway every 1-3 years to safeguard against UV damage and moisture.
- Inspect annually for cracks and surface wear to catch issues early.
- Clear gutters and ensure proper drainage to prevent water pooling and deterioration.
Frequently Asked Questions
How Long Will My Driveway Repairs Last?
Your driveway repairs can last between 3 to 20 years, depending on factors like the quality of the base and how well you maintain it. Regular inspections, sealcoating every 2 to 3 years, and promptly sealing cracks can significantly improve durability. For example, just like keeping your car serviced can extend its life, looking after your driveway pays off in the long run.
What Weather Conditions Are Best for Repairs?
Think of your repairs like seeds; they flourish in dry, clear weather. The best conditions are temperatures above 10°C, low humidity, and no rain for 24-48 hours. This ensures effective repair techniques and less impact from the weather on durability.
Can I Drive on the Driveway Immediately After Repairs?
You shouldn’t drive on the driveway right after repairs. It’s important to wait 24 to 48 hours for the materials to cure properly. This ensures that any sealants bond effectively and helps prevent damage that could reduce the lifespan of your driveway. For instance, driving on a freshly laid surface can leave tyre marks or even cause cracks. Patience now means a longer-lasting driveway later.
How Much Does Professional Repair Typically Cost?
Professional repair usually ranges from £45 to £80 per m², depending on the methods used and various factors affecting costs. For a 20m² area, you can expect to pay between £900 and £1,600, based on the specific circumstances and the rates charged by contractors.
Are There Eco-Friendly Options for Driveway Sealing?
Yes, there are eco-friendly sealants available that use sustainable materials like soy and corn. These options are less toxic, more durable, and better for the environment, offering effective protection for your driveway while being safe for plants and pets.
Conclusion
In summary, looking after your tarmac driveway in Manchester is crucial for its longevity and appearance. Just as a classic car needs regular servicing, your driveway needs attention to prevent small cracks from developing into bigger problems. By following the steps provided and carrying out regular maintenance, you can ensure a smooth, durable surface that stands the test of time. Remember, a bit of effort now can save you from expensive repairs down the line.
Observe the best techniques to repair cracks in your concrete driveway, and discover the secrets to ensuring a long-lasting, durable Read more
Keep your driveway looking flawless with our guide on repairing cracks—will you tackle it yourself or call in the pros? Read more
A comprehensive guide on fixing uneven concrete driveways reveals essential techniques and tips that will transform your driveway, ensuring a Read more