Can You Resurface an Old Tarmac Driveway? How It’s Done
You can resurface an old tarmac driveway by first checking for any cracks or damage. Clear away debris and inspect the drainage to ensure proper water flow. Once you've addressed any issues, apply a tack coat to improve adhesion, then lay and compact the new tarmac. Finally, seal the surface to protect it from UV rays and the elements. This process not only refreshes your driveway's appearance but also prolongs its life. Want to know more about the steps involved?
Key Takeaways
Yes, you can resurface an old tarmac driveway if it has minor damage, such as small cracks and surface wear.
First, check the existing surface for any stability or drainage issues before starting the resurfacing process.
Next, clear away any debris and weeds to ensure a clean surface for the new tarmac to adhere properly.
It's also a good idea to apply a tack coat to improve the bond between the old tarmac and the new layer.
Finally, once the resurfacing is complete, seal the driveway to protect it from the elements and help extend its lifespan.
Assessing the Driveway Condition
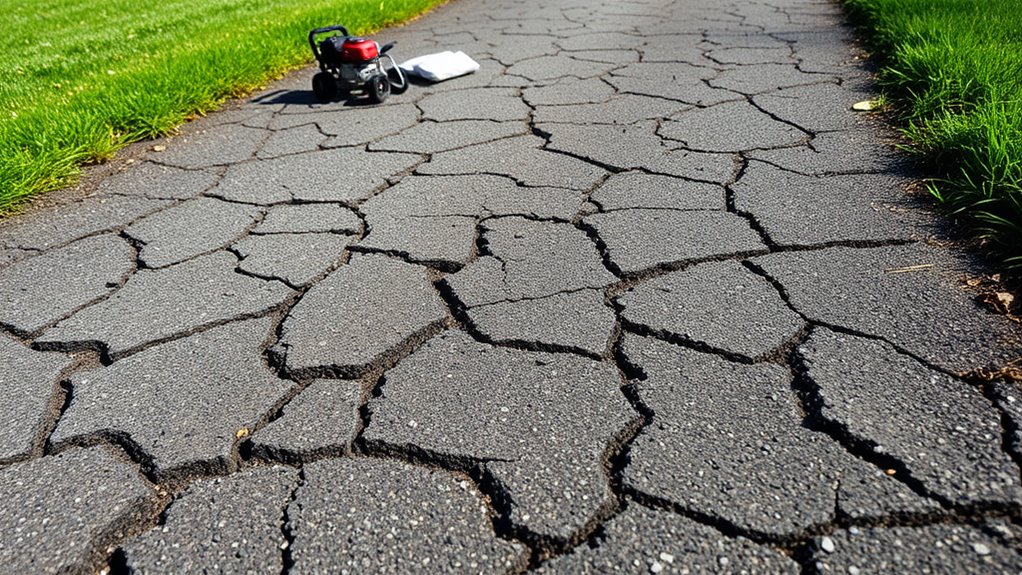
Assessing the condition of your tarmac driveway is crucial for deciding the best resurfacing method.
Start by inspecting the driveway for visible problems like cracks, potholes, and surface wear. Different types of tarmac, such as Hot Rolled Asphalt or Stone Mastic Asphalt, have distinct durability traits that influence your resurfacing choice. Understanding differences between HRA and SMA aids in selecting the best option for your specific needs. A well-maintained driveway can extend its lifespan significantly, allowing for effective resurfacing options.
Evaluate the damage based on the traffic load and how weather has affected the pavement.
Look out for structural issues like rutting and flushing, which may require more extensive repairs.
Lastly, keep your budget in mind to ensure you select a resurfacing method that suits both your needs and your finances.
Preparing for Resurfacing

Before resurfacing your tarmac driveway, it's crucial to prepare the surface properly for a durable finish.
Start by clearing away any debris and weeds for a clean application. Check the drainage; grading the driveway to create a slope will prevent water from pooling. Correct drainage is essential as it prevents major damage like potholes and cracks. Additionally, ensuring proper soil compaction will contribute to the overall stability of the driveway.
Inspect the sub-base for stability and levelness, and fix any uneven areas. If needed, install drainage solutions to direct water away from your home and surrounding areas.
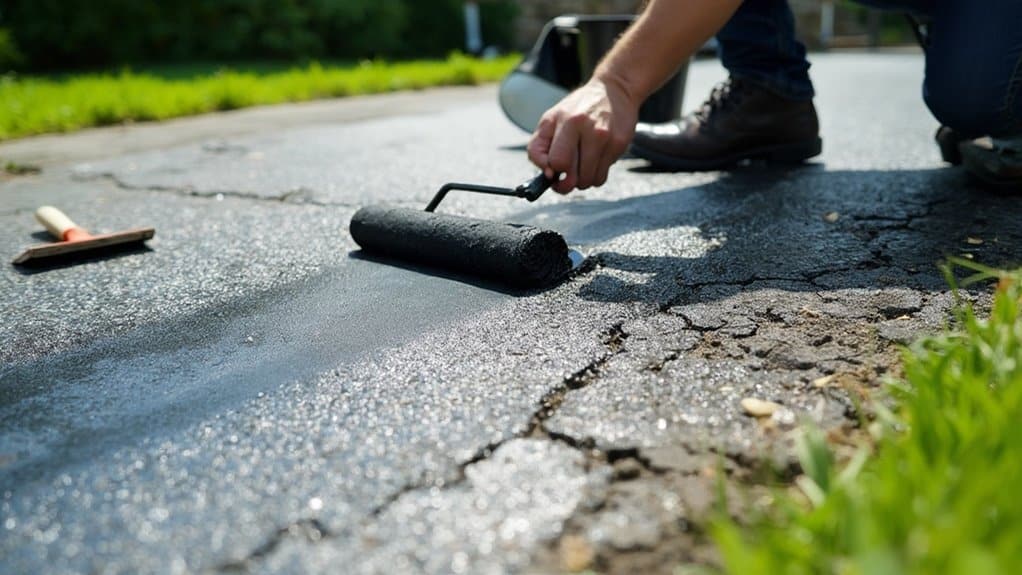
Lastly, apply a tack coat to improve the bond between the old and new tarmac. These steps will lay the groundwork for a successful resurfacing project.
Removing Existing Damage

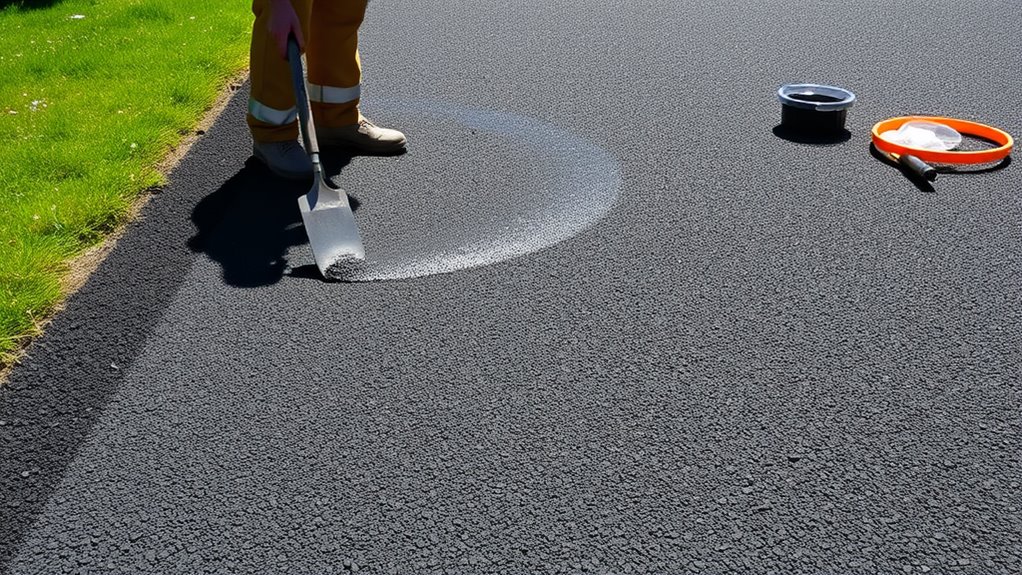
To effectively remove damage from your tarmac driveway, start by cleaning the surface thoroughly. Use a broom or a pressure washer to clear away all debris.
For cracks, remove any weeds or vegetation with a heat lance, then clean the cracks with appropriate tools to prevent further growth. It's important to address these issues promptly, as timely repairs can prevent the growth of larger potholes.
Next, check for potholes and remove any debris inside them to prepare for patching. Ensure all loose debris and sand are cleared from the surface to enable a smooth repair.
The Resurfacing Process
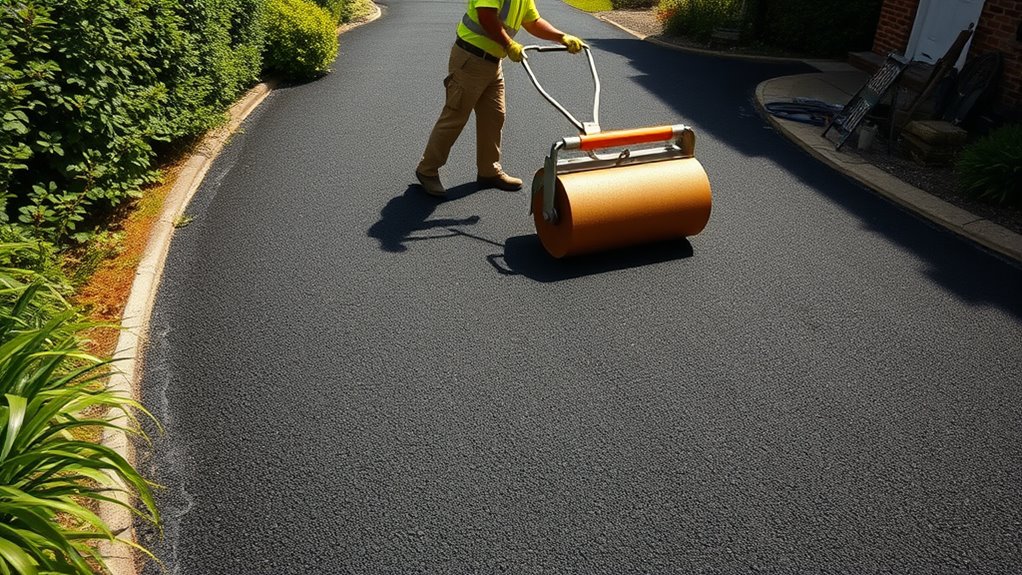
Once you've repaired any existing damage, you can start the resurfacing process.
Begin by cleaning the driveway, removing any dirt, debris, and weeds that might affect the adhesion of the new tarmac. Check for major cracks or uneven areas. Gather your tools—shovels, trowels, and rollers—and ensure proper drainage to avoid future problems.
Next, mix your tarmac patching compound according to the manufacturer's instructions and spread it evenly over the surface.
Use a roller to compact and smooth the layer, making sure it's level and free of air pockets. Allow the tarmac to cure for 24 to 48 hours to enhance its durability and improve the overall appearance of your driveway. Regular inspections and maintenance are crucial for extending driveway lifespan to ensure it remains in good condition.
Finally, do a last inspection for any imperfections before declaring the job complete.
Sealing the Driveway
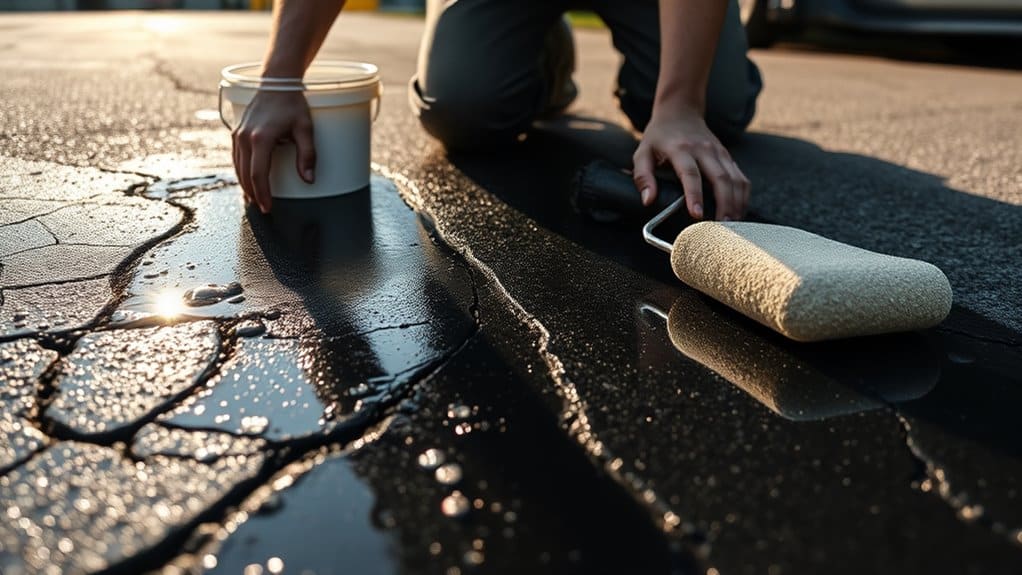
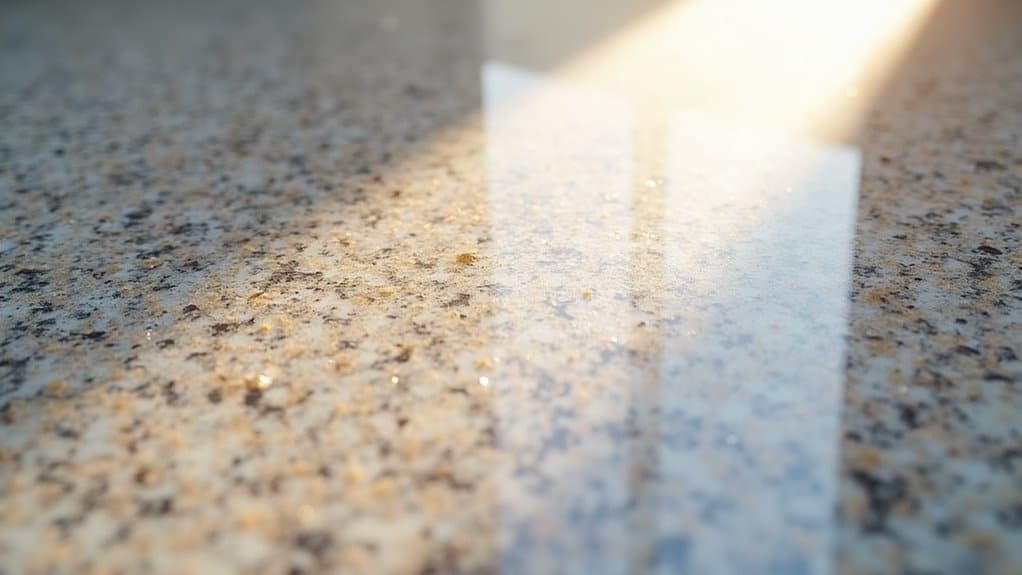
Sealing your driveway is a crucial step in protecting your investment and extending its lifespan. There are several types of sealers available, including asphalt-based, coal tar, and acrylic, each offering distinct benefits.
Sealing your driveway helps guard against harmful UV rays, water damage, and chemical exposure, significantly enhancing its durability—well-sealed driveways can last up to 30 years.
Before applying the sealer, ensure the surface is properly prepared by cleaning it, filling any cracks, and repairing potholes. Apply the sealer in thin, even layers, allowing sufficient drying time between coats.
For optimal results, choose a dry day with temperatures above 10°C. Regular maintenance, such as sweeping away debris, will help keep your sealed driveway in top condition and maximise its protective benefits over time.
Alternative Resurfacing Methods

When considering alternative resurfacing methods for your old tarmac driveway, it's important to weigh your options based on your needs and budget.
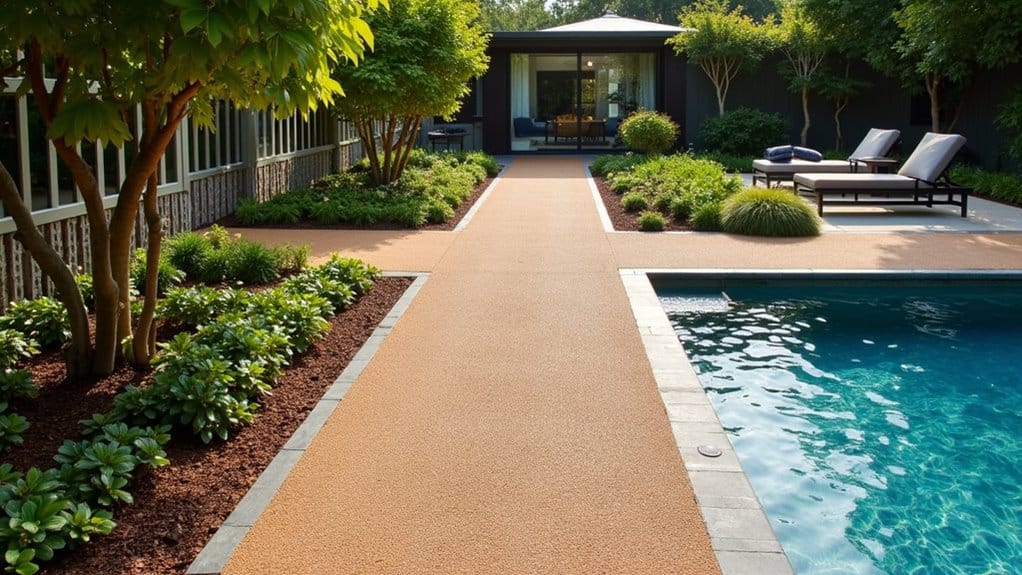
Asphalt overlays and tar-and-chip techniques are popular choices, offering quick installation and cost-effectiveness.
If you're leaning towards different materials, interlocking pavers are low maintenance and durable, whereas brick can enhance the aesthetic but tends to be pricier.
Concrete is tough but not ideal for thin overlays due to cracking issues.
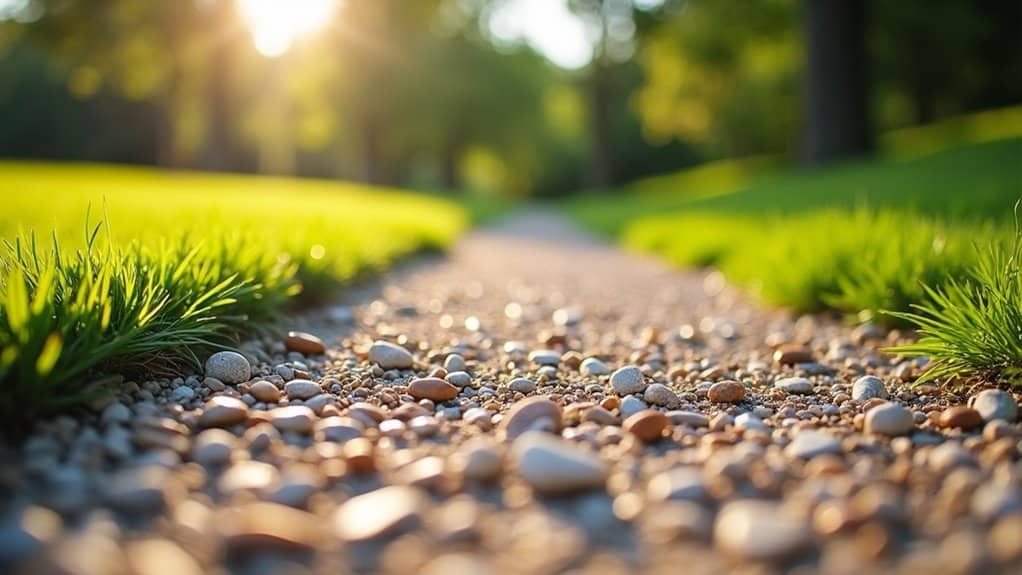
Gravel is a budget-friendly option, though it can shift over time.
Each method has its pros and cons, so understanding these will help you choose the best option for your driveway and future maintenance.
Maintenance and Upkeep Tips
Choosing the right resurfacing method for your old tarmac driveway is just the start; maintaining it's key for its longevity and performance.
Regular cleaning is vital—sweep away debris to prevent moisture build-up, and pressure wash every 3-6 months with eco-friendly cleaners to remove moss and algae.
Address oil spots promptly to avoid further damage. Check for cracks and potholes regularly, and apply suitable fillers and sealants during dry weather.
Using eco-friendly products can also help control moss growth. Distributing vehicle weight evenly and limiting heavy traffic will extend the life of your driveway.
Lastly, perform seasonal inspections to catch potential issues early and use sand rather than salt in winter to prevent surface damage.
Frequently Asked Questions
How Long Does the Resurfacing Process Take in Total?
The resurfacing process usually takes two to three days, depending on the state of your driveway. Knowing the timeline helps you recognise the advantages of resurfacing, providing a sturdy, smooth surface that boosts your property's appeal and value.
Can I Drive on the Driveway During the Curing Time?
During the curing period, it's best to avoid driving on the driveway to ensure its safety and durability. Light traffic may be acceptable after 24-48 hours, but heavy vehicles should refrain from using it until the curing process is complete. This helps protect the driveway's integrity in the long run.
What Weather Conditions Are Best for Resurfacing?
For resurfacing, aim for temperatures between 10°C and 32°C. High humidity can affect adhesion and compaction, so it's best to avoid it. Dry conditions are crucial for achieving a durable, high-quality asphalt finish.
How Can I Tell if My Driveway Needs Resurfacing?
To check if your driveway needs resurfacing, look for cracks, holes, and signs of wear. Regular maintenance helps spot problems early, keeping it safe and prolonging its life. It's important to tackle major issues quickly to maintain both appearance and functionality. For example, if you notice large cracks or uneven surfaces, it's time to consider resurfacing.
Is Resurfacing a DIY Project or Best Left to Professionals?
If you're thinking about resurfacing, consider the pros and cons of DIY versus hiring a professional. While doing it yourself might save you some cash, a professional service ensures a high-quality finish and long-lasting results, reducing the chances of issues from poor preparation or execution. For instance, if you're not confident in your skills, it might be worth investing in a professional to avoid costly mistakes. Make your choice based on your abilities and available resources.
Conclusion
In summary, resurfacing your old tarmac driveway can significantly improve its lifespan and appearance. A well-maintained driveway can last up to 30 years. By regularly checking its condition and using appropriate resurfacing techniques, you can prevent expensive repairs later on. Don't forget to seal your driveway after resurfacing to shield it from the elements. With the right care, your driveway will not only look good but also serve you well for many years.
Prepare the perfect base for your resin bound stone installation and discover the crucial factors that ensure lasting durability.
Know where resin bound surfacing can transform spaces for both residential and commercial use, and discover the countless benefits that Read more
A stone carpet combines beauty and resilience in flooring, but what makes quartz floors uniquely beneficial? Discover the secrets behind Read more