DIY Resin Driveway Installation: Step-by-Step Guide
To install a DIY resin driveway, begin by assessing the area and ensuring adequate drainage. Prepare the base by choosing suitable materials and excavating to the recommended depth. Mix high-quality polyurethane resin with aggregate in a 1:4 ratio. Apply the mixture evenly with a trowel, aiming for a thickness of 15-20 mm. Once the surface is smooth, allow it to cure for 24-48 hours. With regular maintenance, your driveway can last for many years. Follow on for detailed steps and helpful tips!
Key Takeaways
- Before beginning your installation, carry out a thorough environmental assessment and ensure proper drainage systems are in place.
- Excavate existing surfaces to a depth of 220mm to 250mm, compacting the base for added stability.
- Mix high-quality polyurethane resin with aggregate in a 1:4 ratio for the best durability.
- Apply the resin mixture evenly at a thickness of 15-20mm, maintaining a consistent depth across the area.
- Allow the resin to cure for 24-48 hours before allowing any traffic, and set up a regular maintenance schedule to ensure its longevity.
Planning and Preparation
When planning your DIY resin driveway installation, there are several key factors to consider to ensure a smooth process.
Start with an environmental assessment; check the weather forecast to avoid rain and aim for temperatures around 3°C. Additionally, it’s important to ensure proper drainage systems are in place to prevent water accumulation on your new surface. This is crucial because structural integrity is necessary for the longevity of your driveway.
Next, gather all the necessary materials, including the right resin, aggregate, and tools.
Be sure to budget effectively—calculate costs for materials, tools, and any professional assistance you may need.
Choose your aggregate style based on your personal taste, and if required, secure any necessary permits to comply with local regulations.
Base Preparation
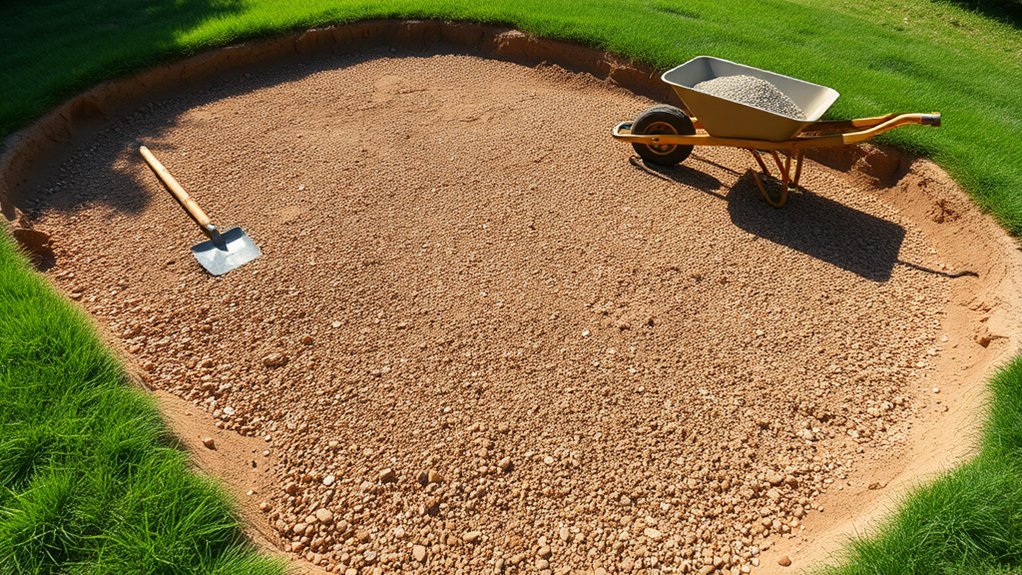
Before laying your resin driveway, it’s crucial to prepare the base properly, as this foundation affects the durability and performance of your installation.
Start by choosing appropriate base materials like tarmac, MOT Type 3, or asphalt, as these enhance drainage and stability. Additionally, make sure the concrete/tarmac base is strong enough for the intended use to support the resin layer effectively. A well-prepared base ensures long-lasting resin driveway performance.
Excavate existing surfaces to a depth of 220mm to 250mm, depending on the ground conditions. Fill any soft spots, level the area, and compact the base thoroughly to prevent shifting later on.
Clearing away debris is essential for a smooth finish. If you’re using concrete, consider priming the surface for better adhesion.
Following these steps will ensure a strong and reliable base for your resin driveway.
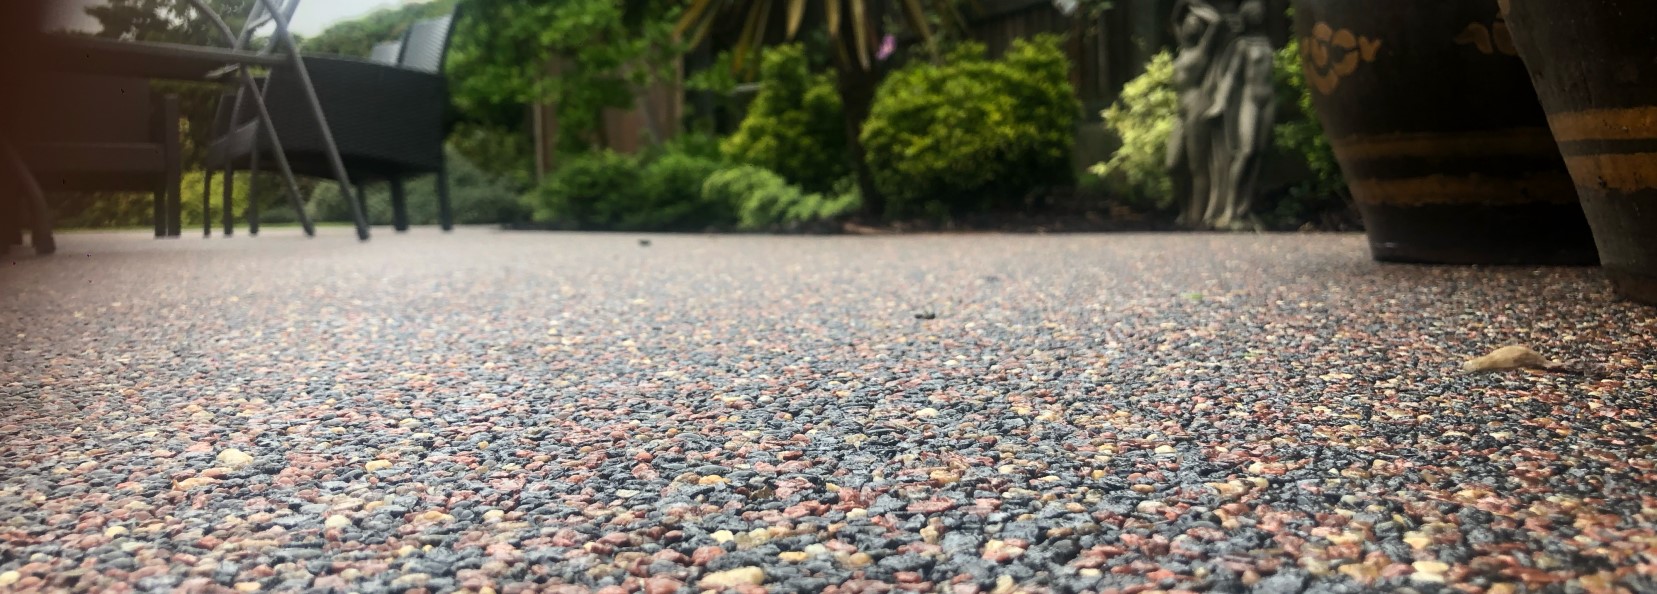
Resin and Aggregate Selection
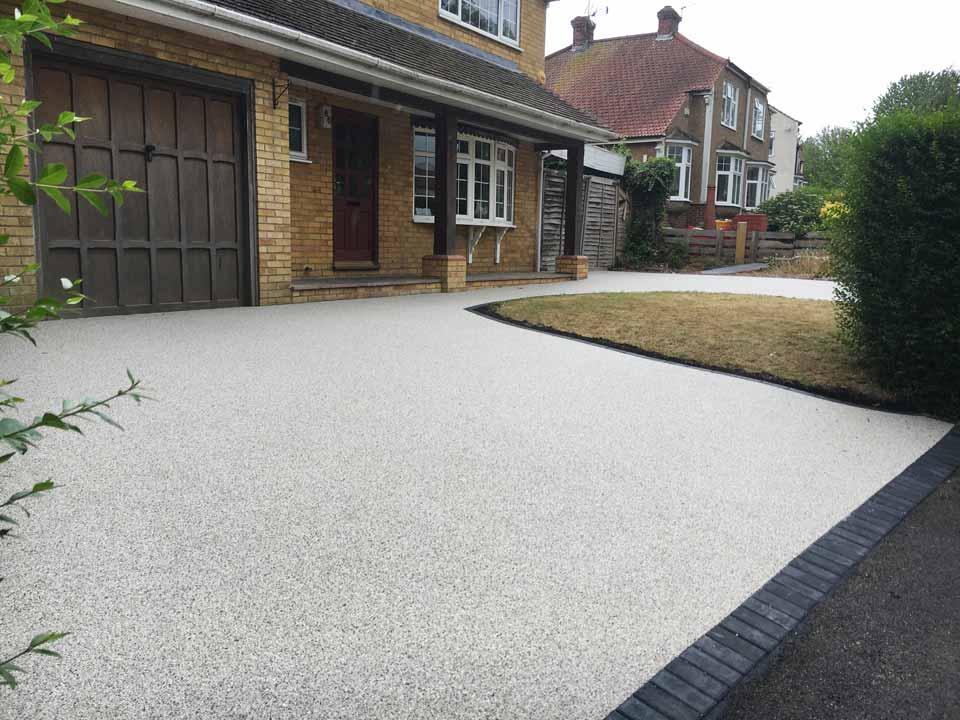
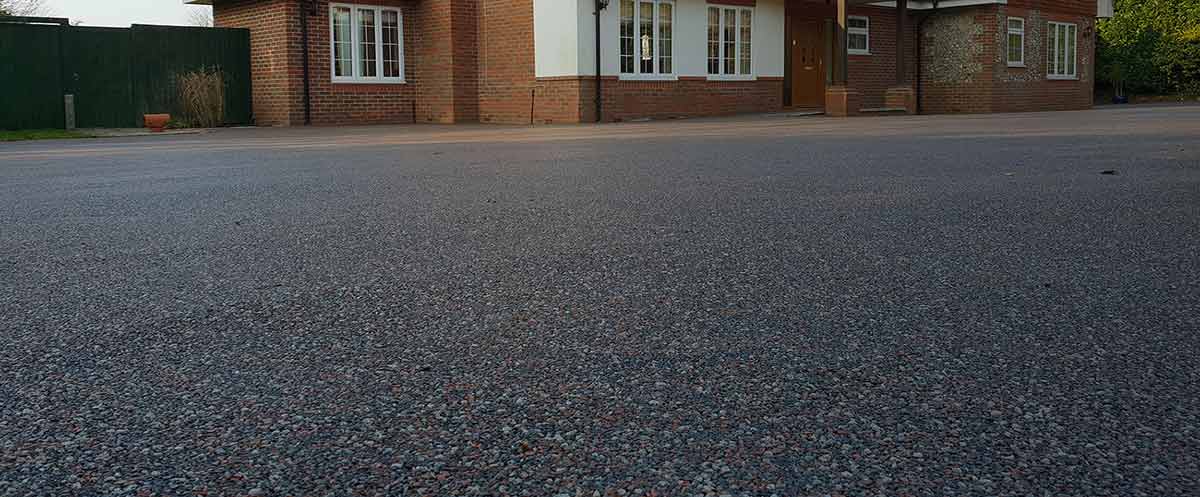
Choosing the right resin and aggregate is crucial for a durable and visually appealing driveway. For optimal durability, select high-quality polyurethane resins that provide UV resistance. A common resin-to-aggregate ratio is 1:4. When selecting aggregates, natural stones such as marble, basalt, or granite are excellent choices for their aesthetic appeal. Additionally, opting for UV-stable solutions can help prevent yellowing and sun damage over time, ensuring the longevity of your driveway. A well-chosen aggregate not only enhances the property’s value but also contributes to the overall appeal of your outdoor spaces.
| Resin Type | Aggregate Material | Recommended Size |
|---|---|---|
| Polyurethane | Marble | 1-3 mm |
| UV Resistant | Basalt | 2-5 mm |
| High-Quality | Granite | 1-3 mm |
| Durable | Natural Stone | 2-5 mm |
| Weather-Resistant | Mixed Aggregates | Varies |
Mixing the Resin Bound Mixture
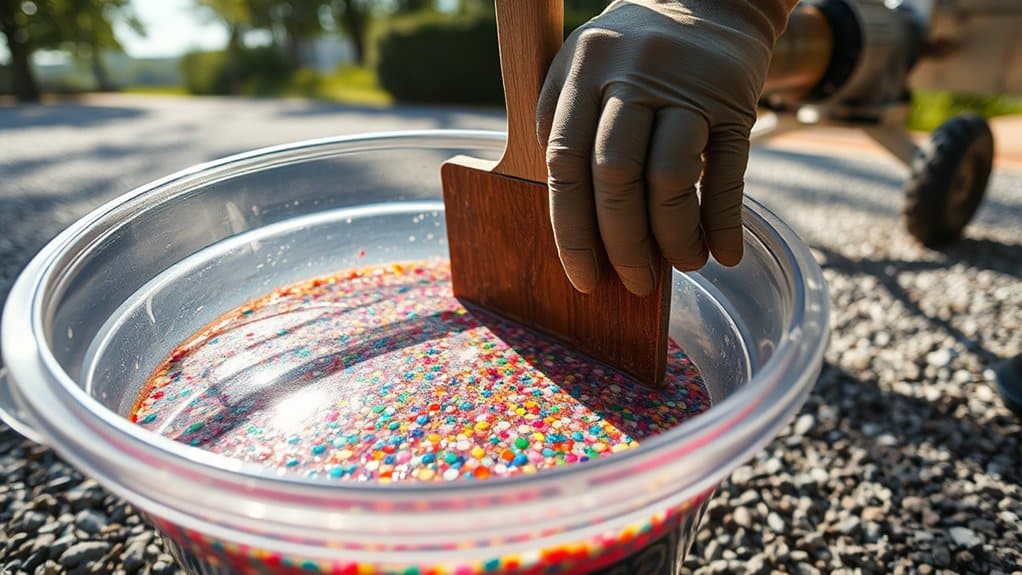
When mixing your resin bound mixture, it’s crucial to maintain the correct resin ratios for optimal performance.
Use a forced action mixer to ensure a consistent texture and prevent air bubbles.
Remember, uniform mixing impacts not just the appearance but also the longevity of your driveway.
For instance, a well-mixed batch will resist cracking and wear better over time.
Proper Resin Ratios
Getting the resin ratios right is crucial for a successful resin bound driveway installation. Aim for a minimum of 7% resin to aggregate ratio for optimal performance. This ensures you benefit from enhanced strength and slip resistance.
- Select suitable aggregate types, like 2-5mm or 1-3mm.
- Mix thoroughly for a consistent colour and texture.
- Limit mixing time to under four minutes to ensure quality.
Mixing Tools Overview
Mixing tools are crucial for achieving a top-quality resin bound mixture, so having the right equipment can significantly simplify your installation process. Here’s a brief overview of essential mixing tools and their features:
| Tool Type | Key Features | Recommended Brands |
|---|---|---|
| Forced Action Mixer | Large capacity, emergency stops | SoRoTo, Baron |
| Paddle Mixer | Best for mixing Part A and B | SoRoTo, Baron |
| Trowels | Durable, compact material | Various brands |
| Screed Sledge | Ensures even material distribution | Various brands |
Always prioritise safety features, such as ergonomic designs and personal protective equipment (PPE), to ensure smooth operation while mixing. Choosing the right mixer and protective gear will boost both safety and efficiency during your installation.
Ensuring Consistent Texture
To achieve a consistent texture in your resin bound mixture, pay close attention to the mixing process right from the beginning.
Here are some essential tips:
- Mix the resin binder for 60 seconds until it has a creamy consistency.
- Combine the aggregates dry for 30-60 seconds to eliminate excess dust before adding the binder.
- Ensure that the total mixing time doesn’t exceed four minutes for optimal texture.
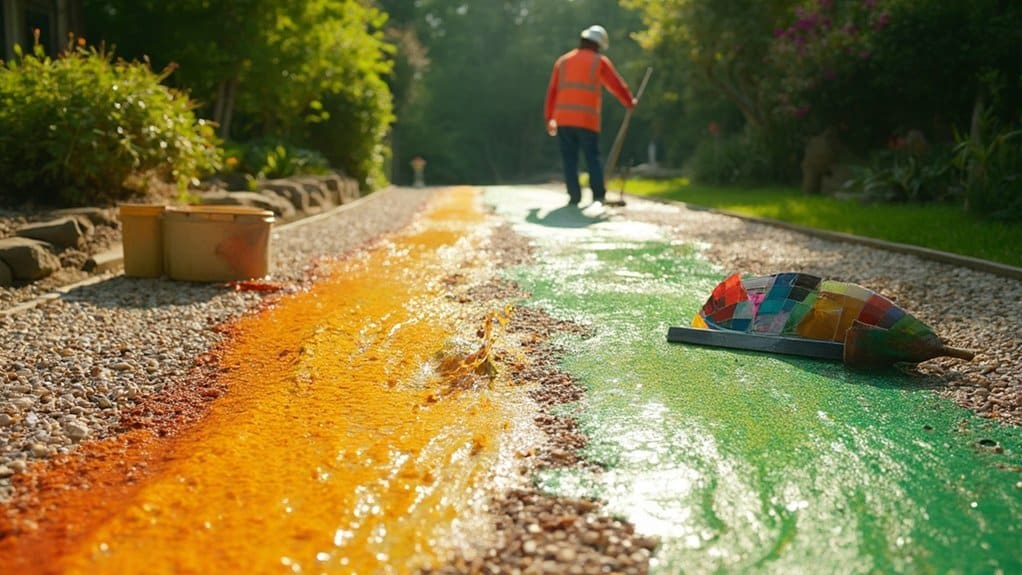
Applying the Resin Bound Surface
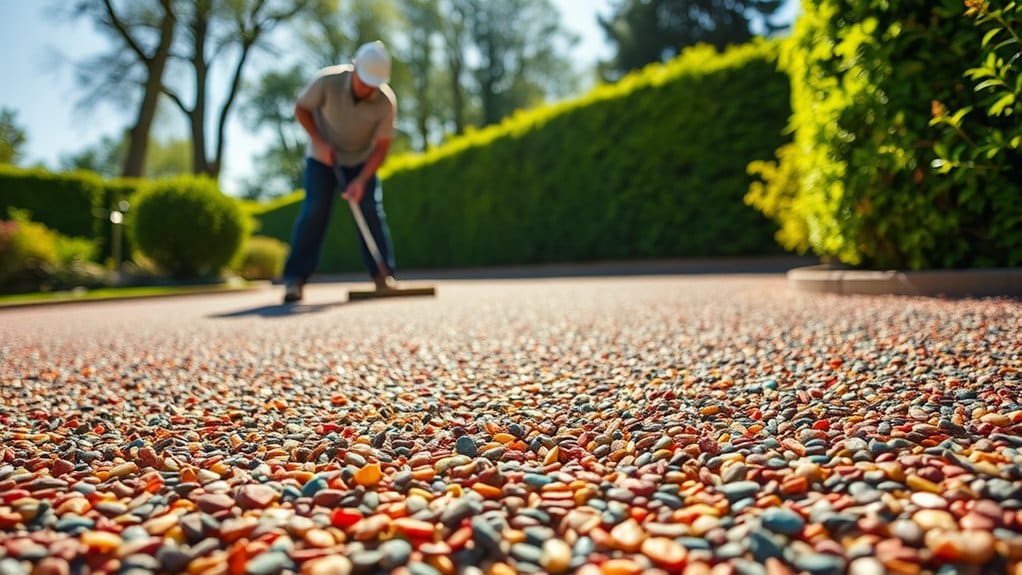
Once you’ve mixed your resin and aggregates, it’s time to apply the mixture to your prepared surface.
Use a trowel or float to ensure an even spread, aiming for a consistent thickness of around 15-20 mm. This is crucial for a long-lasting driveway, so be sure to work quickly before the mixture begins to set.
Spreading the Mixture
Spreading the resin mixture demands precision to achieve a smooth, even surface. To ensure uniformity, follow these straightforward steps:
- Work in sections to maintain control over your application.
- Use proper spreading tools such as a flat rake for even distribution.
- Keep an eye on environmental conditions to ensure optimal results.
Start by transferring the mixed resin to a wheelbarrow, ensuring it’s not overloaded for easier handling.
Place the mixture in small heaps, beginning from the furthest point away. As you spread, use consistent strokes to avoid uneven patterns.
Smooth out any bumps with a trowel to ensure a uniform thickness. Be cautious not to overwork the material, as this can affect its consistency; focus on steady, deliberate movements.
Using Application Tools
When applying a resin bound surface, having the right tools is crucial for a professional finish.
Start with a forced action mixer to blend the resin and aggregate in the correct ratio. Use a steel or rubber trowel to spread and level the mixture evenly.
For a smooth finish, a float or squeegee is essential—apply consistent pressure as you work. Gaffer tape is important for protecting edges from resin spills, and a wheelbarrow makes it easier to transport the mixed material.
Keep your tools clean to prevent buildup, and focus on maintaining a steady pace during application for the best results.
The right tools and techniques can significantly impact the quality of your final surface.
Ensuring Thickness Control
To ensure the resin bound surface meets the required strength and durability, it’s crucial to maintain consistent thickness during installation.
Here are some straightforward practices to ensure thickness control:
- Regularly measure the depth to confirm the surface meets the minimum requirement of 18mm.
- Use a notched trowel to evenly apply the resin mix, ensuring uniform thickness across the area.
- Verify thickness by cutting into the trowelled surface; this checks that the mix is compact and layered correctly.
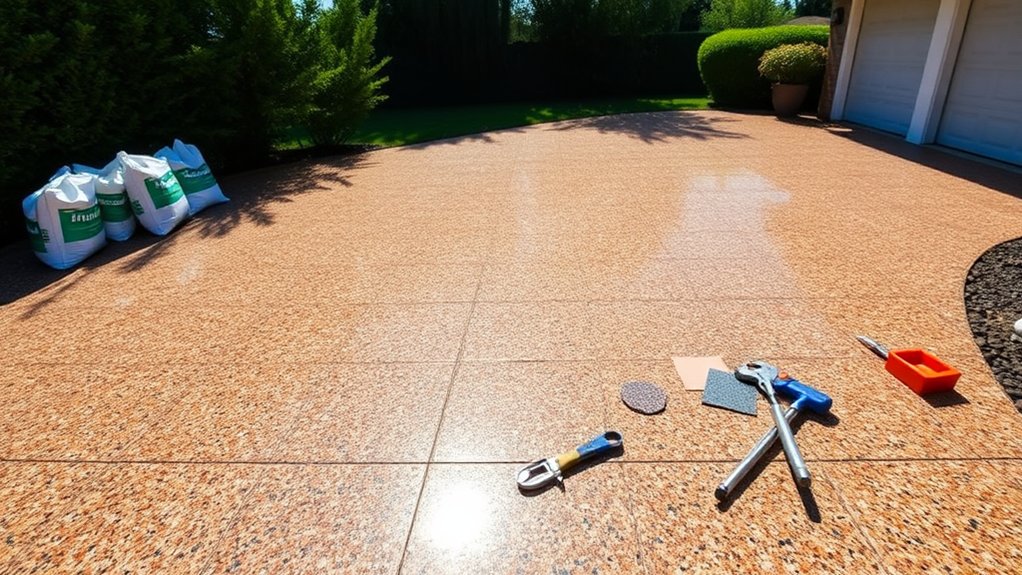
Final Touches and Maintenance
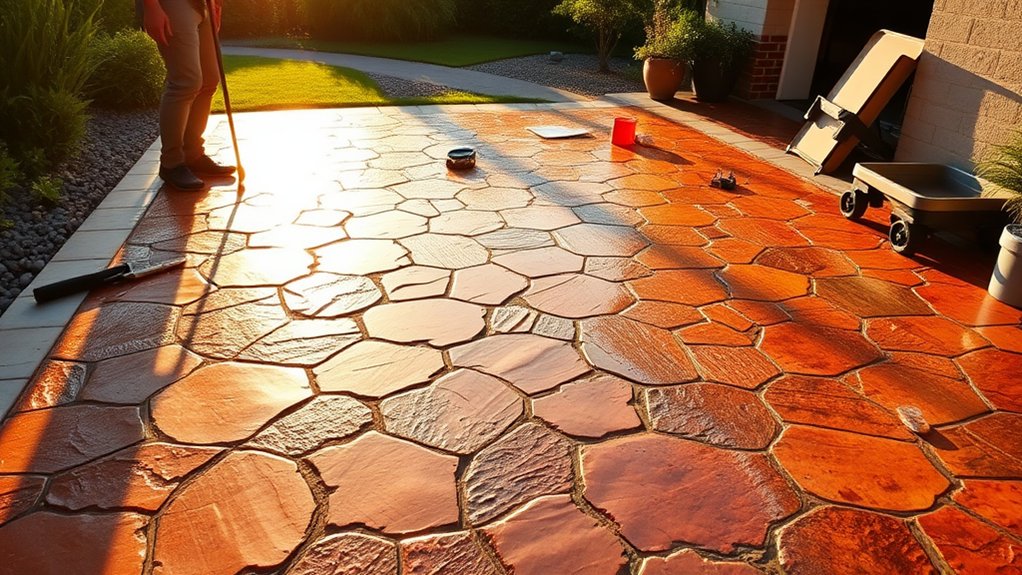
As you finish your resin driveway project, the final touches and maintenance are crucial for ensuring its durability and visual appeal.
Begin with a thorough inspection to smooth out any rough areas with a trowel, ensuring clean edges and decorative borders. Allow the resin to cure for 24-48 hours before allowing any traffic on it.
For ongoing care, set up a maintenance routine that includes regular cleaning, controlling weeds, and promptly repairing any cracks.
To manage traffic, avoid making sharp turns and refrain from parking in the same spots repeatedly. Additionally, consider reapplying sealant periodically to protect against weather damage and enhance durability.
Frequently Asked Questions
How Long Does a Resin Driveway Last?
A resin driveway can last between 15 to 25 years with proper maintenance. To ensure its longevity, keep it clean, reseal it every few years, and address any damage quickly. For example, if you notice a crack, fix it promptly to prevent further issues. Following these simple tips will help maintain the performance and durability of your driveway.
Can I Install Resin Over Existing Concrete?
Yes, you can install resin over existing concrete. Just ensure proper preparation by cleaning the surface and repairing any cracks. This will improve resin adhesion and provide a durable, attractive finish for your driveway.
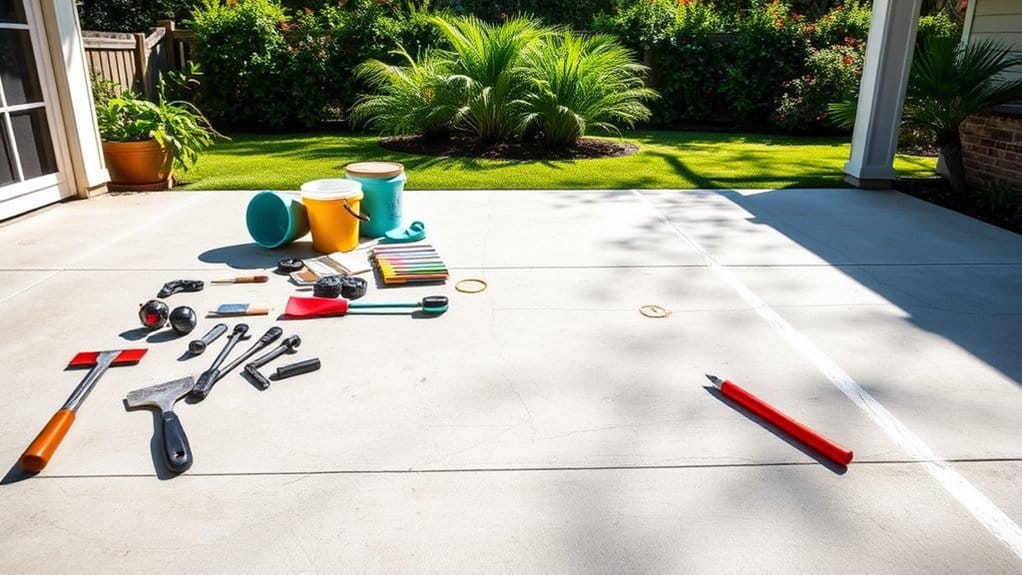
What Tools Do I Need for Installation?
To install your project successfully, you’ll need a few essential tools. A drill is useful for mixing resin, while trowels help achieve a smooth finish. Don’t forget your safety gear to protect against any spills. Each tool plays a crucial role in ensuring a safe and effective installation.
Is Resin Driveway Installation Suitable for DIY Beginners?
Resin driveway installation can be a good option for DIY beginners, but be prepared for some challenges. If you pay close attention to detail, you’ll end up with a durable and attractive surface. For instance, proper preparation of the base is crucial, as it affects the final result. With the right tools and a bit of organisation, the effort can definitely be worth it.
How Do I Choose the Right Aggregate Color?
Choosing the right aggregate colour involves a balance between style and functionality. Use colour matching techniques to ensure your chosen hue complements your home’s exterior. For instance, lighter colours may show dirt more easily, while darker shades can effectively conceal imperfections, enhancing overall appeal. Consider how these factors will impact the look of your property over time.
Conclusion
Transforming your driveway is like creating a well-planned garden. Start by carefully planning the layout and selecting the right materials. When applying your resin, precision is key to achieving a beautiful finish that enhances your home’s entrance. Just like a garden, your resin driveway will need regular maintenance to keep it looking its best. With a bit of effort, it can remain a stunning feature for years to come. Enjoy the results of your hard work!
Whilst it is true that there are certain conditions required in order to lay a resin bound stone patio, pathway Read more
If your driveway is looking old and tired, a new one can help revamp your property. Modern driveways are available Read more
Driveways are the gateway to your home - a dependable path that sets a welcoming tone for guests and visitors Read more