
When installing a driveway, there are several key steps to follow. First, choose a suitable material, such as tarmac or concrete. Next, assess your site for drainage and any obstacles. Then, excavate the area and lay a solid base, followed by a bedding layer for added support. Lastly, apply surface treatments to enhance durability. Remember to consider maintenance tips to ensure your driveway stands the test of time. Stay tuned to learn more about each stage in detail!
Key Takeaways
- Before starting your driveway installation, assess the site for a solid foundation, good drainage, and compliance with local regulations.
- Excavate to the correct depth, ensuring the surface is flat and even for effective drainage.
- Lay a stable base layer using coarse materials, compacting it in layers for added strength.
- Select appropriate bedding layer material to distribute weight evenly and improve drainage.
- To ensure your driveway lasts, carry out regular cleaning, sealing, and address any cracks promptly.
Understanding Driveway Materials
When considering a driveway installation, it’s essential to understand the materials available, as this can significantly influence your choice.
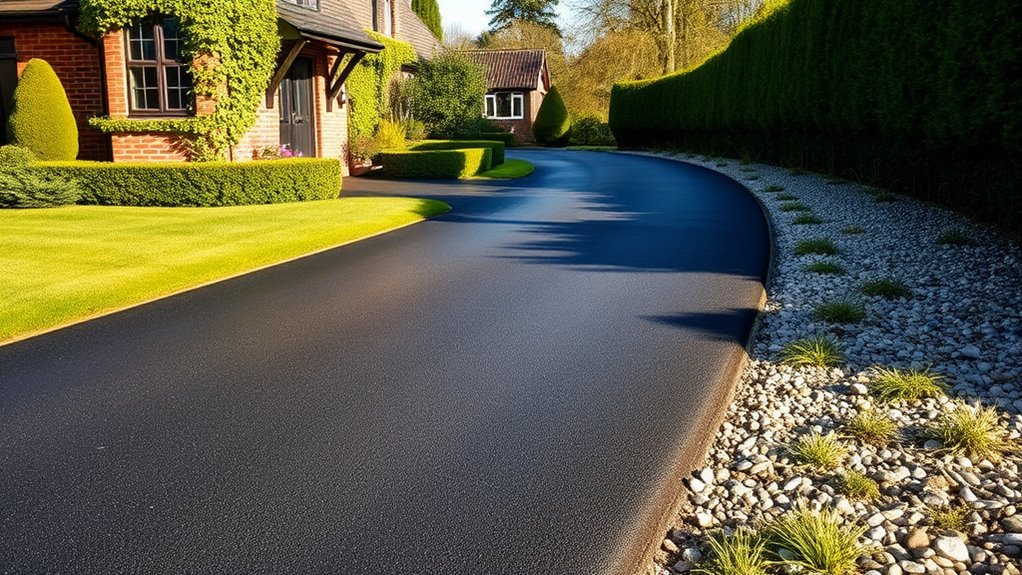
Asphalt is a cost-effective option with a smooth finish, but it typically only lasts 12 to 30 years. Asphalt driveways require regular sealing for maintenance to ensure their longevity.
Concrete is pricier but offers durability, lasting over 30 years, and can be customised for improved aesthetics. Additionally, concrete can handle heavy loads well, making it a suitable choice for areas with frequent vehicle traffic.
Gravel is the most economical choice, but it requires regular upkeep and doesn’t last as long.
Pavers are great for their design flexibility and exceptional durability, lasting over 40 years.
Brick, with its timeless appeal, can last between 50 to 100 years, making it a solid investment for enhancing your home’s curb appeal.
Evaluating these materials based on appearance and lifespan can help you find the best option for your home and lifestyle.
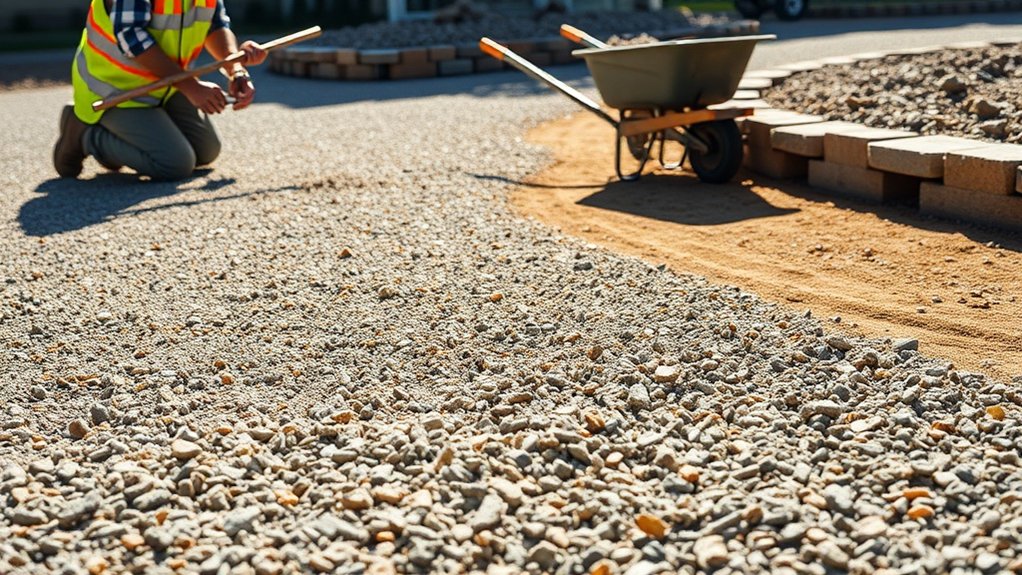
Site Assessment and Preparation
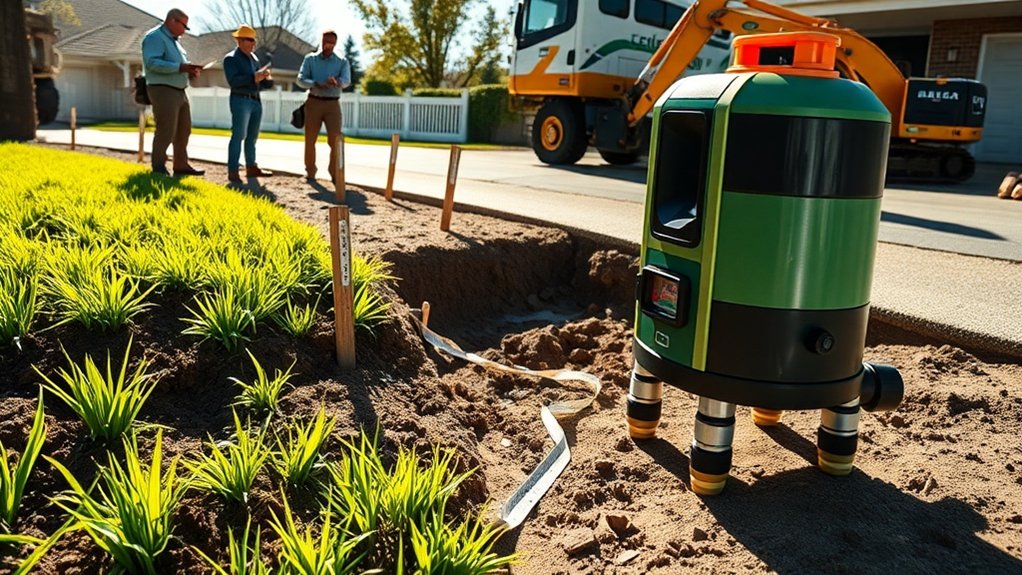
Before starting your driveway installation, it’s crucial to thoroughly assess your site to ensure a solid foundation for your new surface. This involves checking site accessibility, obtaining the necessary permits, and identifying any potential obstacles such as tree roots or utility lines.
It’s also important to evaluate drainage; measure the slope to ensure proper water runoff. Proper preparation is essential for the successful installation and maintenance of driveways. Implementing effective drainage systems can prevent long-term issues with water pooling and surface damage.
- Review local planning regulations and building codes.
- Measure and mark out the driveway dimensions, taking vehicle space into account.
- Clear the area of any vegetation, stones, or debris.
Document your findings to guide the next steps, including excavation and base preparation. A well-prepared site is key to a successful driveway installation that will last.
Excavation Techniques

With your site prepared, the next step is to employ effective excavation techniques. Determine the appropriate depth—typically 300-450mm for gravel driveways and 200-300mm for concrete—to ensure stability. Use essential tools like shovels for smaller tasks, while a mini-excavator or backhoe is ideal for larger projects. Always prioritise safety; clearly mark boundaries and remove topsoil to reach stable subsoil. As you dig, ensure a flat and even grade for proper drainage. After excavation, check the levelness and depth to confirm readiness for the next stage. Using the right tools and techniques not only saves time but also prevents future issues such as settling or drainage problems, while also ensuring proper drainage is achieved through grading the driveway. A solid sub base is vital for durable resin driveway installation to support the surface layer effectively.
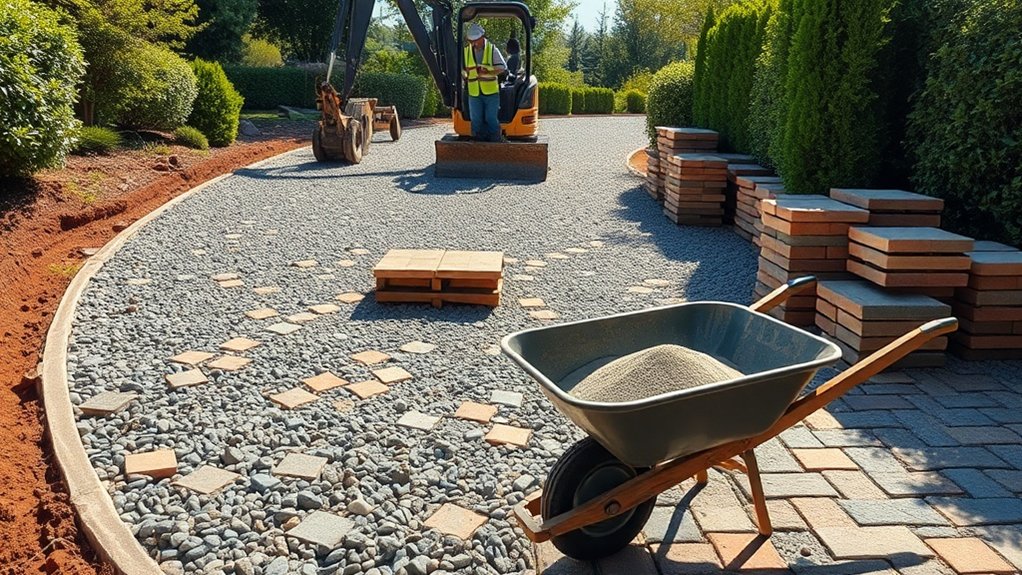
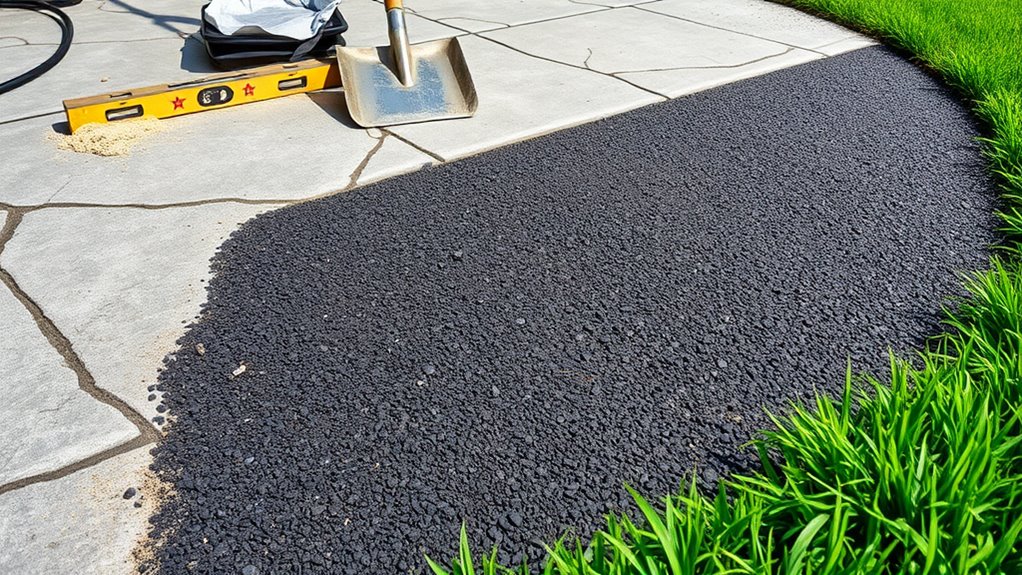
Base Installation and Compaction
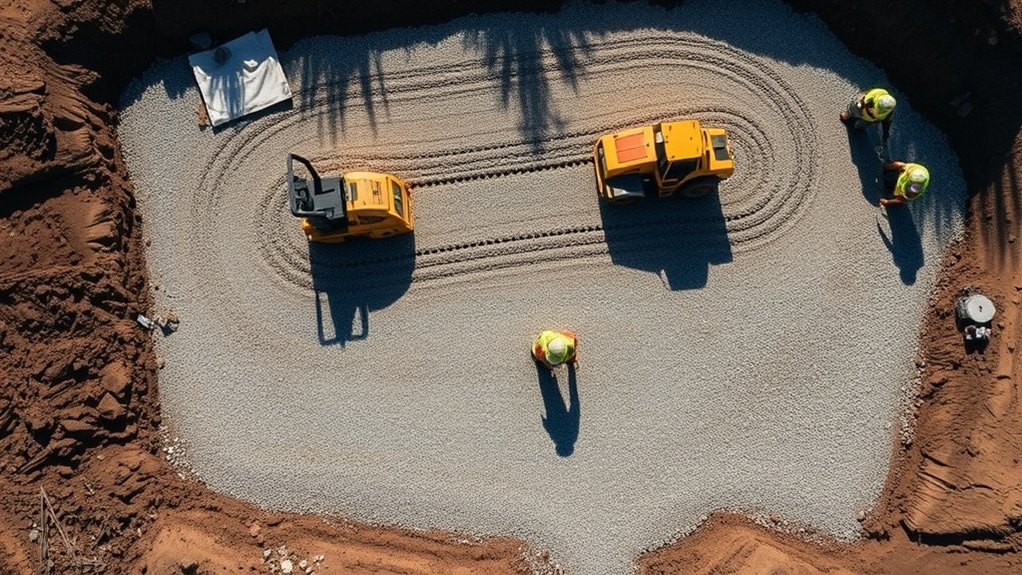
Begin by establishing a solid foundation for your driveway through careful base installation and compaction. A well-constructed base layer is crucial for durability and effective drainage.
Use coarse materials, such as crushed stone, spread evenly to form a robust foundation. Employ proper compaction techniques to ensure a stable surface.
- Compact in layers, adding 50-100mm of gravel at a time.
- Use tools like plate compactors or vibratory rammers for thorough compaction, particularly around the edges.
- Conduct a proof roll with a heavy vehicle to check for stability.
Choosing the Right Bedding Layer
Choosing the right bedding layer is crucial for a long-lasting and stable driveway.
Consider using materials such as concrete sand or crushed gravel, with a recommended thickness of around 25mm for optimal support.
This careful choice improves load distribution and helps prevent shifting and settling, ensuring your driveway remains in excellent condition for years to come.
Importance of Bedding Layer
When choosing the right bedding layer for your driveway, it may seem like a small detail, but it’s vital for the durability and performance of your paving system.
The bedding layer serves several important functions:
- It evenly distributes vehicle weight, which helps prevent cracks and damage.
- It enhances water drainage, reducing the risk of pooling and erosion.
- It allows for individual adjustments of pavers to achieve precise levelling.
Prioritising this layer will ensure a stable and long-lasting driveway.
Ideal Bedding Materials
Choosing the right bedding materials is vital for ensuring the durability and stability of your driveway. You typically have two main options: hydraulically bound and unbound bedding.
Hydraulically bound bedding, such as a mix of sand and cement, is ideal for larger paving units, providing a strong and rigid base. On the other hand, unbound bedding, which consists of clean sand or graded aggregates, offers flexibility for smaller pavers and allows for effective drainage.
It’s important to install these materials correctly. Ensure that unbound materials are compacted properly to prevent shifting.
To boost stability, consider using geotextile fabrics beneath the bedding layer. This can improve drainage and minimise surface water issues, particularly in high-traffic or commercial areas.
Layer Thickness Considerations
Layer Thickness Considerations
A well-planned bedding layer is crucial for the strength and durability of your driveway, with thickness directly affecting performance. Choosing the right thickness ensures proper drainage and stability.
Here’s what to consider:
- For conventional (impermeable) pavers, aim for a bedding layer of 1 inch (25 mm), compacted to between 19 and 25 mm.
- If you’re opting for permeable pavers, a thicker bedding layer of 2 inches (50 mm) is advisable to enhance drainage.
- Always check that your screeded bedding surface has a tolerance of ±3/8 inch (10 mm) over 10 feet (3 m) for a level finish.
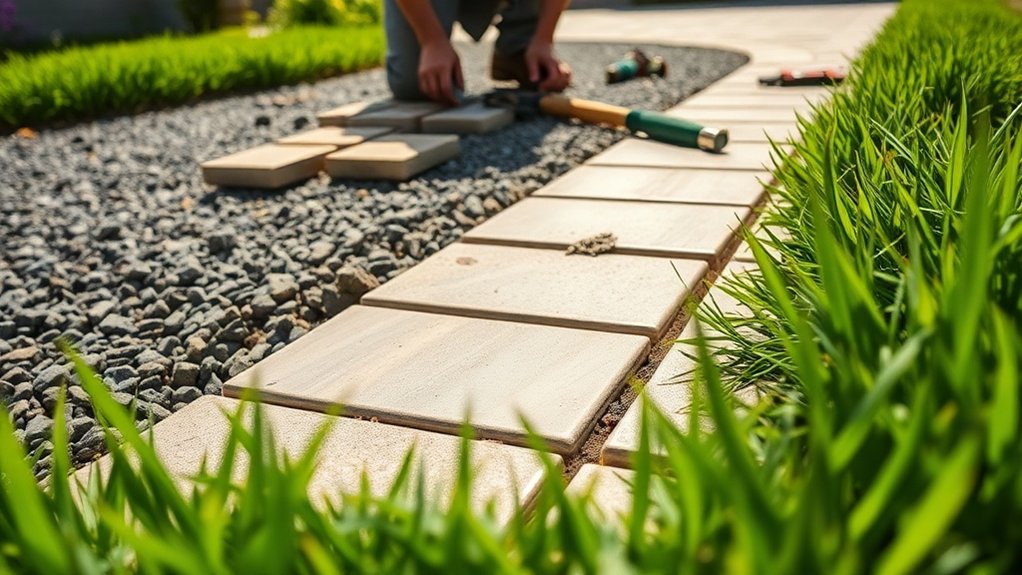
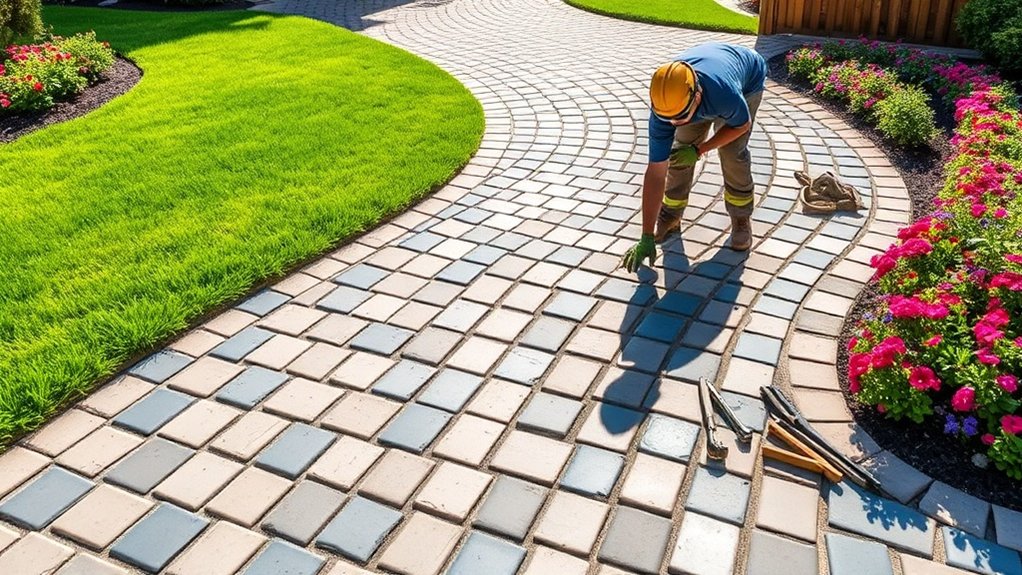
Laying Pavers for a Durable Finish
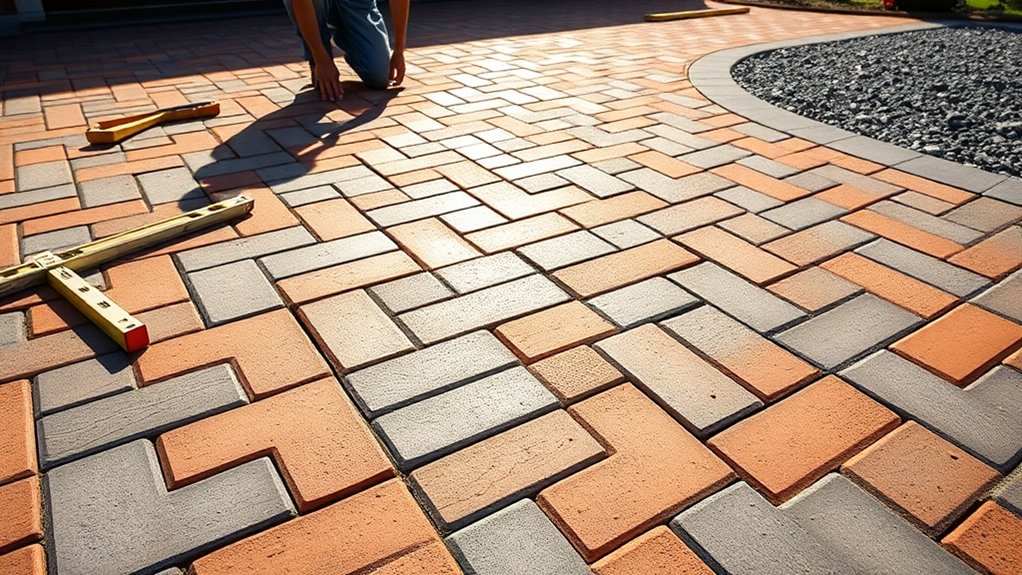
Laying pavers for a durable finish requires attention to detail. Start by following your chosen paver pattern and ensure each piece fits snugly together.
Begin at a straight edge or corner, using a rubber mallet to gently tap the pavers into place for proper alignment. Regularly check that everything is level and aligned to achieve a uniform surface.
Use edge restraints to prevent any lateral movement, which is crucial for joint stability. Once the pavers are in place, sweep polymeric sand into the gaps to secure them and reduce weed growth.
Finally, compact the surface with a plate compactor to settle the pavers and sand, enhancing durability for years to come.
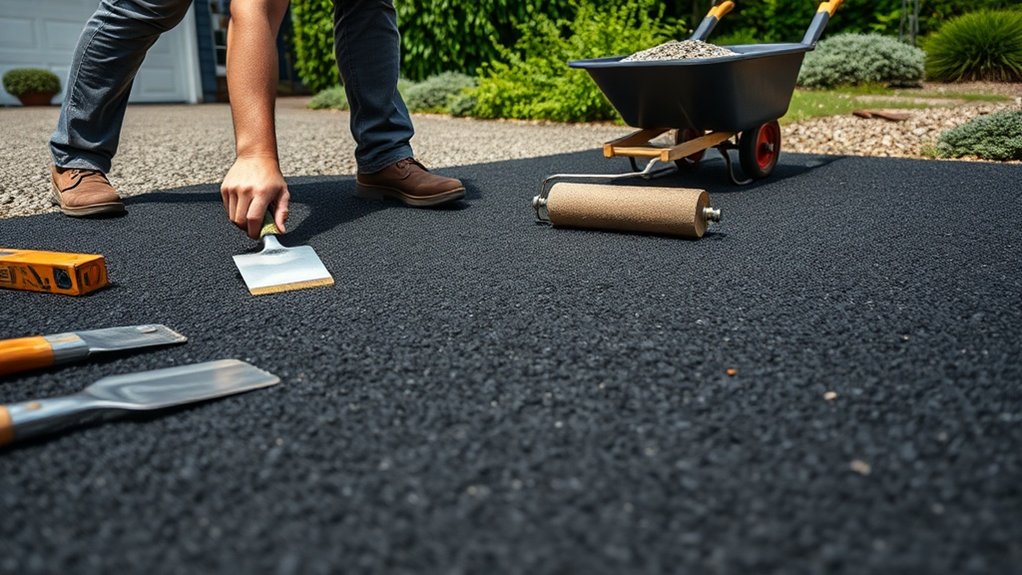
Asphalt Installation Methods
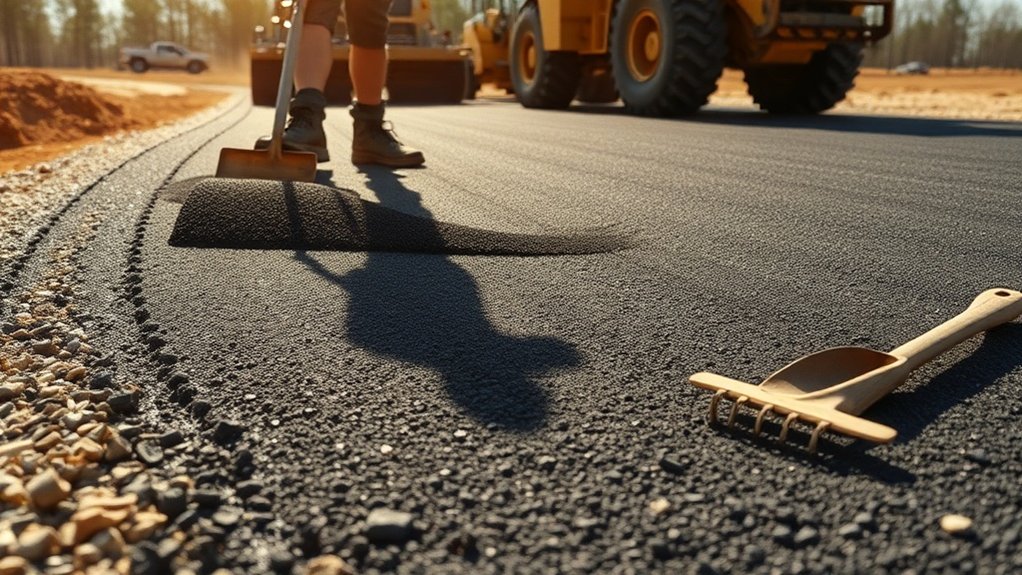
When installing asphalt, it’s crucial to understand the mixing techniques to ensure your driveway is durable.
Compaction is equally important, as it provides a strong foundation capable of handling traffic and varying weather conditions.
Lastly, considering surface finishing options can improve both the look and lifespan of your driveway.
Asphalt Mixing Techniques
Asphalt mixing techniques are essential for creating a durable and long-lasting driveway. The right method not only influences quality but also enhances performance.
- Mix Design: Customised for your driveway’s specific traffic load and weather conditions.
- Performance Additives: Adding materials like polymer modifiers can improve flexibility and resistance to damage.
- Recycling Techniques: Using reclaimed asphalt pavement (RAP) helps lower costs and is better for the environment.
Maintaining the right temperature during mixing is crucial to prevent premature cooling, ensuring proper binder coating.
Understanding these techniques helps you recognise how they contribute to a strong, resilient driveway that endures over time.
Compaction Process Overview
Once you’ve mastered asphalt mixing techniques, understanding the compaction process is crucial for a successful installation.
Compaction is the final stage that increases asphalt density by binding the cement and aggregates together. It consists of three main phases:
- Paver screed compaction – This is where the asphalt gains its initial strength.
- Roller compaction – Heavy rollers are employed to effectively densify the layer.
- Traffic compaction – This occurs naturally over time as vehicles drive over the surface.
To ensure even density across the mat, employ different compaction techniques, such as multiple roller passes in overlapping patterns.
It’s important to monitor the temperature and adjust your methods according to the conditions. This careful approach guarantees a durable driveway that stands the test of time.
Surface Finishing Options
Choosing the right surface finishing options is crucial for a durable and attractive driveway.
Here are some effective asphalt installation methods that improve both texture and longevity:
- Sealcoating: This protective layer safeguards your asphalt from water, UV rays, and oils, ensuring your driveway stays in excellent condition.
- Microsurfacing: Ideal for tackling minor cracks and ruts, this method not only prolongs the lifespan of your pavement but also enhances skid resistance, making it safer to drive on.
- Tack Coating: This essential technique promotes strong adhesion between asphalt layers, preventing issues like delamination and ensuring a long-lasting surface.
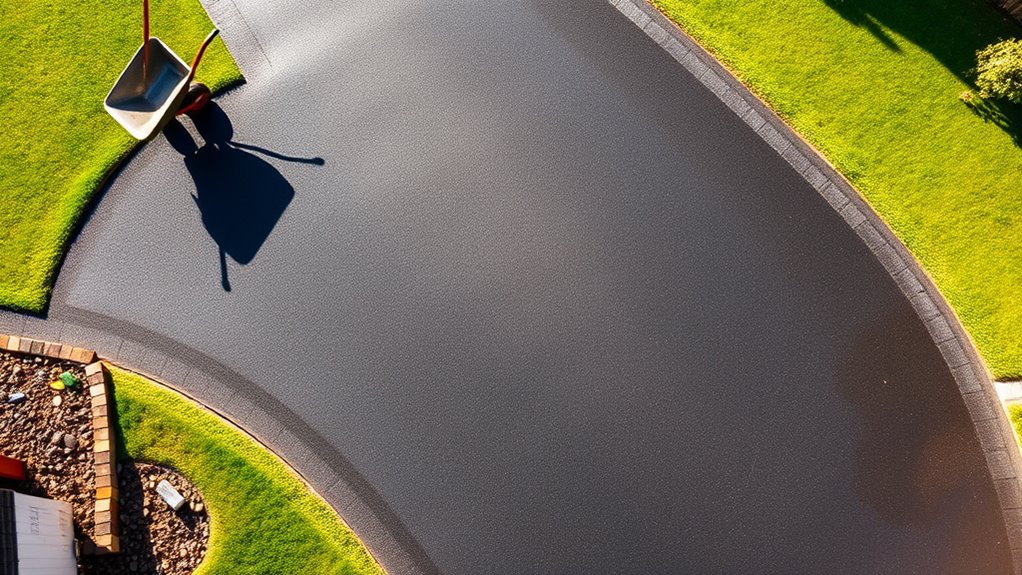
Concrete Driveway Considerations
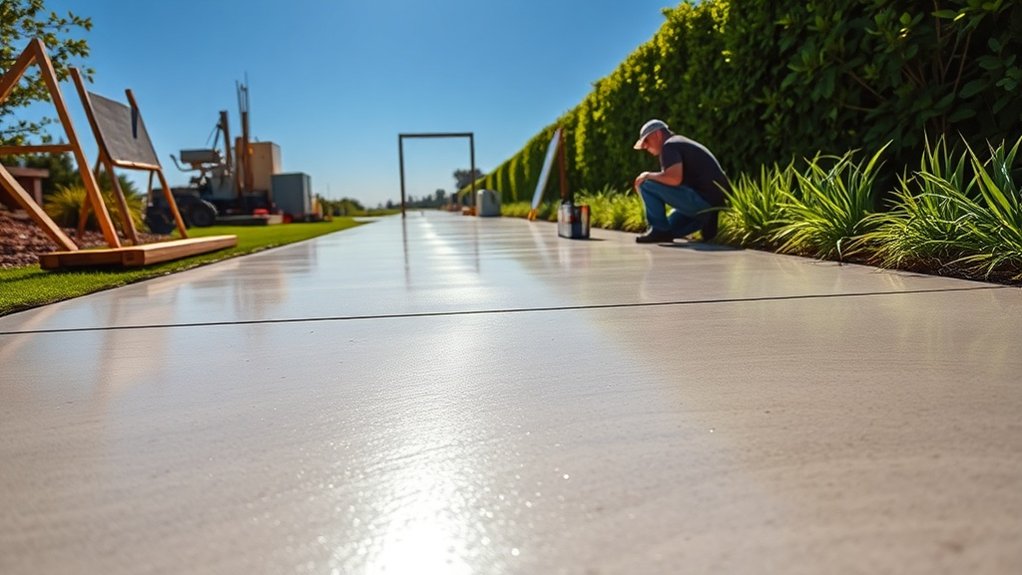
When planning a concrete driveway, it’s crucial to consider several factors that affect its durability and functionality. Key aspects such as compaction and effective drainage play a significant role in ensuring longevity. It’s important to ensure your driveway can handle freeze-thaw cycles, particularly in colder areas.
| Consideration | Description |
|---|---|
| Dimensions | Assess the size needed for your vehicle and its shape. |
| Base Layer Thickness | A thickness of 2-4 inches is recommended, depending on soil conditions. |
| Drainage Solutions | Ensure there’s a proper slope for effective water runoff. |
Final Touches on the Driveway
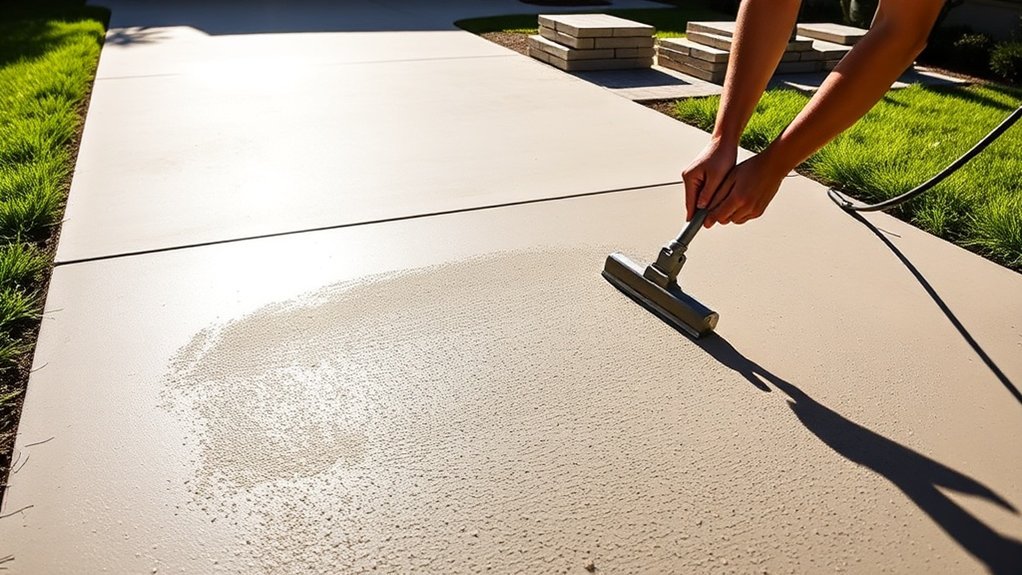
Final Touches on the Driveway
As you complete your driveway installation, the finishing touches are crucial for enhancing both its appearance and durability. Proper sealing will protect against moisture and wear, while effective drainage ensures water flows away from the surface.
Here are some essential steps:
- Seal the driveway: Allow adequate curing time before applying sealants to asphalt or concrete.
- Install edging: Use sturdy materials to keep loose stones in place, preventing shifting and improving the overall look.
- Ensure proper drainage: Final grading and drainage channels should direct water runoff, avoiding pooling and potential damage.
These final touches not only improve curb appeal but also extend the lifespan of your driveway, ensuring you can enjoy it for many years.
Maintenance Tips for Longevity
After completing your driveway, it’s important to maintain its condition to ensure it lasts. Regular upkeep can prevent expensive repairs and extend its lifespan. Here are some essential maintenance tips:
| Maintenance Tip | Description |
|---|---|
| Crack Repair | Address cracks quickly using suitable fillers. |
| Surface Maintenance | Regularly sweep and wash to prevent wear and tear. |
| Sealcoating | Apply a sealcoat every 2–5 years for extra protection. |
| Drainage Management | Ensure proper grading to prevent water pooling. |
| Load Considerations | Avoid parking heavy vehicles to prevent damage. |
Enhancing Curb Appeal With Landscaping
Enhancing your home’s curb appeal through landscaping not only creates a welcoming environment but also significantly increases property value.
By incorporating popular landscaping features and embracing current trends, you can make your home stand out.
- Pathways: 88% of homeowners prefer them for their visual appeal and practicality.
- Gardens: 68% enjoy the natural colour and texture they add.
- Eco-friendly practices: 52% of homeowners are opting for sustainable landscaping to benefit the environment.
These features not only improve curb appeal but can also offer a substantial return on investment.
Whether it’s adding potted plants by the front door or planting vibrant flowers, thoughtful landscaping enhances both the appearance and value of your home, making it more appealing to potential buyers.
Frequently Asked Questions
How Long Does the Driveway Installation Process Typically Take?
The driveway installation process usually takes between 1 to 2 weeks, depending on factors such as material selection, weather conditions, the size of the area, and the complexity of the project. Be aware that unexpected site issues or permit requirements may cause delays.
What Weather Conditions Can Delay Driveway Installation?
Rainy weather can stop your driveway installation in its tracks, while extreme temperatures can either cause materials to dry out too quickly or slow down the curing process. Both scenarios can lead to delays, so it’s crucial to check the forecast before booking your project.
Are Permits Required for Driveway Installation?
Yes, permits are typically required for driveway installation in the UK. You’ll need to follow the local permit application process and comply with specific regulations, which can differ depending on your area and the nature of your project. For instance, if you’re planning to create a hard surface, you may need to ensure proper drainage to prevent water runoff. Always check with your local council before starting work.
Can I Install a Driveway Myself, or Should I Hire Professionals?
You can certainly attempt a DIY driveway, but without professional assistance, you may encounter issues with accuracy and material quality. For larger projects or intricate designs, employing experts will ensure a durable and visually appealing outcome.
What Is the Average Cost of Driveway Installation?
The average cost of installing a driveway in the UK ranges from £600 to £18,000, depending on the materials and size. For example, gravel is a more affordable option, while block paving and heated driveways can significantly increase the overall cost.
Conclusion
As you lay the final stone of your driveway, think of it as the entrance to your home. Each step in the installation process reflects your dedication to creating a welcoming space for family and friends. By choosing quality materials and ensuring proper upkeep, you’re not only boosting your property’s charm but also laying a strong foundation for future memories. Enjoy this process, and let your driveway be the backdrop for life’s special moments.
How can a tarmac driveway enhance your home's appeal? Discover the key aspects of cost, installation, and maintenance in our Read more
Wondering if a tarmac driveway is the perfect fit for your home? Uncover the essential pros and cons before making Read more
Not sure if you can lay tarmac over your existing driveway? Discover the crucial steps and benefits you need to Read more