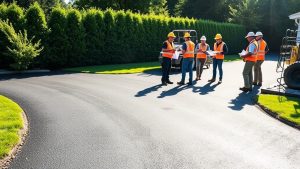
To compact a gravel driveway properly, start by choosing the right base material, such as crushed stone or Type 1 aggregate, for better stability. Prepare the area by removing any organic material and grading the subsoil to ensure proper drainage. Use suitable compaction equipment, like plate compactors or rollers, and carefully manage moisture levels—too much or too little can hinder the compaction process. Finally, conduct quality control checks to ensure maximum density. By following these steps, you can maintain your driveway’s durability and appearance effectively.
Key Takeaways
- Choose the right base material, like Type 1 aggregate, for the best stability and drainage before compacting.
- Remove any organic matter and soft soil, then dig to a depth of 15-30 cm for proper site preparation.
- Use suitable compaction equipment, such as a plate compactor, for granular soils to ensure uniform density across the driveway.
- Check moisture levels before compaction and adjust as needed to aid particle settling and minimise air gaps.
- Compact in layers and test each layer to maintain consistent density and adhere to recommended thickness guidelines.
Selecting the Right Base Material
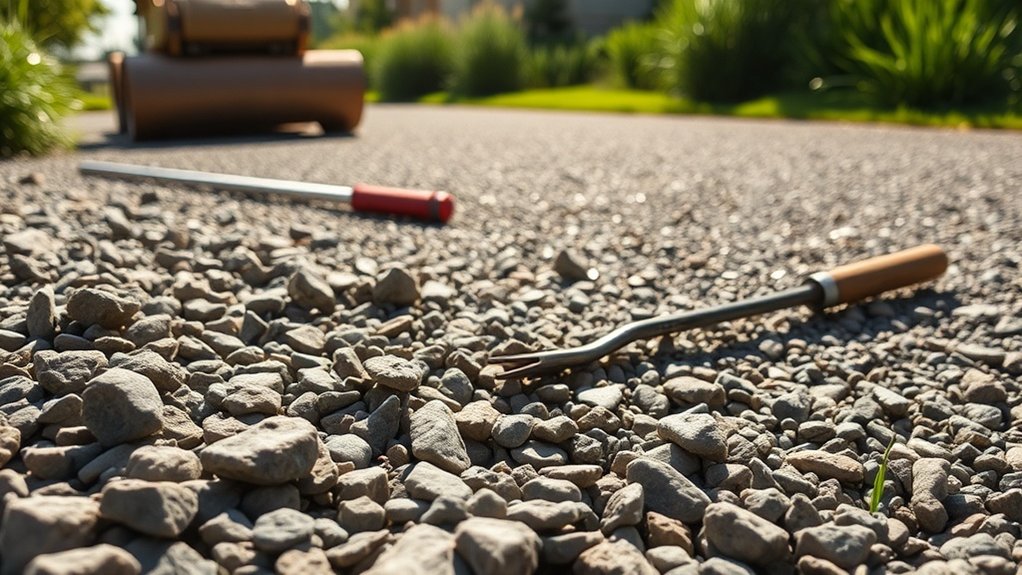
When choosing the right base material for your gravel driveway, it’s important to consider both stability and drainage. Crushed stone is a great option as it offers excellent drainage and interlocks for better compaction. This is crucial because the right base material provides stability, preventing sagging or sinking and aiding in proper water drainage to avoid water damage. On the other hand, gravel is more affordable but may require more upkeep. Using #57 stone or 3/8″ minus with fines can improve stability by filling gaps and enhancing compactability. Coarse pit run materials are also good for drainage and can handle heavy loads. Remember, the shape and size of the aggregate matter; larger, angular stones provide better stability than rounded gravel. Additionally, choosing a durable surface like tarmac can enhance the overall longevity of your driveway. Keep these factors in mind to ensure a durable and well-drained driveway.
Preparing the Site for Compaction
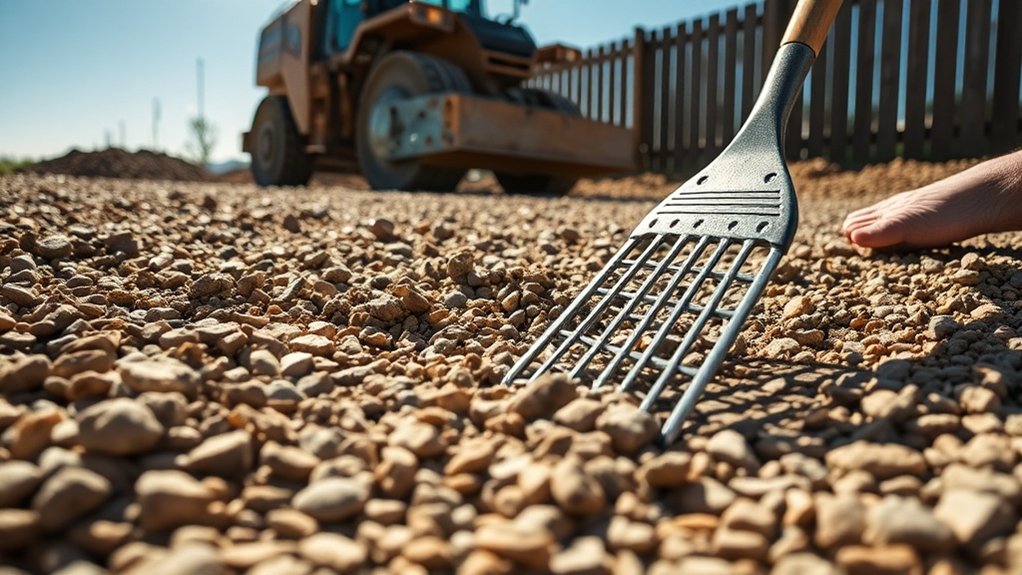
To ensure effective compaction of a gravel driveway, proper site preparation is crucial. Begin with a thorough assessment to identify the natural contours and drainage requirements. Clearly mark the path of the driveway, making sure it meets width standards and local regulations.
- Remove organic materials to a depth of 15-30 cm (6-12 inches).
- Excavate any soft soils that could cause settling issues.
- Grade the subgrade to create a gentle crown for optimal drainage. Proper drainage planning is essential; consider adding features like side ditches or culverts where necessary.
Once you’ve cleared and graded the area, compact the subgrade evenly to establish a stable foundation for the gravel layers. This preparation is key to achieving successful compaction and ensuring the long-term performance of your driveway.
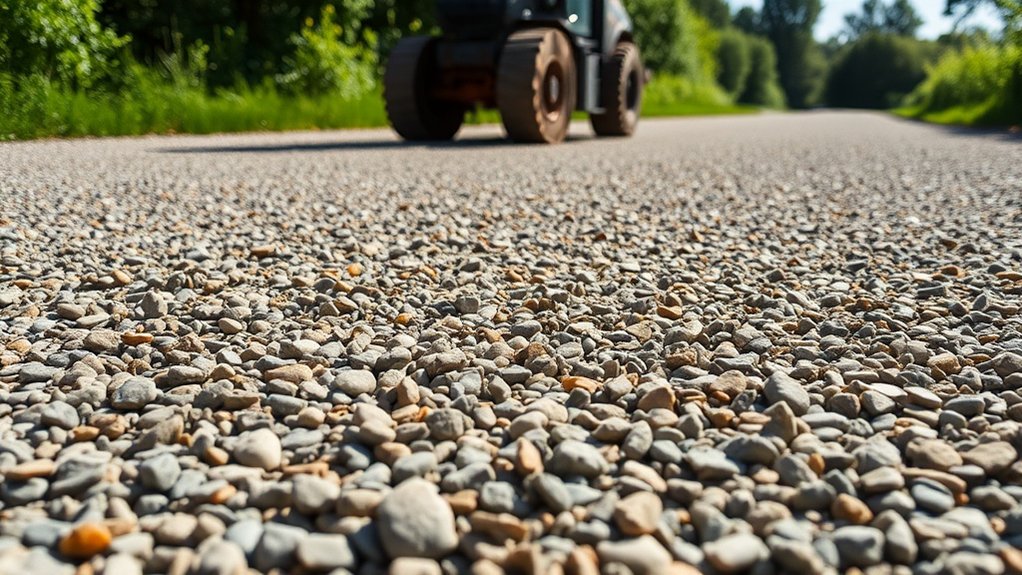
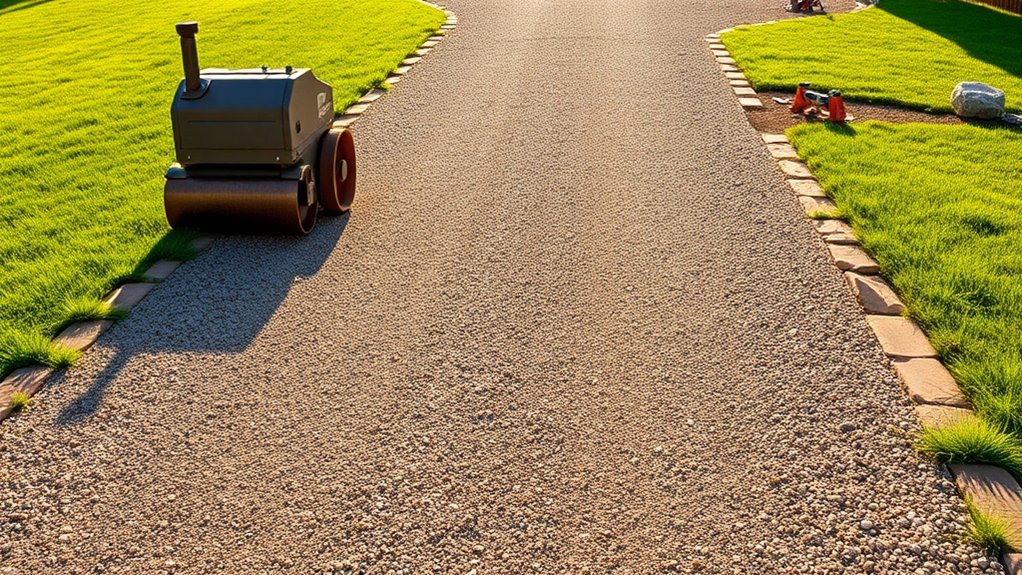
Choosing the Appropriate Compaction Equipment
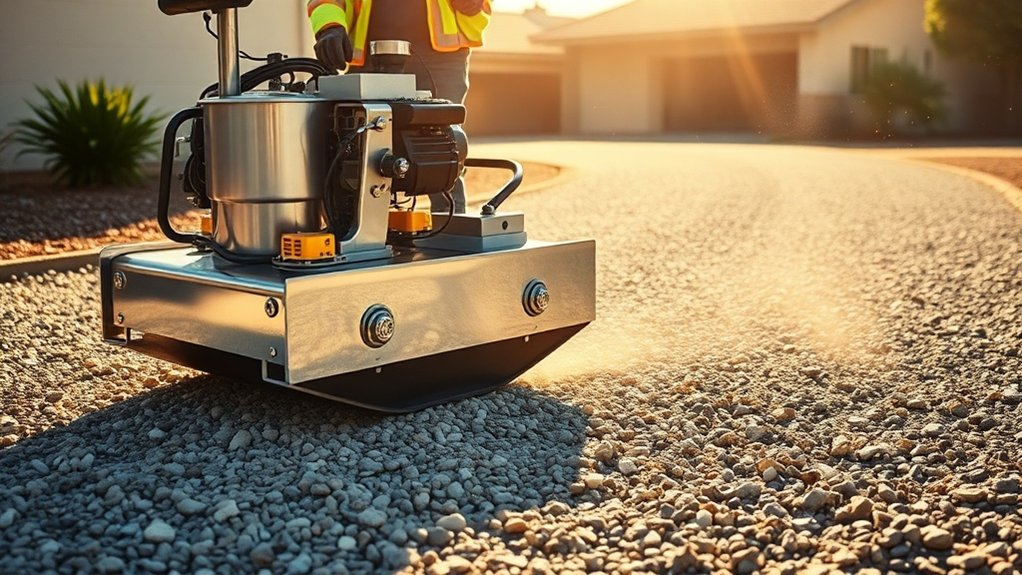
Selecting the right compaction equipment is essential for a successful gravel driveway installation. Consider the specific features of each type of equipment to match your project needs.
Plate compactors are excellent for granular soils, providing uniform compaction through their vibrating plates. If you’re working in tight spaces with cohesive soils, rammers (or jumping jacks) deliver strong impact force and are ideal for such conditions.
For larger areas, rollers can efficiently compress surfaces, though you may need to make several passes. Evaluate the size and accessibility of your work area—smaller spaces are best suited to plate compactors or rammers, while bigger zones may require rollers. Properly selecting equipment ensures that you can achieve the desired increased density for your gravel driveway.
Your choice of equipment will directly affect compaction techniques, ensuring maximum density and stability for your gravel driveway. Choose wisely for the best results.
Understanding Gravel Types and Their Properties
Understanding the different types of gravel and their properties is crucial for anyone looking to build or maintain a sturdy gravel driveway. The characteristics of gravel affect both compaction and stability.
- Angular gravel interlocks effectively due to its shape, offering excellent compaction.
- Rounded gravel, although visually appealing, doesn’t compact well and can shift under traffic.
- Fine particles fill in gaps, boosting stability and load-bearing capacity.
When choosing the right type of gravel, it’s important to consider these properties to ensure durability and proper drainage.
For example, crushed stone is ideal for wetter climates, while decomposed granite works best in warmer areas.
Managing Moisture Levels During Compaction
To achieve optimal compaction of your gravel driveway, it’s essential to maintain the correct moisture content.
Before starting the compaction process, test the moisture levels using reliable methods and adjust as needed based on the current weather.
For example, if it’s been particularly dry, you may need to add some water to ensure proper settling.
This proactive approach ensures effective particle arrangement and improves the overall stability of your driveway.
Optimal Moisture Content
Achieving the ideal moisture content (IMC) is crucial for effectively compacting a gravel driveway. This ensures that the particles interlock, creating a strong, load-bearing surface. The maximum moisture content (MMC) helps gravel bind together efficiently, while too little moisture leads to weak surfaces.
- Too much moisture can cause instability, turning gravel into a muddy slurry.
- Not enough moisture leaves loose particles that are prone to erosion.
- Maintaining proper moisture levels reduces air voids, boosting strength.
To reach MMC, conduct moisture testing to evaluate current conditions. Adjust moisture levels as necessary before compaction to enhance your efforts and avoid surface issues.
Regularly monitoring moisture throughout the process will help ensure a solid, reliable base for your driveway.
Moisture Testing Methods
Managing moisture levels during compaction is essential for a stable gravel driveway. Use different moisture testing methods to ensure optimal conditions.
Hygrometers measure relative humidity, providing insight into moisture retention within the gravel layers. Nuclear moisture gauges allow for quick, non-destructive assessments of water content and density, making it easier to adjust for moisture variations. Additionally, moisture probes placed in aggregate batches enable continuous monitoring, ensuring your compaction efforts remain accurate.
For laboratory testing, the oven-dry method and other standard protocols deliver precise moisture content measurements. Regular field inspections and trial compaction sections help you link moisture levels with density.
Adjusting for Conditions
- Pre-wet gravel in dry weather to ensure effective compaction.
- Allow wet conditions to dry out to avoid creating a slurry.
- Regularly check and aerate surfaces that are too saturated before compacting.
Quality Control and Testing for Compaction
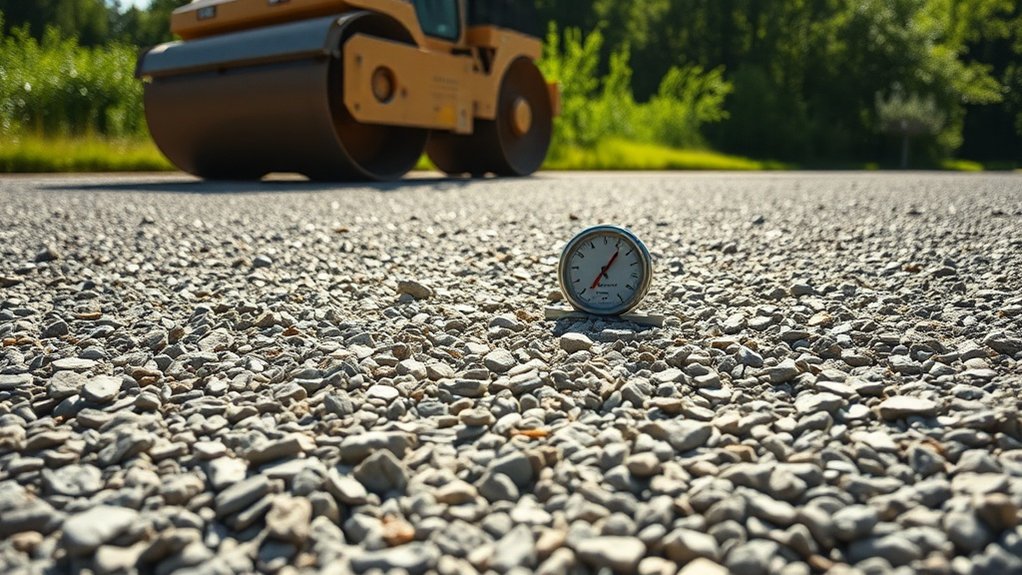
To ensure proper compaction of your gravel driveway, it’s vital to use field density testing methods that accurately assess compaction levels.
Carrying out inspections layer by layer is crucial to confirm that each section complies with the relevant standards. This systematic approach not only verifies the quality of your work but also improves the long-term stability of the driveway.
For instance, using a penetrometer can help you gauge the density of the gravel effectively.
Field Density Testing Methods
How can you ensure your gravel driveway is properly compacted? Effective field density testing methods are key. Here are some techniques to consider:
- Sand Cone Method: This method is precise but can be slow and may not suit all soil types.
- Nuclear Density Gauge: Provides quick results but requires trained personnel and strict safety measures.
- Light Weight Deflectometer (LWD): Offers instant feedback on compaction quality.
When choosing a method, consider the accuracy and the specific needs of your project. Each technique has its pros and cons.
Proper density testing will help you create a robust, well-compacted gravel driveway that lasts.
Layer-by-Layer Inspections
Compacting a gravel driveway may seem simple, but conducting layer-by-layer inspections for quality control is crucial for achieving the best results. Each layer of gravel requires careful examination, particularly regarding moisture content and thickness. Proper inspections ensure even compaction and prevent weak spots.
| Inspection Aspect | Key Considerations |
|---|---|
| Visual Inspection | Look for uniform thickness and any debris. |
| Moisture Content | Measure and adjust to optimal levels. |
| Equipment Checks | Ensure tools are correctly calibrated. |
| Layer Thickness | Keep lifts between 4-8 inches for efficiency. |
These steps improve gravel compaction quality and provide a solid foundation for your driveway.
Compliance With Standards
Ensuring compliance with quality control standards during the compaction of gravel driveways is crucial for durability and safety. Following recommended thickness guidelines and using effective compaction methods will improve surface consistency.
- Conduct field density tests to evaluate compaction effectiveness.
- Check moisture content alongside density tests to achieve optimal conditions.
- Use specialised equipment to ensure continuous compaction and even coverage.
These practices will help you meet contract specifications and engineering standards.
Layer-wise testing is also important to minimise variability, ensuring each section reaches the necessary density before moving on.
Additionally, sticking to a consistent type and gradation of gravel will enhance your compaction efforts, resulting in a strong and reliable driveway.
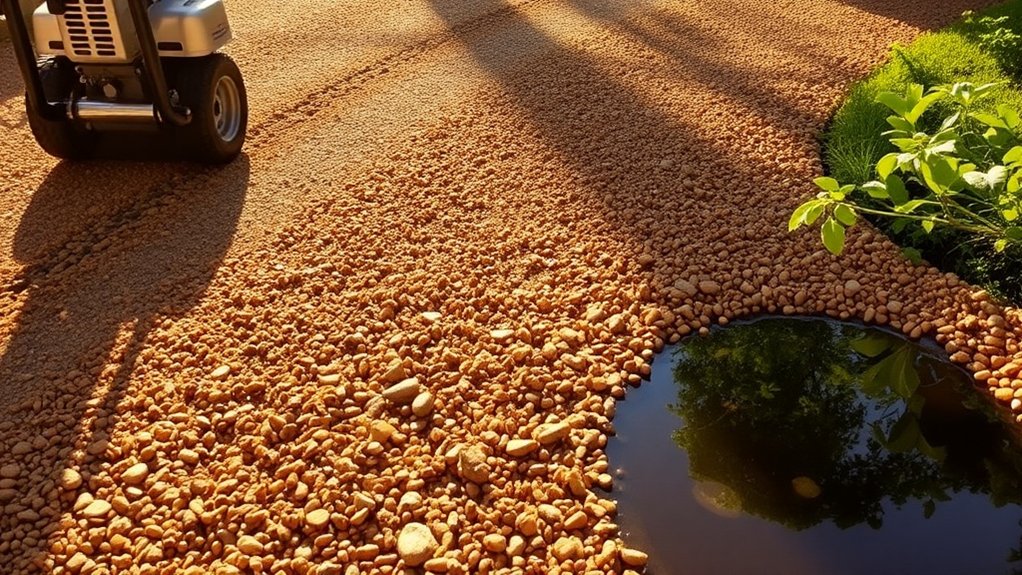
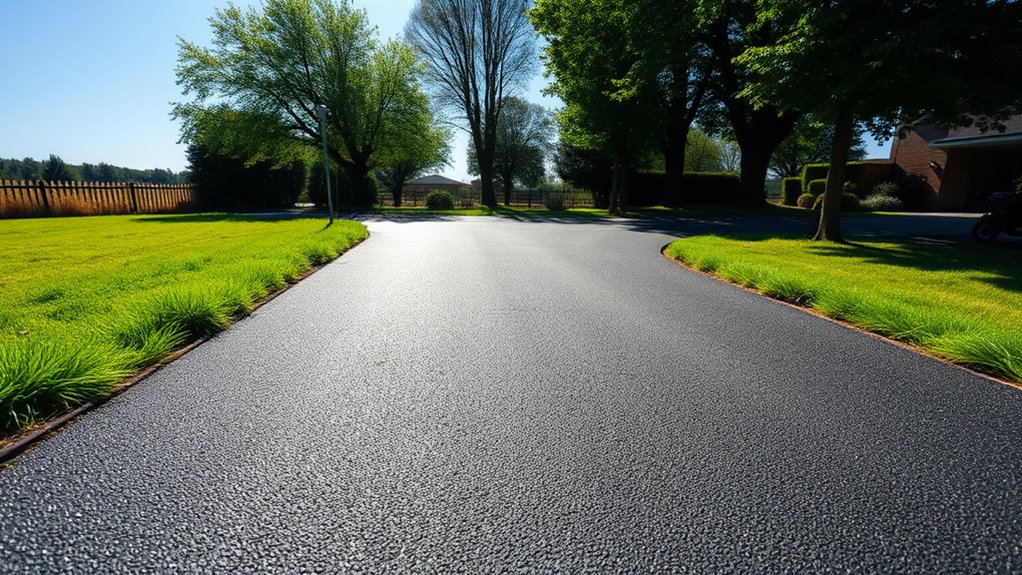
Final Surface Preparation Techniques
Final surface preparation techniques are crucial for creating a durable and attractive gravel driveway.
Begin with final grading to ensure proper drainage, using either a crowning or sloping method depending on your land’s layout. Adjust the grade to remove low spots that can lead to water pooling and erosion.
Apply gravel in layers, compacting each layer individually to secure the stones in place for a solid surface. After compacting, use rakes to smooth the surface for an even finish, addressing any dips or ridges.
Edge the driveway with appropriate materials to contain the gravel and improve its appearance.
Lastly, consider installing a weed prevention membrane to maintain the driveway’s integrity and reduce future maintenance, keeping it functional and looking good.
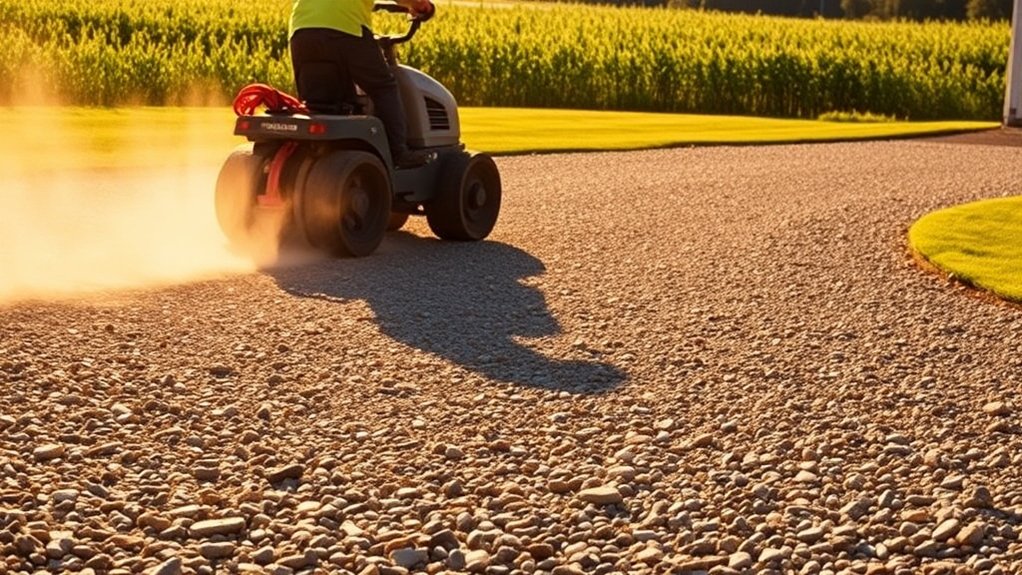
Ongoing Maintenance for a Durable Driveway
Once you’ve completed the final surface preparation, ongoing maintenance is vital to keep your driveway functional and looking good.
Adopting preventive maintenance strategies will help ensure your gravel driveway stays durable and visually appealing. Regular upkeep includes the following essential practices:
- Surface Raking: Use a sturdy rake to maintain an even distribution of gravel and remove any debris. This not only improves traction but also helps prevent moisture build-up.
- Pothole Repair: Keep an eye out for potholes and fill them promptly with fresh gravel, compacting it well to restore a stable surface beneath your wheels.
- Snow Management: Avoid using traditional snowploughs on gravel. Instead, opt for rubber-edged tools to protect the driveway’s surface while clearing snow.
Frequently Asked Questions
How Long Should I Wait Before Using My Compacted Gravel Driveway?
You should wait approximately six months before using your compacted gravel driveway regularly. The timing can vary depending on the type of soil and moisture levels. Allowing proper settling is crucial, as it improves stability and helps prevent damage from premature use. For example, if your driveway is made up of clay soil, it may take longer to compact than sandy soil.
Can I Compact a Gravel Driveway in Rainy Weather?
Compacting a gravel driveway in rainy weather is like trying to build a sandcastle during a storm; it simply won’t work. The wet conditions soften the sub-base, making it ineffective. It’s best to wait for drier weather to ensure proper compaction and long-lasting results.
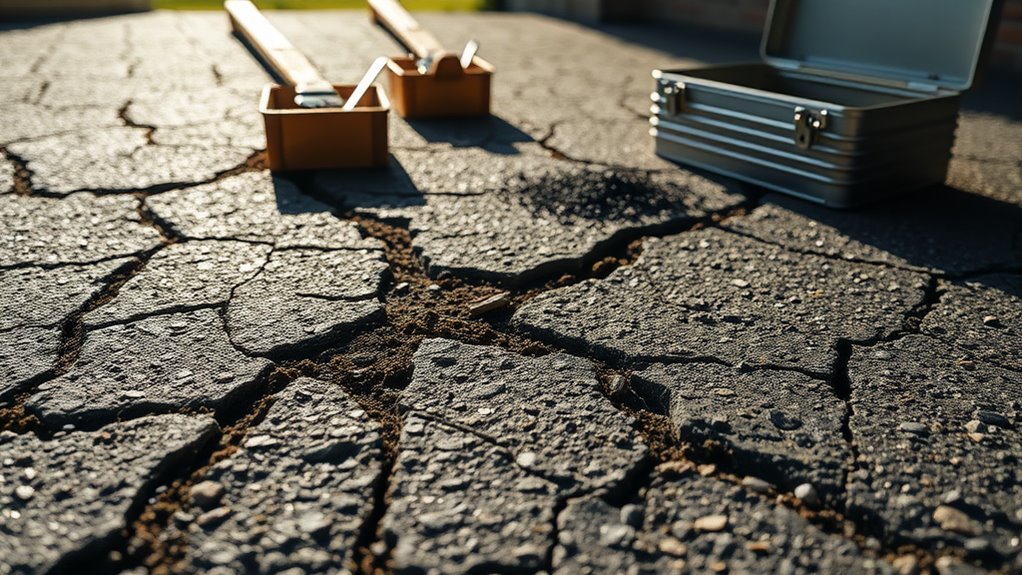
What Are Signs of Inadequate Compaction in a Gravel Driveway?
Signs of inadequate compaction in your gravel driveway include dust clouds when driving over it, gravel that shifts easily, potholes forming, and areas of standing water. Using proper compaction techniques can enhance the stability of the gravel, helping to prevent these issues and maintain a smooth surface.
How Often Should I Re-Compact My Gravel Driveway?
You should re-compact your gravel driveway at least once a year, particularly after heavy use or seasonal changes. Regular compaction helps ensure durability, prevents washouts, and keeps the surface smooth. For example, if your driveway sees a lot of traffic from vehicles or is affected by winter weather, it’s wise to check and compact it more frequently.
Is It Necessary to Add More Gravel Over Time?
Yes, adding more gravel over time is essential. The type of gravel used can impact its durability. To ensure longevity and prevent issues like potholes and uneven surfaces, regularly check for compaction and drainage. Keeping the gravel topped up helps maintain its functionality.
Conclusion
In summary, compacting a gravel driveway is like building a strong foundation; it demands attention to detail and proper techniques. Choose the right materials, prepare the site thoroughly, and manage moisture effectively to ensure a solid base that lasts. Regular maintenance will keep your driveway in good shape, preventing erosion and wear. By following these steps, you’ll create a durable surface that’s both practical and attractive, ready for everyday use.
Maximize the durability of your tarmac driveway by understanding the ideal weather conditions for installation—discover the secrets to perfect timing Read more
Discover the common causes of tarmac driveway cracks and learn effective repair methods to protect your investment—your driveway deserves the Read more
Before you paint your tarmac driveway, discover essential tips and techniques that can transform its appearance and durability—don't miss out Read more