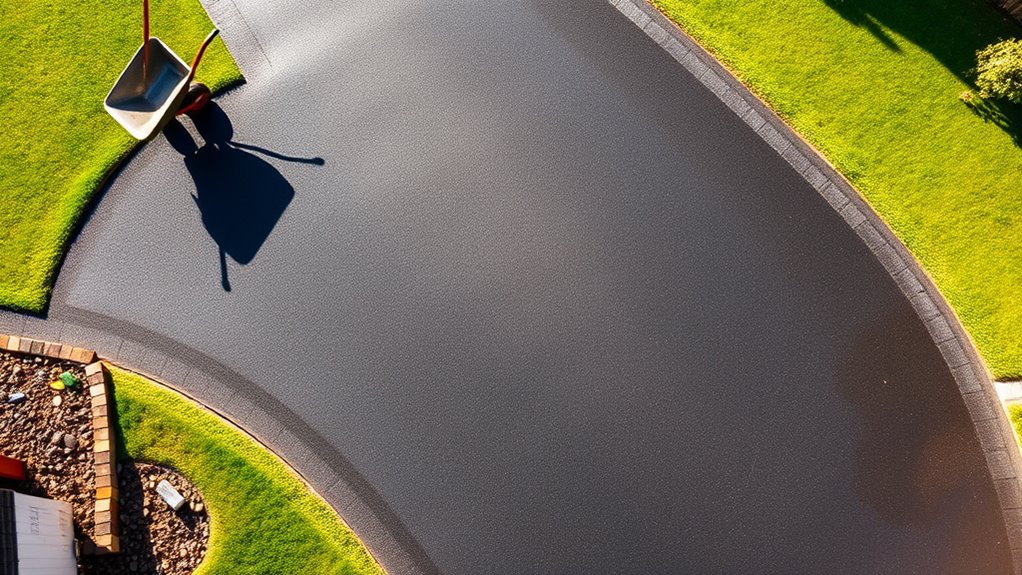
To extend your gravel driveway without it looking mismatched, start by assessing the current layout for drainage and slope. Select gravel that closely matches the colour and texture of your existing surface. Prepare the base with well-compacted layers, beginning with coarse crushed stone and topping it with finer aggregates. Blend the edges smoothly to prevent dips, ensuring consistent drainage with ditches or French drains. Regular upkeep will keep your driveway looking its best. Explore additional methods to achieve a cohesive appearance with ease.
Key Takeaways
- Choose a gravel type that matches your existing driveway in colour and texture to ensure a cohesive look with your home’s exterior.
- Blend the edges by raking gravel on both sides of the join to create a smooth transition, and level the ground to prevent bumps.
- Maintain a consistent sub-base thickness of 5-7.5 cm throughout the extension area for stability and to avoid uneven surfaces.
- Regularly check and maintain the driveway to fix any dips or bare patches, keeping the appearance seamless over time.
- Pay attention to the surrounding landscaping and drainage features to create a natural flow, enhancing the overall look of the extended driveway.
Assessing Your Current Driveway Structure
To ensure a successful driveway extension, it’s vital to assess your current driveway structure.
Start with a detailed inspection of the driveway, checking for a sufficient crown of about 6 inches to promote water drainage.
Evaluate the drainage system, looking at ditches to confirm they’re deep enough to manage surface water.
Check that culverts are appropriately sized to prevent water pooling.
Assess the slope of the driveway, aiming for a gradient of 2% to 4% for optimal runoff.
Take note of any surface issues like ruts or potholes, as these can indicate drainage problems that need addressing.
Lastly, verify that the gravel layer is at least 6 inches thick and of good quality to ensure the structural integrity of your planned extension. Additionally, consider proper grading to prevent water accumulation and ensure longevity in your driveway’s surface.
Planning the Extension Area
After assessing your current driveway, the next step is to plan the extension area. Ensure you have proper alignment and drainage for a smooth addition.
Here’s how to effectively plan:
- Use landscape stakes and string to outline the extension’s perimeter.
- Space the stakes appropriately for either a single or double driveway.
- Check dimensions with visual inspections and measurements.
- Maintain a drainage slope of 1-2% to direct water away properly.
- Consider surrounding landscaping and natural terrain features. Proper grading is essential to prevent standing water and ensure the longevity of the driveway extension.
Preparing the Base Layer
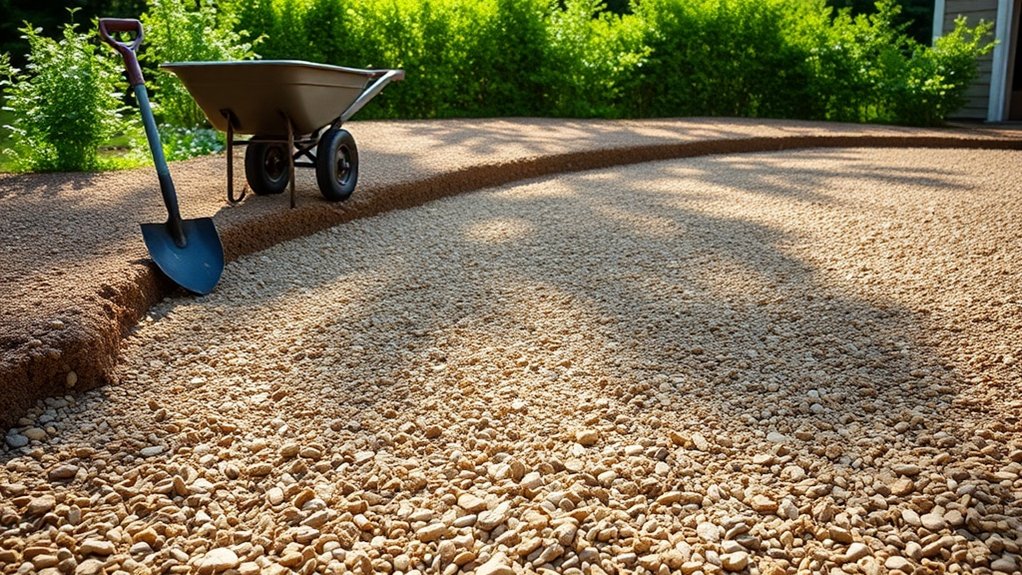
Preparing the Base Layer
After clearing and excavating the area for your driveway extension, it’s crucial to create a solid base layer to ensure durability and effective drainage. Begin with well-graded, angular aggregate for the sub-base, typically 100mm to 150mm thick. Compact this layer well to improve soil stability and prevent future shifting. Proper site planning is essential to avoid issues with drainage and soil erosion.
| Step | Description |
|---|---|
| Clear Vegetation | Remove all grass and debris to expose firm soil. |
| Excavate | Dig to a depth of 150mm to 300mm for the layers. |
| Install Sub-base | Spread angular aggregate evenly, maintaining depth. |
| Compact | Use a plate compactor to create a stable base. |
Compaction is essential for a long-lasting driveway, so don’t skip this step.
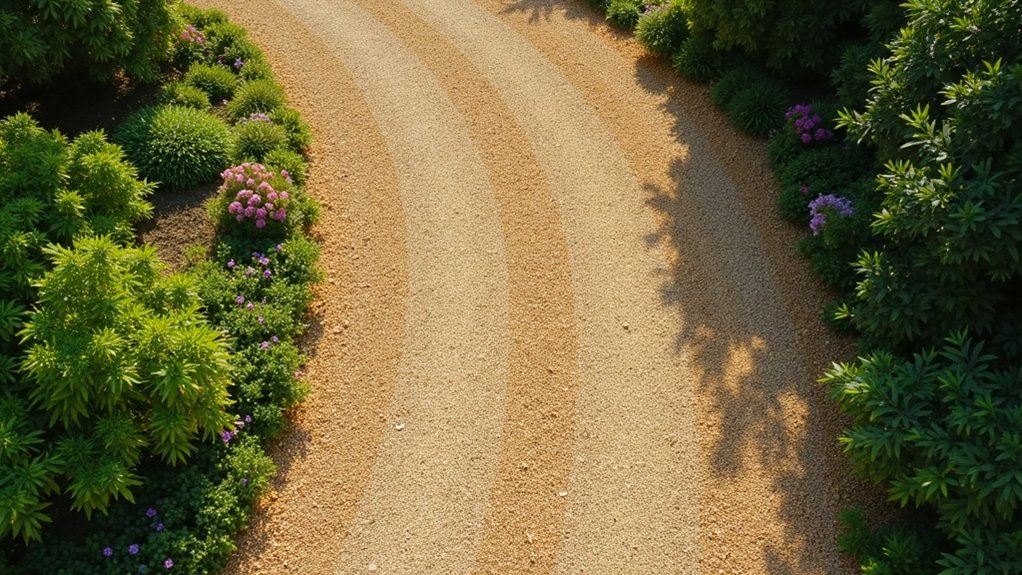
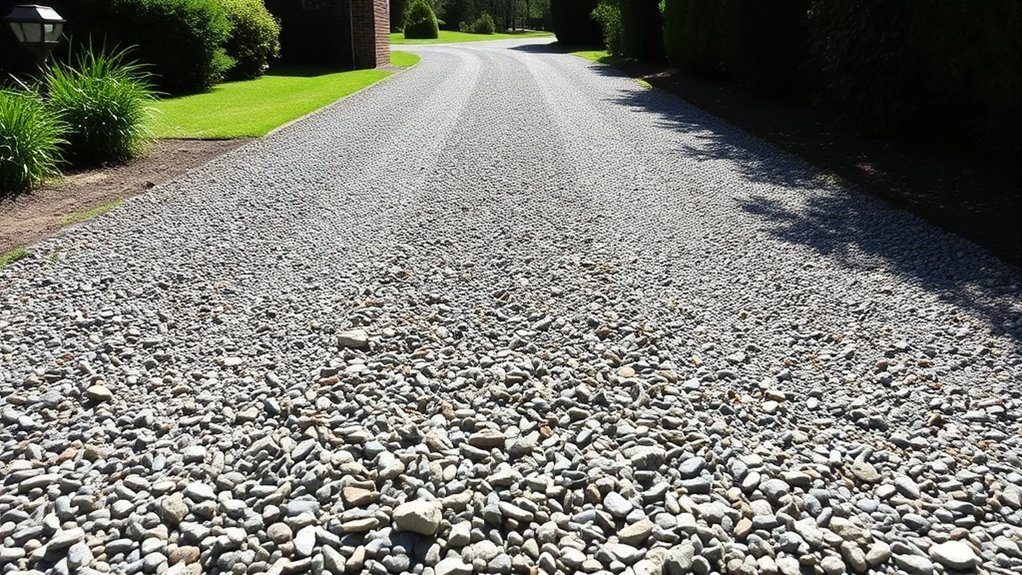
Choosing the Right Gravel Type
Choosing the right type of gravel for your driveway extension is crucial for ensuring durability, stability, and visual appeal. Here are some gravel options to consider:
- Pea gravel: Smooth, rounded stones that blend seamlessly with existing surfaces.
- Crushed stone: Angular stones that provide durability and excellent drainage.
- River rock: Rounded stones that offer a decorative finish, but may be less stable.
- Quarry process (crusher run): Compacts well, providing a solid surface for vehicles.
- Specialty gravel types: Unique options like marble chips can add a distinctive touch.
When selecting gravel, ensure the colour and texture closely match your current driveway. Additionally, consider the drainage needs of your extension, as some gravel types offer better water management than others. Sourcing from the same quarry can help maintain uniformity, preventing any noticeable differences and ensuring a cohesive look.
Layering Techniques for Consistency
To create a durable and consistent gravel driveway, use a three-layer approach.
Begin with a strong sub-base, then add a middle layer, and finish with a fine top layer.
Make sure to compact each layer thoroughly to ensure stability and prevent movement over time.
This technique helps to seamlessly blend new gravel with existing layers, improving the overall performance of your driveway.
Three-Layer Gravel Approach
A three-layer gravel approach is key to creating a durable and attractive driveway extension. This method offers numerous benefits, ensuring both stability and a cohesive look.
Here’s how to implement it effectively:
- Layer 1: Start with coarse stones (Type 3 gravel) for structural support and drainage.
- Layer 2: Add medium stones (Type 57 gravel) for stability and further drainage.
- Layer 3: Finish with fine gravel (Type 8 limestone) for a smooth surface and aesthetic appeal.
To prevent shifting, choose angular stones for each layer, as they interlock well. Additionally, ensure that the materials and thickness are consistent with your existing driveway to create a seamless extension that enhances both functionality and appearance, while also considering a well-compacted base layer to stop soil settling.
Thorough Compaction Practices
After establishing a solid three-layer gravel foundation, the next phase is to implement thorough compaction practices that enhance the stability and longevity of your driveway extension. To achieve effective compaction, moisten each layer slightly to promote better particle bonding. Compact each layer individually, maintaining thicknesses of 4 to 8 inches, using mechanical compactors for optimal results. Pay particular attention to edges and corners, which require extra passes to prevent shifting. Regularly check for soft spots after compaction to ensure a uniform surface.
| Step | Action | Notes |
|---|---|---|
| Layer Preparation | Moisten gravel layer | Avoid over-saturation |
| Compaction | Use mechanical compactor | Overlap passes by 30% |
| Edge Focus | Extra passes at edges | Prevents erosion |
| Verification | Inspect for soft spots | Recompact as necessary |
Compaction Methods for Stability
When extending your gravel driveway, using mechanical compactors can significantly improve stability by effectively densifying the material.
Adopting a layer-by-layer approach ensures each section is compacted thoroughly before the next is added, which helps to avoid weak spots and air pockets.
This method not only enhances load-bearing capacity but also aids in drainage, resulting in a durable and long-lasting surface.
Mechanical Compactor Benefits
When extending a gravel driveway, using mechanical compactors significantly improves stability and performance.
These machines effectively compact the gravel, enhancing its density for a more durable surface.
Here are the key benefits:
- Increased load-bearing capacity means vehicles can drive on it without sinking.
- Enhanced surface strength helps prevent shifting and erosion.
- Better drainage occurs due to a denser surface with fewer gaps.
- A level, stable base is created for additional layers, which avoids future unevenness.
- Longer driveway lifespan is achieved by reducing movement and lowering maintenance costs.
In short, mechanical compactors are essential for a robust and lasting gravel driveway.
Layer-by-Layer Approach
A layer-by-layer approach is essential for a stable and long-lasting gravel driveway.
Start with a base layer of coarse crushed stone, ensuring a gravel thickness of 5 to 7.5 cm for optimal drainage and compaction. Spread this layer evenly and compact it well to prevent separation and shifting.
Next, add a middle layer of smaller aggregates to fill any gaps, compacting this layer separately for added stability.
Finally, finish with a top layer of finer gravel for a pleasing appearance. Use vibratory compacting techniques to ensure each layer is properly compacted. This method helps prevent settlement and boosts durability, resulting in a driveway that can effectively withstand vehicle weight, while also enhancing effective drainage systems that manage surface water runoff.
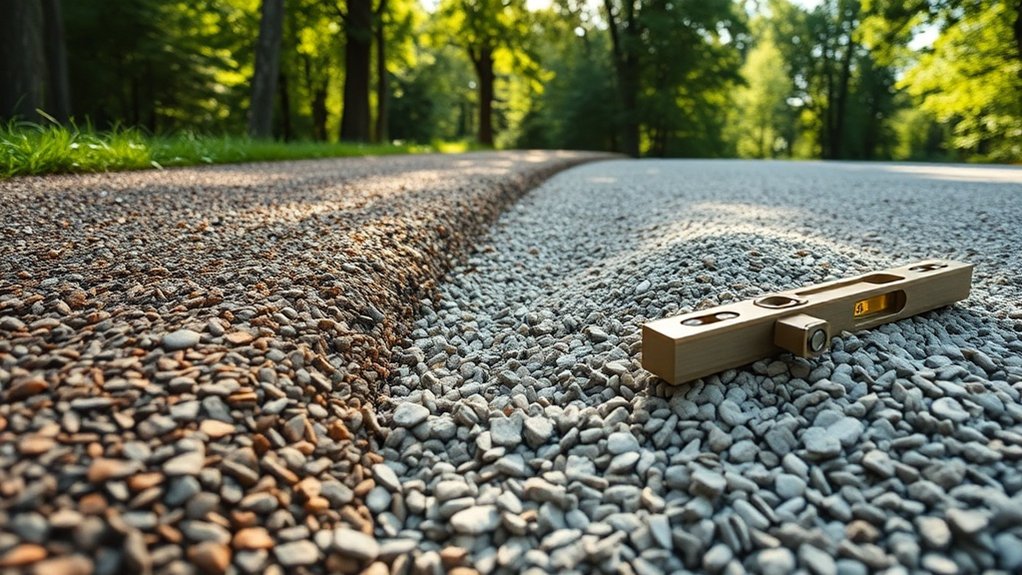
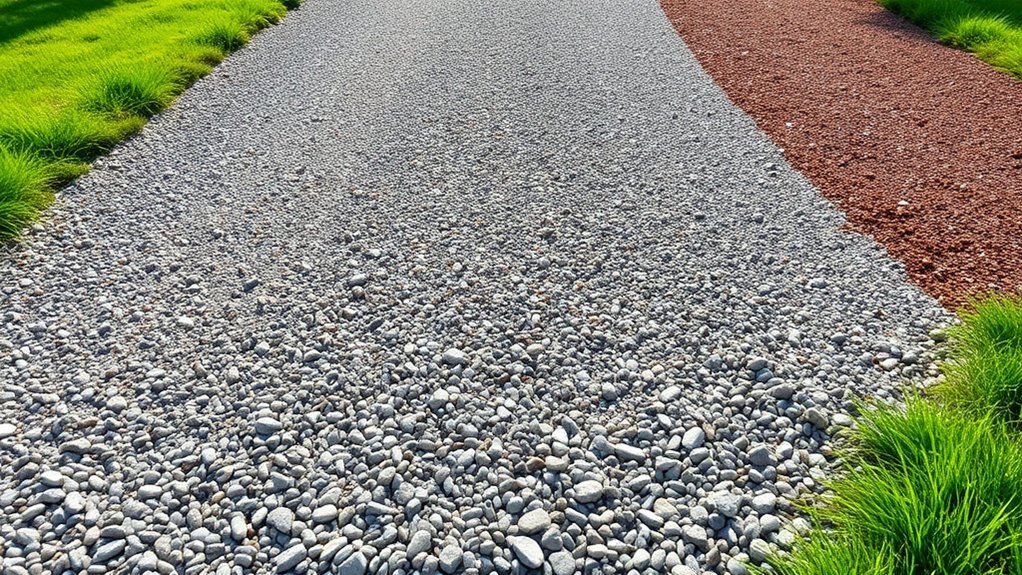
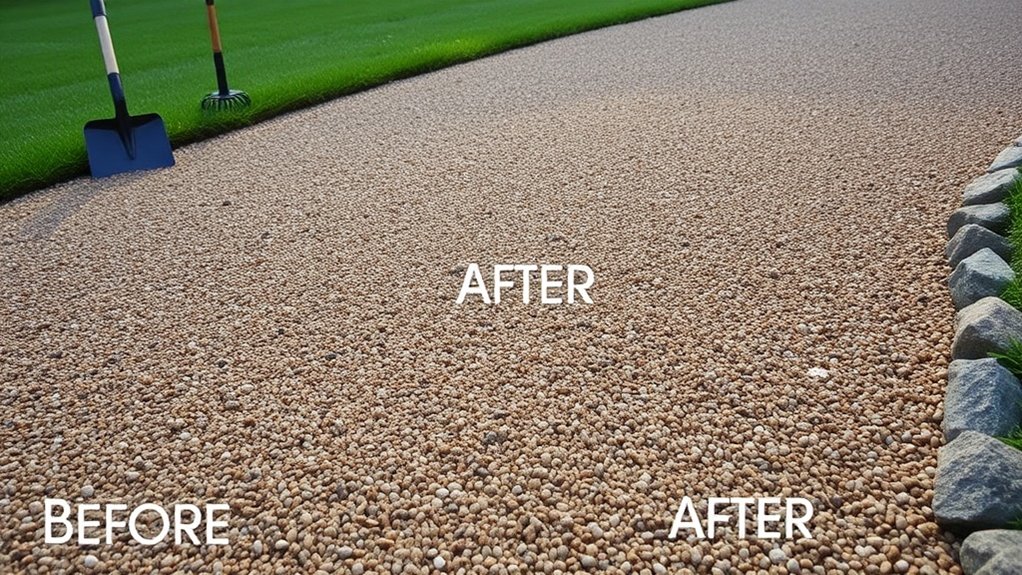
Blending Edges Seamlessly
To achieve a seamless transition between your existing gravel driveway and the new extension, it’s important to prepare the edges properly. Here are some key steps to consider:
- Clear away excess gravel from the existing driveway for a tidy edge.
- Level the ground at the driveway’s edge to avoid any dips or bumps.
- Use a compactor to firmly set the area for an even base.
- Ensure a consistent sub-base thickness of 5–7.5 cm (2–3 inches) across the transition area.
- Rake the gravel on both sides of the join line to create a smooth texture.
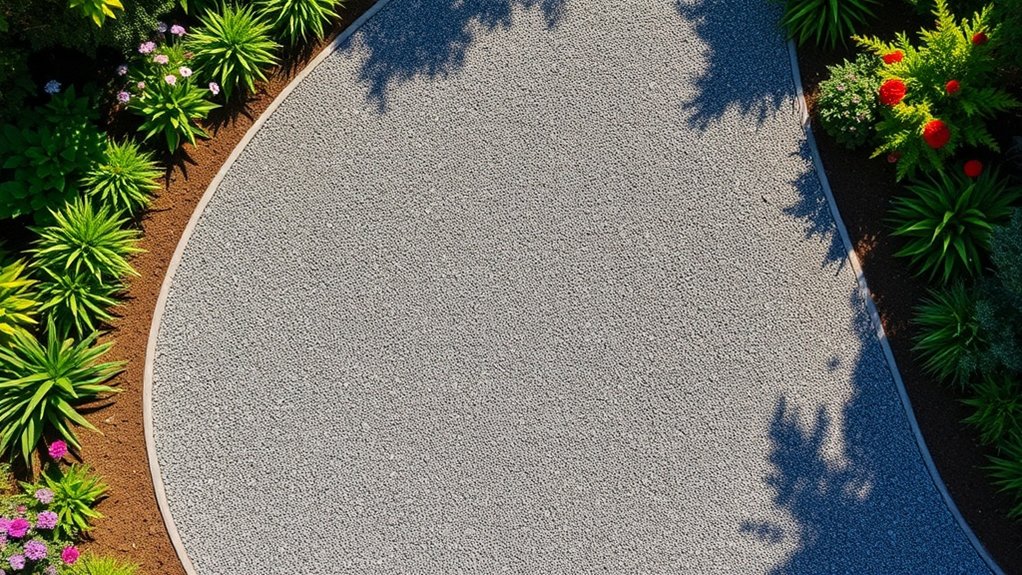
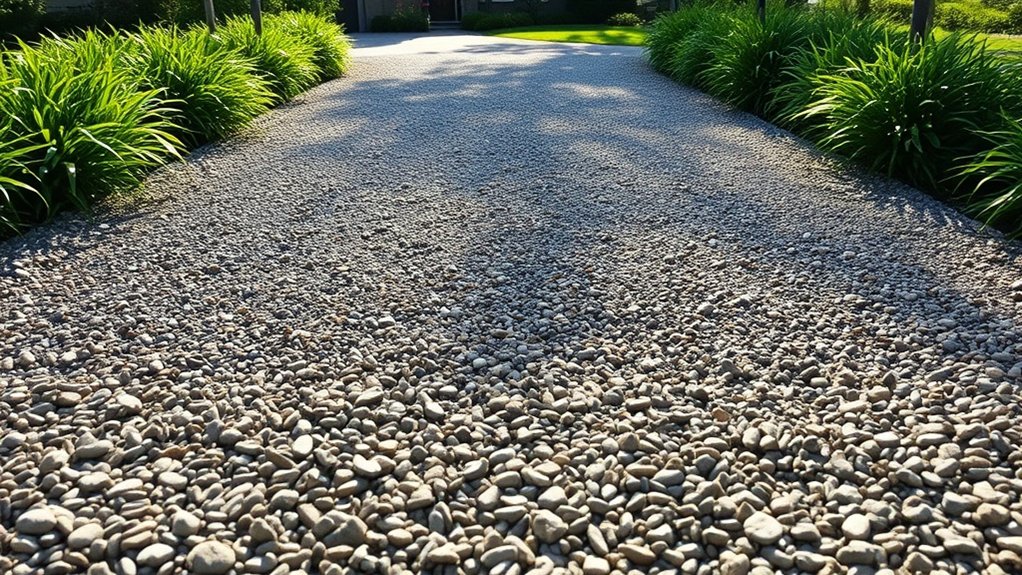
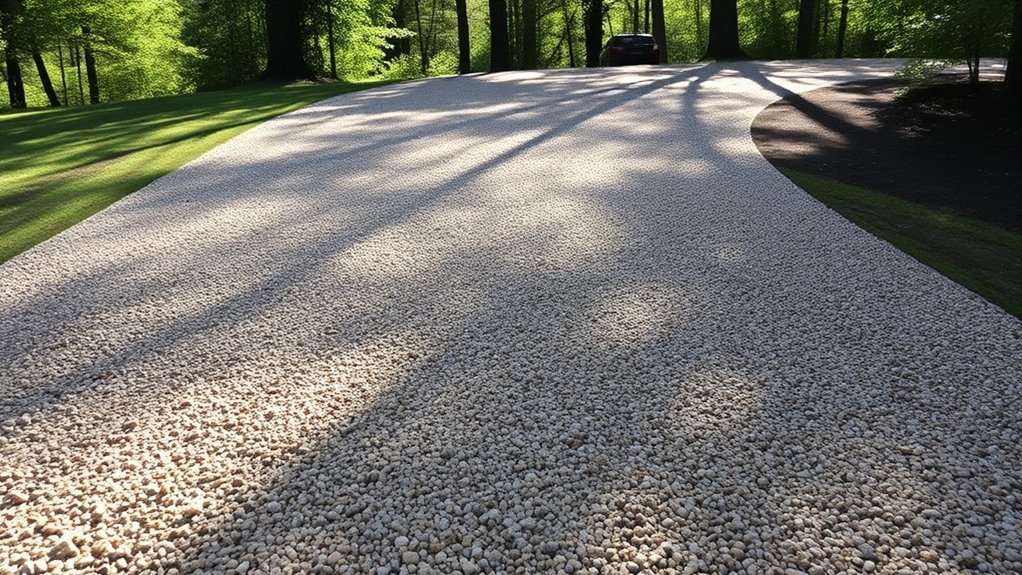
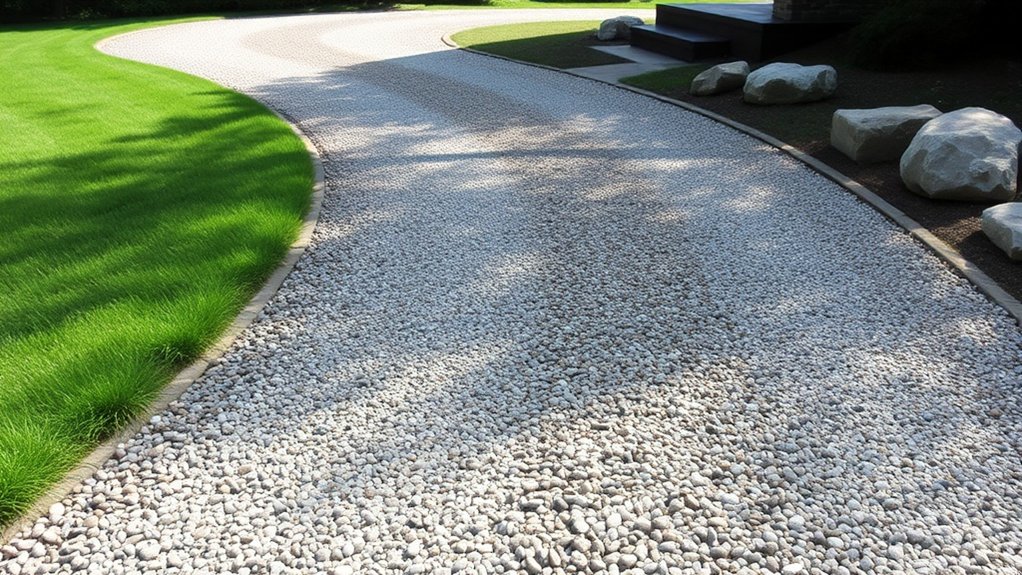
Matching Color and Texture

To create a cohesive look for your gravel driveway extension, it’s essential to pay attention to both colour and texture. Start by matching the gravel to the dominant exterior colours of your home; choose complementary shades to avoid any jarring contrasts. For texture, select gravel that aligns with the size and shape of your existing material. Here’s a straightforward table to assist you:
| Colour Type | Ideal Use | Texture Type |
|---|---|---|
| Dark Grey | Modern homes | Angular for grip |
| Light Tan | Coastal properties | Rounded for smoothness |
| Multi-Toned | Transitional areas | Mixed for depth |
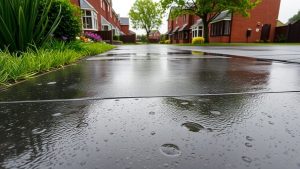
Ensuring Proper Drainage

Ensuring proper drainage is crucial for the longevity of your gravel driveway extension. Without it, all your hard work can go to waste.
Here are some effective drainage solutions:
- Dig shallow ditches alongside the driveway to channel rainwater away.
- Install culverts beneath the driveway to allow water to pass through safely.
- Lay French drains to capture and redirect subsurface water effectively.
- Maintain a crown in the driveway to encourage water to flow off to the sides.
- Use porous pavers to facilitate water infiltration and minimise runoff.
Routine Maintenance Tips
To keep your gravel driveway in good shape, regular top-ups and seasonal checks on compaction are vital.
Adding a fresh layer of gravel every few years helps maintain an even surface and tackles any thinning areas.
Additionally, checking compaction levels regularly can prevent erosion and extend the life of your driveway.
Regular Gravel Top-Offs
Regular gravel top-ups are crucial for keeping your driveway in good shape and looking its best. Here are some straightforward tips for effective top-offs:
- Aim for top-ups every season or at least once a year.
- Keep an eye out for bare patches or areas where the gravel is thinning to know when it’s time to add more.
- Always use the same type of gravel to maintain a consistent look.
- Pair top-ups with smoothing the surface to ensure the new gravel settles properly.
- Don’t skip on compacting the gravel after reapplication to avoid potholes and keep everything looking uniform.
Seasonal Compaction Checks
After ensuring your gravel driveway is topped up regularly, the next important step is to carry out seasonal compaction checks.
These checks are crucial for extending the life of your driveway, as proper compaction prevents displacement and ruts caused by vehicle traffic and changing weather.
Ideally, inspect your driveway in spring for any freeze-thaw damage, compact loose gravel in summer, and get it ready for winter by compacting in autumn.
For newly added gravel, use a vibrating plate compactor; for larger areas, rollers are effective; and for tight spots, manual tampers work well.
Keep an eye out for signs such as visible ruts, gravel displacement, and potholes.
Regular seasonal maintenance reduces erosion, improves load-bearing capacity, and increases the time between gravel top-ups, ultimately saving you time and money.
Final Touches for a Cohesive Look
To achieve a cohesive look for your extended gravel driveway, pay attention to these essential final touches:
- Top-dress the driveway with a fresh layer of fine gravel to ensure a uniform texture and colour.
- Apply dust suppressants or gravel stabilisers consistently to maintain surface quality and minimise dust.
- Regularly rake and refill gravel to keep the surface level and prevent any uneven or sunken areas.
- Ensure proper drainage and grading across the driveway to prevent water pooling or erosion.
- Carry out maintenance on both old and new sections for a seamless finish.
These straightforward steps will help you create a polished and well-maintained gravel driveway.
Frequently Asked Questions
What Tools Do I Need for Extending a Gravel Driveway?
You’ll need a tractor with attachments such as a box blade and a landscape rake, along with shovels for detailed work and a compactor for stability. Select appropriate gravel types for maintaining the driveway to ensure a smooth extension.
How Long Does It Take to Complete a Driveway Extension?
A driveway extension usually takes one to two days for smaller projects, whereas larger ones may take over a week. It’s important to prepare the driveway properly and stick to a clear timeline for an efficient job. For instance, if you’re just adding a few extra feet for parking, you can expect a quick turnaround. However, if you’re planning a substantial increase, such as creating space for multiple vehicles, allow for more time.
Can I Extend My Gravel Driveway in Wet Weather?
You can extend your gravel driveway in wet weather, but it comes with risks. Good drainage is vital to avoid washouts. Be prepared for regular maintenance to fix any ruts and uneven surfaces that may develop after the extension.
Do I Need a Permit for Driveway Extension Work?
Yes, you need a permit for driveway extension work, as local regulations often require approval for changes that affect public areas. Always consult your local council to ensure you comply with the rules. For instance, if you’re widening your drive to accommodate an extra car, it’s essential to check if you need permission first.
How Much Gravel Will I Need for My Extension?
To work out how much gravel you need for your extension, start by measuring the length, width, and depth. Different types of gravel can affect the total volume, so choose carefully to ensure a strong and well-fitted surface. For instance, if your driveway is 10 metres long, 3 metres wide, and you want a depth of 10 centimetres, you’ll need to calculate the volume in cubic metres. This will help you estimate the amount of gravel required for a durable finish.
Conclusion
To extend your gravel driveway seamlessly, focus on maintaining consistency in colour, texture, and drainage. This ensures that the new section blends in with the existing area and remains practical. Regular upkeep will help your driveway endure, rivaling even the finest roads. By following these tips, you can create a striking entrance that boosts your property’s appeal.
How can a tarmac driveway enhance your home's appeal? Discover the key aspects of cost, installation, and maintenance in our Read more
Wondering if a tarmac driveway is the perfect fit for your home? Uncover the essential pros and cons before making Read more

Choosing between a tarmac and resin driveway can be challenging; discover the key factors that could influence your decision.