

To lay driveway pavers correctly, begin by planning your layout and calculating the materials needed. Excavate the area to the right depth, ensuring the subsoil is well compacted. Next, create a stable base layer using crushed gravel, followed by a 25mm layer of bedding sand. Lay the pavers with even spacing and secure them with edge restraints. Once all pavers are in place, compact the surface to enhance stability. Regular maintenance and proper drainage are crucial for the durability of your driveway. Don’t forget to learn about sealing your pavers and avoid common pitfalls.
Key Takeaways
- Plan and layout the area accurately, calculating materials to reduce waste and ensure proper drainage.
- Excavate the site to the correct depth, preparing the subsoil and laying a stable base layer for support.
- Use a consistent 25mm layer of bedding sand for stability, ensuring the pavers are aligned and spaced correctly during installation.
- Carry out final compaction to secure the pavers, preventing movement and enhancing durability while keeping the surface smooth.
- Regularly maintain the driveway, checking for drainage issues and addressing any damage to extend the life of the pavers.
Planning and Layout
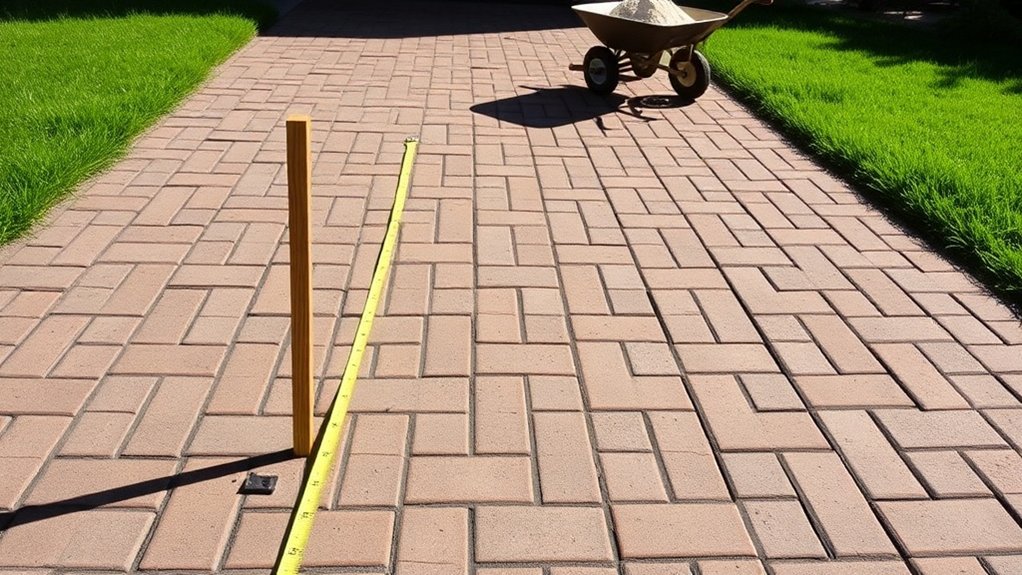
When planning your driveway paver installation, start with a precise, scaled layout of the area. Using design software or online tools, you can try out different patterns and accent placements to achieve the look you want. This initial sketch helps you see how patterns will interact with your garden and the architectural lines of your home. Make sure to calculate the exact amounts of materials needed to reduce waste and control costs. Pay attention to edges, turns, and borders to ensure a smooth pattern flow. For areas with heavy traffic, patterns like herringbone or ashlar are ideal, as they distribute weight better and interlock tightly, enhancing both strength and appearance. Additionally, paver thickness is an important consideration, as traditional paver thickness is typically 80mm (3 inches) with a standard 6-inch base for durability. Proper planning is key to a successful installation.
Excavation and Subsoil Preparation
After finalising your planning and layout, the next step is excavation and subsoil preparation, which is essential for a durable driveway paver installation.
Determine your excavation depth based on the thickness of the pavers, bedding layer, and base material—generally between 300mm to 450mm for driveways.
Use the right excavation methods: manual tools are suitable for tight spaces, while machinery can expedite work in larger areas.
Before digging, conduct a thorough soil assessment to identify its type and compaction needs.
Remove any organic topsoil and ensure the subsoil is evenly compacted. Proper excavation ensures a stable base for the paver installation.
Address drainage by grading the area to slope away from buildings, preventing water pooling.
Proper excavation and preparation are crucial for the longevity and stability of your pavers.
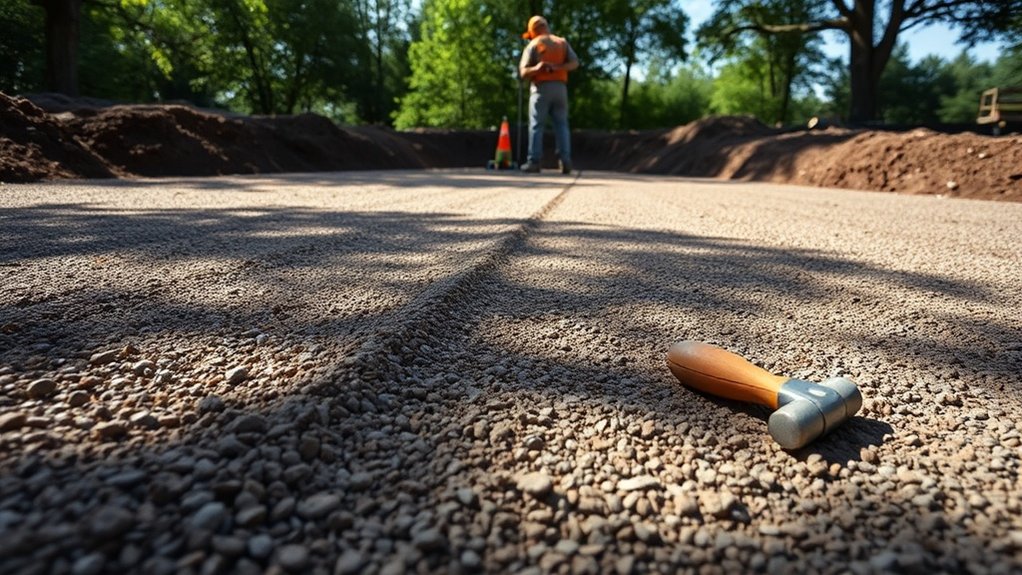
Base Layer Installation and Compaction
Laying a solid base layer is crucial for ensuring the durability and stability of your driveway pavers. Begin by selecting suitable base materials, such as crushed gravel or stone, and aim for a depth of 20-30 cm for driveways. Traditional Gravel Base is a time-tested option that can be effective, but it drains slower and requires compaction. Using a proper sub-base will help in distributing vehicle weight evenly and preventing sinking. Spread the base in layers of 5-10 cm and compact each layer using a plate compactor, making at least three passes per lift.
| Step | Material Used | Action |
|---|---|---|
| First Layer | ASTM D 2940 Gravel | Spread and compact |
| Geogrid Installation | DriveGrid Stabilisation | Place and overlap |
| Final Compaction | N/A | Smooth and level |
| Drainage Check | Drainage Fabric | Ensure slope for runoff |
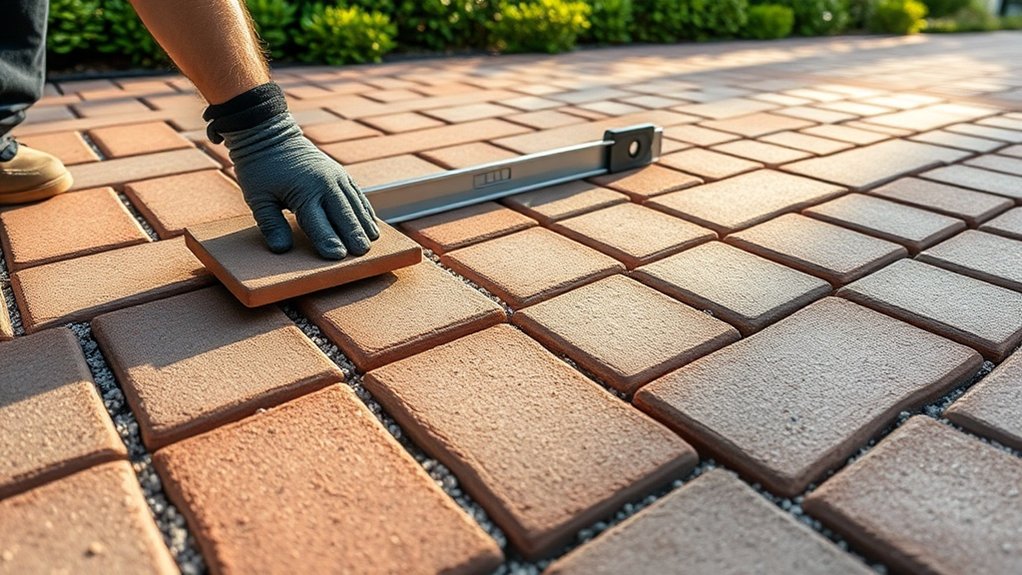
Bedding Sand Layer
When preparing the bedding sand layer, aim for a thickness of around 25mm (1 inch) to ensure stability and proper compaction.
Use screed rails for an even application and avoid going over 38mm (1.5 inches) to prevent problems with paver alignment.
Once the pavers are laid, compact them into the sand to achieve a solid interlock, which is crucial for long-lasting performance.
Sand Layer Thickness
The recommended thickness for the bedding sand layer is typically 25 mm (1 inch) when uncompacted, which is crucial for both pedestrian and driveway pavers. This thickness ensures proper alignment and stability during compaction.
Avoid going over 38 mm (1½ inches), as thicker layers can cause pavers to become unstable and settle unevenly.
Use bedding materials that comply with British standards, such as those meeting the equivalent of ASTM C33 or CSA A23.1 FA1 sand gradation standards. Concrete sand or a clean, well-graded mix is best, while you should steer clear of materials like mason sand that retain moisture.
A consistent 25 mm layer provides cushioning, prevents cracking, and allows for effective water drainage, enhancing the durability of your paver installation and ensuring a level surface.
Sand Compaction Techniques
Effective compaction of the bedding sand layer is crucial for a stable foundation for your driveway pavers. Use suitable compaction equipment, such as vibratory steel plate compactors, which provide excellent sand stability.
However, be careful with textured pavers to avoid damage. Start compacting at the edges, making overlapping passes towards the centre to ensure uniformity. Operate the compactor slowly, allowing the vibrations to settle the sand without applying too much pressure.
After each pass, sweep joint sand across the paver seams to enhance interlock. Repeat this until the joints are level and fully filled. For larger pavers, consider using roller attachments to improve compaction while reducing the risk of damage.
Proper compaction prevents issues like settling, shifting, and weed growth, ensuring your driveway lasts longer.
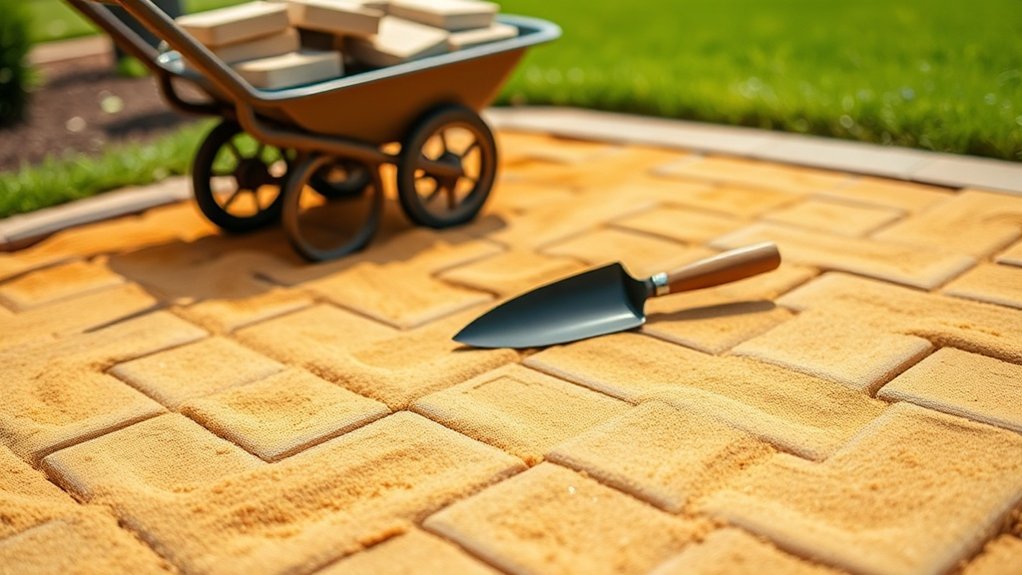
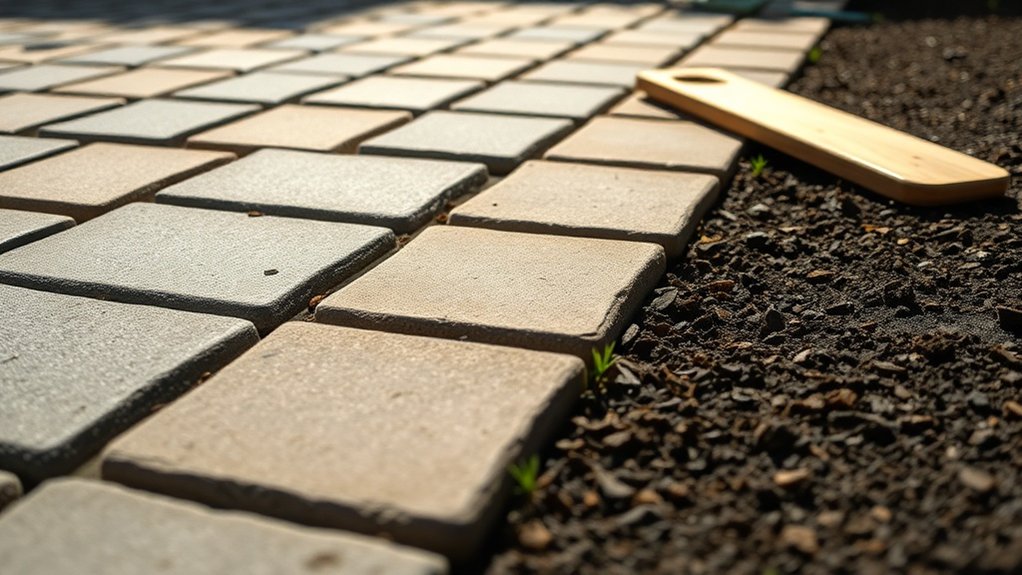
Laying Pavers
Begin laying your pavers by carefully planning the layout and preparing the site for installation. Start by positioning your pavers on the sand bedding, ensuring they are straight and square. When selecting paver types, you can opt for brick, concrete, or natural stone, depending on your design preferences and durability requirements. Consider different patterns, such as herringbone or basketweave, to add visual interest. Additionally, using permeable pavers can help manage water drainage effectively.
| Paver Type | Characteristics |
|---|---|
| Brick | Classic, durable, versatile |
| Concrete | Cost-effective, customisable |
| Natural Stone | Unique aesthetics, high durability |
| Permeable Pavers | Eco-friendly, allows water drainage |
| Interlocking | Strong, stable, easy to install |
Ensure even spacing between pavers for both aesthetics and practicality, and cut them as needed to fit around obstacles.
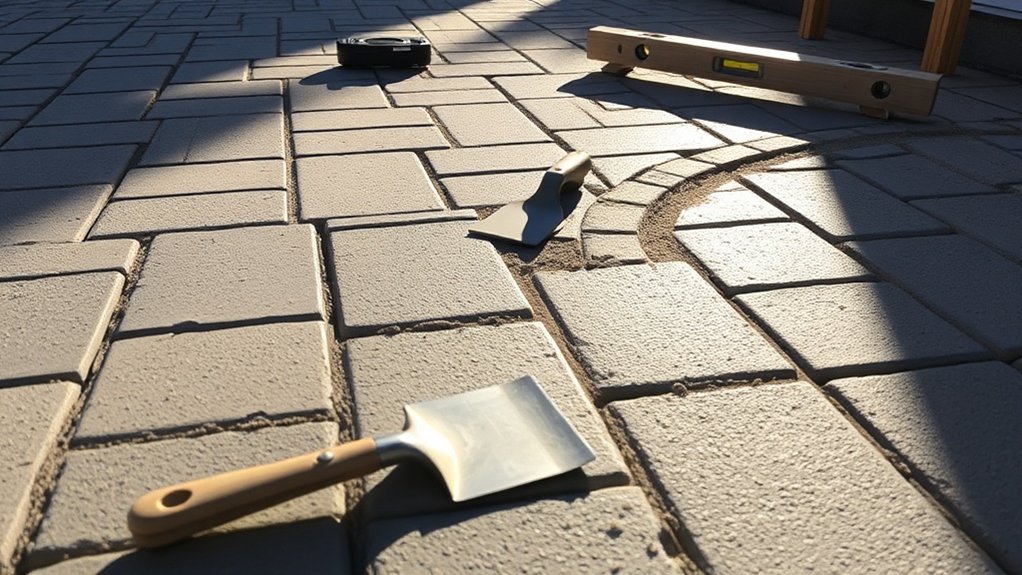
Edge Restraints Installation
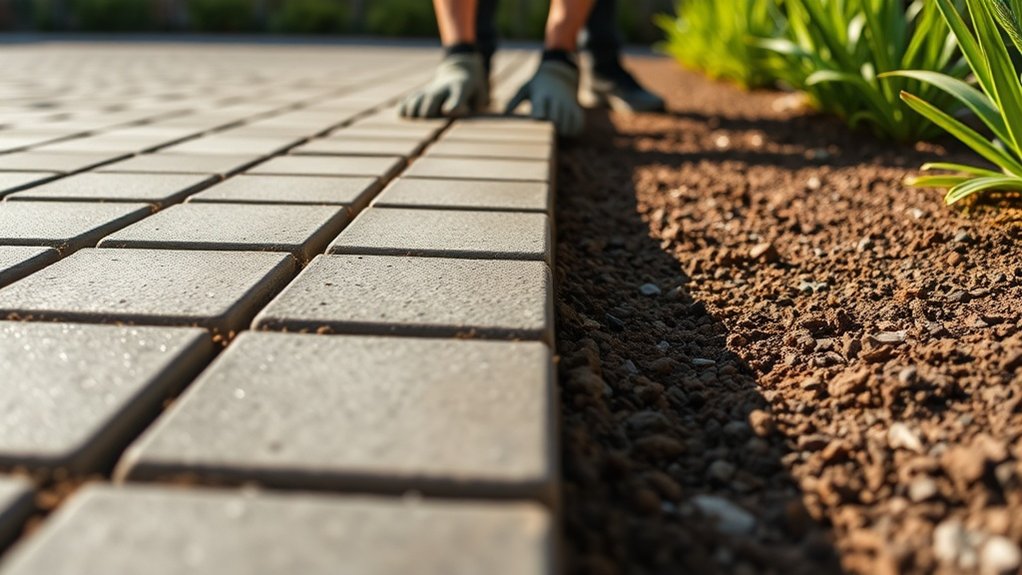
Installing edge restraints is essential for ensuring the stability and durability of your block paving driveway. Start by choosing the right type of edge restraint: use plastic for curved paths or lighter loads, metal for added strength, and concrete for heavy-duty applications.
Prepare the installation area by exposing the compacted base, ensuring direct contact for stability. Position the restraints tightly against the paving blocks, trimming them as necessary for curves. Secure them in place with landscape spikes, driving them straight into the base at regular intervals.
Make sure the vertical surface of the restraint is level with the top of the blocks to avoid any movement. Lastly, check that the spikes sit slightly above or flush with the restraint holes to maximize stability. This careful approach will help you achieve a robust and well-structured driveway. Additionally, ensuring the base material is properly compacted can prevent future settling and enhance the overall durability of the installation.
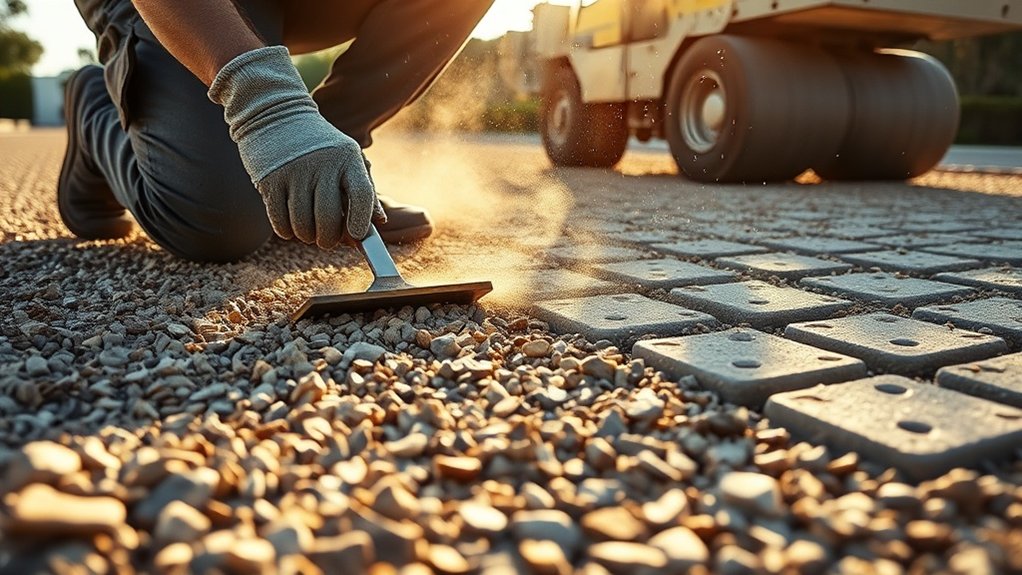
Joint Sand Installation
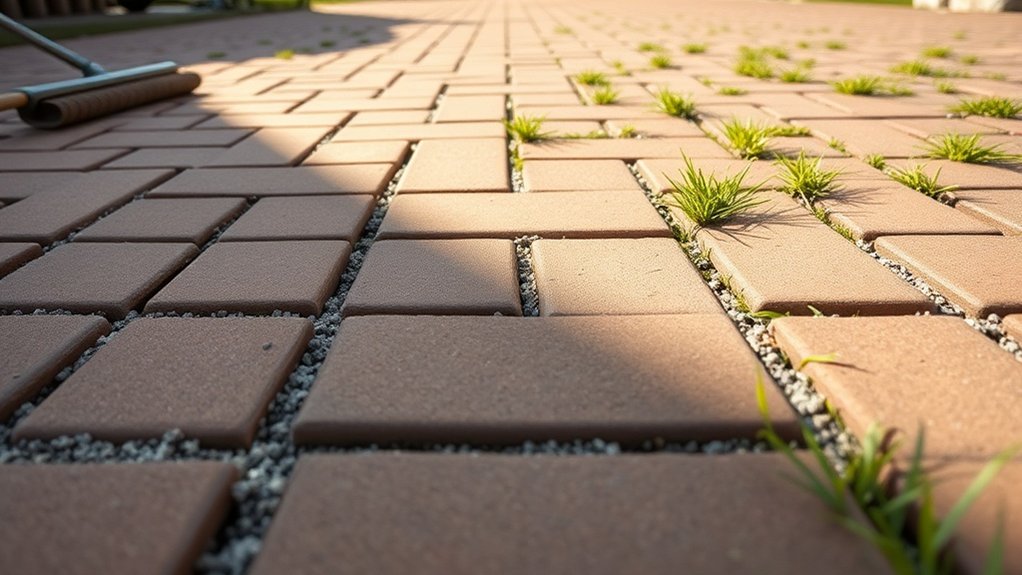
Proper joint sand installation is essential for the longevity and stability of your driveway pavers. Using polymeric sand not only boosts durability but also helps prevent weeds. Before application, ensure the joints are thoroughly cleaned and completely dry for optimal bonding.
- Create a beautiful driveway that enhances your home’s curb appeal.
- Safeguard your investment from weeds and erosion for years.
- Enjoy the satisfaction of a well-executed job with lasting results.
Use joint stabilisation techniques during application. Sweep the polymeric sand into the joints at a 45-degree angle and compact it gently to eliminate air pockets.
Following these steps ensures your pavers stay securely in place and retain their visual appeal over time.
Final Compaction Process
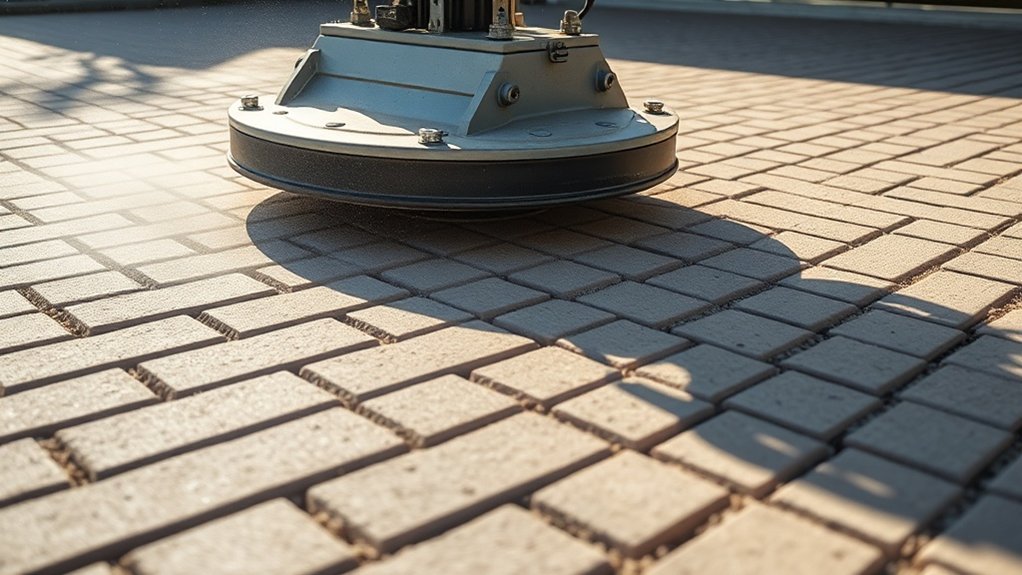
Final compaction is crucial for securing your driveway pavers, ensuring stability and preventing any shifting over time.
To achieve the best results, use effective techniques like overlapping passes and the appropriate equipment.
Additionally, compacting the joint sand properly will improve the durability and appearance of your driveway, making this step essential.
Importance of Final Compaction
While many homeowners concentrate on the initial installation of driveway pavers, the importance of final compaction shouldn’t be overlooked. This crucial step secures the pavers into the bedding layer, ensuring an even distribution of loads and enhancing long-term stability.
It also helps to prevent issues such as shifting, sinking, and weed growth.
- Ensures a smooth, level surface that boosts curb appeal.
- Reduces future maintenance, saving you time and money.
- Protects your investment by extending the lifespan of your driveway.
Using the right compaction equipment, such as a medium-duty vibrating plate compactor, is essential for effective final compaction.
Be sure to make multiple passes and check for low spots to achieve a structurally sound and visually appealing driveway.
Techniques for Effective Compaction
To achieve effective compaction when laying driveway pavers, it’s essential to use the right techniques for stability and durability.
Start by selecting a medium-duty vibrating plate compactor, preferably with a polyurethane mat to protect the surface. Make multiple passes over the paver surface, allowing the compactor’s vibrations to push joint sand into the gaps and remove air pockets.
Compact gradually to avoid uneven settling, and ensure the compactor moves steadily to prevent ruts. Be careful not to over-compact, as this can damage the sand bedding and the pavers.
After each pass, inspect the area to ensure the pavers are securely locked in place, with no visible gaps or loose sections.
Benefits of Joint Sand
Joint sand is crucial for the final compaction of driveway pavers, ensuring your installation remains stable and attractive over time.
Its advantages go beyond looks, contributing significantly to the longevity of your driveway.
- Secures pavers in position, preventing any shifting and boosting stability.
- Reduces the growth of weeds and deters pests, leading to lower maintenance.
- Enhances water drainage, helping to avoid erosion and standing water.
Watering the Surface
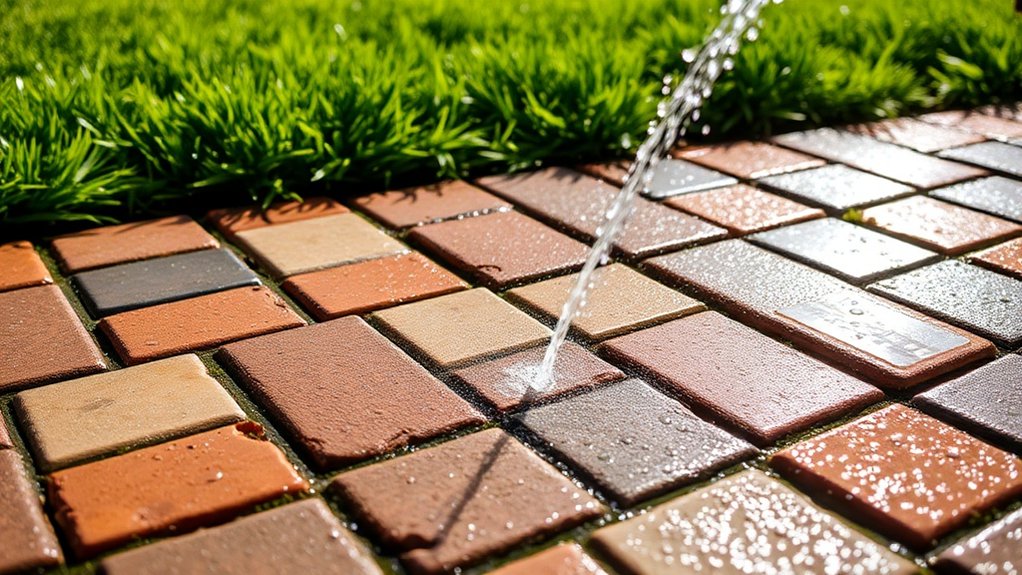
Watering the surface when installing driveway pavers is crucial for proper compaction and leveling. Adding water helps to compact the sand base and the pavers, ensuring stability and reducing the risk of settling issues.
This process also minimises dust, making it easier to work while checking the paver alignment. It’s important to conduct water testing to ensure the drainage system works properly, allowing water to flow without pooling.
Moistening the sand not only improves compaction but also helps prevent weed growth in the joints later. Remember, maintaining the right moisture level is key to a durable and well-drained driveway surface.
Optional Sealing of Pavers
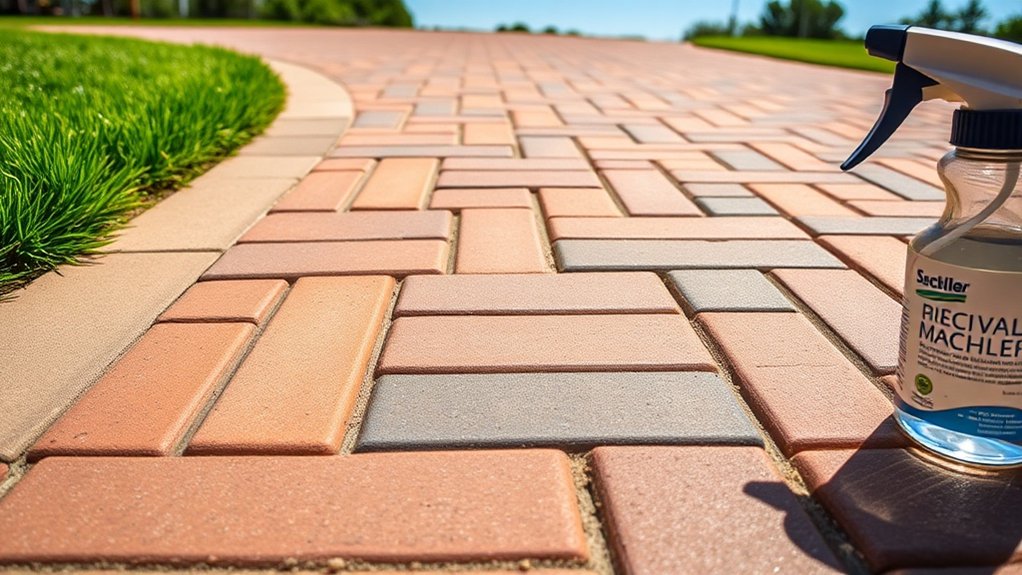
Sealing your block paving driveway is optional but offers significant benefits in terms of durability and appearance.
Selecting the right type of sealer and applying it properly can protect against UV damage, stains, and weed growth, while also enhancing the overall look of your driveway.
In this section, we’ll discuss the advantages of sealing, the different types of sealers available, and key tips for the application process.
Benefits of Sealing
Sealing your driveway pavers may seem like an optional step, but the benefits are significant for both appearance and durability.
Sealing enhances the look of your pavers, bringing out their vibrant colours and giving them a cleaner finish. It also provides vital protection against the elements and stains.
- It shields your pavers from harmful UV rays, preventing fading.
- It prevents stains from oil and grease, keeping them looking new.
- It stabilises the joints, reducing weed growth and erosion.
Types of Sealers
When selecting the right sealer for your driveway pavers, it’s important to understand the options available for effective protection and appearance.
You’ll come across several types of sealers: film-forming, penetrating, solvent-based, and water-based.
Film-forming sealers create a protective barrier against UV rays and stains, but they can look unnatural if applied too thickly.
Penetrating sealers, on the other hand, maintain a natural matte finish and are ideal for weathered pavers due to their durability.
Solvent-based sealers provide a high gloss finish, but they do have environmental concerns.
Conversely, water-based sealers are eco-friendly, offering excellent penetration and stabilising the joints between pavers.
Specialty sealers, such as acrylic and silicon, are designed for specific paver materials and applications.
Choose your sealer carefully based on your needs and the desired results.
Application Process Tips
Before you begin sealing your driveway pavers, it’s crucial to ensure the surface is properly prepared and cleaned. This will provide a strong bond and improve durability.
- Take pride in a flawless finish.
- Rest easy knowing your investment is protected.
- Enjoy the boost in curb appeal.
Select the right type of sealer; water-based options allow for easy cleanup, while solvent-based alternatives offer greater durability.
Use sprayers or rollers for even application and consider applying two coats for added protection. Schedule your sealing on a dry day to allow sufficient curing time and avoid damage.
Regular maintenance of sand joints will help maintain paver stability and extend the life of your driveway, keeping it looking great for years.
Maintenance Tips for Driveway Pavers
Maintaining driveway pavers is crucial for their durability and appearance. Regular upkeep can prevent significant wear and tear.
Start by sweeping away dirt and debris with a stiff broom. For tough stains, use a suitable paver cleaner, but always test it in a hidden spot first. Seal your pavers every 3-5 years with the correct sealant for your material.
To stop weeds and moss from taking hold, apply granular weed preventatives and check the levels of polymeric sand each year. Tackle stains immediately and avoid scrubbing them deeper into the surface.
Lastly, carry out seasonal checks for any damaged pavers or drainage problems to ensure everything remains level and functional throughout the year.
Common Mistakes to Avoid
Avoiding common mistakes during the installation of driveway pavers is crucial for a durable and attractive finish. Use your mistakes checklist to steer clear of pitfalls that could compromise your project.
- Not digging to the correct base depth can cause shifting and cracking.
- Insufficient compaction of layers leads to an uneven surface.
- Skipping edge restraint can result in instability and unevenness.
Ensure you backfill properly, compact thoroughly, and apply bedding sand evenly.
Also, proper drainage is essential, so maintain a minimum slope to prevent water pooling.
Frequently Asked Questions
How Long Does It Take to Install Driveway Pavers?
Installing driveway pavers usually takes between 5 to 7 working days for medium-sized areas. Proper planning and awareness of installation timelines are crucial for finishing on schedule, considering factors like weather and site conditions. For instance, if you’re paving a standard two-car driveway, you can expect the project to be completed within this timeframe, provided there are no unexpected delays.
What Tools Are Essential for Laying Driveway Pavers?
For installing driveway pavers, you’ll need a few essential tools: a rubber mallet, diamond blade saw, plate compactor, tape measure, and spirit level. These tools ensure accuracy and efficiency, helping you achieve a professional finish.
Can Driveway Pavers Be Installed in Winter?
Yes, you can install driveway pavers in winter, but dealing with frozen ground can be tricky. To ensure stability and prevent shifting due to freeze-thaw cycles, it’s important to follow winter installation tips. For instance, make sure to enhance drainage and increase the depth of the base. This will help avoid complications during the colder months.
What Types of Pavers Are Best for Driveways?
For driveways, concrete pavers are durable and versatile, while clay pavers offer a traditional look. Both options can handle the UK’s varied weather, ensuring they last and keep your outdoor space looking good.
How Do I Repair a Cracked Paver?
To repair a cracked paver, start with crack sealing for minor damage. For more serious issues, replace the paver: remove the damaged one, clean the area, compact the base, and fit the new paver securely. This method ensures a long-lasting repair that blends well with your existing paving.
Conclusion
In summary, laying driveway pavers is not just about appearance; it’s about building a strong foundation. Each layer you place represents the care and effort you invest in the project. By following these steps carefully, you ensure a durable surface that can endure the test of time. A well-laid driveway is a reflection of your commitment, guiding you on your way forward.
Adding curb appeal to your home is easier than you think! With the right design ideas, your resin driveway can Read more
Are you tired of the dull, worn-out look of your block paving? Well, have you ever considered putting resin over Read more
Are you considering whether to choose resin or block paving for your next project? Well, here's an interesting statistic for Read more