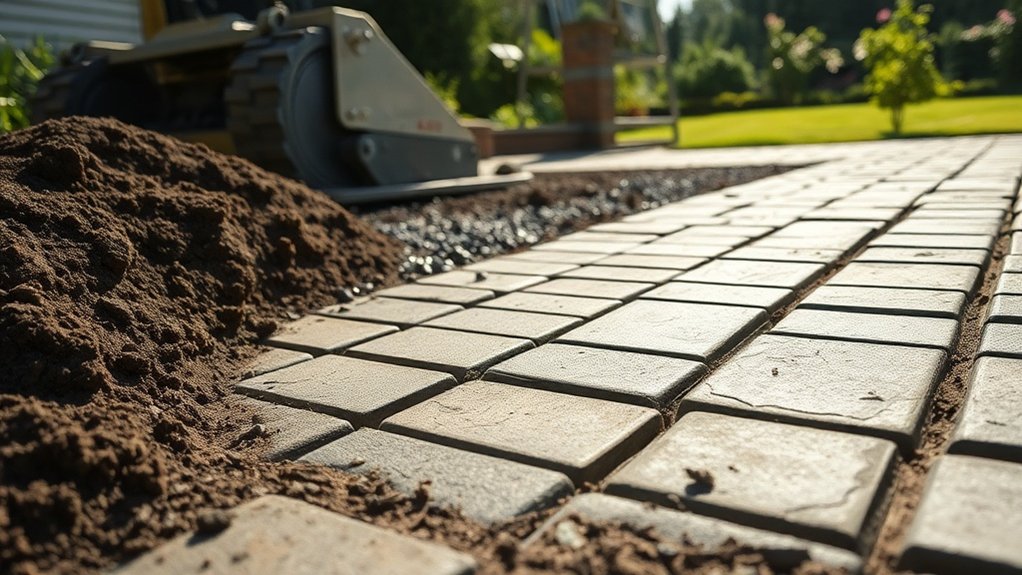
To level a sinking block paving driveway, start by identifying the causes, such as poor drainage or inadequate sub-base preparation. You’ll need tools like a spirit level and a rubber mallet. Begin by assessing the affected area, then carefully lift the sunken pavers. Repair the sub-base with crushed stone, making sure to compact it properly. Reinstall the pavers in their original pattern, ensuring a slight slope for drainage. Following these steps will help you create a stable driveway. For more on techniques and maintenance, there’s plenty to explore.
Key Takeaways
- Start with a thorough visual inspection and use levels to pinpoint the sinking areas of the driveway.
- Carefully lift the affected pavers and assess the condition of the sub-base for any necessary repairs.
- Remove any unsuitable materials, lay down a geotextile membrane, and add crushed stone or gravel to create a stable foundation.
- Reinstall the pavers in their original pattern, using a rubber mallet to ensure they are properly aligned and compacted.
- Ensure there’s a proper drainage slope, and keep an eye out for signs of sinking to avoid future problems.
Identifying the Causes of Sinking
If you notice your block paving driveway sinking, it’s important to identify the causes for proper repair. One common issue is inadequate sub-base preparation; insufficient compaction or depth—ideally between 300 to 350 mm—can undermine support. Using unsuitable materials, like soft limestone, can also lead to problems. Additionally, poor drainage can worsen sinking, as water accumulation weakens the sub-base. Environmental factors, such as clay soil, can cause movement when moisture levels change. Heavy vehicles can exceed the base’s capacity, leading to uneven stress. Lastly, the loss of joint sand can reduce stability, causing blocks to shift. By understanding these causes, you can effectively address the issues and prevent future sinking. Notably, a poorly prepared base can lead to sinkage under heavy vehicle weight.
Tools and Materials Required for the Job

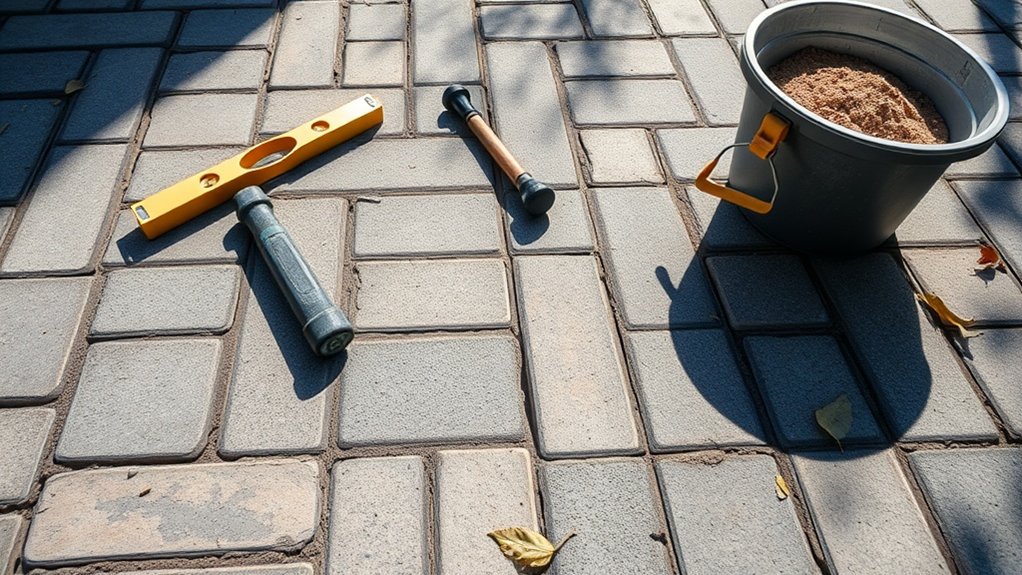
To level a sinking block paving driveway effectively, you’ll need a few essential tools and materials. Choosing the right tools and preparing your materials are crucial for achieving a stable and even surface.
Here’s what you need:
- Levels: To check for flatness and evenness.
- Screeding Rails: To ensure a consistent sand bed. Screeding tools are essential for achieving uniformity in block placement.
- Rubber Mallets: Useful for aligning pavers properly.
- Gravel or Crushed Stone: Serves as a base layer for added stability.
Don’t forget your safety gear, such as safety glasses, gloves, and steel-toed boots.
Having measuring tools like tape measures and string lines will help you mark and measure the area accurately.
With the right tools and materials, you’ll be ready to tackle the levelling process with confidence.
Assessing the Affected Area
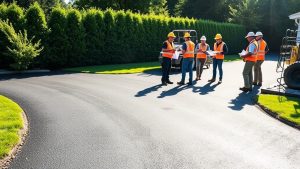
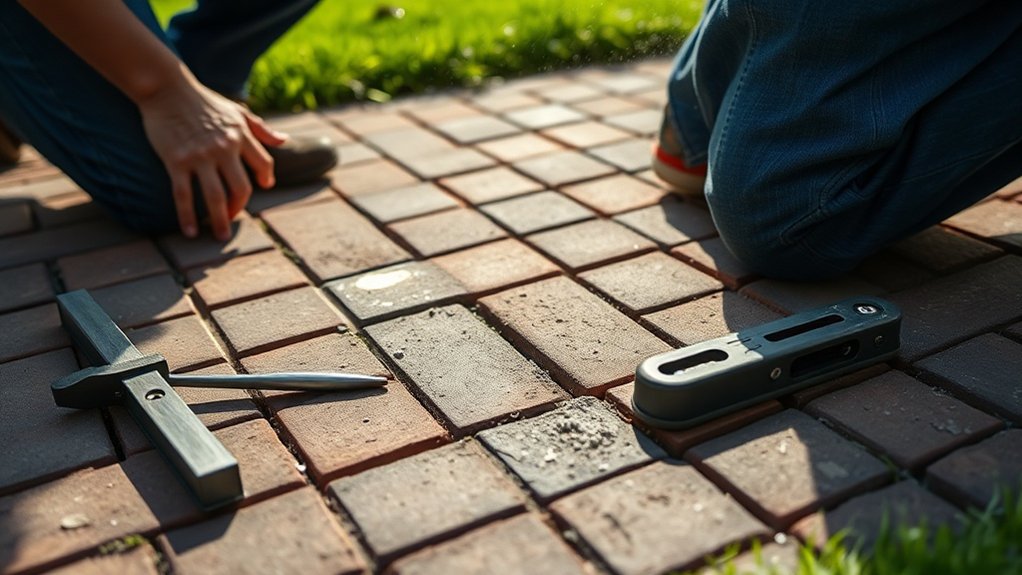
Begin with a careful visual inspection of the affected area to spot any visible signs of damage or subsidence. Use a level or a straight edge to check the surface’s accuracy and evaluate the slope and gradient. This initial assessment will help you gauge the severity of the issue and inform your next steps in the repair process. Be sure to consider how improper installation may have contributed to the sinking when analyzing the damage.
Visual Inspection Techniques
Before you evaluate the affected area of your sinking block paving driveway, it’s important to prepare properly for a thorough visual inspection.
Here are some effective techniques to ensure you gather all the necessary information:
- Clear Obstacles: Remove any items or vehicles to get a clear view.
- Protect Nearby Plants: Cover vegetation with plastic sheeting during the inspection.
- Wear Safety Gear: Use gloves, safety goggles, and sturdy footwear for protection.
- Check the Weather: Pick a dry day for better visibility and safety.
Once you’re ready, look for signs of sinking, such as dips, cracks, and uneven sand levels. It’s also essential to confirm that the base layer installation is adequate, as proper installation of a paver base can prevent future issues.
Additionally, check for drainage issues and block alignment to help identify the root causes of your driveway’s sinking.
Measuring Level Accuracy
Accurate measurement is crucial when assessing the affected area of your sinking block paving driveway, as even small errors can cause major drainage issues.
Begin by marking the perimeter with pegs and string to create reference points. Use tools like spirit levels or digital levels to pinpoint high and low spots, applying appropriate leveling techniques for accuracy.
Measure distances between points with a tape measure or laser distance measurer to determine the required falls for effective drainage. Record your measurements at regular intervals, making a note of any areas that exceed acceptable limits.
Double-check your findings using different methods and adjust as necessary to ensure proper falls throughout the repair process.
Removing Sunken Pavers
To begin removing sunken pavers, first pinpoint the affected area by looking for dips or uneven surfaces.
Carefully lift the pavers using the right tools, taking care not to damage the surrounding ones.
After removing them, check the sub-base condition to see if any repairs are required before putting the pavers back.
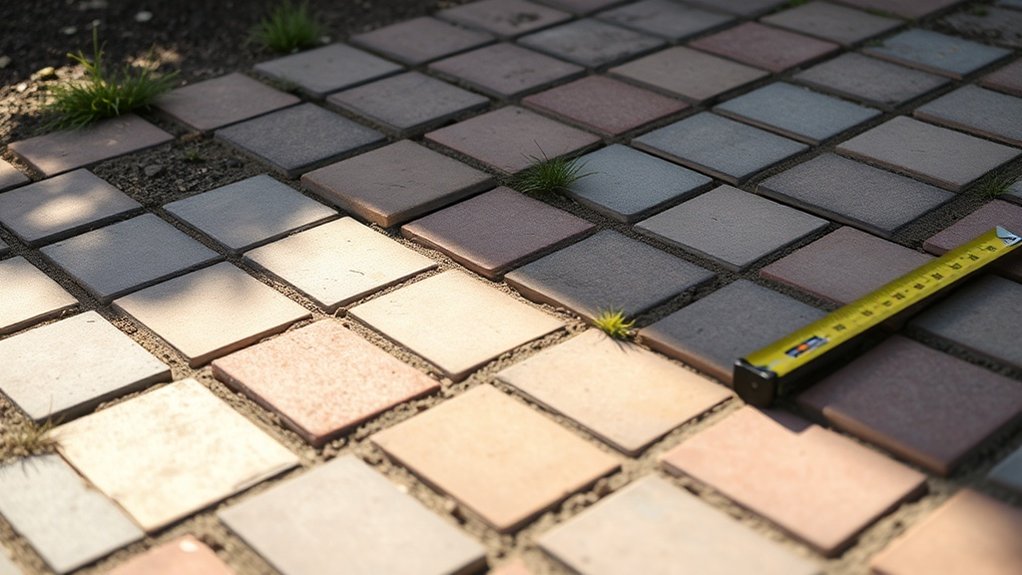
Identify Affected Paver Area
How can you effectively identify areas of your block paving that have sunk?
Begin with a thorough visual inspection to spot any uneven or sunken sections. Use a straight piece of wood or a spirit level to check for proper alignment of the pavers.
To accurately mark the affected areas, follow these steps:
- Check the weather; avoid inspecting during rain.
- Use a tape measure to record precise dimensions.
- Document your findings with photos or videos for reference.
- Use chalk to mark specific sunken pavers, clearly isolating the repair area.
This approach ensures effective repairs, helping to maintain surface drainage and prevent further sinking.
Extract Pavers Carefully
Before removing sunken pavers, it’s important to mark the area clearly for a systematic approach. Use chalk or painter’s tape to outline a boundary that extends 30–40 cm beyond the affected pavers.
Check for polymeric sand between the pavers; if it’s dry, loosen it with a utility knife. To lift each paver evenly, use flathead screwdrivers or putty knives in the joints.
For tightly packed installations, a paver extractor can be helpful. Gently wiggle stuck pavers without twisting to avoid damage.
Place the extracted pavers in a designated area, keeping them organised for reinstallation.
Assess Sub-Base Condition
After removing the sunken pavers, it’s crucial to evaluate the condition of the sub-base to ensure a stable foundation for reinstallation. Here’s how to assess it:
- Look for unevenness or soft spots, which may indicate compromised areas.
- Check for any water pooling, as this could point to poor drainage or saturation issues.
- Measure the thickness of the existing sub-base; if it’s too thin, it can lead to sinking.
- Remove any unsuitable layers, like soil intrusion or organic matter.
Repairing the Sub-Base
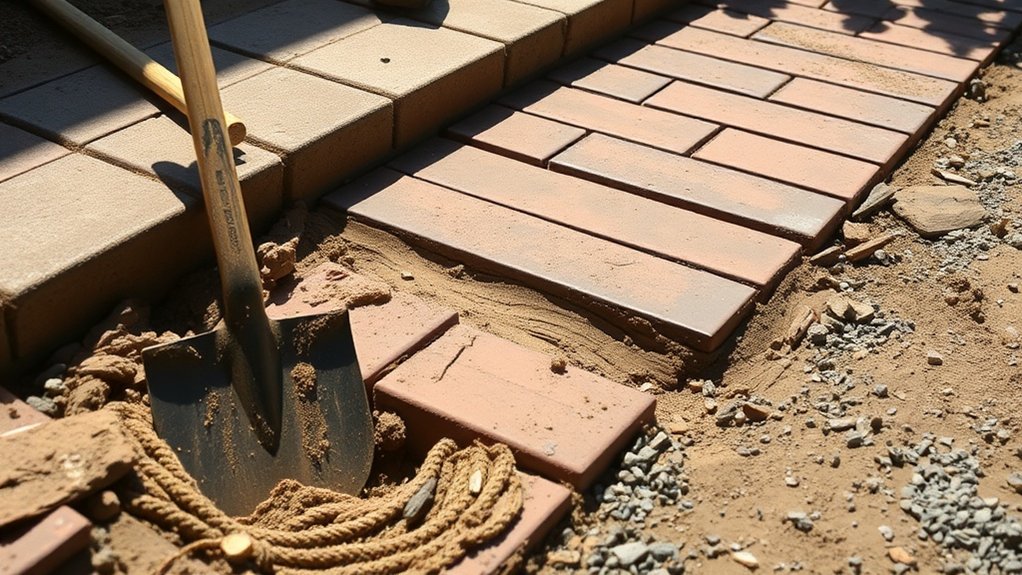
To effectively repair the sub-base of your sinking block paving driveway, start by assessing the damaged areas beneath the surface. Identify any sunken spots and mark them to avoid unnecessary removal of the blocks.
Carefully remove the pavers, clearing out the jointing sand to loosen them. Next, excavate the damaged area, removing any contaminated soil, organic matter, and roots that could affect stability.
Lay a geotextile membrane at the base to separate the soil from the sub-base materials. Use layers of crushed stone or gravel, ensuring each layer is properly compacted and maintains a slight gradient for drainage. This solid foundation will help prevent future sinking and provide durability for your driveway under vehicle loads, especially if you ensure a stable sub-base for optimal performance.
Reinstalling the Pavers
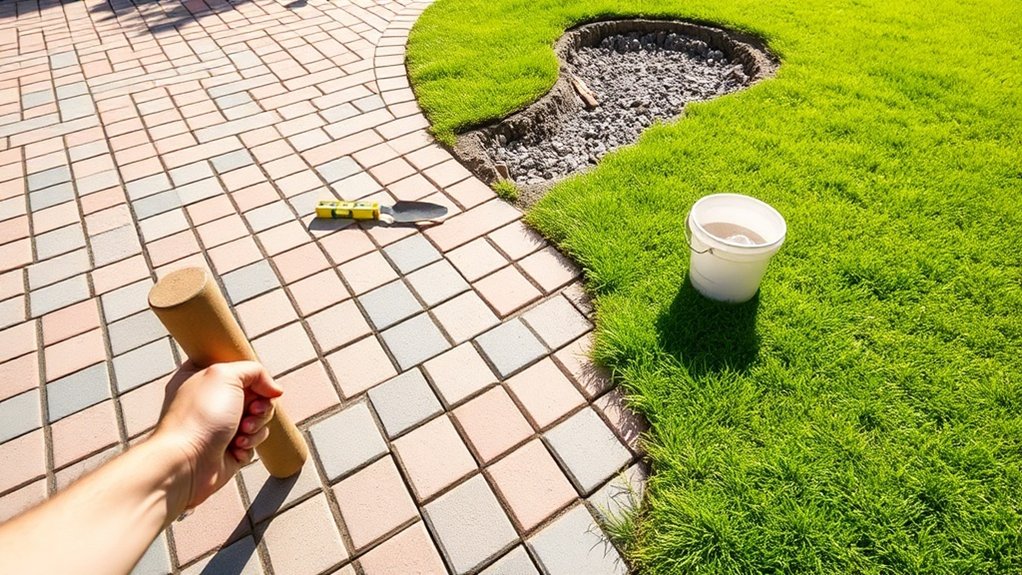
After successfully repairing the sub-base, you can proceed to reinstall the pavers. Follow these steps to ensure proper alignment and a durable finish:
- Replace the pavers in the original pattern, using your notes as a guide.
- Use a rubber mallet to tap each paver into place, compacting the sand underneath.
- Adjust the height of the pavers by adding or removing sand as needed before final tamping.
- For larger areas, a plate compactor with a protective mat can help avoid damage.
Make sure to maintain a proper drainage slope during installation, as this will help prevent water pooling and ensure longevity.
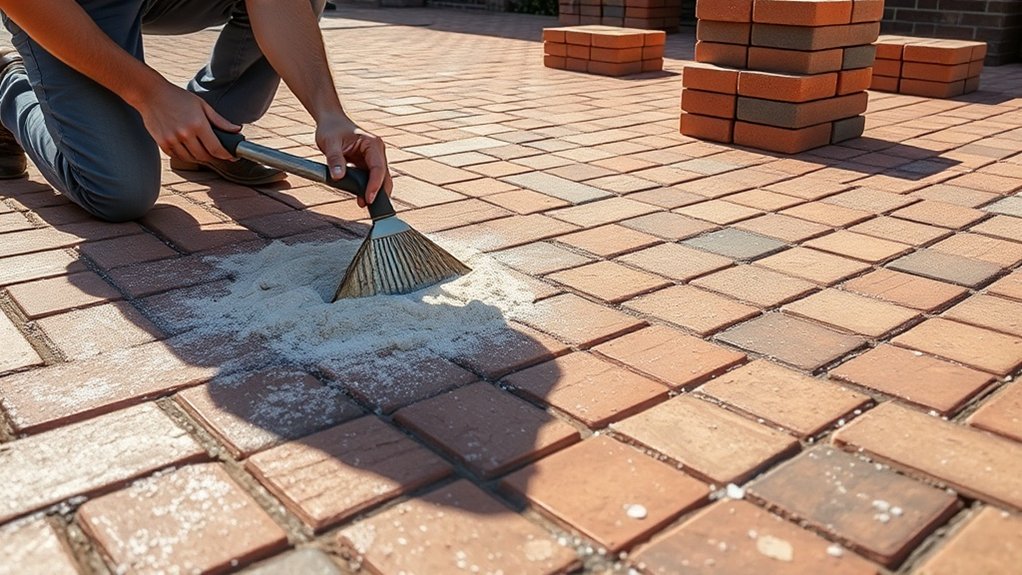
Once all pavers are in place, fill the gaps with joint filling sand to lock them in and prevent shifting.
Regularly check the alignment to ensure a flat, even surface.
Leveling Techniques for a Smooth Surface
To achieve a smooth surface, start by thoroughly assessing any sinking areas.
Use a straightedge to pinpoint uneven spots and ensure proper drainage slopes to avoid future problems.
Once you’ve tackled the underlying issues, carefully reinstall the pavers to maintain a level and durable driveway.
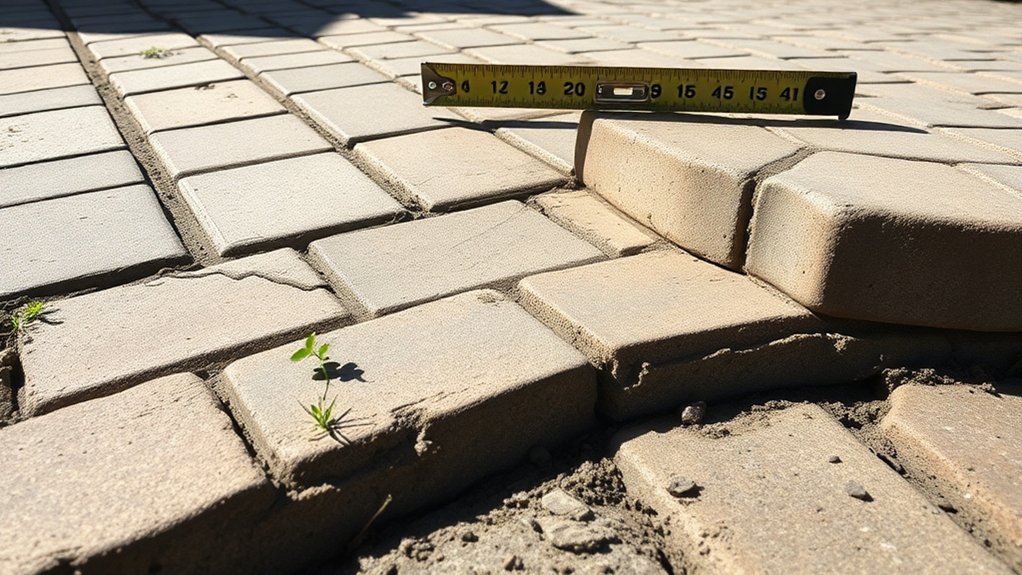
Assessing the Sinking Area
When assessing the sinking area of a block paving driveway, it’s crucial to pinpoint the problem accurately before attempting any repairs.
Here’s how to effectively evaluate the situation:
- Measure the Sinking: Use a spirit level or straightedge to determine how much the area has sunk.
- Check for Causes: Look for underlying issues such as erosion, an uneven base, or washed-out sand.
- Mark the Area: Clearly outline the affected section to prevent unnecessary removal of blocks.
- Document the Layout: Take photos for reference when you begin reinstallation.
Following these steps will help you select the right repair methods and ensure a successful levelling process.
Reinstalling Pavers Correctly
When reinstalling pavers, it’s crucial to ensure a level and stable surface for both functionality and appearance.
Begin by trial fitting the pavers on the prepared base to check their height and alignment. Adjust the sand underneath as required to achieve a flush surface. Use a spirit level or straight edge to confirm that the pavers are level in various directions.
Once positioned correctly, firmly tap down each paver to secure them. Keep an eye on maintaining consistent joint widths for a neat finish and structural strength.
After laying the pavers, compact them with a plate compactor to lock them in place, then refill the joints with sand to prevent any shifting.
Compaction Methods for Stability
Achieving stability in a sinking block paving driveway relies on effective compaction methods.
Here are some essential practices to ensure soil stability and prevent future settling:
- Use plate compactors for effective compaction of the sub-base and sand; these are easily available for hire.
- Make multiple passes (4-6) at different angles to ensure even pressure distribution.
- Compact in thin layers of 50-75mm to enhance stability and eliminate voids.
- Watch for low spots during compaction; refill and re-compact these areas before moving on.
Following these steps will help maintain a stable and durable driveway.
Maintenance Tips for Longevity

To ensure your sinking block paving driveway lasts, regular maintenance is key. Start by sweeping away leaves and debris to prevent moisture buildup.
For tougher dirt, use hot soapy water and a stiff brush, then rinse with low pressure. Tackle weeds quickly to stop root damage, and apply suitable weed killers during dry spells.
After cleaning, top up the joints with fine jointing sand to keep the pavers stable and deter weeds. Regularly check the joint materials and replenish as necessary to maintain the right depth.
It’s wise to seal your driveway every 1-3 years to protect against stains and make cleaning easier.
These simple steps will keep your driveway looking good and functioning well for years.
Preventative Measures to Avoid Future Issues

When installing a block paving driveway, taking preventative measures can significantly reduce future problems. Here are some essential steps to consider:
- Proper Sub-Base Preparation: Ensure a depth of 300 to 350mm, compact the subsoil, and utilise geotextile membranes for added stability.
- Strong Edge Restraints: Use concrete or metal restraints to keep the blocks in place and maintain the integrity of your paving.
- Effective Drainage Design: Set up a proper drainage system to redirect water and minimise erosion risks.
- Quality Base Material: Opt for angular crushed stone, compacted in layers, to improve interlock and reduce gaps.
Frequently Asked Questions
How Long Does the Leveling Process Typically Take?
The leveling process usually takes around one week for larger projects, whereas minor repairs can be finished in just a few hours. The time required can vary depending on the size of the driveway, the extent of sinking, and the weather conditions. For example, a small sunken area may only need a quick fix, while a larger driveway could require more extensive work.
Can I Level My Driveway During Winter?
Yes, you can try to maintain your driveway in winter—just make sure to wear appropriate clothing for the cold! However, be aware that any repairs will likely be temporary, as the frozen ground makes proper levelling difficult until spring.
What if My Pavers Are Damaged Beyond Repair?
If your pavers are beyond repair, it’s best to consider replacing them to maintain the structural integrity of your surface. Weigh the costs of repairs against a complete replacement. Opt for durable materials to avoid future problems and ensure the longevity of your driveway. For example, if your pavers are cracked or uneven, replacing them with high-quality options can save you money in the long run.
Is It Necessary to Hire a Professional for This Task?
Hiring a professional for this task ensures expert evaluation, proper material selection, and adherence to regulations. While DIY methods might save you some cash, they can lead to mistakes and costly repairs down the line. For example, if you’re tackling electrical work without the right knowledge, it could pose serious safety risks. Make your choice wisely for results that last.
How Often Should I Inspect My Driveway for Sinking?
You should check your driveway for sinking at least once a year, particularly after severe weather. Regular inspections help you spot early signs of damage, which can save you from expensive repairs later on. For example, if you notice any cracks or dips, addressing them promptly can prevent further deterioration.
Conclusion
By following these steps, you can level your sinking block paving driveway and improve your home’s appearance. Regular inspections and maintenance will help you spot issues early and prevent further sinking. With a bit of effort and the right techniques, you’ll have a stable, level driveway that lasts. Your home deserves the best!
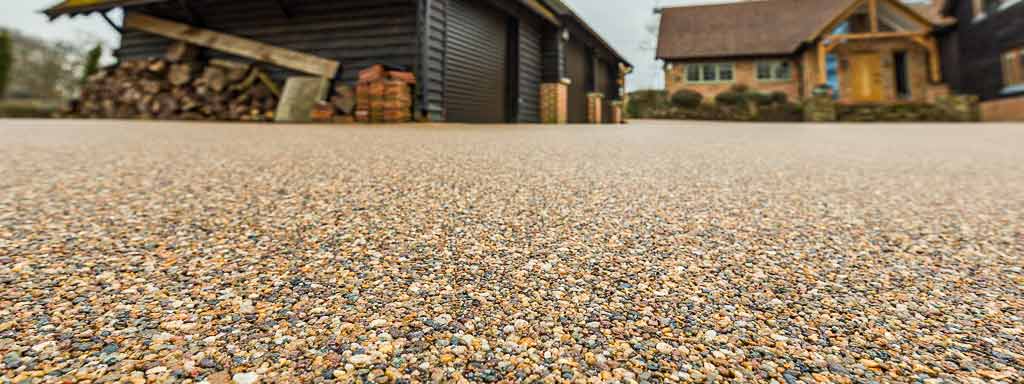
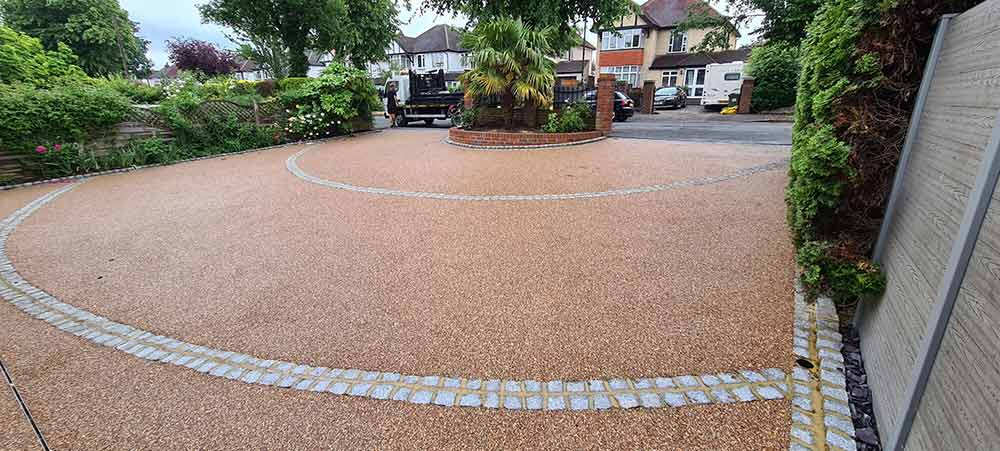
Adding curb appeal to your home is easier than you think! With the right design ideas, your resin driveway can Read more
Are you tired of the dull, worn-out look of your block paving? Well, have you ever considered putting resin over Read more
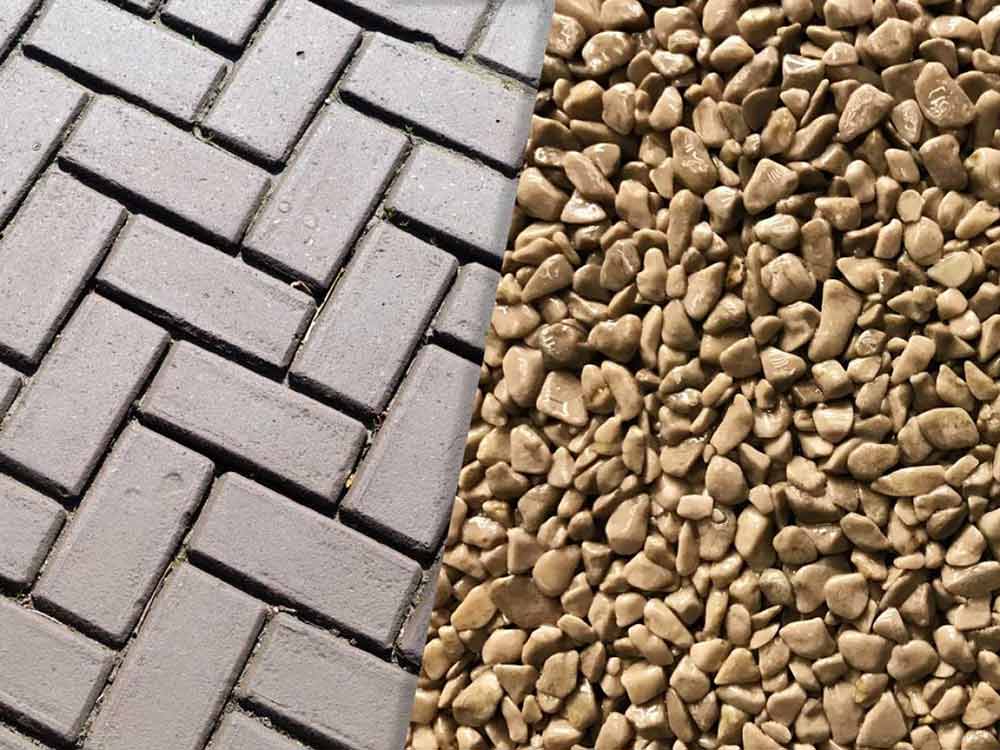
Are you considering whether to choose resin or block paving for your next project? Well, here's an interesting statistic for Read more