To store your driveway maintenance tools for winter, begin by cleaning them thoroughly to remove any dirt and debris, which can lead to rust. Check for any damages and make necessary repairs, then apply winter-grade lubricants to moving parts. Store the tools in a dry, insulated area on racks to prevent moisture absorption. Organise them by type for easy access. Before the first snowfall, ensure your equipment is functioning properly. By following these steps, you’ll be well-prepared for winter tasks.
Key Takeaways
- Thoroughly clean all tools to remove dirt and debris, which can cause rust during winter storage.
- Store tools in insulated areas, such as garages, to maintain a stable temperature and prevent freezing.
- Elevate tools off concrete floors using pallets or racks to avoid moisture absorption.
- Control humidity levels in storage spaces to minimise the risk of rust and corrosion.
- Organise tools for easy access, placing frequently used items near the entrance for convenience.
Assessing Your Driveway Maintenance Tools
Before you put your driveway maintenance tools away for winter, it’s important to check their condition. Start with an inventory, looking over each item for rust, damage, or wear. Inspect handles for cracks and ensure all moving parts work smoothly. Check blades and scrapers for dullness as well.
For any power equipment, make sure engines and batteries are functioning properly and that fluid levels are sufficient. Review your maintenance records to ensure tasks like lubrication and sharpening have been carried out. Regular checks ensure proper maintenance of your tools, which will help extend their lifespan and functionality.
Note any repairs needed and consider if the storage environment is suitable for each tool. A proper assessment now will keep your tools in good shape for the next season.
Cleaning and Preparing Tools for Storage
Before storing your driveway maintenance tools, it’s important to clean off any dirt and debris to prevent rust. Cleaning thoroughly will ensure that your tools remain in good condition and free from corrosive materials. After cleaning, lubricate any moving parts to ensure they work smoothly when needed again. Lastly, check your equipment for any damage, so you can sort out any issues before they escalate.
Remove Dirt and Debris
Begin by clearing loose dirt and debris from your driveway maintenance tools to prepare them for winter storage. Use a leaf blower, broom, or a dry brush to remove surface dirt, leaves, and organic matter.
Pay special attention to shovels and blades, making sure to dislodge any trapped soil, seeds, or small stones to prevent buildup. Regular cleaning helps to maintain the longevity of your tools. Don’t overlook crevices where debris tends to collect; compressed air can be handy for those hard-to-reach spots. It’s also important to clean off any oil spills or chemical residues that could damage your tools. Sweeping or raking the driveway can help minimise dirt transfer onto your stored tools. Additionally, using heavy-duty materials for your tools can enhance their durability and resistance to wear during winter storage.
This thorough cleaning is vital for maintaining your tools and extending their lifespan through the winter months.
Lubricate Moving Parts
Lubricate Moving Parts
After cleaning your driveway maintenance tools, it’s time to lubricate the moving parts. Winter lubrication is crucial to prevent rust and ensure smooth operation in the spring. Here’s how to do it:
- Select the Right Lubricant: Opt for winter-grade lubricants with anti-freeze additives to stop moisture from freezing.
- Apply with Care: Clean around hinges and apply a small amount of oil, making sure it seeps into the moving components.
- Wipe Away Excess: Use a cloth to remove any surplus oil to avoid dirt build-up.
Regular maintenance keeps your tools in prime condition, preventing squeaks and stiffness.
Follow these steps to ensure your tools are ready for action when the season arrives.
Inspect for Damage
As winter draws near, it’s crucial to inspect your driveway maintenance tools for any damage to ensure they’re ready for action come spring. A proper check-up can extend the life of your tools and prevent any problems arising from seasonal wear. Here’s a straightforward guide to follow:
| Component | What to Check | Action |
|---|---|---|
| Blades and Decks | Look for damage, dullness, and debris | Clean and sharpen or replace blades |
| Fuel System | Check for old fuel and inspect petrol caps | Drain old fuel and replace caps |
| Tyres and Wheels | Assess tyre condition and ensure proper inflation | Replace damaged tyres and maintain pressure |
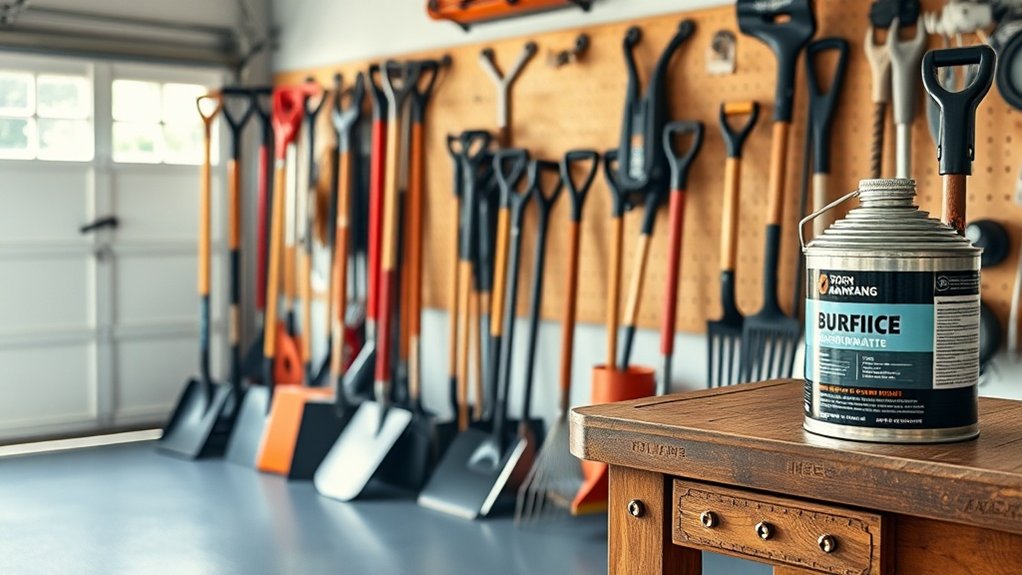
Proper Dry Storage Solutions

To ensure your driveway maintenance tools stay in excellent condition over winter, choosing the right dry storage solution is crucial.
Here are three straightforward strategies for effective indoor storage and moisture control:
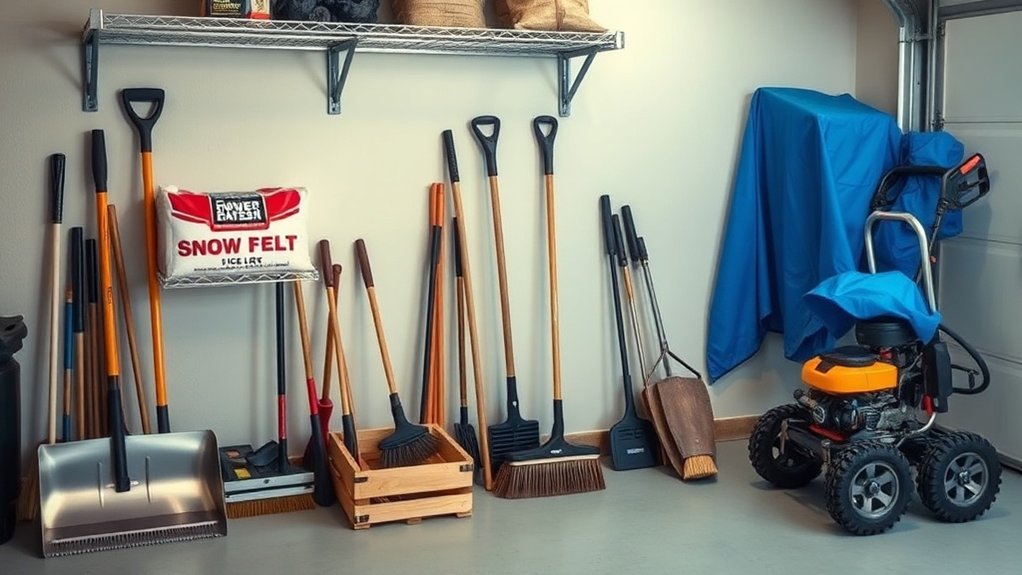
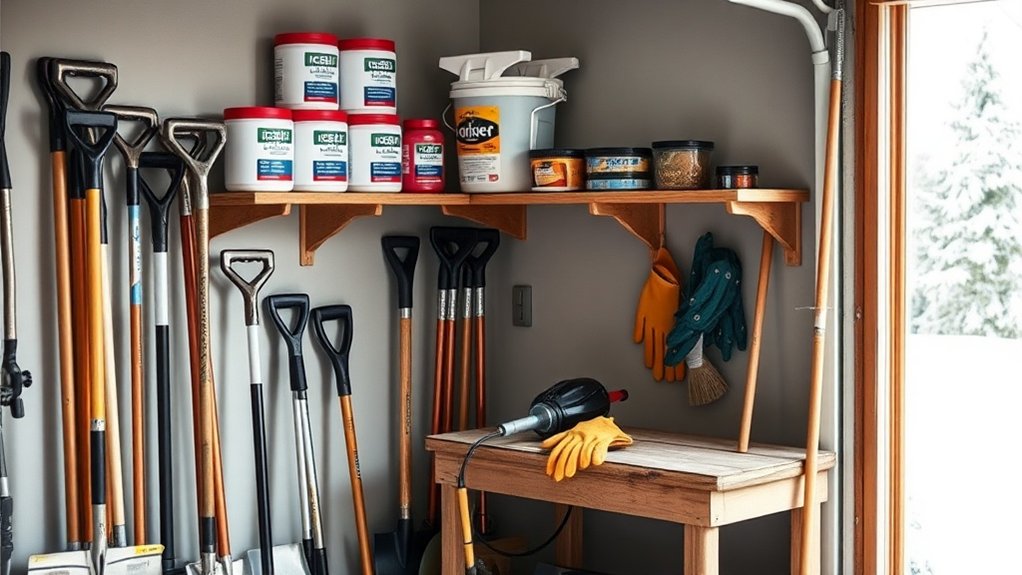
- Opt for Insulated Spaces: Use garages, sheds, or heated storage units to shield your tools from extreme temperatures and dampness.
- Elevate Your Equipment: Store tools on pallets or racks to keep them off concrete floors, which can transfer moisture and lead to rust and corrosion.
- Control the Climate: Maintain your storage area at a minimum temperature of 7-10 degrees Celsius to prevent freezing and condensation.
Implementing these strategies won’t only protect your tools but also ensure they’re ready for use when spring arrives.
Safeguard your investment with proper dry storage this winter!
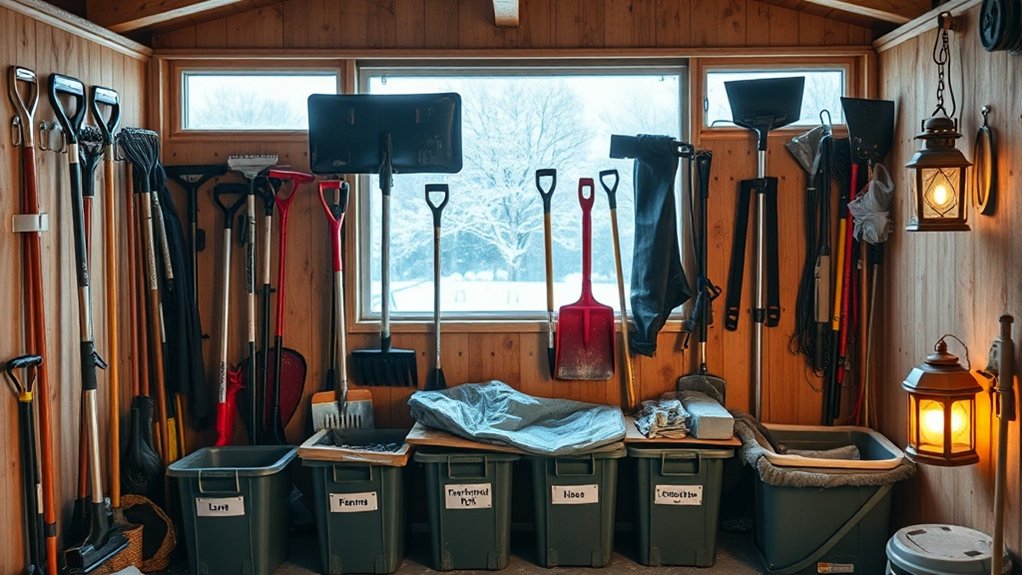
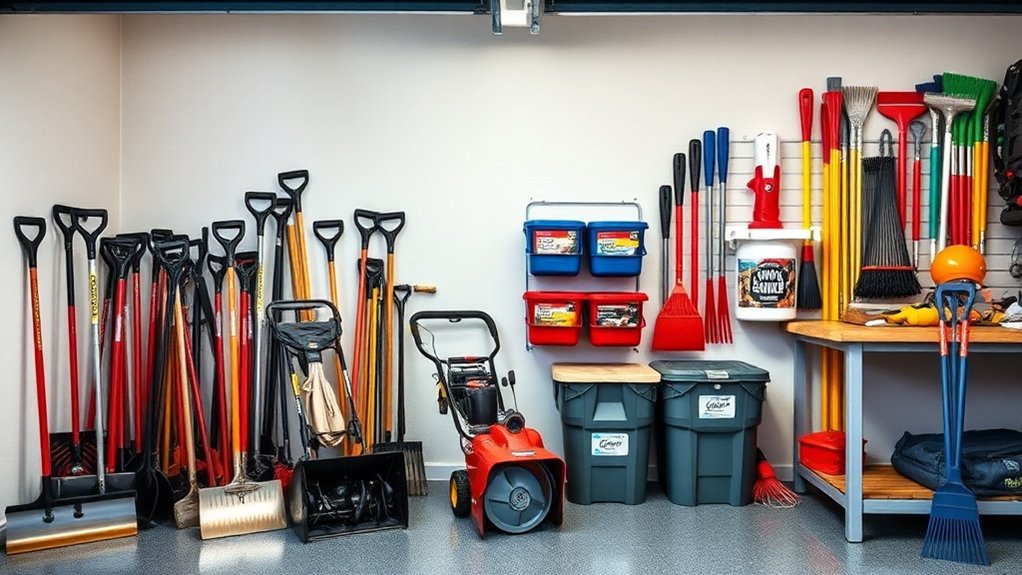
Organizing Tools for Easy Access
Once you’ve stored your driveway maintenance tools securely, it’s time to organise them for easy access.
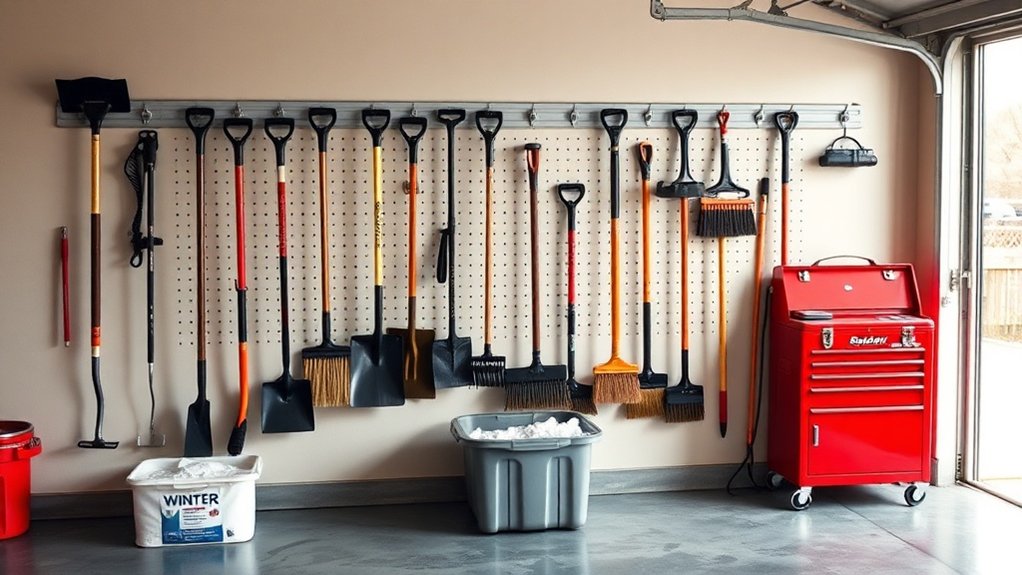
Start by sorting tools by type and how often you use them. Keep frequently used hand and power tools close to entry points or on wall mounts for quick access. Use labelled bins for items you don’t need as often, and consider colour-coding for easy identification.
Modular storage systems like pegboards and adjustable rails are great as they can adapt to your changing tool collection.
Group tools by their function to improve workflow, and keep commonly used pairs together. Make sure each tool has a designated spot and use trays and drawer organisers to enhance visibility.
This setup will streamline your maintenance tasks and save you time.
Protecting Winter Equipment
To protect your winter equipment, begin by properly draining all fluids to avoid freezing damage.
Store your tools in airtight containers to keep out moisture and dirt.
Additionally, use protective covers for extra defence against the elements if you need to store equipment outdoors.
Drain Fluids Properly
Properly draining fluids is crucial for safeguarding your winter equipment. Neglecting this can result in expensive damage, such as cracked tanks and frozen parts.
Here are three key steps to ensure your tools remain in excellent condition:
- Identify fluid types: Check the hydraulic, coolant, and fuel systems. Each one may need winter-grade fluids or complete drainage.
- Implement drainage techniques: Remove all water from tanks, hoses, and valves. It’s wise to replace hydraulic fluid with winter-grade options to avoid thickening.
- Regular checks: Before storing equipment, inspect fluid levels and replace any contaminated fluids to minimise corrosion risks.
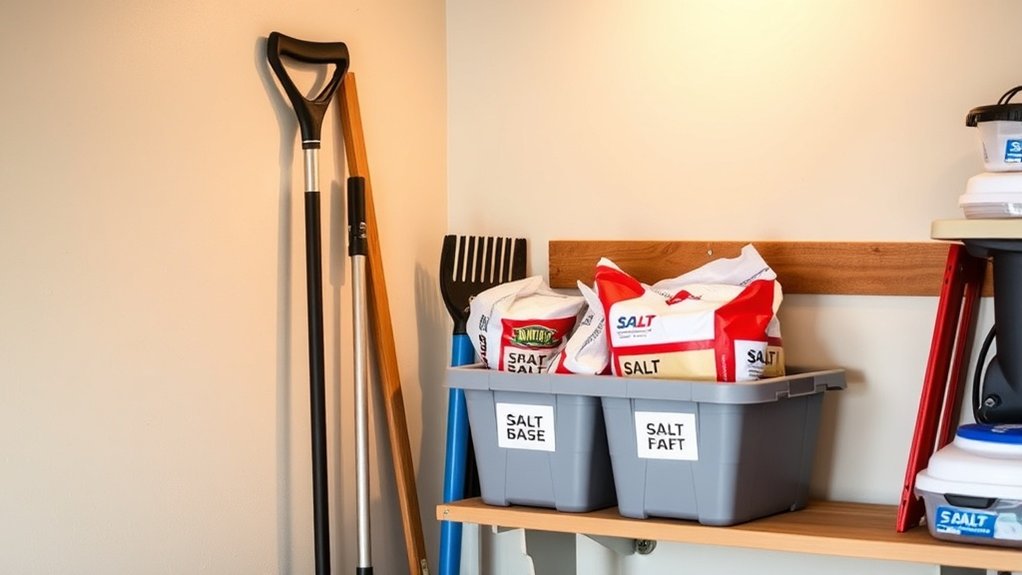
Store in Sealed Containers
Storing your driveway maintenance tools in sealed containers is essential to protect them from the harsh winter elements. Airtight containers keep out moisture, pests, and dust, ensuring your tools stay in good condition. Clear plastic bins are a great choice for easy identification and access.
| Container Type | Advantages |
|---|---|
| Durable Polypropylene | Resists cold and corrosion |
| Vacuum-Sealed Bags | Compresses bulk items and blocks moisture |
| Stackable Containers | Maximises space and reduces clutter |
Before sealing your tools, make sure they are clean and dry. Clearly label each container for easy access and organisation. Store containers off the ground and in shaded areas to prevent water accumulation and UV damage, keeping your tools ready for the next season.
Use Protective Covers
After securing your driveway maintenance tools in sealed containers, using protective covers adds an extra layer of defence against winter’s harsh conditions.
Opt for durable materials, such as waterproof vinyl or heavy-duty polyester, to keep your tools safe from moisture, rust, and debris.
Here are three best practices for cover maintenance:
- Clean and dry your tools before covering them to prevent trapped moisture.
- Secure covers with straps or weights to avoid wind damage.
- Inspect regularly for any tears or wear, particularly after severe weather.
Ensuring Safety in Storage Areas
Ensuring safety in your storage areas is crucial for protecting your tools and yourself. Implementing effective storage solutions can prevent accidents and maintain the condition of your equipment. Here are some key points for tool safety:
| Aspect | Tips |
|---|---|
| Indoor Environment | Store tools in dry, temperature-controlled spaces. |
| Electrical Safety | Remove batteries from tools to avoid accidental activation. |
| Fire Prevention | Keep flammable materials away from storage areas. |
| Organisation | Use racks and cabinets to minimise tripping hazards. |
| Inspection | Regularly check for hazards and keep the area tidy. |
Maintenance of Grading Tools
To keep your grading tools in excellent condition, begin by giving them a thorough clean to eliminate any dirt and debris.
Then, check for any damage that might hinder their performance and carry out any necessary repairs.
Finally, to prevent rust, apply a light coat of oil to all metal surfaces before storing them away.
Clean Grading Tools Thoroughly
Cleaning your grading tools properly is crucial for their durability and performance. Effective cleaning techniques not only keep your tools in great condition but also help prevent rust.
Follow these simple steps for the best results:
- Use a stiff-bristle brush to remove all soil and debris, ensuring no dirt remains.
- Wipe metal surfaces with a dry cloth to remove moisture and prevent rust.
- For stubborn spots, use a mild soap and warm water solution, rinsing thoroughly to avoid any residue.
Inspect for Damage
Inspecting your grading tools for damage is crucial for maintaining their effectiveness and lifespan.
Begin with a thorough assessment: check handles for cracks or breaks and examine metal parts for dents that could impact grading accuracy. Look for loose screws or fasteners and tighten or replace them as necessary.
Inspect grading blades for dullness, nicks, or rust, as these can impair performance. Ensure movable parts operate smoothly and that grips are secure and undamaged.
Don’t overlook rubber seals and protective coatings for signs of wear. Document any issues and prioritise repairs to ensure your tools remain efficient and ready for use when winter ends.
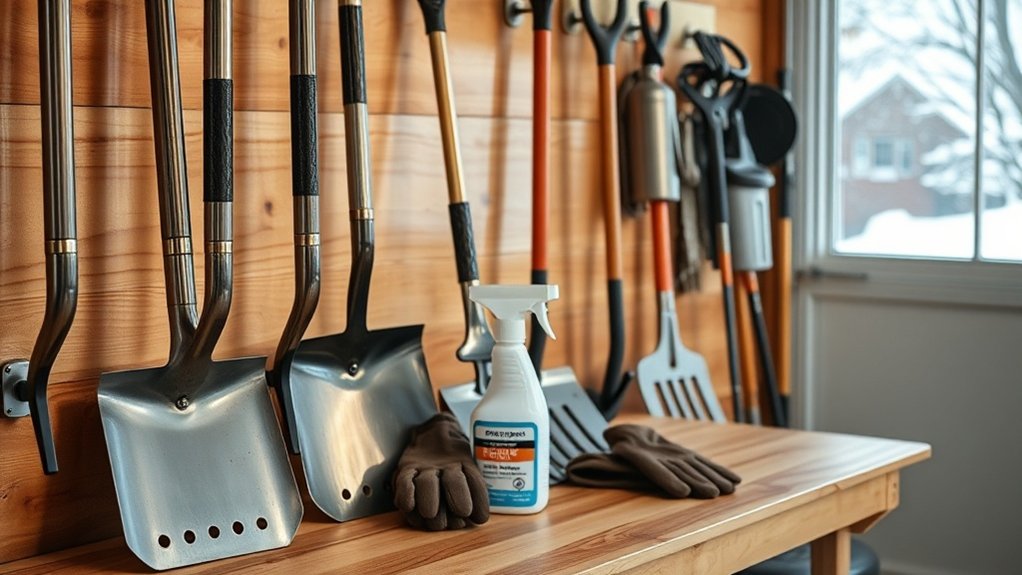
Protect Against Rust
As winter approaches, it’s crucial to protect your grading tools from rust to ensure they last longer and work effectively.
Here are three key steps for preventing rust and controlling moisture:
- Clean and Dry: Remove any dirt and grease, scrub away rust spots, and dry your tools in a warm place to prevent moisture build-up.
- Apply Protective Oils: Coat metal surfaces with rust-inhibiting oils, and consider using vapour corrosion inhibitors to create a barrier against moisture.
- Proper Storage: Store your tools indoors in a dry environment. Use impermeable covers and vacuum-seal where possible to keep out air and moisture.
Seasonal Readiness Checklist
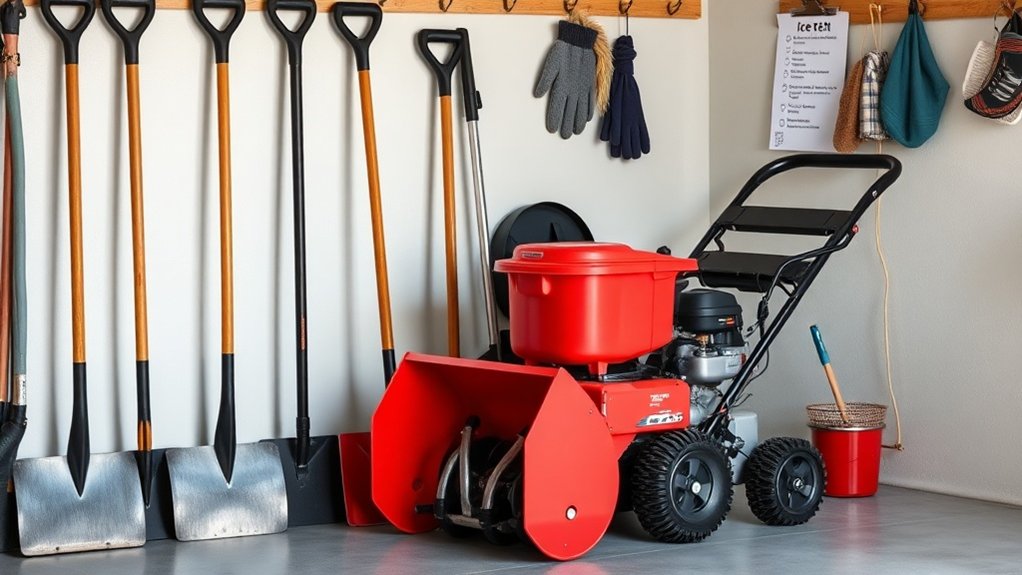
Preparing your driveway maintenance tools for winter requires a straightforward checklist.
Begin by inspecting each tool for rust, corrosion, or wear, and note any repairs needed. Clean tools with water and a stiff brush, ensuring they’re completely dry to prevent rust. Lubricate moving parts and sharpen blades for optimal performance. Regularly applying protective sealants can help extend the lifespan of your tools.
Store tools in a dry, temperature-controlled area, away from dampness. Organise them by how often you use them, keeping essentials easily accessible.
Before the first snowfall, do a final check to ensure all tools are functional and restock any necessary supplies. Update your checklist to include any changes or additional items needed.
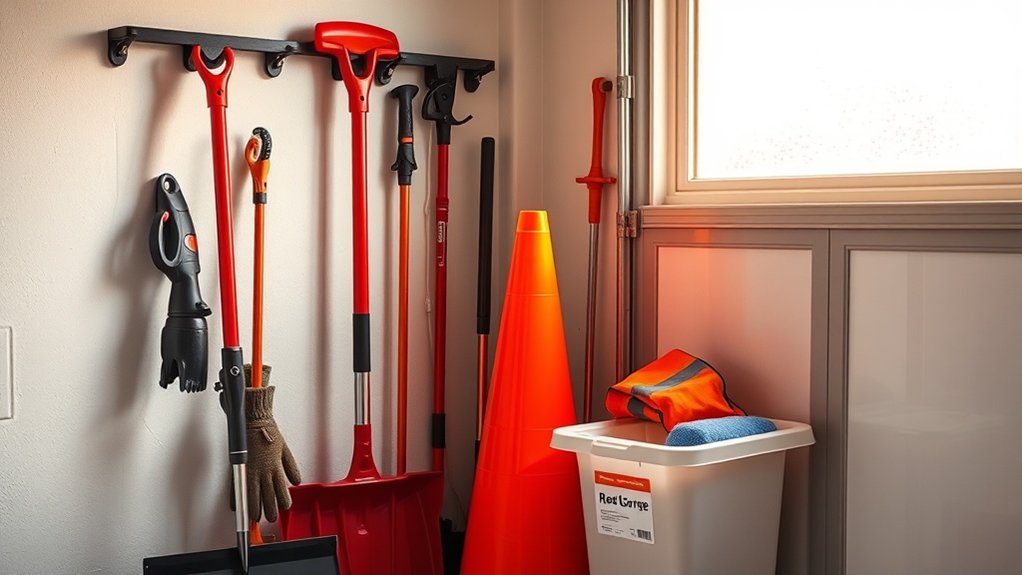
Grouping Similar Tools Effectively
Organising your driveway maintenance tools can make winter preparations more efficient. By categorising your tools effectively, you’ll be able to find what you need quickly when the cold weather arrives.
Here are three key groupings to consider:
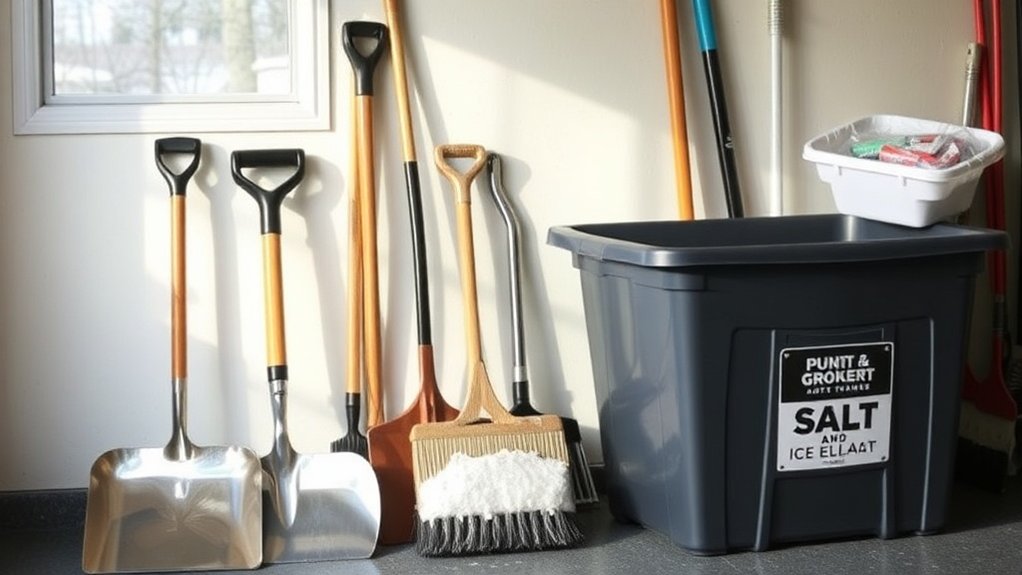
- Snow Removal Tools: Keep shovels, snow blowers, and ploughs together for easy access.
- Ice Management Tools: Store ice scrapers, de-icers, and salt spreaders in a separate area.
- Delicate Equipment: Use specific containers for sensitive items like snow melting mats.
Utilising wall-mounted hooks, shelves, and clearly labelled bins will help keep these groups organised.
This not only saves time but ensures you’re ready for any winter challenge, making your seasonal tasks easier and more manageable.
Lubrication and Sharpening Techniques
Proper lubrication and sharpening techniques are crucial for maintaining the efficiency and lifespan of your driveway maintenance tools during winter.
Use winter-grade lubricants with anti-freeze additives to stop moisture from freezing in your tools. Low viscosity oils, such as Paslode Cold Weather Lubricating Oil, are ideal as they ensure smooth flow even in cold conditions.
Remember, oil viscosity increases in lower temperatures, which can hinder flow and lead to equipment failure. Depending on usage, apply six to twenty drops of lubricant daily to key components.
Additionally, keep blades regularly sharpened to improve cutting performance. By ensuring your tools are well-lubricated and sharp, you can count on them to work effectively when you need them most during the winter months.
Inspecting and Repairing Tools Before Storage
Before storing your driveway maintenance tools for winter, it’s crucial to inspect and repair them to ensure they’re in excellent condition. Proper maintenance will prolong their lifespan and ensure they’re ready for use when needed. Here’s what to do:
- Check for Damage: Look for any cracks, rust, or loose parts. Ensure handles and blades are intact.
- Clean Properly: Remove dirt and debris, and dry tools thoroughly to prevent corrosion. For wooden handles, apply linseed oil to keep them in good shape.
- Carry Out Minor Repairs: Tighten any loose bolts and replace worn parts before putting them away for the season.
Planning for Future Tool Needs
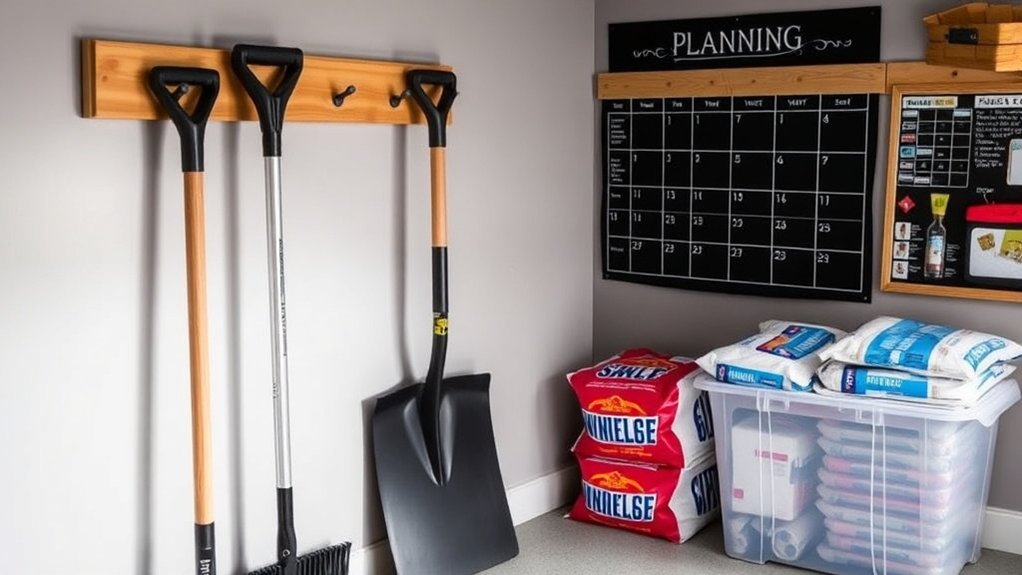
As winter approaches, it’s important to review your driveway maintenance tools and plan for any additional needs.
Start by checking the condition of your current tools. Remove any worn-out items to make space for new ones. Assess your snow removal and ice management equipment based on typical weather in your area.
Consider investing in multi-purpose tools to save space and tackle various winter challenges. When planning for future needs, prioritise replacements based on how often you use them.
Ensure your storage solutions can adapt to accommodate new tools, keeping everything organised and easy to access. This proactive approach will make your winter maintenance and tool management more efficient.
Frequently Asked Questions
What Are the Best Materials for Tool Storage Containers?
For tool storage containers, opt for plastic boxes for lightweight and cost-effective solutions, and metal cabinets for added durability and security. Both materials are weather-resistant, keeping your tools safe and in good condition during the winter months.
How Can I Prevent Tools From Rusting During Winter Storage?
To prevent rust during winter storage, control moisture by thoroughly cleaning your tools, applying protective oils, and storing them in sealed bags or containers. Regularly check for any signs of rust and reapply coatings as necessary to keep tools rust-free. For example, a simple vegetable oil can be used on metal surfaces to create a barrier against moisture.
Should I Disassemble Tools Before Storing Them for Winter?
Yes, disassembling tools before winter storage is a good idea. It maximises storage space and helps prevent rust. By separating components, you protect them from damage and ensure they’re clean and dry, making it easier to reassemble when the time comes to use them again. For instance, taking apart a garden fork can prevent the tines from bending or rusting over the winter.
How Often Should I Inspect My Tools During Winter?
You should inspect your tools at least once a month during winter, as neglect is responsible for 30% of winter tool failures. Regular checks ensure your tools perform well, allowing you to prepare effectively for winter and avoid unexpected problems. For instance, a simple look at your garden shears or snow shovel can save you a hassle later on.
Can I Store Tools Outside if They’Re Covered?
Yes, you can store tools outside if they’re covered, but ensure the covers offer proper protection. Opt for elevated outdoor storage to reduce the risk of rust and protect against moisture and pests during winter. For example, a sturdy shed or a waterproof tarp can keep your tools safe and in good condition.
Conclusion
Properly storing your driveway maintenance tools for winter ensures they’re ready when you need them. Consider how much simpler your spring tasks will be with organised, functional equipment. By taking a little time to clean, inspect, and store your tools, you can prolong their lifespan and make future projects easier. Being prepared means you can confidently tackle any driveway maintenance issues that arise!

Maximize the durability of your tarmac driveway by understanding the ideal weather conditions for installation—discover the secrets to perfect timing Read more

Discover the common causes of tarmac driveway cracks and learn effective repair methods to protect your investment—your driveway deserves the Read more
Before you paint your tarmac driveway, discover essential tips and techniques that can transform its appearance and durability—don't miss out Read more