Tarmac Driveway Installation: What to Expect & How It’s Done
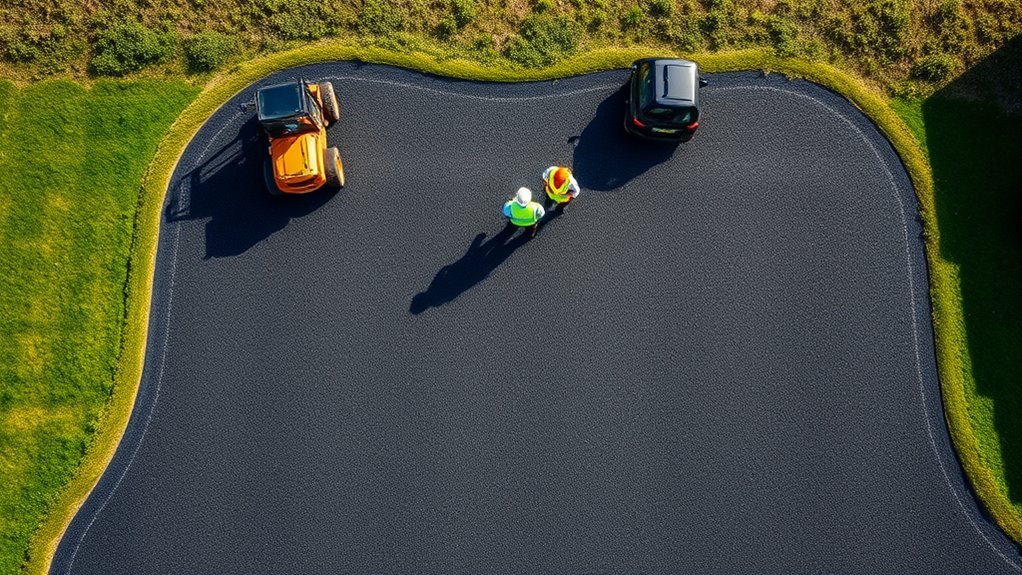
When installing a tarmac driveway, expect a clear process that begins with planning and site preparation to ensure proper drainage and adherence to local regulations. The area will be cleared, excavated to the required depth, and a solid sub-base constructed before applying heated tarmac using specialised machinery. Finally, the surface will be smoothed out, and edge restraints added. This systematic approach guarantees durability and longevity. You'll also find useful information on material options and costs as you delve deeper into the subject.
Key Takeaways
- Begin by assessing and preparing the site: clear away any debris, check the drainage, and obtain the necessary permits to create a solid foundation for your tarmac driveway.
- Excavate the area to a depth of 200-250mm, then lay a compacted sub-base of crushed stone or gravel to ensure proper support and drainage.
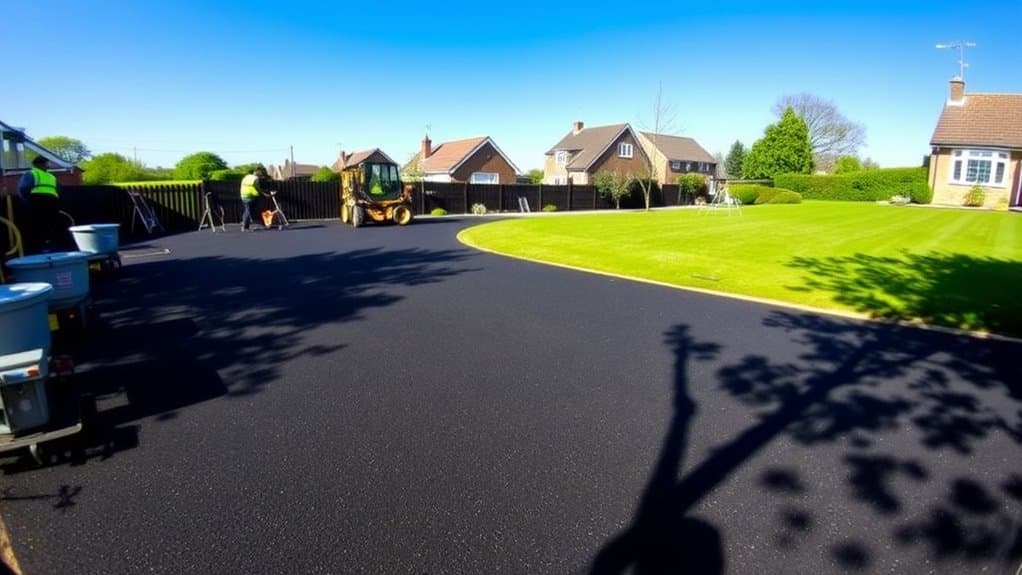
- Heat and spread the tarmac using specialised machinery, then use a roller to compact it for a smooth, durable finish.
- Install edge restraints to clearly define the boundaries of the driveway and prevent any spreading, ensuring a tidy and stable installation.
- The installation process is typically quick, and with proper maintenance, tarmac driveways can last between 15 to 25 years, depending on the quality of materials and workmanship.
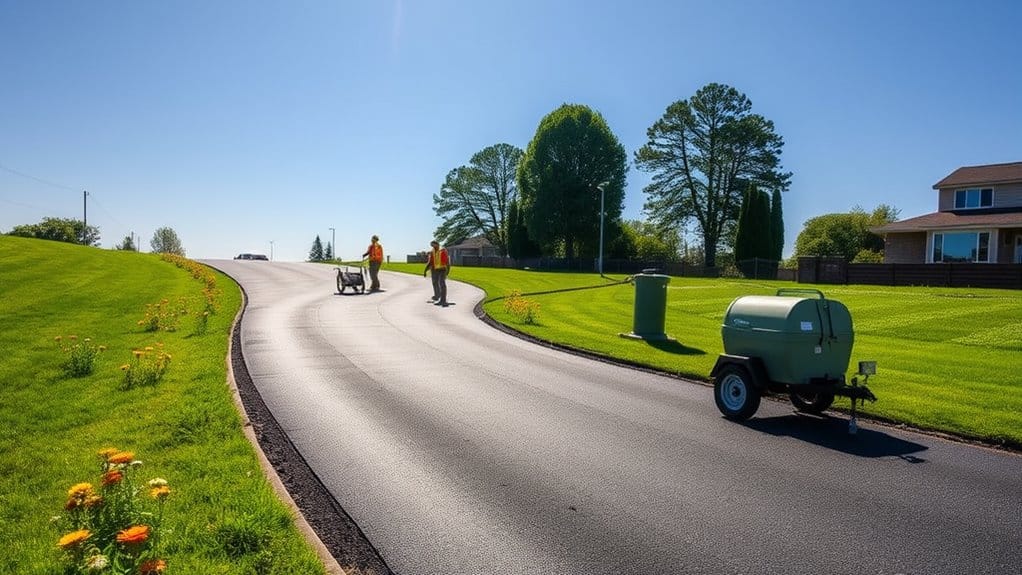
Planning and Preparation for Your Tarmac Driveway
When planning your tarmac driveway, it's crucial to thoroughly assess your property to ensure a successful installation. Start by checking the drainage patterns; proper drainage is key to preventing water pooling, which can damage your driveway over time.
Make sure you're aware of any local permits required to comply with building regulations. Also, take into account the local climate, as this can affect the longevity and performance of the materials used. A blacktop driveway offers benefits such as durability and cost-effectiveness, making it a popular choice for homeowners.
When sketching your design, include edge restraints for both stability and a neat finish. Choosing the right materials is essential; hot mix asphalt is a reliable option for durability, while a solid base of crushed stone is recommended.
Be sure to identify any existing obstacles that could complicate the installation process. By addressing these considerations from the outset, you'll lay a solid foundation for your tarmac driveway project and ensure a smoother installation.
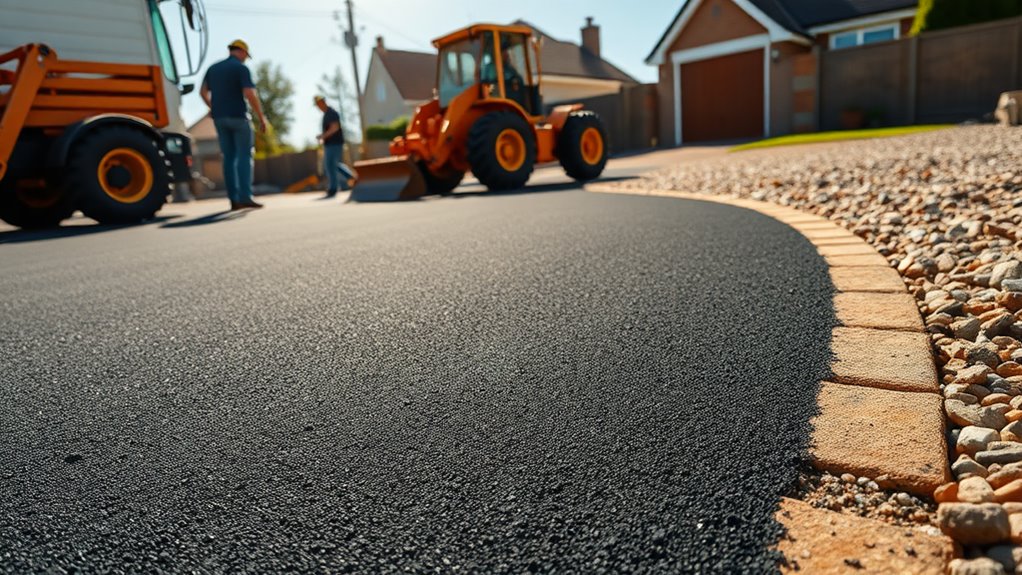
Site Preparation Steps
Before laying your tarmac driveway, start by clearing the area of grass, roots, and any debris to ensure a stable foundation. Then, excavate the site to a depth of 200-250mm to accommodate the sub-base and tarmac layers. Precise measurement of the area is crucial for calculating the materials needed and ensuring a level surface. The driveway installation process emphasizes that foundation preparation is crucial and requires multiple steps.
Clearing the Work Area
Clearing the work area is a crucial step in installing a tarmac driveway, ensuring a solid foundation.
Start by removing any obstacles like grass, roots, and debris. For small areas, use shovels and rakes to manually clear the ground, keeping it clean and level. In larger spaces, machinery can speed up the process. Proper clearing helps prevent issues like uneven surfaces and water pooling, which can shorten the driveway's lifespan. Additionally, it is important to assess site for drainage issues to avoid future complications. Be vigilant for hidden roots that could complicate your work. A well-prepared site is essential for a successful tarmac installation, enhancing both durability and appearance.
Excavation and Depth Requirements
Excavation is a vital step in installing a tarmac driveway, ensuring a strong and lasting surface. Aim for an excavation depth of 8 to 12 inches, depending on soil conditions and expected traffic.
Employ various excavation methods to achieve the correct depth while stabilising the soil if necessary.
Here are some key points to consider:
- Clear away any existing materials for a fresh start.
- Grade the area for adequate drainage, maintaining a slope of 1-2%.
- Use the right tools, whether manual or powered.
- Regularly check the depth to account for both the subbase and tarmac layers.
- Prepare the ground properly to support a stable subbase for increased durability.
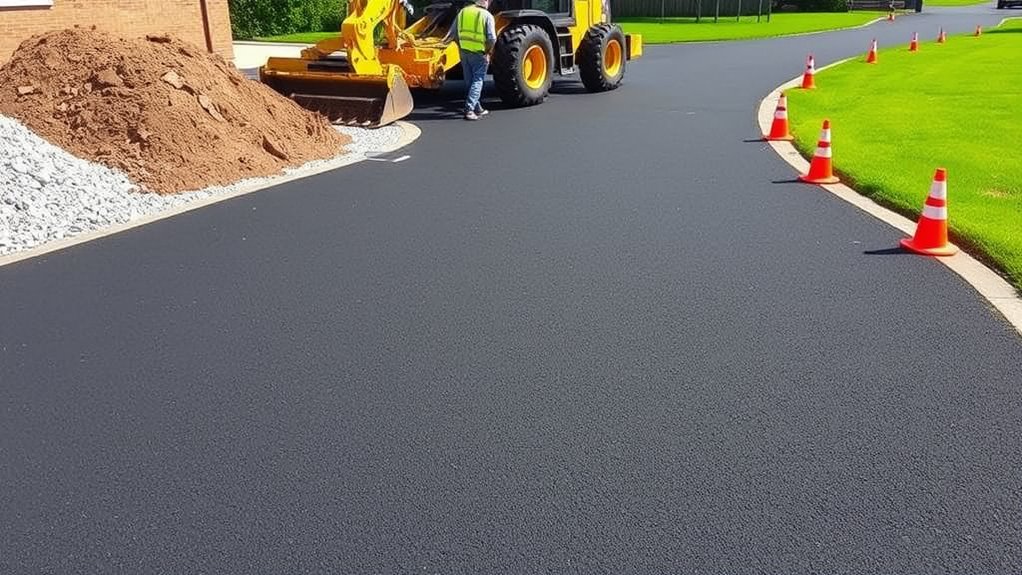
Constructing the Sub-Base
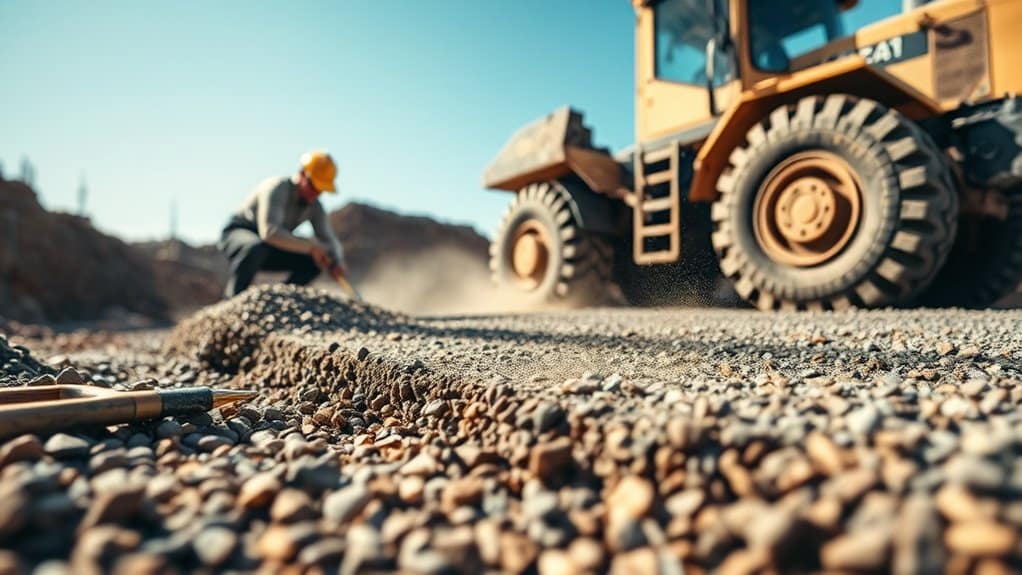
When you're ready to build the sub-base for your tarmac driveway, start with proper excavation and site preparation. Generally, you'll need to dig down 7-8 inches, removing any organic material and debris to create a solid foundation. Using machinery like diggers can make this process quicker and more efficient.
Next, lay down 4-6 inches of sub-base materials, such as crushed stone or gravel. It's crucial to compact this layer properly using a plate compactor or roller to ensure stability and effective drainage.
Fine-grade the surface to achieve a level finish and make any necessary slope adjustments for water runoff.
Finally, inspect the sub-base to confirm it's well-compacted and ready for the next layer. This step is essential for ensuring the durability of your driveway.
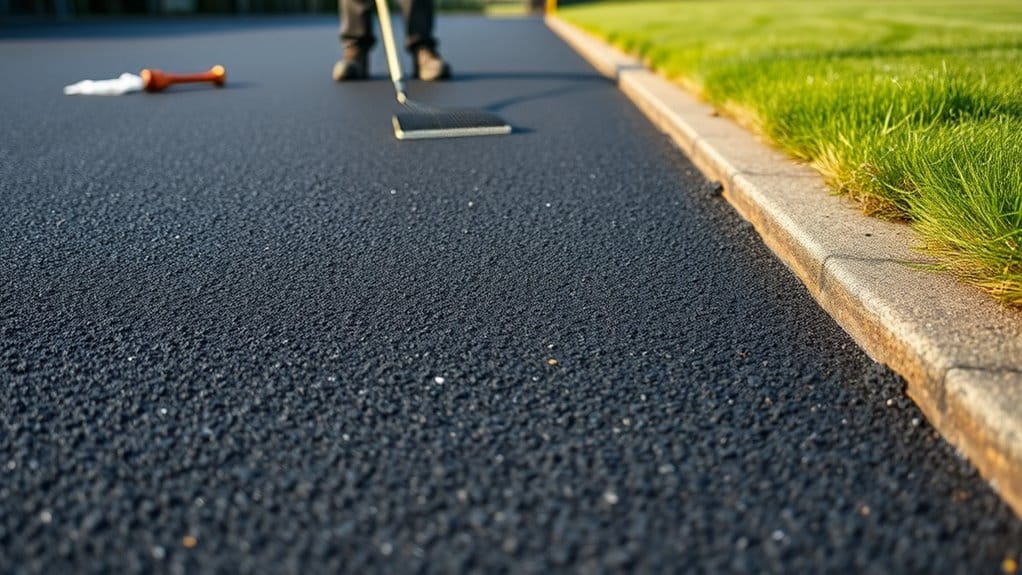
Applying the Tarmac
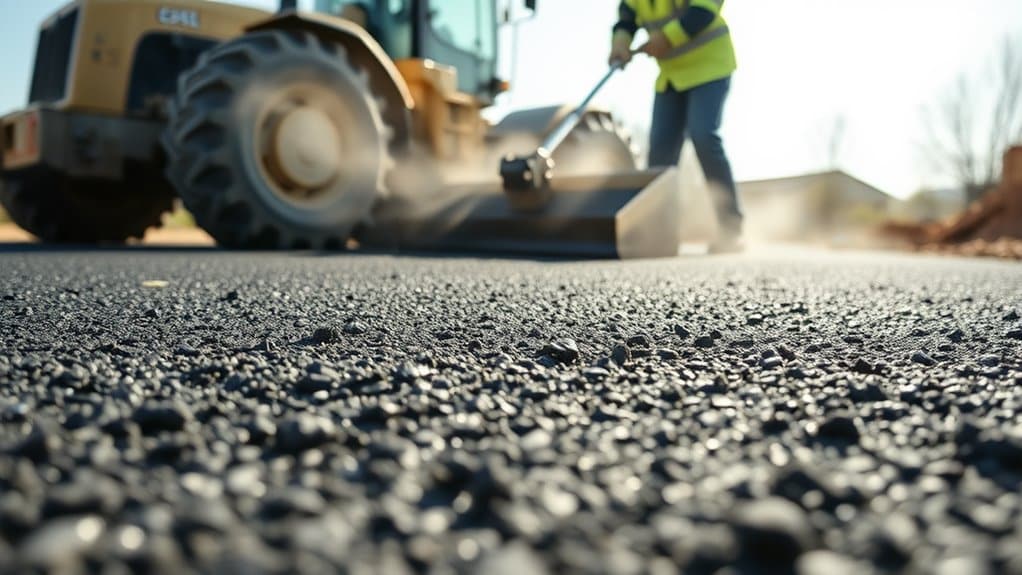
When laying tarmac, begin by heating the material to ensure it flows well before spreading it evenly over the prepared surface.
It's crucial to use effective compaction techniques to achieve the right density and durability for your driveway.
Every step needs to be carried out carefully to ensure the tarmac installation remains strong and functional.
Heating and Spreading Tarmac
To create a durable and smooth tarmac driveway, it's crucial to heat and spread the tarmac accurately. Pay attention to temperature control to ensure the material flows properly and spreads evenly.
Here are some key points to consider:
- Use specialised machinery for uniform distribution.
- Apply the tarmac while it's still hot to ensure good adhesion.
- Start with coarse aggregates for the base layer to enhance stability.
- Keep an eye on ambient temperatures, as they can impact the setting time.
- Skilled workmanship is vital for a flawless finish.
Compaction Techniques Explained
Compaction techniques are crucial for ensuring a durable tarmac driveway, as they significantly improve the material's density and lifespan.
Using the right equipment, like vibratory rollers and plate compactors, helps to remove air pockets effectively.
Begin compaction right after laying the tarmac while it's still warm, using breakdown rolling to achieve optimal density.
Employing rolling trains or echelon rolling ensures even coverage and consistency.
The benefits of compaction go beyond just immediate strength; they help prevent early pavement issues and create a smooth surface without bumps.
Keep an eye on the number of passes according to the layer thickness to ensure proper compaction.
Following these guidelines will result in a robust and long-lasting tarmac driveway.
Finishing Touches for a Smooth Surface
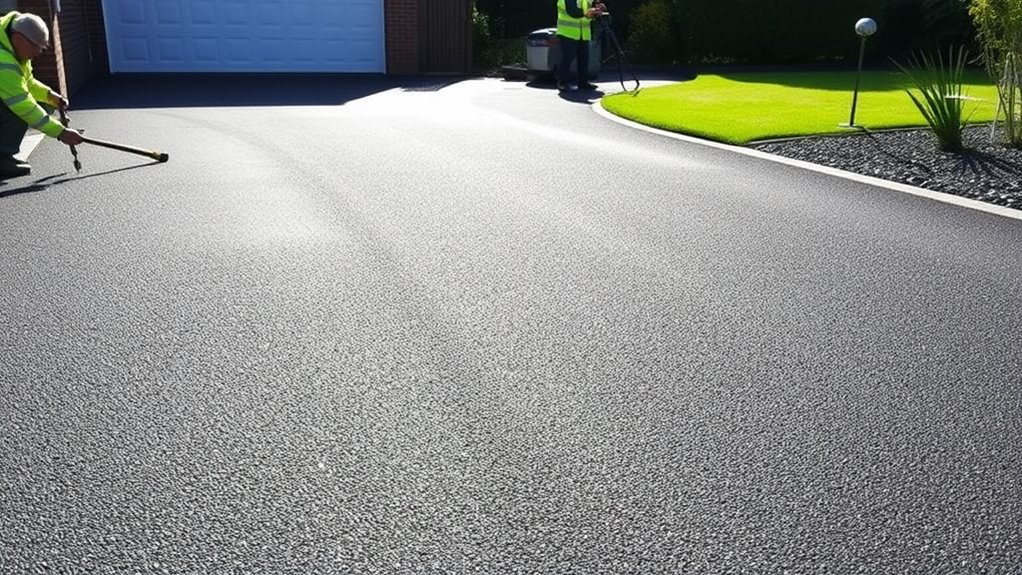
Achieving a smooth surface on your tarmac driveway is essential for both appearance and longevity. Here are some important finishing techniques to consider:
- Use specialised equipment for an even tarmac application.
- Install strong edge restraints to define boundaries and prevent spreading.
- Carry out a thorough final inspection to spot any minor imperfections.
- Perform touch-ups to smooth out surfaces and refine edges.
- Allow adequate curing time to strengthen the surface.
These finishing touches are crucial for preventing surface deformities and ensuring optimal performance.
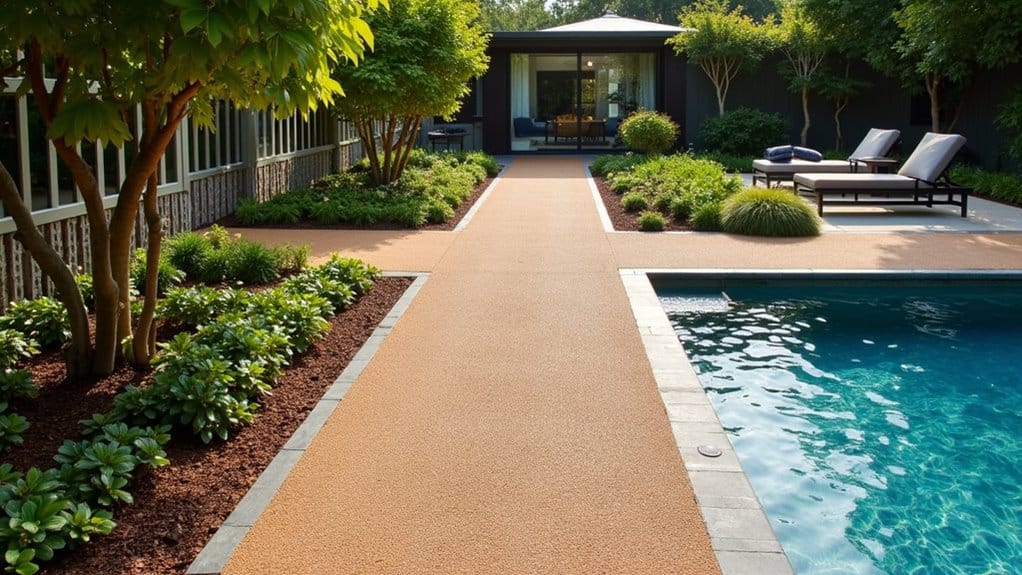
Types of Tarmac and Their Costs
Once you've added the finishing touches to your tarmac driveway, it's important to understand the different types of tarmac available and their costs.
You'll find several options, including asphalt driveways, known for their durability and low maintenance. Bitmac offers similar benefits, while tar and chip driveways provide a distinctive look.
If you want a more attractive finish and better weed resistance, consider resin-bound tarmac, or choose coloured tarmac for a personalised touch.
Each type has varying costs, which depend on factors like size and layout. Although these asphalt alternatives may need some maintenance, their long lifespan can lead to savings in the long run, making them a sensible investment for your property.
Comparing Costs With Other Driveway Materials
When comparing driveway materials, tarmac stands out for its cost-effectiveness compared to alternatives like concrete and brick.
Here are some key benefits of tarmac to consider:
- Lower Installation Costs: Tarmac is generally more affordable to install than concrete or brick options.
- Reduced Labour Requirements: It usually demands less labour, helping to keep overall costs down.
- Quick Installation Timeline: A tarmac driveway can often be laid in just one day, reducing disruption to your routine.
- Minimal Maintenance: Long-term maintenance costs are lower due to the durability of tarmac.
- Cost-Effective for Larger Areas: The price per square metre decreases as the size of the driveway increases, making it a budget-friendly choice for larger spaces.
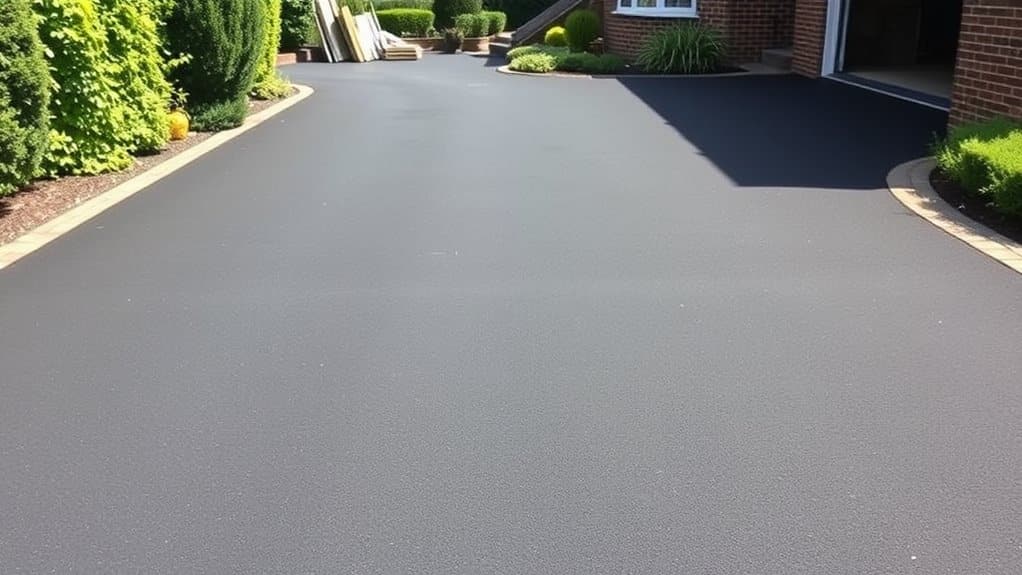
Assessing Durability and Longevity
Assessing the durability and longevity of a tarmac driveway is crucial to protect your investment. Typically, a well-installed tarmac driveway can last between 15 and 20 years, and with proper maintenance, it may extend to 25 years. Key factors affecting durability include the quality of materials used, the standard of installation, and local weather conditions.
| Material Quality | Lifespan Impact |
|---|---|
| High-Quality Mix | 20-25 years |
| Low-Quality Mix | 10-15 years |
| Proper Installation | Improved durability |
| Poor Installation | Shortened lifespan |
Using high-quality aggregates and bitumen suited to your local environment is vital. Regular maintenance, such as sealcoating and prompt repairs, also plays a significant role in prolonging the life of your driveway, helping it withstand wear and weather challenges.
Environmental Considerations in Driveway Installation
When considering a tarmac driveway, it's important to think about the environmental impact of your choices and installation methods.
Adopting sustainable practices not only complies with regulations but also lessens ecological harm. Here are key factors to consider:
- Energy Consumption: The production of asphalt releases a significant amount of greenhouse gases.
- Material Recyclability: Use reclaimed asphalt pavement (RAP) to minimise waste and promote recycling.
- Runoff Management: Opt for permeable materials to help manage flooding and water drainage.
- Ecosystem Preservation: Evaluate soil conditions to ensure minimal disruption during installation.
- Long-Term Resource Conservation: Choose durable materials that require fewer repairs over time.
Frequently Asked Questions
How Long Does a Tarmac Driveway Typically Last?
A tarmac driveway usually lasts between 15 to 20 years if well maintained. To maximise its lifespan, it's important to regularly seal and clean it, as well as address any repairs promptly. This helps protect it from wear and tear caused by vehicles and weather conditions.
Can I Install a Tarmac Driveway Myself?
Think carefully before attempting to install a tarmac driveway yourself. It's a bit like trying to build a house without proper plans. You'll need to consider the costs of materials and equipment, and there's a real risk of making mistakes that could end up being expensive. Hiring a professional could save you time, effort, and money in the long run.
What Weather Conditions Affect Tarmac Installation?
Weather conditions play a crucial role in tarmac installation. The temperature affects how flexible the material is, and high moisture levels can compromise its strength. Ideally, tarmac should be laid in dry conditions with temperatures between 10°C to 25°C. For instance, installing tarmac on a rainy day may lead to poor adhesion, resulting in cracking or potholes down the line. Ensuring the right weather conditions is essential for proper curing, which ultimately contributes to the durability of your installation.
How Do I Maintain My Tarmac Driveway?
To maintain your tarmac driveway, make sure to clean it regularly and check for any cracks. It's a good idea to apply a sealant every 3-5 years. This not only boosts the driveway's durability but also protects it from UV damage and water. Plus, it keeps your driveway looking smart.
Is Tarmac Suitable for Cold Climates?
Is tarmac suitable for cold climates? Yes, it can handle colder weather quite well. With the right insulation, tarmac can adapt to temperature changes, reducing the risk of cracks. Its strength makes it a good choice for areas prone to frost, ensuring it remains durable through winter.
Conclusion
In summary, installing a tarmac driveway provides both durability and visual appeal for your home. With proper maintenance, tarmac can last between 15 to 20 years, significantly outlasting some other options. By considering the planning, preparation, and cost factors involved, you can make an informed choice that boosts your property's value. Don't forget to think about the environmental impact; selecting the right materials can promote sustainable living while ensuring a smooth and long-lasting driveway surface.

Prepare the perfect base for your resin bound stone installation and discover the crucial factors that ensure lasting durability.
Know where resin bound surfacing can transform spaces for both residential and commercial use, and discover the countless benefits that Read more
A stone carpet combines beauty and resilience in flooring, but what makes quartz floors uniquely beneficial? Discover the secrets behind Read more