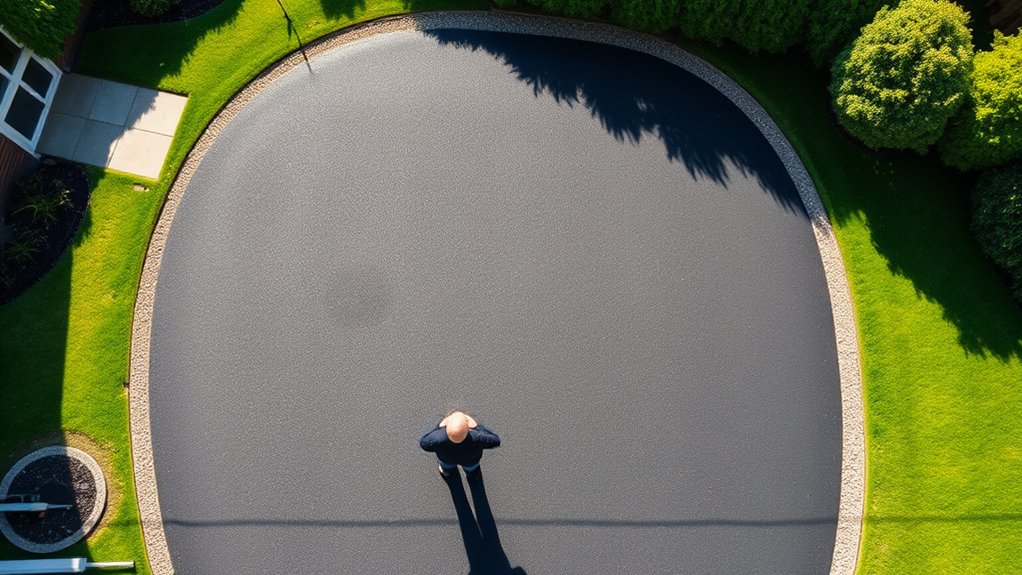
Is Tarmac Driveway Installation a Good DIY Project?

Installing a tarmac driveway can be a satisfying DIY project, offering both cost savings and durability. However, it requires careful planning, the right tools, and a solid grasp of potential challenges. For instance, inadequate preparation may lead to expensive mistakes, and you’ll need to consider how weather conditions can affect your work. If you’re ready to take on this task, it’s essential to learn key techniques and strategies to ensure success. There’s a lot to consider before you begin!
Key Takeaways
Installing a tarmac driveway as a DIY project can save on labour costs, but it demands considerable time and effort to get it right.
Preparation and technique are vital; even small mistakes can lead to expensive repairs and a shorter lifespan for your driveway. Additionally, the cost of renting equipment can add up quickly, which might negate any savings compared to hiring professionals.
Hiring experts ensures a high-quality finish, longevity, and compliance with best practices, minimising the risk of future problems. Remember, regular maintenance is crucial for tarmac driveways; ongoing care is needed to keep them looking good and lasting longer.
Understanding Tarmac Driveway Installation
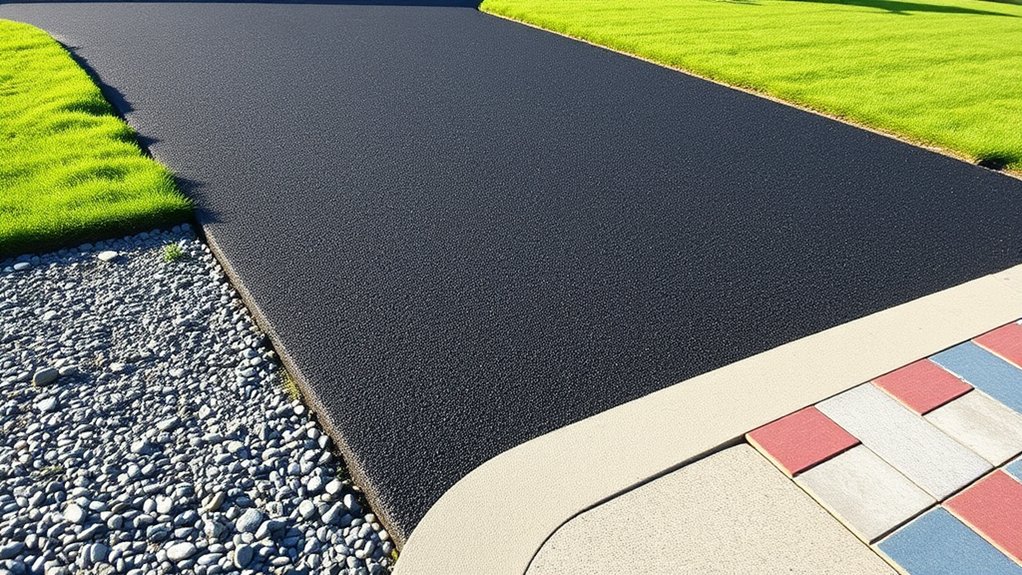
When considering a tarmac driveway installation, it’s important to grasp the basics of the material and the installation process. Tarmac, which consists of crushed stones combined with bitumen, is known for its durability and ability to withstand heavy traffic and varying weather conditions. One of the main advantages of tarmac is its low maintenance; regular sweeping and an occasional wash are usually sufficient. It’s also a cost-effective choice compared to other driveway materials, making it appealing for homeowners on a budget. Additionally, a tarmac driveway is typically less viscous than asphalt, which contributes to its unique characteristics. With proper installation and care, a tarmac driveway can last anywhere from 15 to 30 years, especially with quality installation techniques. Moreover, tarmac is recyclable at the end of its life, contributing to a more sustainable environment.
Equipment Required for Tarmac Installation
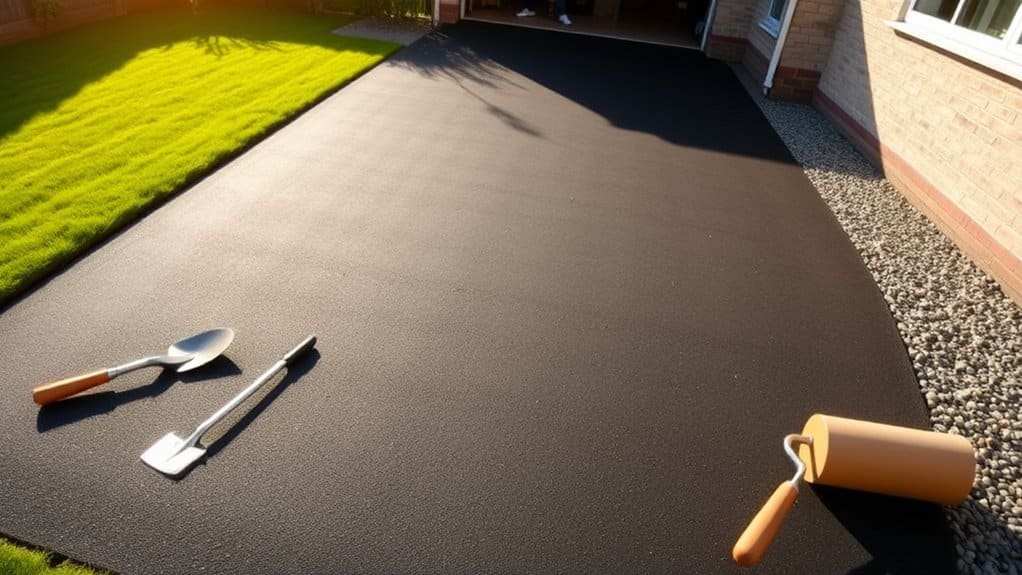
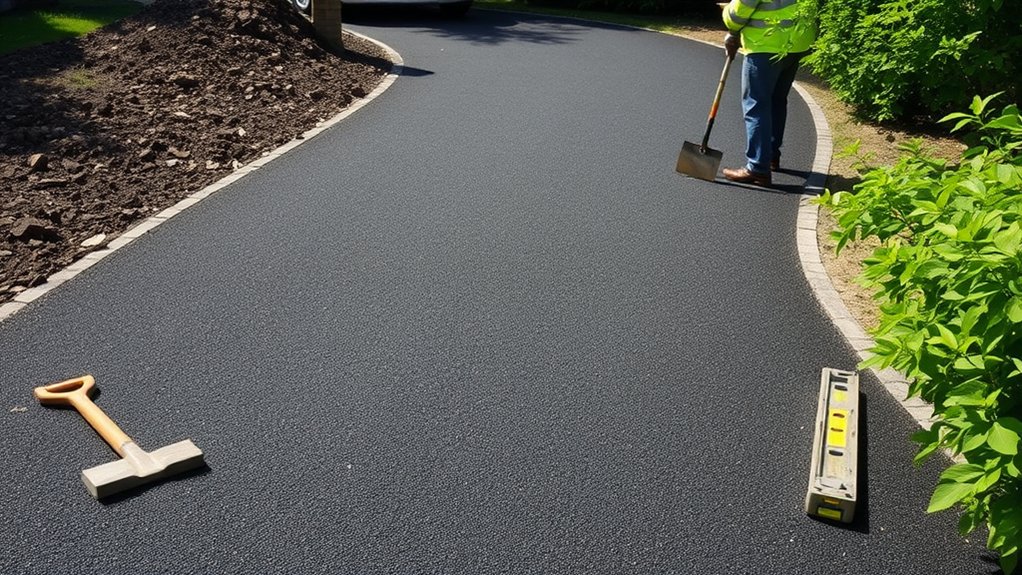
When preparing for your tarmac installation, having the right equipment is essential for a successful job. You’ll need basic tools such as shovels and rollers, and you should also factor in the costs of any specialised machinery you might require. It’s important to assess the site for drainage issues to prevent water pooling or flooding before you begin. Remember to wear appropriate safety gear to ensure you stay protected during the work!
Essential Tools Overview
To install a tarmac driveway successfully, you’ll need some essential tools to get the job done efficiently.
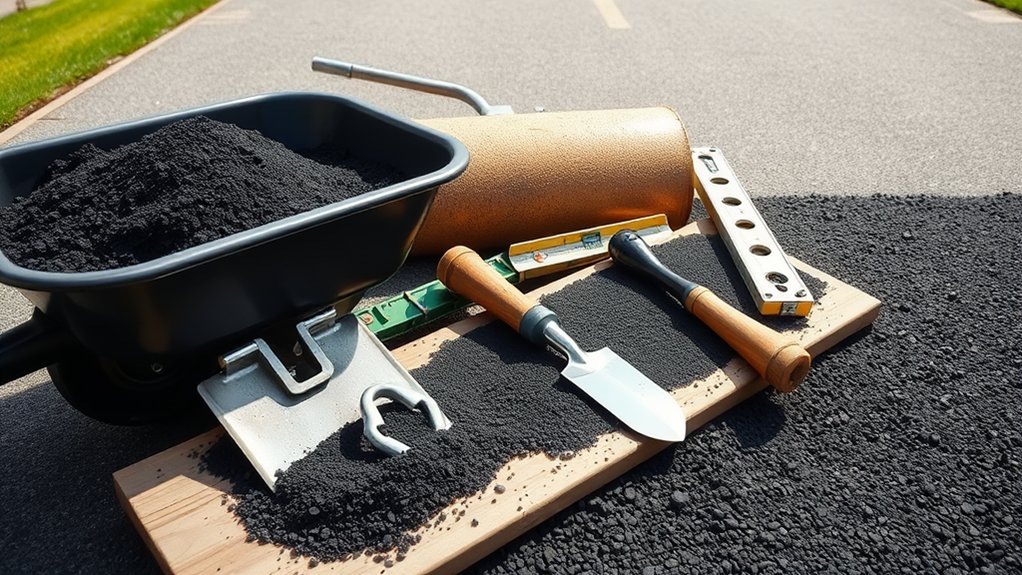
Start with excavation tools like shovels and mini diggers to prepare the site. Measuring tapes and laser levels ensure your driveway’s dimensions and drainage are correct. Proper leveling with screeds helps create smooth surfaces before the tarmac sets, and efficient machinery logistics will aid in maintaining a consistent workflow during the preparation phase.
For the tarmac, have compactors and rollers on hand to achieve a smooth finish. Material handling tools like rakes and wheelbarrows will help you spread the tarmac evenly.
Don’t forget safety gear such as gloves and steel-toed boots to keep yourself protected.
With the right tools, you’re well on your way to a successful DIY tarmac driveway installation!
Equipment Cost Considerations
Having the right tools is only part of the equation for a successful DIY tarmac driveway installation; understanding the costs associated with the necessary equipment is just as crucial. Renting equipment can be a sensible option, but the fees can add up quickly. Here’s a quick overview of typical rental costs:
| Equipment Type | Estimated Rental Cost per Day |
|---|---|
| Roller | £150 – £300 |
| Compactor | £75 – £200 |
| Paver | £100 – £250 |
| Asphalt Heater | £100 – £200 |
| Tarmac Mixer | £150 – £200 |
When assessing cost efficiency, consider the size of your driveway and the terrain. While a DIY approach can save on labour costs, equipment rental may counteract those savings, so it’s wise to plan your budget carefully. Additionally, ensuring proper surface preparation is vital for achieving a durable driveway, as inadequate preparation can lead to uneven surfaces.
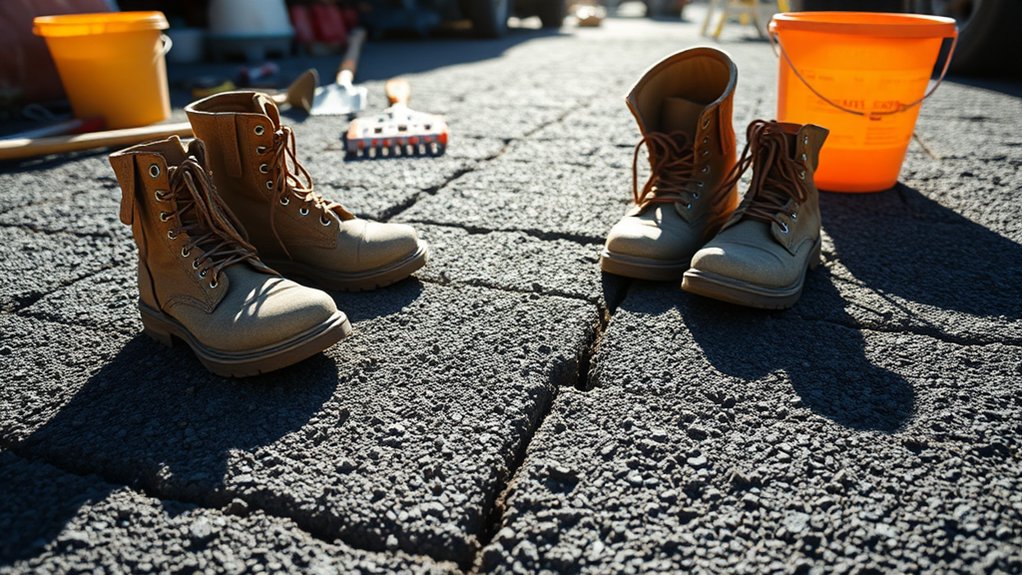
Safety Gear Necessities
Before you start your tarmac driveway installation, it’s crucial to wear the right safety gear to protect yourself from potential hazards.
Begin with personal protective equipment (PPE) such as long-sleeved shirts and trousers to shield your skin from asphalt.
Opt for safety boots with a six-inch top to guard against crushing injuries, and wear thermally insulated gloves to protect against burns and chemical exposure.
Safety goggles will keep your eyes safe from dust and debris, while a respirator will help you avoid inhaling harmful asphalt fumes.
Each item of safety gear is essential for your protection during installation, so don’t overlook these precautions.
Being well-prepared is key to a successful DIY tarmac project.
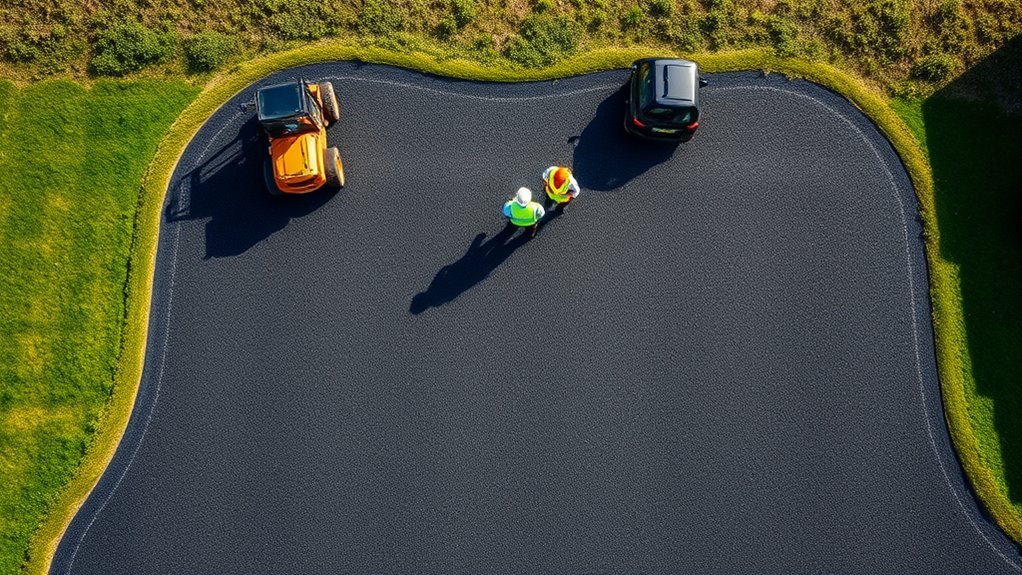
Challenges of DIY Tarmac Installation
While the idea of installing a tarmac driveway yourself may be tempting, there are several challenges that can turn this DIY project into a daunting task.
Firstly, failing to properly remove the base and not compacting it adequately can lead to uneven surfaces and weak spots. You may also encounter drainage problems, which can cause water to pool and damage your driveway over time.
Using low-quality materials can worsen these issues, leading to quicker deterioration. Weather conditions are also a significant factor; extreme temperatures or dampness can affect how well the tarmac bonds.
Finally, mastering the right application techniques and allowing adequate curing time is crucial to avoid costly mistakes that could shorten your driveway’s lifespan. Understanding these challenges can help you make a more informed decision about your project.
Cost Analysis: DIY vs. Professional Installation
When thinking about installing a tarmac driveway, it’s essential to compare the costs of doing it yourself (DIY) versus hiring professionals. A DIY project can save you on labour costs, but don’t forget to include your time and any equipment you may need to rent.
The cost of hot-mix tarmac usually falls between £40 and £70 per tonne. While a DIY approach may seem budget-friendly, remember that poor preparation or mistakes can lead to expensive repairs down the line.
On the other hand, professional installation costs between £70 and £110 per square metre but offers assurance of quality and longevity.
Consider your skills and the complexity of your driveway before deciding which option is best for you.
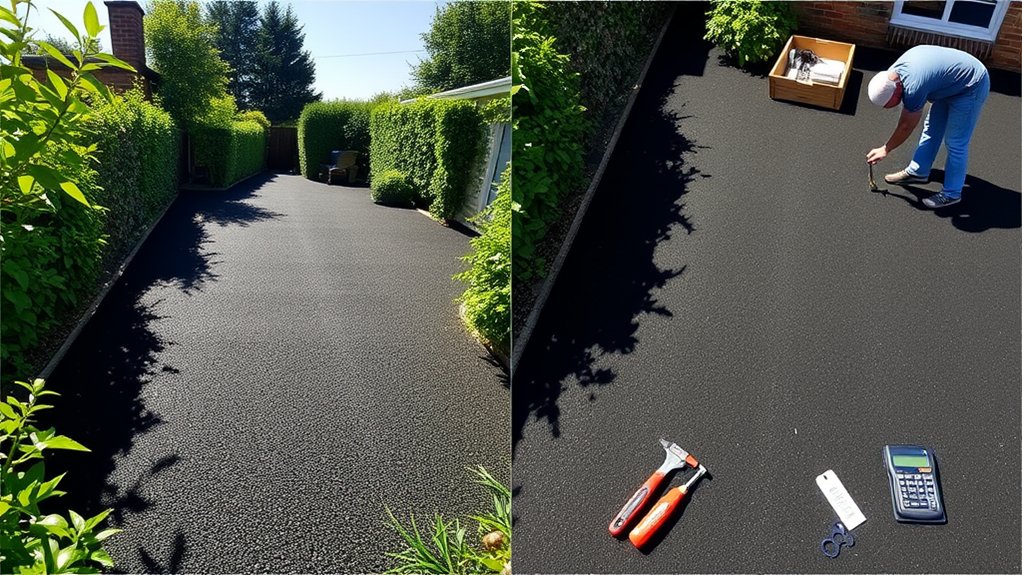
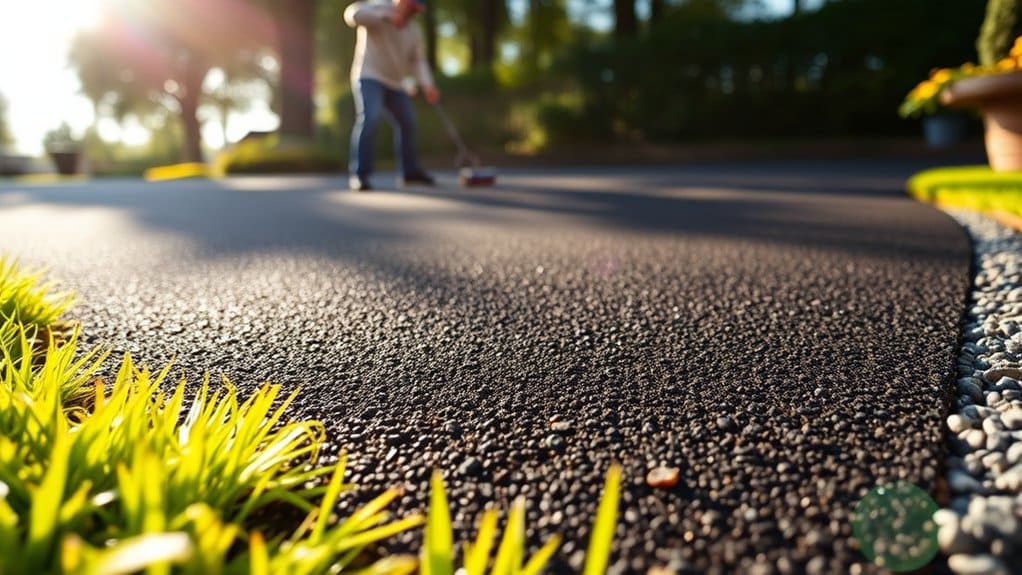
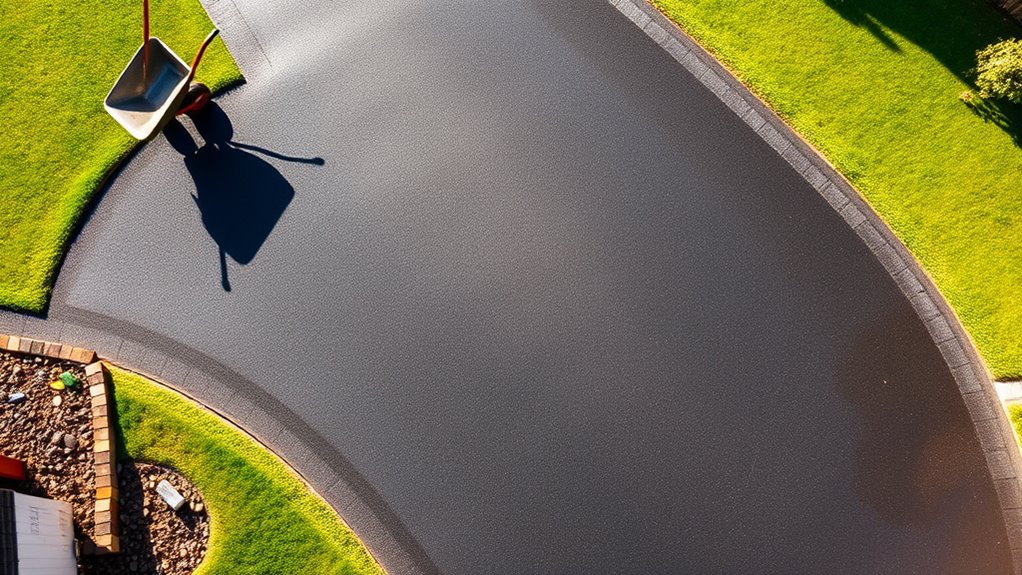
Steps for Successful Tarmac Driveway Installation
Installing a tarmac driveway requires careful planning to achieve a durable and attractive finish.
Begin with proper site preparation: check for drainage issues and assess the terrain. Clear the area of any debris and vegetation, then excavate to the required depth. Select a suitable sub-base material, such as crushed stone or gravel, to ensure stability and effective drainage.
Once the ground is ready, lay and compact the sub-base to create a solid, level foundation.
Next, heat the tarmac using specialised equipment for an even application. Spread it out uniformly and compact it with rollers to achieve a smooth surface.
Finally, install edge restraints and seal the joints to maintain structural integrity. Allow the driveway to cure for 7-10 days before use to ensure it remains durable over time.
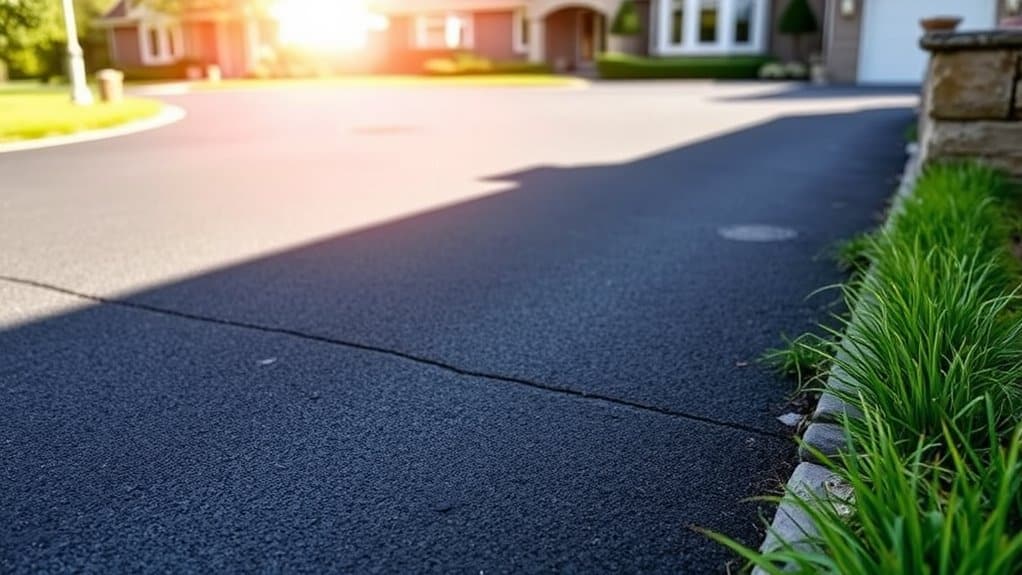
Maintenance Tips for Tarmac Driveways
To keep your tarmac driveway in top condition and extend its lifespan, regular maintenance is key. Clean up spills promptly and steer clear of heavy machinery to avoid cracks.
Regularly check for early signs of damage, as small issues can significantly impact the longevity of your tarmac. Use mild detergents for cleaning and sweep away leaves and debris often.
It’s advisable to apply sealcoating every 3 to 5 years to protect against weather and chemicals, which will help your tarmac last longer.
In summer, sprinkle cool water on the surface to prevent softening, and during winter, remove debris to protect against freeze-thaw cycles.
Comparing Tarmac With Alternative Driveway Options
When considering driveway options, it’s important to see how tarmac compares to alternatives in terms of cost, upkeep, and appearance.
Tarmac is often more affordable and simpler to maintain than options like block paving, which can provide a more decorative look.
Cost Comparison
Choosing the right driveway material can significantly affect your budget, as costs can vary considerably.
Tarmac is often a cost-effective choice, typically cheaper than concrete, with prices ranging from £30 to £60 per square metre. However, installation costs can differ based on size and local factors, ranging from £500 to £15,000.
For larger areas, tarmac may be more economical than asphalt, but for smaller spaces, it could end up being more expensive.
Gravel is the cheapest option available, but it requires regular maintenance.
Concrete is durable but can be much pricier, especially for premium options.
Being aware of these cost factors can help you make an informed decision that fits your budget while achieving the look you want for your driveway.
Maintenance Requirements
Tarmac driveways provide a cost-effective and durable option, but they do require specific maintenance compared to asphalt and concrete.
To keep your tarmac in good condition, regular cleaning is essential. Sweeping and pressure washing help remove dirt and debris that can cause damage over time. Applying a seal coat every few years protects the surface from harsh weather.
It’s important to address cracks and potholes promptly; if ignored, they can lead to more significant issues.
Additionally, using weed killers or installing barriers can help prevent unwanted growth. Although tarmac may need more upkeep than asphalt or concrete, a bit of regular care can significantly extend its lifespan and functionality.
Aesthetic Appeal
Tarmac driveways not only provide a sleek and modern appearance but also boast a distinct aesthetic appeal compared to other options. Their smooth surface and range of colours allow for customisation, enhancing visual interest. You can further elevate their charm with brick or stone edging, making tarmac a versatile choice for various architectural styles.
| Driveway Type | Aesthetic Appeal |
|---|---|
| Tarmac | Sleek, modern, and customisable |
| Asphalt | Smooth, eco-friendly, but less flexible in design |
| Block Paving | Luxurious with a variety of patterns |
| Gravel | Rustic, cost-effective, but less refined |
Common Mistakes to Avoid in DIY Tarmac Projects
When installing a DIY tarmac driveway, steering clear of common pitfalls can save you both time and money.
Start with preparation; ensure you have a solid, level base to avoid cracks and uneven surfaces.
Choosing the right materials is crucial—always go for high-quality asphalt to boost durability.
Don’t forget about drainage; a proper slope and effective drainage systems can help prevent water damage.
Compaction is vital too—using inadequate tools can lead to issues, so invest in reliable equipment for even compaction.
Lastly, keep up with maintenance by regularly sealing the surface and fixing cracks as soon as they appear.
Long-Term Benefits of Tarmac Driveways
Tarmac driveways provide a range of long-term benefits that make them a wise investment for your home. Their impressive durability means they can handle heavy loads and extreme weather conditions, giving you peace of mind for years.
With proper care, a tarmac driveway can last over 20 years, making it a cost-effective choice. If any damage does occur, you can easily repair specific sections instead of having to replace the entire surface.
Additionally, tarmac is recyclable, which supports sustainability efforts. A well-maintained tarmac driveway can also boost your property’s curb appeal and overall value.
These factors make tarmac not just a practical option, but also an environmentally friendly one, aligning with your long-term goals for your property.
Frequently Asked Questions
How Long Does the Tarmac Installation Process Take?
The tarmac installation process usually takes about 7-10 days, which includes site preparation and layering. However, this timeframe may vary due to weather conditions and specific site factors, so it’s wise to plan accordingly for a smooth installation.
What Weather Conditions Are Ideal for Tarmac Installation?
For a successful tarmac installation, aim for temperatures between 10°C and 32°C. It’s crucial to keep moisture levels low, steering clear of rain and high humidity. Spring and summer are ideal seasons for achieving a durable and smooth surface.
Can I Install Tarmac Over an Existing Driveway?
Yes, you can lay tarmac over an existing driveway, but it’s essential to prepare the surface properly first. Check the foundation for any damage and ensure the tarmac is laid at the correct thickness to prevent issues such as cracking or sinking in the future.
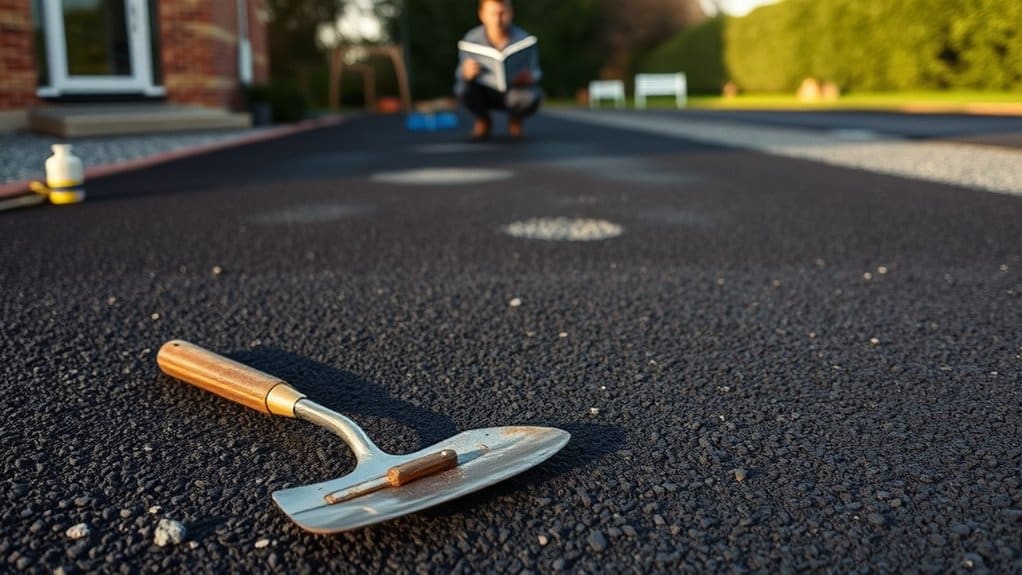
What Should I Do if My Tarmac Driveway Develops Cracks?
If your tarmac driveway develops cracks, begin by using cold pour fillers for small repairs. It’s essential to seal the repaired areas and carry out regular inspections to catch any issues before they worsen. For example, if you notice a crack starting to widen, addressing it promptly can save you from more extensive repairs later on. Keeping on top of maintenance will help prolong the life of your driveway.
Are There Any Local Regulations for Tarmac Driveway Installation?
Before you begin installing a tarmac driveway, it’s essential to check for any local permits and installation guidelines. These regulations can specify things like the types of materials you can use, the required thickness of the tarmac, and drainage solutions. Ensuring compliance with these standards will help you avoid issues during the construction process and keep your project in line with what’s expected in your area. For example, some councils may require a specific type of edging or a certain amount of drainage to prevent water pooling.
Conclusion
If you’re considering a tarmac driveway installation as a DIY project, remember that patience is essential. A properly laid tarmac driveway can be a long-lasting investment, much like the foundation of a solid home. Imagine the smooth, sleek surface welcoming you home each day, boosting your property’s curb appeal and enduring the elements. Are you ready to take on this challenge?
How can a tarmac driveway enhance your home's appeal? Discover the key aspects of cost, installation, and maintenance in our Read more
Just how long can you expect your tarmac driveway to last? Discover key factors and maintenance tips that can extend Read more
From planning to final touches, discover the essential steps of tarmac driveway installation—what could go wrong if you skip any Read more