How to Repair Cracks in a Concrete Driveway
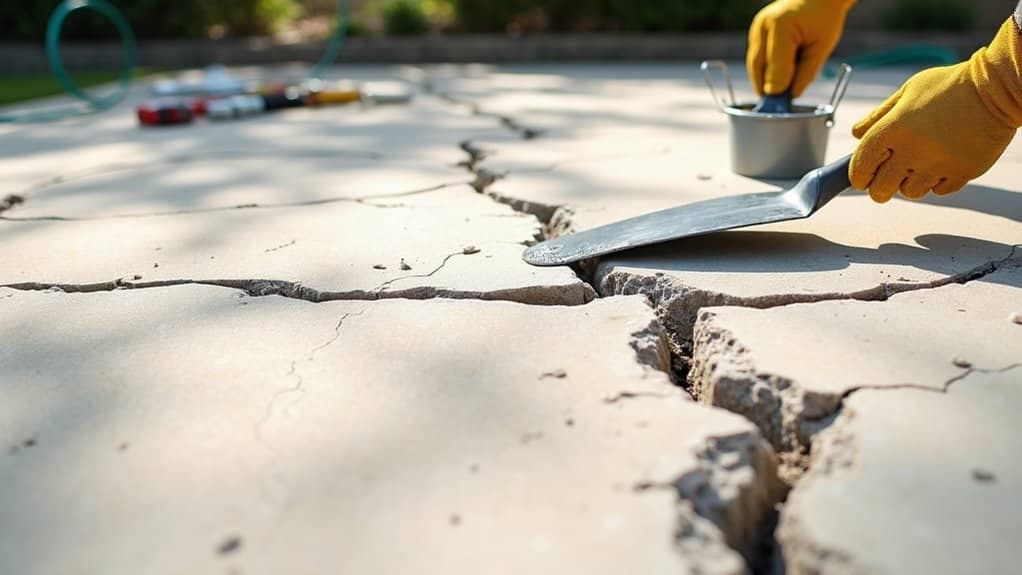
To repair cracks in your concrete driveway, start by assessing their size and type. Clean the cracks thoroughly. For larger gaps, use self-levelling caulk, and for vertical cracks, opt for non-sag caulk. Apply the caulk with a caulk gun, ensuring it fills the crack properly. For greater durability, consider using epoxy for larger cracks and seal the surface afterwards. Regular maintenance and inspections can help prevent new cracks from forming. You’ll also find useful techniques for ensuring long-lasting repairs.
Key Takeaways
- Start by measuring the width and depth of the cracks to assess their severity and decide on the best repair method.
- Thoroughly clean the cracks by removing any debris or old sealants before applying any filler.
- Select the appropriate caulk—either self-levelling or non-sag—depending on the nature of the crack for effective sealing.
- Apply the caulk evenly, ensuring it fills all gaps, and smooth the surface for good adhesion.
- Finally, seal the repaired area with a suitable sealer to boost durability and offer protection against future damage.
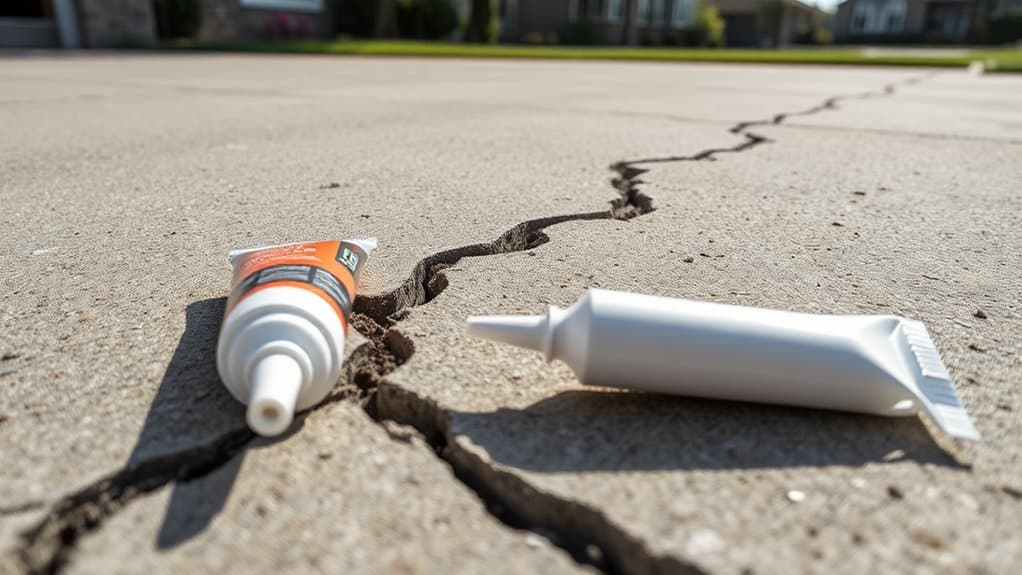
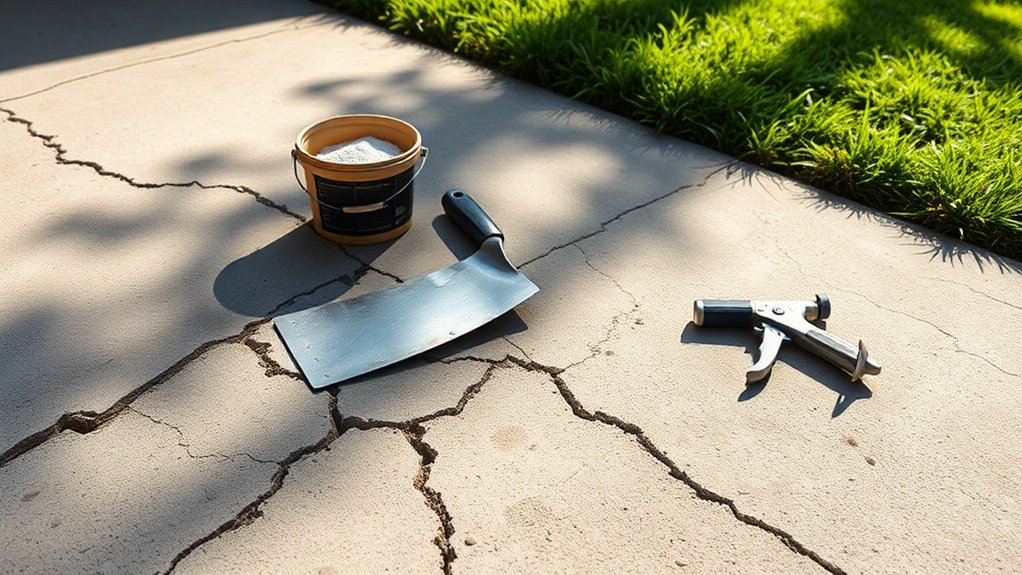
Tools and Materials Needed for Repairing Cracks
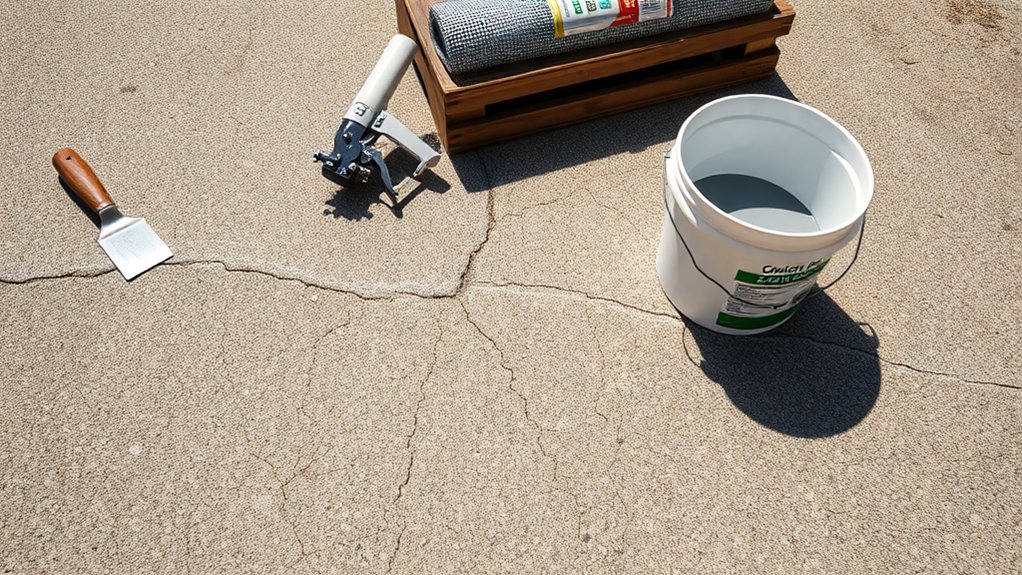
When repairing cracks in your concrete driveway, having the right tools and materials is essential for a successful job.
Begin with safety gear: safety goggles, work gloves, and a dust mask to protect yourself. You’ll need a stiff-bristle brush, chisel, hammer, and a vacuum cleaner to clean the cracks properly.
For filling, you have a few options: crack filler, vinyl concrete patching compound, and quick-setting concrete, each suitable for different sizes of cracks. It is crucial to identify the extent of the cracks before selecting the appropriate repair method.
A trowel and putty knife will help you apply the filler smoothly, while a tamper can be used to remove any air pockets.
With this toolkit and material selection, you’ll be well-equipped to tackle those cracks and achieve a durable repair.
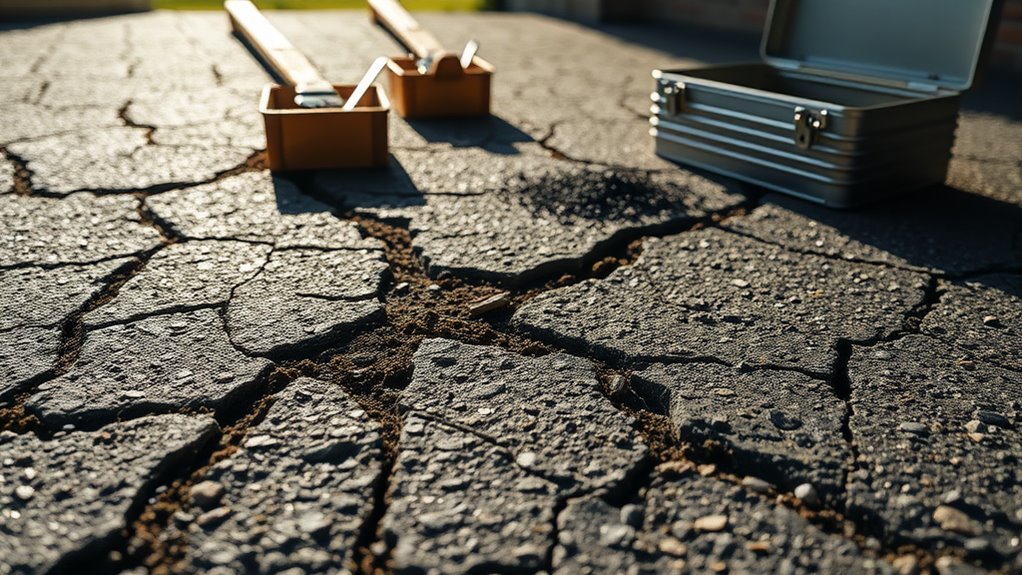
Assessing the Size and Type of Cracks
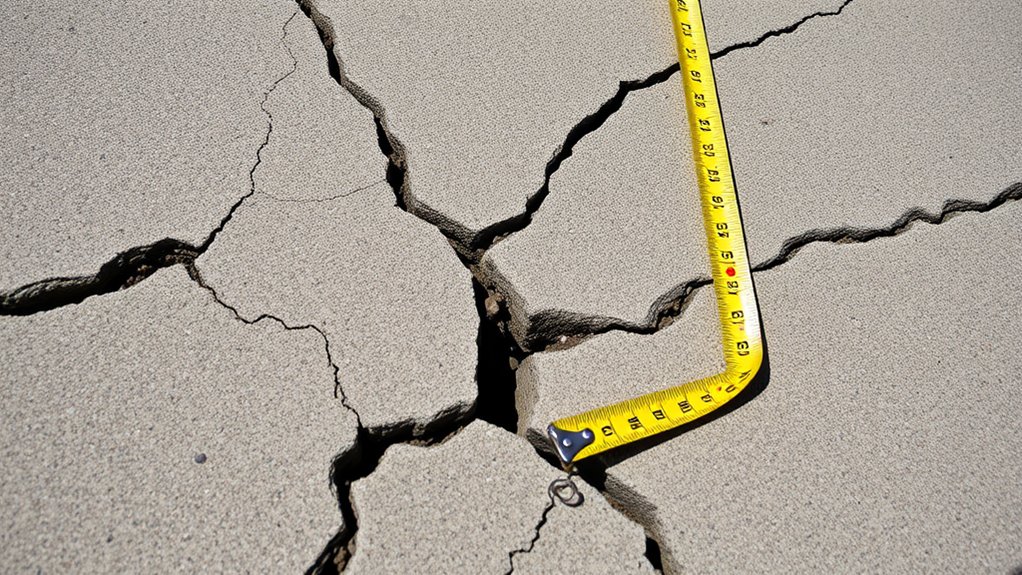
To repair cracks in your concrete driveway effectively, first assess their size and type.
Measure the dimensions, noting characteristics such as width, depth, and direction. For example, a narrow, vertical crack may indicate settling, while a wide, horizontal crack could suggest moisture issues. Assessing the size and depth of cracks will help you choose the right repair method and tackle any underlying problems.
Identifying Crack Characteristics
How can you identify crack characteristics in your concrete driveway? Start by categorising the types of cracks you notice.
Look for crazing cracks, which are mainly cosmetic, or deeper hairline cracks that may need attention. Assess the direction of the cracks; longitudinal cracks often indicate shrinkage, while diagonal cracks can suggest structural stress. Additionally, be aware that plastic shrinkage cracks can appear when concrete dries too quickly before setting.
Evaluate the width and depth—fine cracks are usually minor, but wide or full-depth cracks could signal more serious issues.
Lastly, determine if the cracks are active or dormant; active cracks change over time, whereas dormant cracks remain stable.
This thorough assessment will help you understand the damage and plan for necessary repairs more effectively.
Measuring Crack Dimensions
Measuring Crack Dimensions
Once you’ve identified the characteristics of cracks in your concrete driveway, the next step is to measure their dimensions. This will help you assess their severity and potential impact on structural integrity. Here are some effective methods for measuring cracks:
| Measurement Method | Description | Ideal Use |
|---|---|---|
| Crack Width Rulers | Measures the width of surface cracks | Quick assessments for small cracks |
| Digital Callipers | Provides precise measurements for width and depth | Best for larger cracks |
| Ultrasonic Pulse Velocity | Non-destructive method for estimating depth | Evaluates structural integrity without causing damage |
Accurate measurements help you track the progression of cracks and plan appropriate repairs. Make sure to document your findings for future reference.
Classifying Crack Types
Classifying cracks in your concrete driveway is crucial for deciding on the best repair methods, as different crack types reveal various underlying issues.
Begin with a visual assessment to identify the type of crack.
Structural cracks are deep and wide, indicating potential instability, while settlement cracks are caused by soil movement and can worsen over time.
Heaving cracks are jagged and result from pressure beneath the surface, whereas expansion cracks form due to temperature fluctuations.
Hairline cracks are shallow but can become more serious if left unaddressed.
Cracks wider than 1/8 inch require immediate attention.
Recognising patterns—such as longitudinal, transverse, or diagonal—can also help you assess severity and choose the appropriate repair solution for your driveway.
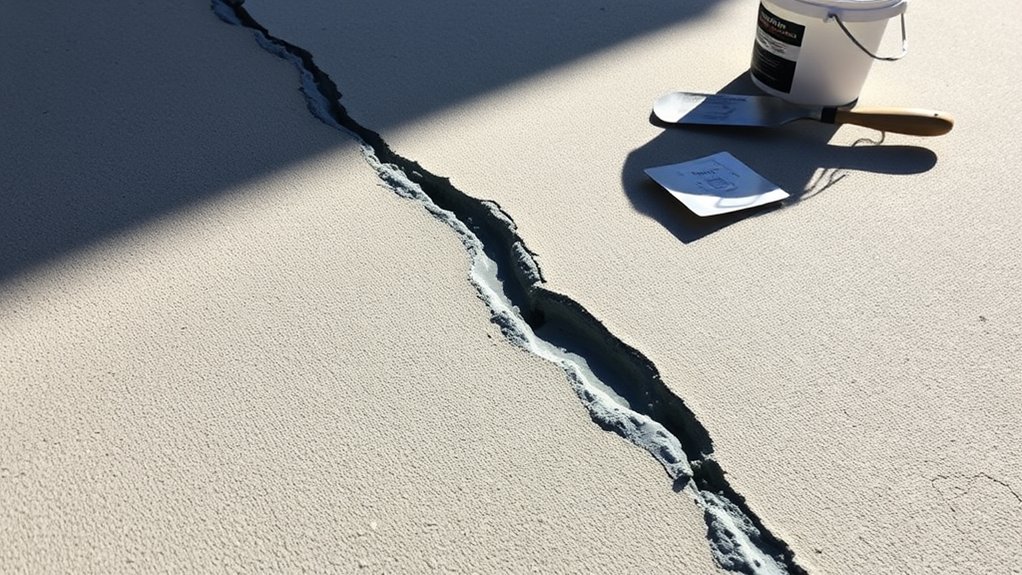
Preparing the Cracks for Repair
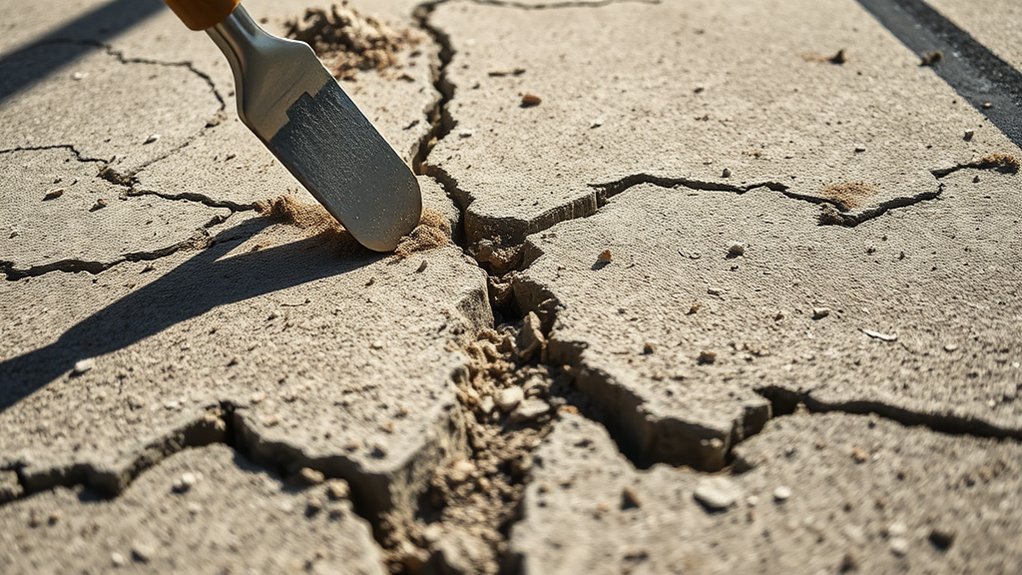
Preparing Cracks for Repair
Start by properly preparing the cracks for repair to ensure a strong, lasting bond with the sealant.
Begin by cleaning the cracks; remove loose debris by sweeping or using an air blower. A stiff bristle brush can help scrub away any oils and contaminants.
Next, wash the area with water and allow it to dry completely.
Remove any old sealants or foams with a putty knife or wire brush to prevent trapping materials.
For deeper cracks, consider installing a backer rod to reduce the amount of sealant needed and enhance adhesion.
Check the edges of the cracks, chipping away any jagged bits to ensure a smooth surface.
Finally, inspect the area for moisture or debris before applying the caulk to confirm that the surface is properly prepared.
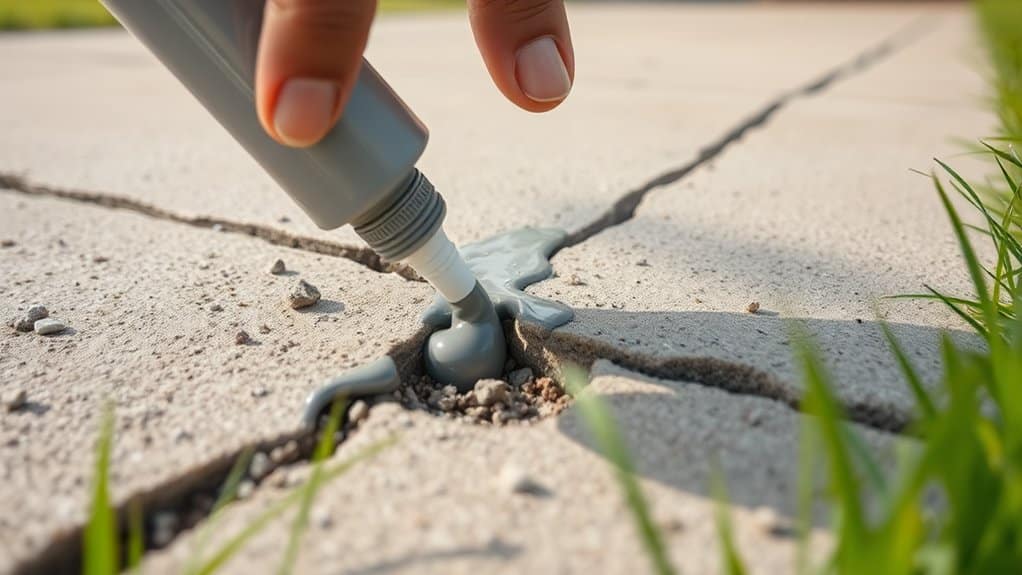
Choosing the Right Caulk for Your Driveway
When selecting caulk for your driveway, decide between self-levelling and non-sag options based on your requirements.
Self-levelling caulk spreads easily and fills gaps uniformly, making it ideal for larger cracks. In contrast, non-sag caulk offers better control during application, which is useful for vertical surfaces.
Brands like Sikaflex and Dap provide dependable choices that cater to different crack sizes and weather conditions.
Self-Leveling vs. Non-Sag
Choosing the right sealant for your driveway can significantly affect the durability and appearance of your repairs.
Self-levelling sealant is ideal for horizontal surfaces, as it flows smoothly into cracks without needing much extra work. However, it does require careful preparation to avoid leaks.
In contrast, non-sag sealant is better for vertical and overhead applications, allowing for greater control and reducing the risk of seepage. Its thicker consistency is perfect for more precise repairs, making it a go-to for smaller areas.
To achieve the best results, consider using both types: apply non-sag sealant to contain the area and finish with self-levelling for a seamless look, ensuring your repairs can withstand movement and temperature changes.
Recommended Brands Overview
When considering options for sealing cracks in your driveway, it’s important to look at some top-rated brands known for their performance and durability.
Sikaflex Self-Leveling Sealant is highly regarded for its excellent adhesion and flexibility, making it suitable for both indoor and outdoor use.
In comparisons, Sashco 16210 Slab receives praise for its elasticity and resistance to mould.
For quick jobs, Dap 18370 3.0 delivers smooth and fast results on horizontal cracks.
If you prefer silicone, GE GE5020 Silicone II offers immediate water resistance, although it can’t be painted over.
Lastly, Flex Shot is a versatile option that combines good elasticity with weather resistance.
These recommendations should help you make an informed choice for your driveway repairs.
Applying Caulk Effectively
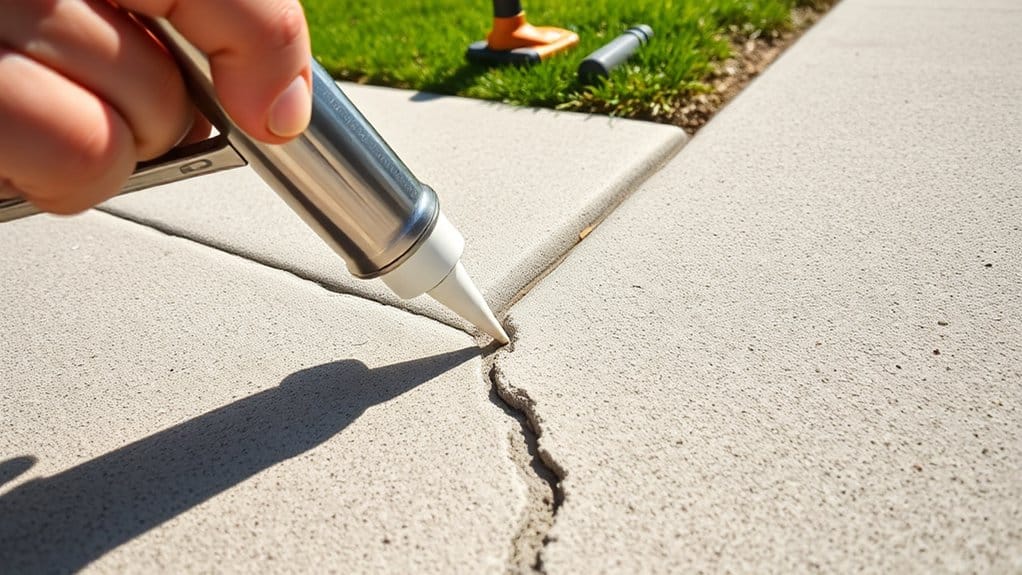
To apply caulk effectively for your concrete driveway repairs, start by ensuring the crack is clean and ready for adhesion. Remove any dirt and debris, then use a wire brush and water to clean the crack, allowing it to dry completely.
Choose a high-quality, flexible concrete caulk, and if the crack is wider than 1.25 cm (½ inch), insert a backer rod to minimise shrinkage.
When applying, cut the tip of the caulk tube at a slight angle for better control and use a caulk gun for precise application. Firmly press the caulk into the crack, ensuring it fills all voids. Smooth the surface with a tool to ensure good contact.
Avoid applying caulk in cold or damp conditions for optimal curing and adhesion.
Enhancing the Repair for Longevity
To enhance the longevity of your concrete driveway repairs, pay close attention to surface preparation and material selection.
Begin by thoroughly cleaning the area to ensure a solid repair surface, which is crucial for good adhesion. Ensure that any cracks are completely dry before applying repair materials. For larger cracks, consider using epoxy or polyurethane injections, as these create robust, load-bearing bonds.
If sections of your driveway have sunk, slabjacking can help raise them back to level and prevent future cracking.
When choosing patching compounds, pick those that match the size and depth of the cracks to ensure durability. Additionally, adding fibres or additives to your repair mix can improve flexibility and reduce the risk of thermal expansion issues.
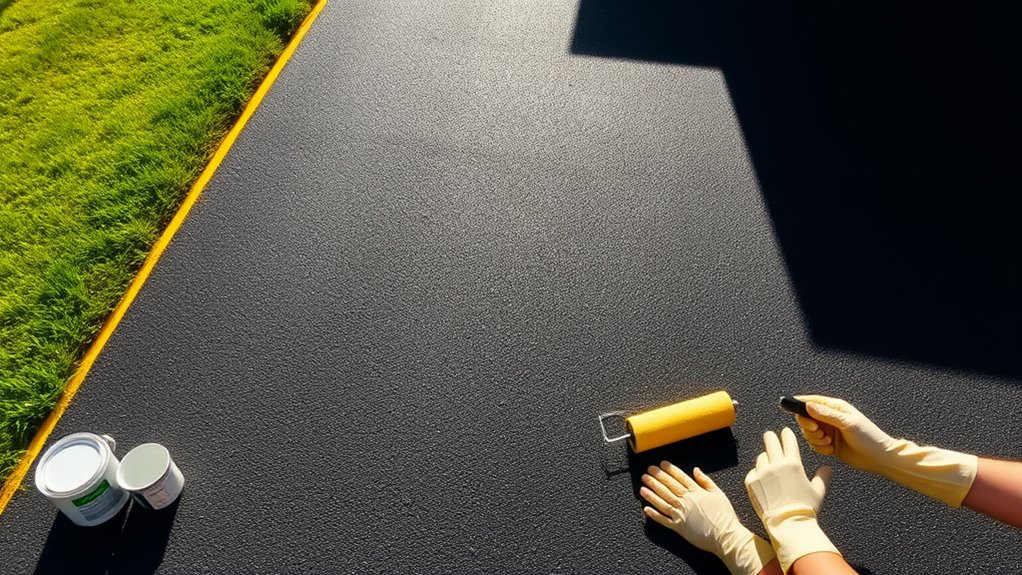
Sealing and Protecting the Driveway
Once you’ve repaired the cracks in your concrete driveway, the next crucial step is to seal and protect the surface to ensure its longevity.
Selecting the right type of sealer is vital; you have a few options: acrylic, penetrating, and polyurethane sealers, each with distinct benefits.
Acrylic sealers are straightforward to apply and budget-friendly. Penetrating sealers offer invisible moisture protection, while polyurethane sealers create a robust, durable film.
Before applying any sealer, make sure the surface is clean and dry. You might want to use an etching solution to improve adhesion.
For application, a roller works well for larger areas, whereas a sprayer is best for smaller sections. Remember, thin coats are ideal for even coverage.
Proper sealing will boost your driveway’s resistance to weather, stains, and wear, enhancing its overall durability.
Maintenance Tips for Future Care
Maintaining your concrete driveway may seem daunting, but regular care is crucial for keeping it looking good and structurally sound.
Start with preventive measures: sweep away debris and power wash with eco-friendly cleaners. After heavy rain or snow, conduct seasonal inspections to identify new cracks early.
Avoid parking heavy vehicles, especially construction ones, as they can cause cracking. Ensure proper weight distribution and park away from the edges to minimise damage.
Adjust sprinklers to reduce water exposure, and use gentle methods for snow removal. Address stains promptly and fill cracks with a concrete patching compound to prevent further issues.
Frequently Asked Questions
How Long Does It Take for Caulk to Dry Completely?
Caulk usually dries fairly quickly, taking anywhere from 30 minutes to a few hours, depending on the type you’re using. However, for it to fully cure, you’ll need to wait at least 24 hours. So, it’s best to be patient to ensure it works effectively.
Can I Repair Cracks in Winter or Cold Weather?
You can repair cracks in winter, but the cold can make it tricky. Use suitable materials, work during the warmer parts of the day, and ensure everything is dry. Proper preparation is key for lasting results.
What if the Cracks Return After Repair?
If cracks reappear after repair, it’s essential to reassess the causes. Factors such as inadequate repair techniques, the wrong choice of materials, or environmental influences could be at play. Ensure you’re using appropriate methods and materials to tackle the underlying issues effectively and prevent them from happening again. For example, if you’re dealing with cracks in a wall, using high-quality filler and ensuring proper surface preparation can make a significant difference.
Is It Necessary to Seal the Driveway After Repairs?
Sealing your driveway is like putting on a protective layer. It boosts durability, prevents water damage, and keeps your drive looking good. For instance, a well-sealed driveway can withstand harsh weather and heavy traffic much better than one that isn’t treated. The benefits of sealing certainly outweigh the effort involved, providing long-lasting protection against wear and tear.
How Often Should I Inspect My Driveway for Cracks?
You should check your driveway at least once a year to keep it in good condition. If it’s in a high-traffic area, consider inspecting it every 1-2 years to catch any cracks early and prevent further damage.
Conclusion
By following these simple steps, you can effectively seal and protect your concrete driveway from cracks and deterioration. Regular upkeep and smart material choices will not only improve its appearance but also prolong its life. Keep an eye out for any signs of wear and tear, and tackle problems quickly to avoid costly repairs in the future. With a bit of effort, your driveway can stay strong and attractive for many years.
Maximize the durability of your tarmac driveway by understanding the ideal weather conditions for installation—discover the secrets to perfect timing Read more
Discover the common causes of tarmac driveway cracks and learn effective repair methods to protect your investment—your driveway deserves the Read more
Before you paint your tarmac driveway, discover essential tips and techniques that can transform its appearance and durability—don't miss out Read more