How to Lay Driveway Pavers Without Hiring a Professional
To lay driveway pavers without hiring a professional, begin with a clear plan and precise measurements. Excavate the area thoroughly to ensure proper drainage, then compact a layer of gravel to serve as a solid base. Once level, add a bedding layer before arranging your pavers in your preferred pattern. Finally, seal and maintain the pavers regularly to keep them looking their best. Follow these straightforward steps for a successful DIY driveway installation!
Key Takeaways
- Begin with precise measurements and a solid plan, ensuring there’s a suitable slope for drainage and selecting pavers that complement each other.
- Excavate the area to the necessary depth, preparing a stable sub-base and compacting it well to avoid settling.
- Lay a base layer of crushed stone, compacting it in 7.5-10 cm layers for optimal stability and drainage.
- Carefully arrange the pavers in your selected pattern, ensuring tight joints and proper alignment, and install edge restraints for added stability.
- Regularly clean the surface, top up the joint sand, and apply sealant every few years to keep it looking good and prolong its life.
Planning and Design
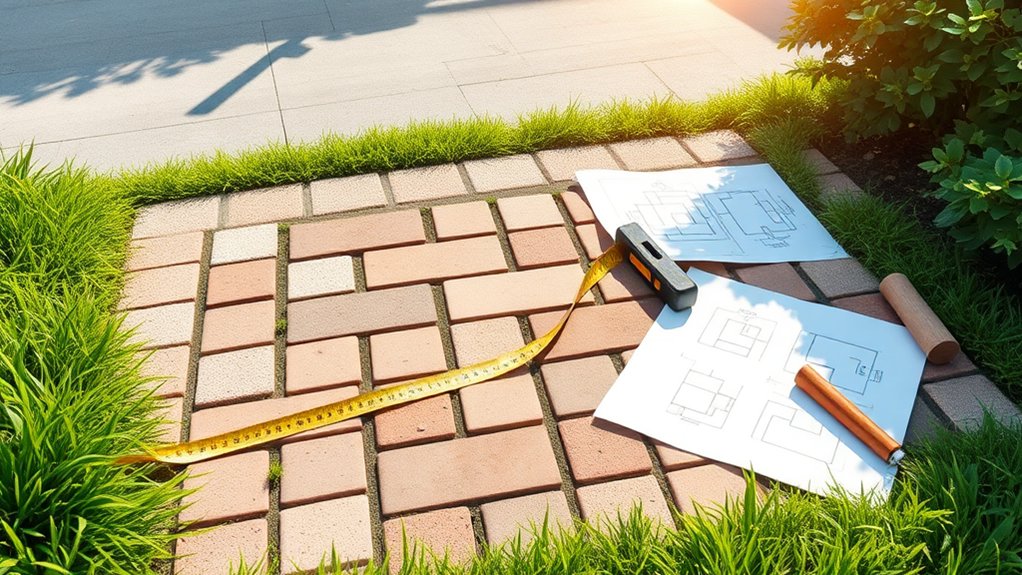
When planning to lay driveway pavers, it’s essential to start with a solid design and accurate measurements for a successful result.
First, calculate the total square footage of your driveway by measuring the length and width, including any irregular edges. Write down these dimensions in a scaled sketch.
Next, think about your aesthetic preferences; choose paver styles that complement your home’s architecture. Patterns like herringbone or modular layouts not only look appealing but also offer durability, as driveway pavers enhance curb appeal and functionality. Additionally, consider using block paving for its rising popularity and aesthetic appeal.
Pay attention to colour coordination—match your pavers to your home’s exterior and consider contrasting borders for definition.
Lastly, ensure you plan for a slight slope to facilitate proper drainage. This is a crucial design aspect to include in your layout.
Excavation and Base Preparation
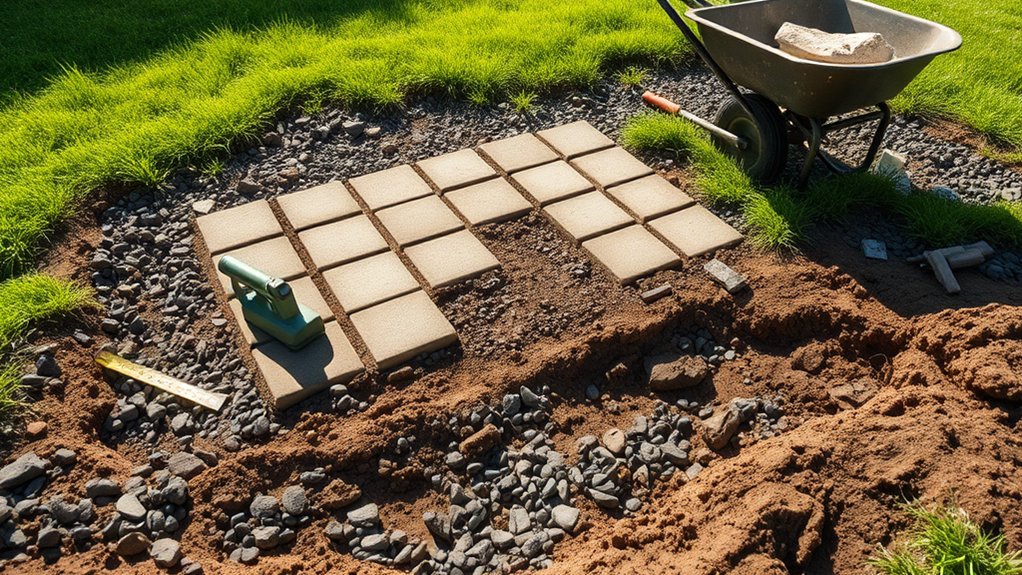
Before laying your driveway pavers, focus on excavation and base preparation.
Ensure you dig a little deeper than your intended area; this extra depth will accommodate edge restraints and ensure proper drainage. A strong foundation is crucial, so consider the soil type and drainage patterns to prevent future issues. Proper installation of a paver base is essential to avoid cracking and mud problems later on.
Site Excavation Techniques
A successful driveway installation begins with proper site excavation techniques that create a solid foundation for a durable surface. Start by determining the necessary excavation depth, which depends on the thickness of the pavers, bedding sand, and roadbase. For vehicle loads, aim for a total depth of 300–450 mm, adjusting for soil types like clay or sandy soil.
Choose your excavation methods wisely: manual digging is suitable for small areas, while a mini-excavator is ideal for larger spaces. Clear the site of any vegetation and compact the subgrade to ensure stability. A solid sub base is vital for durable resin driveway installation to prevent structural issues and enhance longevity.
Finally, lay down a 100–150 mm layer of roadbase and compact it thoroughly to prevent settling. This approach sets a strong foundation for your driveway pavers, ensuring they remain level and secure.
Ensuring Proper Drainage
After digging out a solid foundation, ensuring proper drainage is vital for the longevity and stability of your driveway pavers.
To implement effective drainage solutions, follow these steps:
- Base Thickness: Aim for 200-300 mm of compacted gravel to support heavy vehicles and ensure stability.
- Correct Slope: Maintain a 25 mm drop for every 2.4 metres, directing water runoff away from buildings.
- Geotextile Fabric: Consider adding fabric at the base to prevent soil mixing and improve drainage, especially in areas with heavy clay soil.
- Compaction: Compact each layer of gravel thoroughly to eliminate voids that could trap water and undermine your driveway.
Additionally, be aware that driveways larger than 5m² must comply with proper drainage regulations to manage surface water runoff effectively.
Base Layer Installation and Compaction
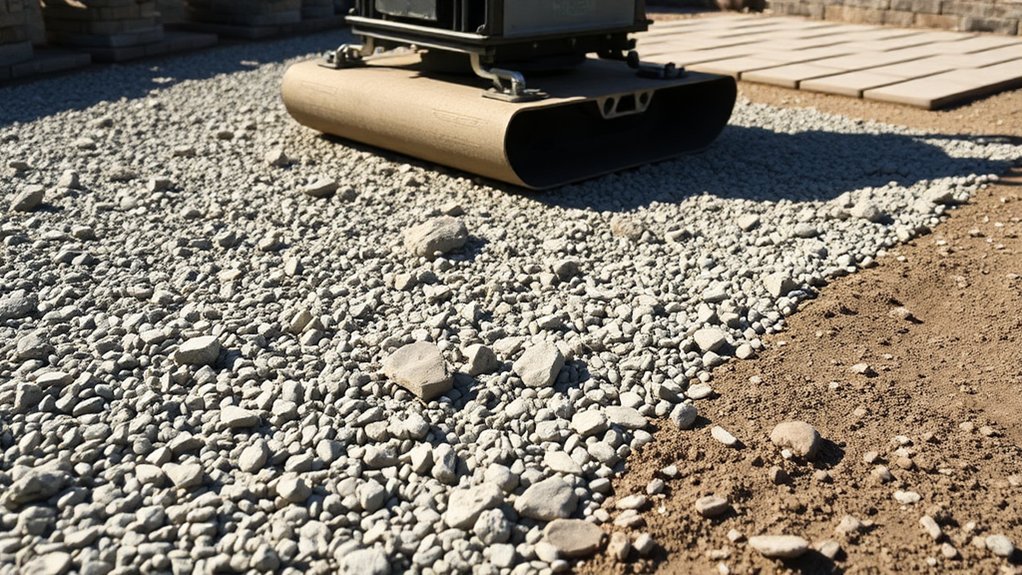
When laying the foundation for your driveway, the installation and compaction of the base layer are crucial steps.
Begin by choosing the right base material; crushed gravel with mixed particle sizes is ideal for stability.
Excavate the area to a depth of 18-20 cm, ensuring it’s deeper at the edges for added support.
Lay the aggregate in 7.5-10 cm layers, compacting each thoroughly with a vibrating plate compactor.
Compact in one direction, then crosswise for the best density.
Slightly moistening the gravel can aid compaction.
A solid base not only stabilises your driveway but also prevents future settling, so take your time to get it right.
Bedding Layer and Leveling
To create a solid base for your paving slabs, focus on the thickness of your sand layer and use effective levelling techniques. Aim for a consistent thickness of around 25mm (1 inch).
A screed board will help ensure a smooth, even surface that provides excellent support for the slabs.
Sand Layer Thickness
Achieving the right sand layer thickness is vital for ensuring your driveway pavers settle evenly and remain stable over time. Here’s what you need to know:
- Uncompacted Thickness: Aim for a sand thickness of around 25 mm (1 inch) before compaction.
- Compacted Thickness: After compaction, your sand layer should measure between 19 mm (3/4 inch) and 25 mm (1 inch).
- Even Distribution: Spread the sand evenly to prevent depressions that can cause uneven settling.
- Base Preparation: Ensure your aggregate base is compacted to a minimum thickness of 102 mm (4 inches) to adequately support the sand layer.
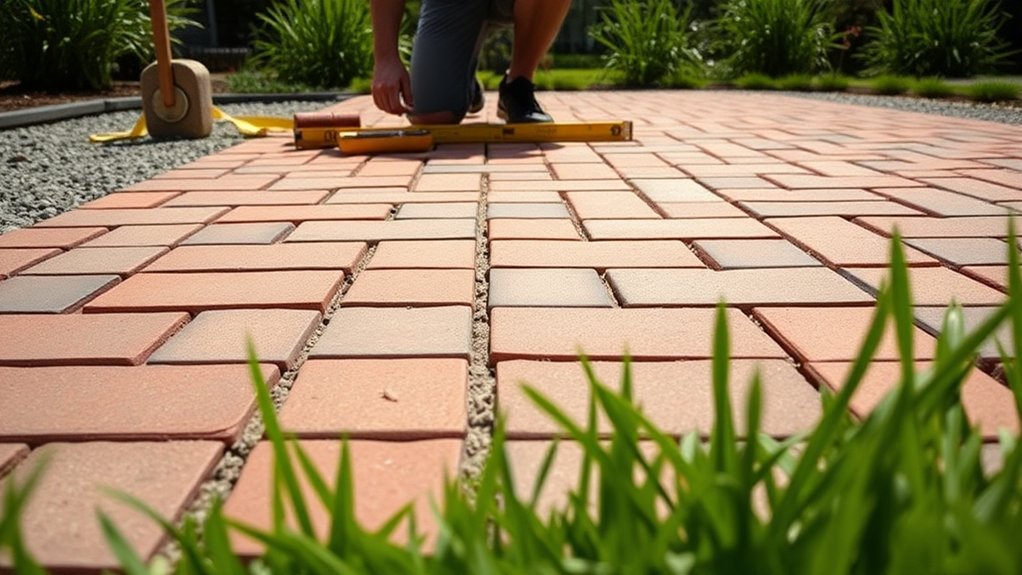
Leveling Techniques
With the sand layer carefully prepared, it’s time to focus on effective levelling techniques to ensure your driveway pavers are perfectly aligned.
Begin by spreading sand evenly over the compacted base and use a screed board to achieve a consistent thickness. Employ tools like a spirit level to check the evenness of the sand layer, making sure there are no imperfections that could affect your pavers.
Adjust any low or high spots as necessary, maintaining a uniform depth with straight edges. While minor imperfections can be corrected later, aiming for accuracy now will prevent issues down the line.
Finally, use a rubber mallet to gently tap your pavers into place without displacing them. Happy paving!
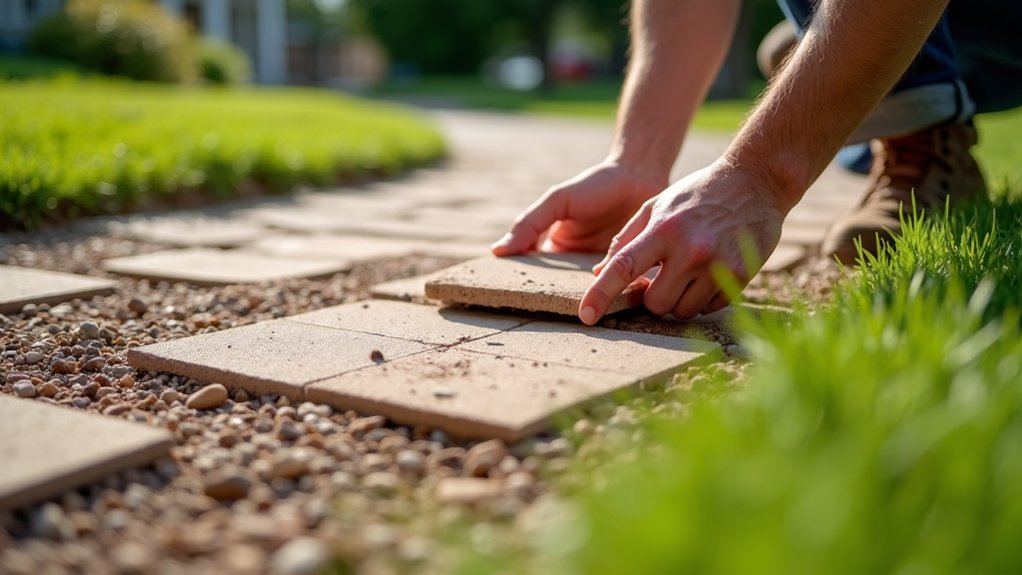
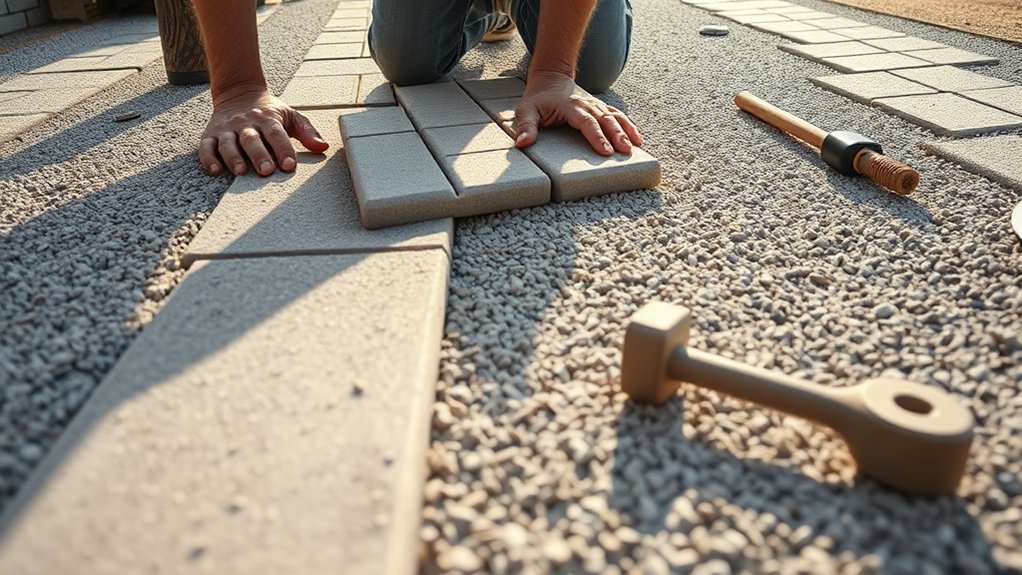
Laying Pavers
Begin laying your pavers from one corner or edge of the driveway, ensuring a methodical approach as you progress across the area. Follow these straightforward steps for a successful installation:
- Place each paver snugly against adjacent units to ensure even spacing for jointing material.
- Gently tap each paver with a rubber mallet to align and level them within the bedding sand.
- Stick to your planned pattern, making adjustments for any curves or obstacles as needed.
- Compact the surface of the pavers with a plate compactor, making three passes to securely settle them into the sand bed.
With the right paver materials and tools, you’ll create a robust and appealing driveway that enhances your home’s attractiveness!
Finishing and Maintenance
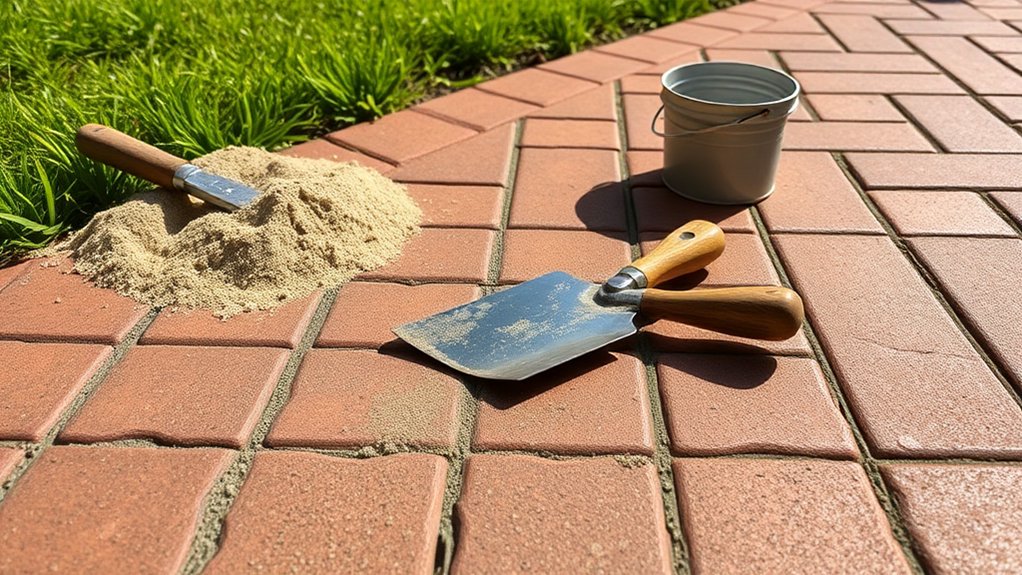
Laying driveway pavers is a notable achievement, but keeping them in good condition is just as important. Regular cleaning is essential—clear away dirt and debris to maintain their appearance.
Pressure washing is effective for removing grime and moss, while specialised cleaners can help with tough stains. To prevent weeds, replenish joint sand and use pre-emergent herbicides.
Every 3–5 years, apply a sealant to guard against stains and moisture damage. This not only brightens the colours but also strengthens the joints between pavers.
Regular inspections will help you identify any problems early on, ensuring your driveway stays attractive and functional for years to come.
Frequently Asked Questions
How Long Does It Take to Complete a Driveway Paver Project?
The timeline for your driveway paver project can differ, but generally, you should allow 1-2 days for preparation and about 20 hours for the actual installation. In total, expect several days to finish everything, depending on the size and complexity of your driveway. For instance, a standard driveway may take less time than one with intricate patterns or a larger area.
What Tools Are Essential for Laying Driveway Pavers?
To successfully install driveway pavers, you’ll need a tape measure, a shovel, and a paver mallet. Remember to wear essential safety gear, such as gloves and goggles, to protect yourself while creating a beautiful driveway!
Can I Lay Pavers in Rainy Weather?
You shouldn’t lay pavers in rainy weather. Wet conditions can hinder proper compaction and joint setting, resulting in uneven surfaces. To ensure a durable and attractive finish, always consider the weather before starting your paver installation. For instance, if the forecast predicts rain, it’s best to postpone the job.
How Do I Choose the Right Paver Size for My Driveway?
When selecting paver sizes for your driveway, think about your design style and the materials available. Smaller pavers can create detailed patterns, while larger ones provide a bold, modern look. Choose the size that best enhances your home’s overall appearance. For instance, if you have a traditional cottage, smaller, decorative pavers may suit it better, whereas a contemporary home might benefit from larger, sleek pavers.
What Are the Best Maintenance Practices for Driveway Pavers?
To maintain your driveway pavers, regularly sweep them and give them a gentle scrub to keep them clean. Consider sealing the pavers every two years to boost their durability and protect against wear, ensuring your driveway remains attractive.
Conclusion
Now that you’ve put in the effort and brought your vision to life, take a moment to appreciate your work. Each paver represents your dedication and creativity, setting the stage for future memories. While it may have felt like a challenging task at times, you’ve turned it into a rewarding project. Step back and enjoy the results—your attractive driveway is ready!
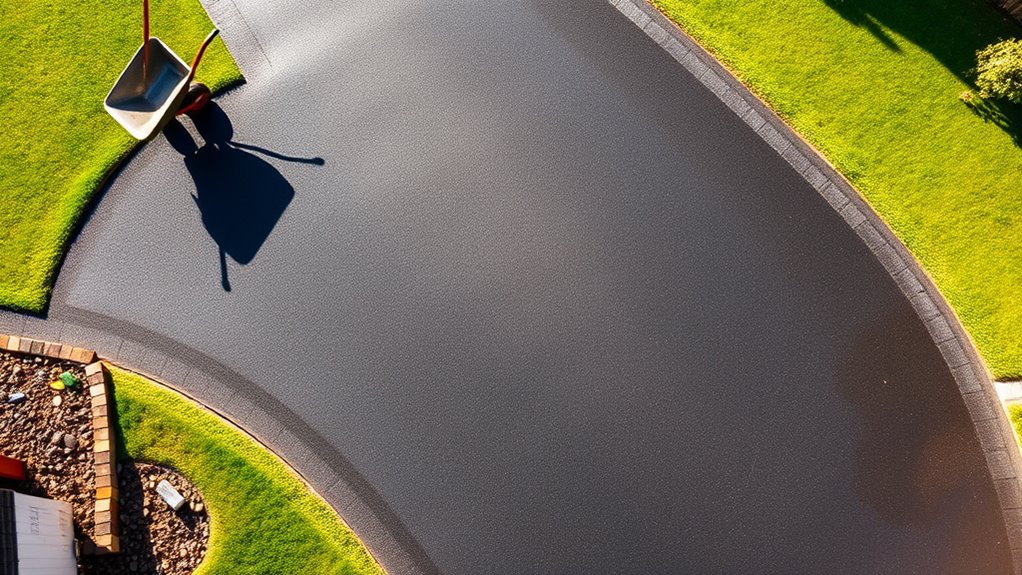
How can a tarmac driveway enhance your home's appeal? Discover the key aspects of cost, installation, and maintenance in our Read more
Wondering if a tarmac driveway is the perfect fit for your home? Uncover the essential pros and cons before making Read more
Not sure if you can lay tarmac over your existing driveway? Discover the crucial steps and benefits you need to Read more