Yes, you can certainly create a DIY tarmac driveway if you have the necessary skills and tools. This method can save you on labour costs and allows you to have full control over the project. However, keep in mind the challenges that may arise, such as ensuring material quality, proper surface preparation, and adhering to local regulations. For example, if you’re unsure about the right thickness of tarmac to lay or how to manage drainage effectively, it might be wiser to hire a professional. They can ensure a durable, well-structured driveway that meets all requirements. Consider your options carefully to find the best solution for your project and budget.
Key Takeaways
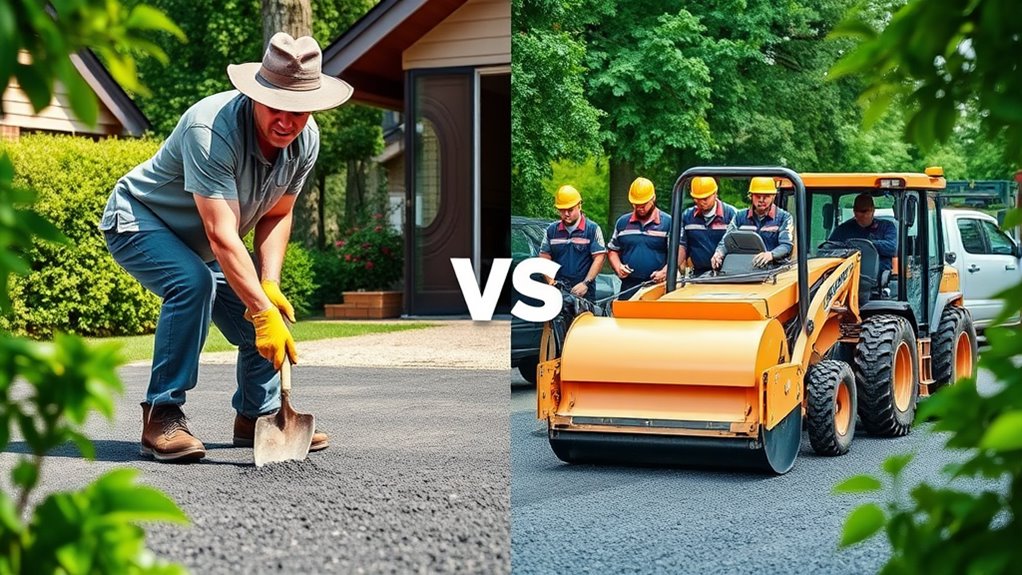
DIY tarmac driveways can cut costs, but they demand considerable time, effort, and skill to install and maintain properly. Key factors like surface preparation and the quality of materials are essential for a long-lasting driveway; any errors can result in an uneven surface and rapid deterioration.
Using specialised equipment, such as a plate compactor, can be tricky for those without experience, raising the chances of poor installation. On the other hand, hiring professionals guarantees proper drainage and high-quality workmanship, which can save you money in the long run by reducing maintenance issues.
Before you decide to go the DIY route, evaluate your skills and physical fitness. More complex jobs are often better left to the experts for a more satisfactory outcome.
Understanding the Cost-Effectiveness of DIY Tarmac Driveways
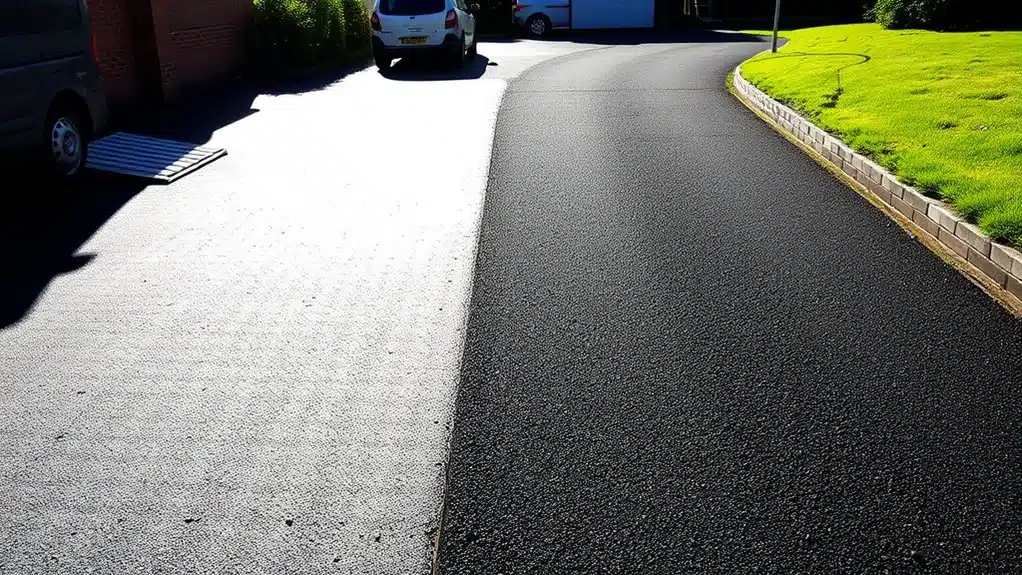
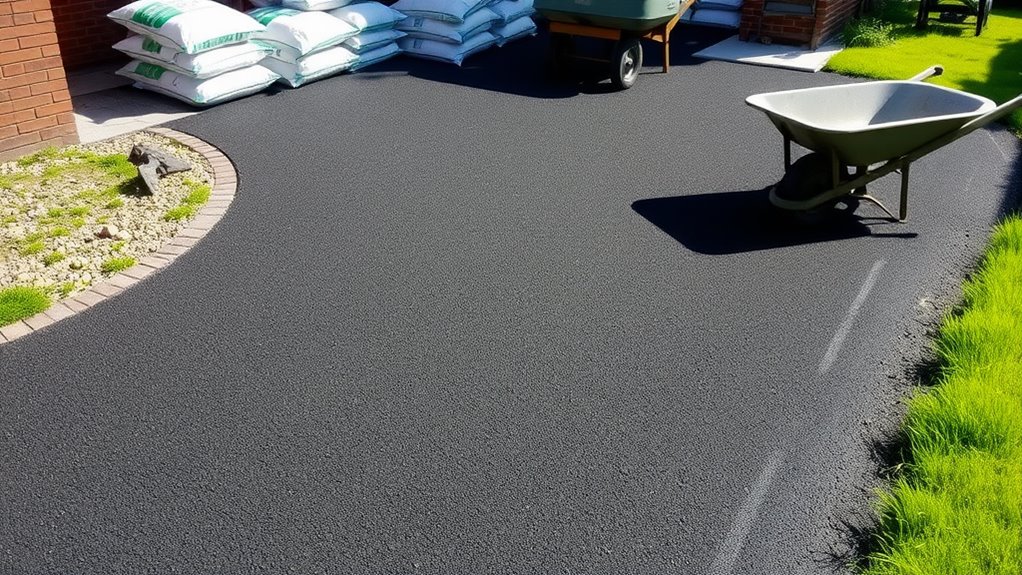
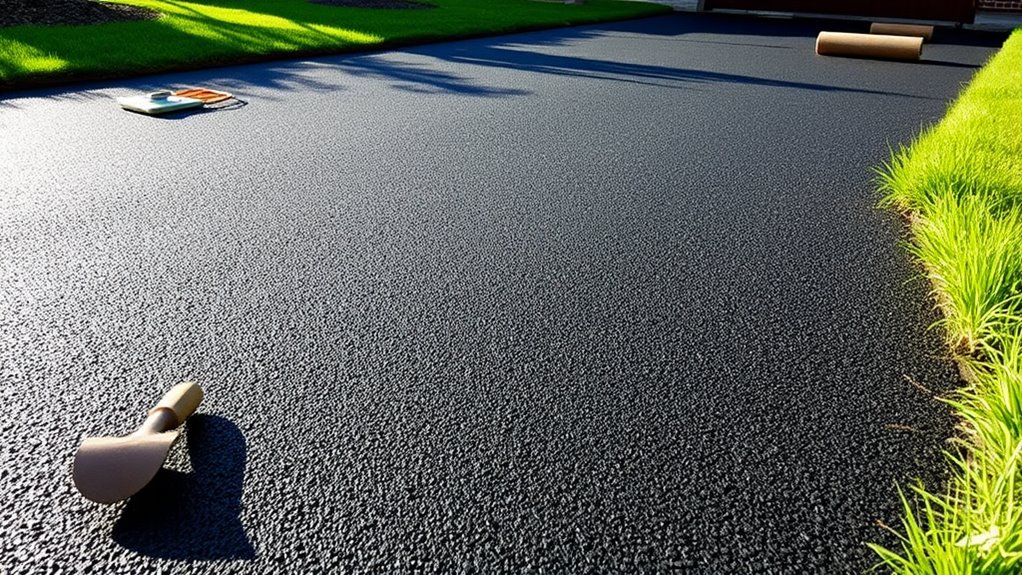
When planning a DIY tarmac driveway, it’s important to consider both initial costs and long-term advantages. Tarmac typically costs between £40 and £100 per square metre, depending on the quality and design you choose. Going the DIY route can significantly cut down on labour costs, though you may need to hire or purchase some specialised tools. Using high-quality materials can boost durability, leading to fewer repairs down the line. Tarmac is known for its durability and longevity, meaning it requires less maintenance over time, making it a smart investment. Additionally, proper installation techniques can ensure the driveway lasts for many years without significant issues. While elaborate designs can push up costs, sticking with simpler patterns can help keep your budget intact.
Assessing the Required Materials and Tools
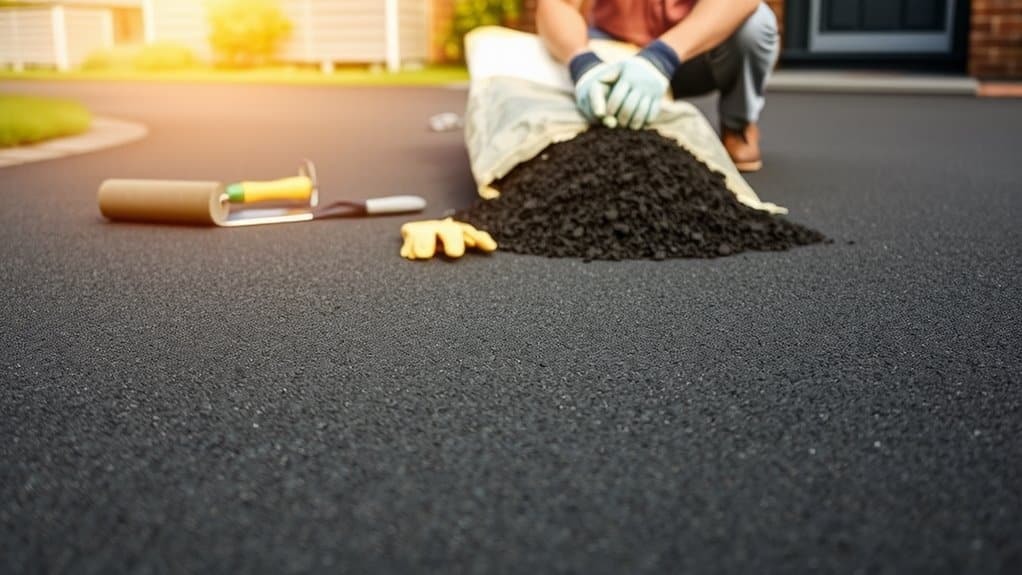
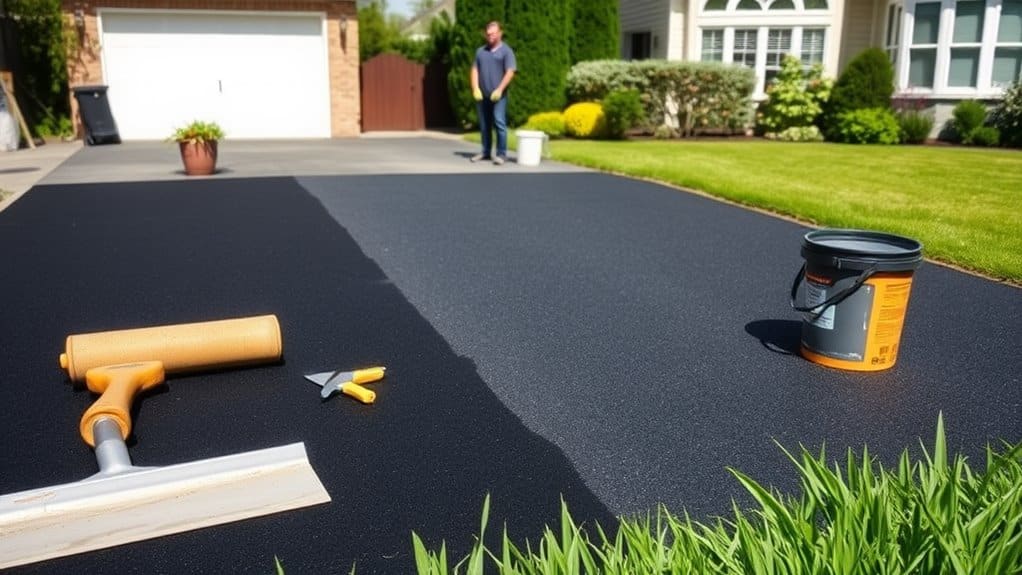
To start your DIY tarmac driveway, you’ll need to gather some specific materials and tools. Key items include tarmac, gravel, sand, and edge restraints. For tools, you’ll require shovels, rakes, a plate compactor, and a heavy roller. Conducting thorough content research will help you understand the best practices and techniques for installation, ensuring a successful DIY project. Having everything ready before you begin will help make the process smoother and more efficient.
Essential Tarmac Materials
To create a successful DIY tarmac driveway, you’ll need five essential materials.
Firstly, choose your tarmac (asphalt) type based on your requirements. Tarmac driveways are known for their durability and affordability, making them a popular choice among homeowners.
Secondly, gravel or crushed stone is crucial for a stable base layer, usually 10 to 15 cm thick for effective compaction. Assessing the site for drainage before laying the base is essential to avoid future issues.
Next, sand serves as a bedding material for the tarmac layer, ensuring a smooth finish.
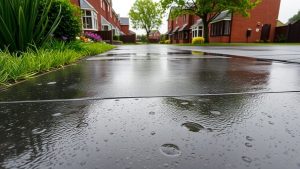
Edge restraints are important to keep the tarmac in shape, while effective drainage solutions, like drainage pipes or soakaways, prevent water pooling. Assessing your site’s drainage needs is vital to avoid future issues and enhance the longevity of your driveway.
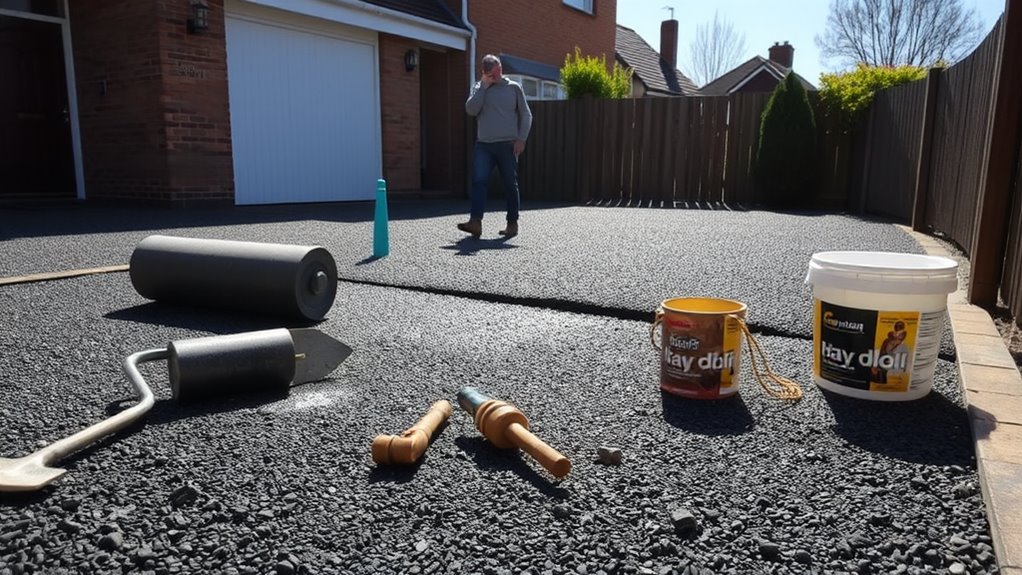
Necessary Tools Overview
Before embarking on your DIY tarmac driveway project, it’s crucial to gather all the necessary tools and materials to ensure a smooth process.
Choosing the right tools and maintaining your equipment can significantly affect the outcome of your project. Here are three key categories to consider:
- Basic Construction Tools: You’ll need shovels, rakes, and a wheelbarrow for digging and moving materials.
- Specialised Equipment: A plate compactor, tarmac rake, and heavy roller are essential for proper compaction and leveling.
- Safety Gear: Don’t forget gloves, safety glasses, and safety cones to create a safe working environment.
Having these tools on hand won’t only make your work more efficient but also prepare you for any challenges that may come up during your driveway installation. Additionally, understanding the importance of regular inspections can help ensure your driveway remains in optimal condition throughout its lifespan.
Step-by-Step Guide for DIY Tarmac Repairs
Repairing your tarmac driveway is simple and can be done in five easy steps for a long-lasting finish.
- Assess the Damage: Check your driveway for cracks and potholes.
- Clean the Area: Use a broom to clear debris, and for a thorough clean, consider jet washing. Allow the surface to dry completely.
- Fill the Gaps: Use asphalt crack filler for cracks and cold patch material for potholes, ensuring you compact them well.
- Apply Sealant: Use a roller or brush to apply tarmac sealant, and protect the edges with masking tape for a tidy finish.
- Cure the Sealant: Let the sealant dry as per the manufacturer’s guidelines before driving on it.
Regular checks will help you spot new damage early, keeping your driveway looking fresh and extending its life.
Identifying Challenges in DIY Tarmac Projects
Taking on a DIY tarmac project can be fulfilling, but it also comes with its share of challenges. Here are three main hurdles to keep in mind:
- Temperature Sensitivity: Tarmac can be affected by extreme heat or cold, which can compromise both the installation process and the durability of the surface over time.
- Surface Preparation: Getting the surface ready is crucial for a smooth finish. If you skip this step or do it poorly, you could end up with an uneven driveway.
- Material Quality: Finding high-quality materials can be a bit of a task. If the mix is off, it can lead to weak spots that weaken the overall structure.
Additionally, without professional help, you might find it challenging to handle specialised equipment or navigate local regulations.
These issues can complicate your DIY project, potentially affecting the lifespan and look of your driveway.
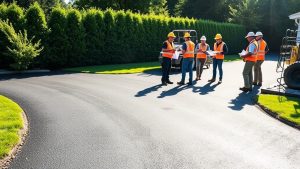
Advantages of Hiring Professional Services
When you hire professional services for your tarmac driveway, you benefit from their expertise and quality workmanship, ensuring a smooth and long-lasting surface.
Their experience saves you time and reduces the likelihood of expensive mistakes.
With their understanding of materials and installation methods, you can be confident that your driveway will endure and maintain its appearance for years to come.
Quality and Expertise
Hiring professional services for your tarmac driveway ensures a top-quality finish that boosts your property’s kerb appeal and value.
Here are some key benefits:
- Expert Paving Techniques: Professionals employ precise methods to ensure the driveway’s strength and longevity, minimising the risk of expensive repairs in the future.
- Informed Material Selection: With their extensive knowledge of materials like asphalt and concrete, professionals select the best options for local weather conditions, ensuring durability.
- Enhanced Aesthetics: Skilled professionals create a smooth, uniform surface and can add decorative touches, enhancing the overall look and complementing your garden.
Time Efficiency
Choosing professional services for your tarmac driveway can significantly improve time efficiency, allowing you to enjoy your new surface sooner. Experts come equipped with the right tools and experience, ensuring a quicker installation process. Their skills lead to better time management, meaning the project can be completed swiftly.
With a well-organised schedule, professionals minimise delays and ensure timely completion, which means less disruption to your daily routine. They can also adjust installation timings based on the weather, helping to avoid potential setbacks.
Long-term Durability
Investing in professional services for your tarmac driveway ensures long-term durability, which is vital for both functionality and appearance. Here are three key benefits of professional installation:
- Quality Materials: Professionals use high-grade tarmac, making sure your driveway can withstand daily wear and tear.
- Expertise: Skilled installers apply the right techniques for compaction and levelling, both essential for a durable surface.
- Maintenance Advice: You’ll receive useful tips on maintaining your driveway, including sealcoating and repairing cracks.
Experienced professionals can also tailor designs to suit local climate conditions, boosting resilience.
While DIY projects may seem cheaper at first, poor installation can lead to expensive repairs later on.
In the end, a professionally installed driveway not only looks appealing but also lasts longer.
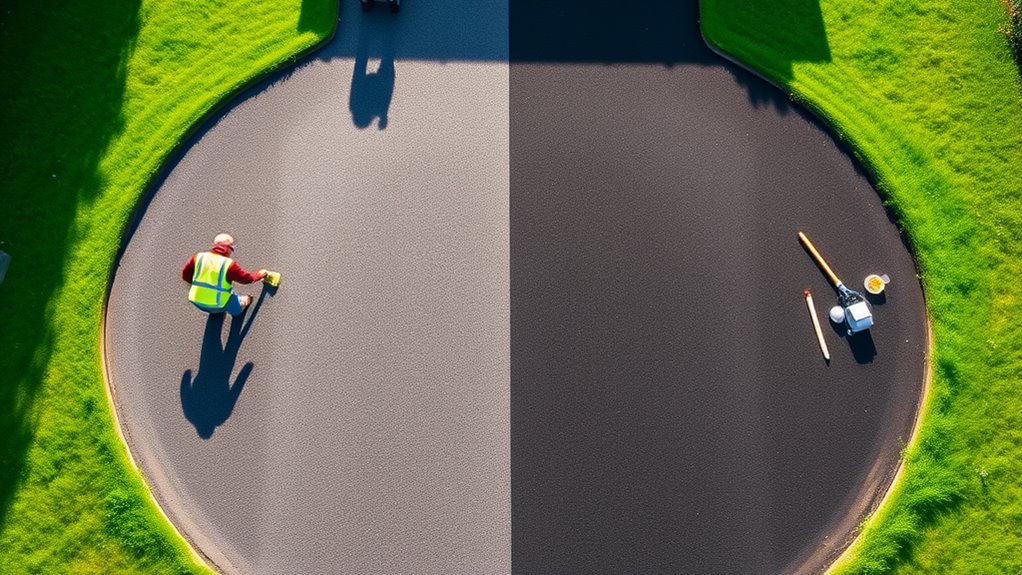
Maintenance and Upkeep of Tarmac Driveways
Maintaining a tarmac driveway is straightforward and can significantly prolong its life and improve its appearance. Begin by sweeping away debris weekly to keep it looking tidy and to prevent damage.
Every 3-6 months, wash it with moderate pressure to eliminate stains, and tackle oil spills immediately using absorbent materials.
Seasonal maintenance is essential. In autumn, clear leaves to prevent moisture build-up, and use sand for traction in winter instead of salt.
During summer, apply a sealant for UV protection, and consistently check for cracks, repairing them as soon as you spot them.
Don’t forget to address weeds and moss annually to keep your driveway neat.
Always test any cleaning solutions on a small area first to avoid damage while preserving its appearance.
Evaluating Your Own Capabilities for DIY Projects
Maintaining a tarmac driveway sets the stage for any DIY projects you might take on.
Before you start, it’s important to assess your DIY skills and the demands of the project. Here are three key factors to consider:
- Skill Level: Basic repairs, like filling in small cracks, may be within your ability, but larger tasks, such as resurfacing, may need more advanced skills.
- Physical Capability: Working with tarmac can be quite strenuous, especially for extensive repairs. Be sure you’re fit enough for the task.
- Time Commitment: Expect to spend more time than anticipated on DIY projects, as they often take longer than hiring a professional to complete.
Making the Decision: DIY or Professional Help?
Choosing between a DIY approach and hiring a professional for your tarmac driveway can significantly impact the final result. Here are some key points to consider.
A DIY project might save you money and give you full control over the design. However, it comes with its risks, such as the chance of making mistakes or lacking the right equipment.
For instance, if you miscalculate the amount of tarmac needed, this could lead to an uneven surface.
Conversely, professionals offer guaranteed quality, speed, and long-term savings by using the right materials and expertise.
For example, a professional can ensure proper drainage, which is crucial for the longevity of your driveway.
When deciding, think about your budget, how much time you can dedicate, and your skill level.
If you’re unsure of your abilities or if the project seems complex, hiring a professional might be the wiser choice.
Ultimately, weigh your comfort level with DIY against the potential issues before making your decision.
Frequently Asked Questions
What Is the Average Lifespan of a DIY Tarmac Driveway?
A DIY tarmac driveway usually lasts between 15 to 20 years, depending on the quality of materials used and how well it’s installed. Regular maintenance, such as sealing and repairing cracks, can significantly extend its lifespan and help manage costs effectively. For instance, sealing every few years can prevent water damage and deterioration, making it a worthwhile investment.
Can Weather Conditions Affect DIY Tarmac Application?
Absolutely, don’t overlook the importance of weather when laying tarmac! High temperatures can cause the material to soften, making it difficult to work with. Conversely, moisture can lead to cracking as the tarmac sets. It’s essential to choose the right weather conditions for your DIY driveway project, or you might find yourself facing costly repairs later on!
How Long Does a DIY Tarmac Repair Take to Dry?
The drying time for a DIY tarmac repair depends on the method used. Hot mix asphalt typically takes between 48 to 72 hours to set properly. In contrast, a cold patch can either set immediately or may take several weeks to fully cure. Always take weather conditions into account to ensure a successful repair.
What Are Common Mistakes to Avoid in DIY Tarmac Projects?
To avoid common mistakes in DIY tarmac projects, ensure you prepare the surface properly and use the right tarmac thickness. For instance, if you skimp on preparation, you might end up with a bumpy driveway or issues with water pooling. Likewise, using insufficient thickness can lead to cracking and a shorter lifespan for your driveway. Pay attention to these details to ensure a durable and reliable finish.
Is It Possible to Remove and Replace Tarmac Myself?
Yes, you can remove and replace tarmac yourself using effective techniques. Just make sure to follow proper tips for layering and base preparation. Be prepared for the physical effort involved in the project. For example, using a jackhammer can help break up the old tarmac, while a compactor will ensure a solid base for the new layer.
Conclusion
Deciding whether to tackle a DIY tarmac driveway or hire a professional depends on your skills and resources. While saving money is appealing, consider whether you can spare the time and handle potential setbacks. For example, if you lack experience, you might struggle with proper installation, leading to costly repairs later on. If you’re confident in your abilities and ready for the challenge, give it a go! However, if you have any doubts, hiring a professional could save you stress and ensure a durable driveway that lasts for years.

Prepare the perfect base for your resin bound stone installation and discover the crucial factors that ensure lasting durability.
Know where resin bound surfacing can transform spaces for both residential and commercial use, and discover the countless benefits that Read more
A stone carpet combines beauty and resilience in flooring, but what makes quartz floors uniquely beneficial? Discover the secrets behind Read more