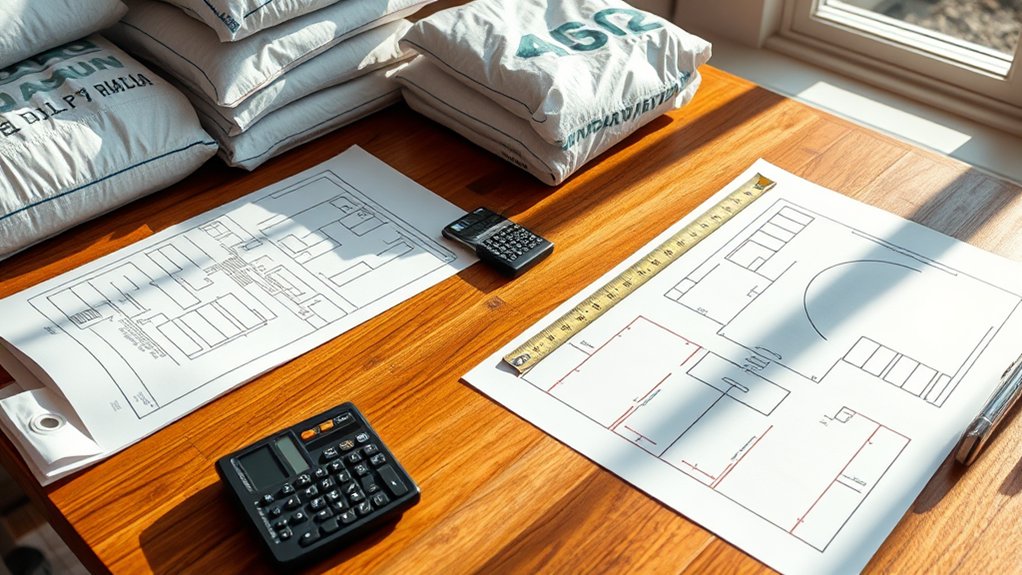
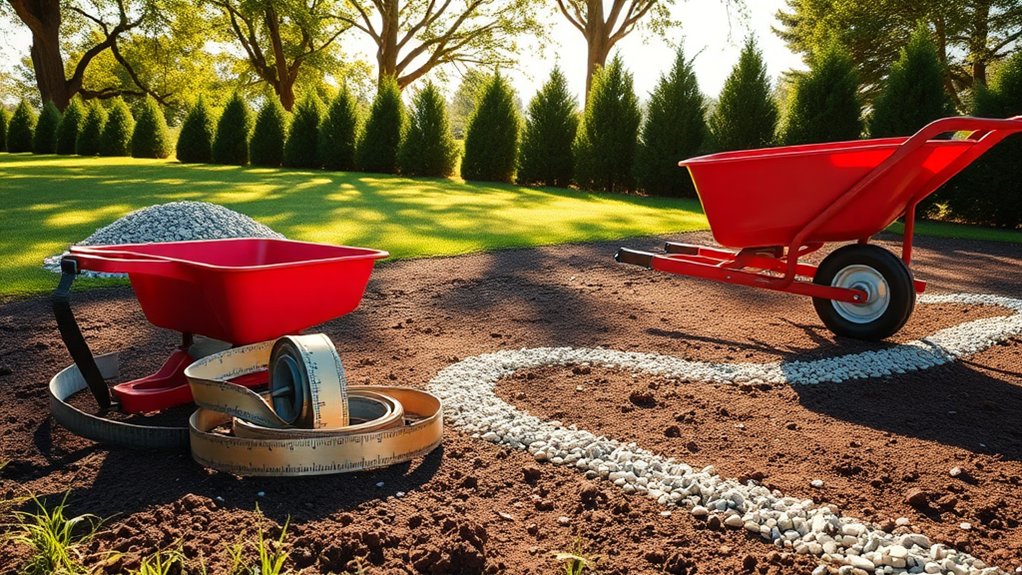
To calculate the cost of a DIY driveway project, start by measuring the area to determine how much material you’ll need. Choose from options like gravel, tarmac, or concrete. Gravel is usually the most affordable, but tarmac and concrete tend to last longer. Don’t forget to account for labour costs, equipment hire, and any additional materials needed for site preparation. It’s wise to budget for unexpected expenses. By taking these factors into consideration, you’ll have a clearer understanding of the overall cost and can plan accordingly.
Key Takeaways
- Measure the driveway area by calculating the square footage (Length × Width) to accurately determine material requirements and costs.
- Choose your material (gravel, asphalt, or tarmac) based on your budget, maintenance preferences, and how long you want it to last, as this will impact overall costs.
- Factor in labour costs, which can range from £30 to £45 per hour, and include any machinery hire expenses needed for the installation.
- Don’t forget to calculate additional materials, such as a gravel base, reinforcement, and any decorative finishes, to ensure you’re budgeting comprehensively.
- Set a budget that includes a buffer for unexpected expenses and keep track of your spending throughout the project to avoid overspending.
Understanding Material Types and Their Costs
When planning a DIY driveway project, it’s crucial to understand the various material types and their costs.
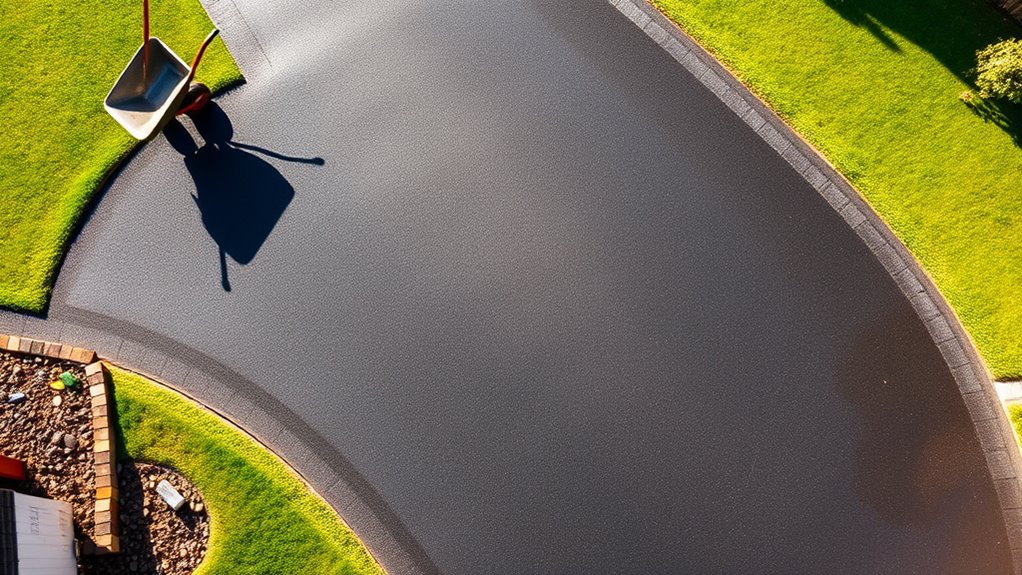
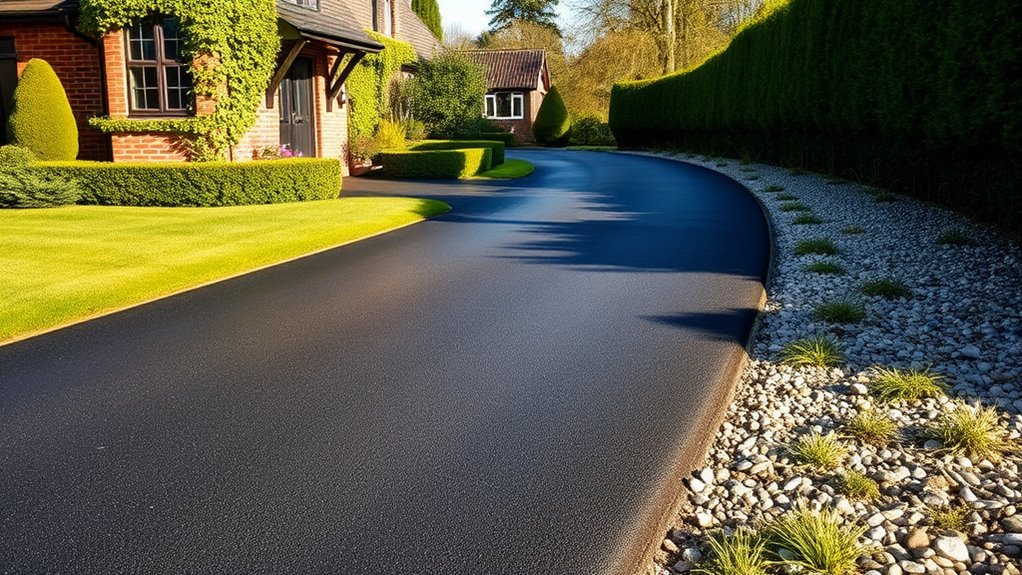
Gravel is the most economical choice, costing between £1 to £3 per square metre, but it requires maintenance every 2-3 years. In contrast, asphalt, known for its durability, ranges from £7 to £13 per square metre and can last up to 30 years with proper care, such as sealcoating every 3-5 years. While gravel may have a lower initial cost, asphalt offers a smoother finish and better performance in colder climates. Additionally, the average lifespan of asphalt driveways can be significantly extended with regular maintenance, making it a worthwhile investment. It’s important to note that tarmac driveways can endure heavy traffic and diverse weather conditions, further highlighting their value. Weigh these factors carefully to select the material that suits your budget and maintenance preferences.
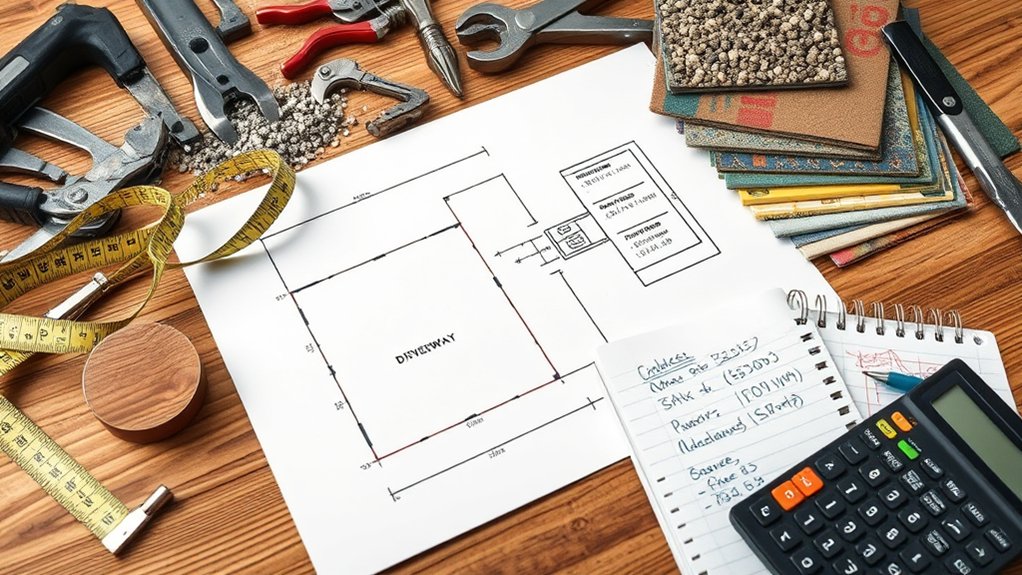
Calculating Concrete Driveway Requirements
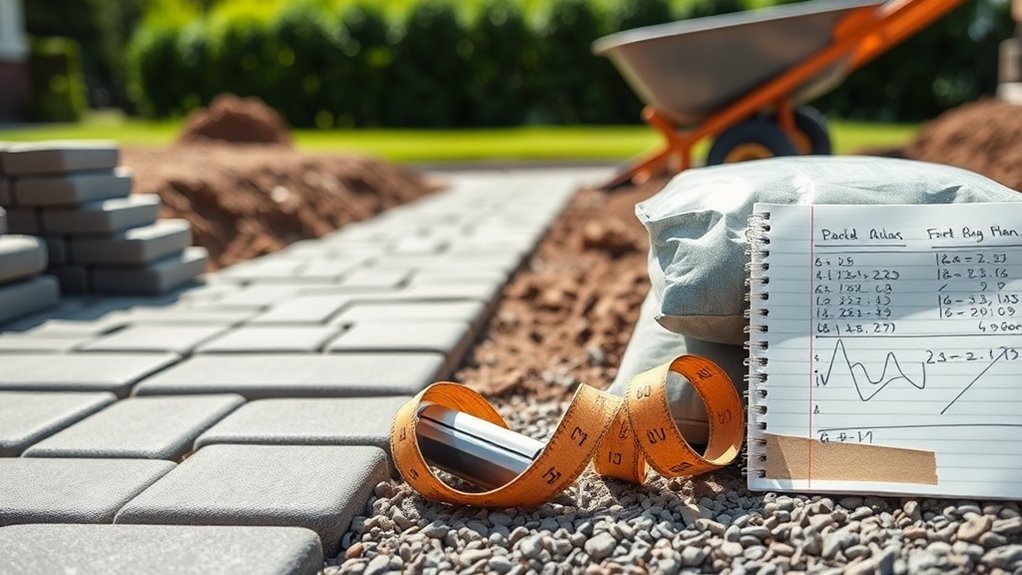
To begin your concrete driveway project, first measure the dimensions of the area.
Then, calculate the volume of concrete needed based on these measurements.
Don’t forget to factor in additional materials such as gravel and rebar. Concrete is sold by cubic yard; volume measurement is required. Proper preparation ensures you have everything required for a smooth installation.
For example, if your driveway is 5 metres long, 3 metres wide, and 0.1 metres deep, you’d need 1.5 cubic metres of concrete.
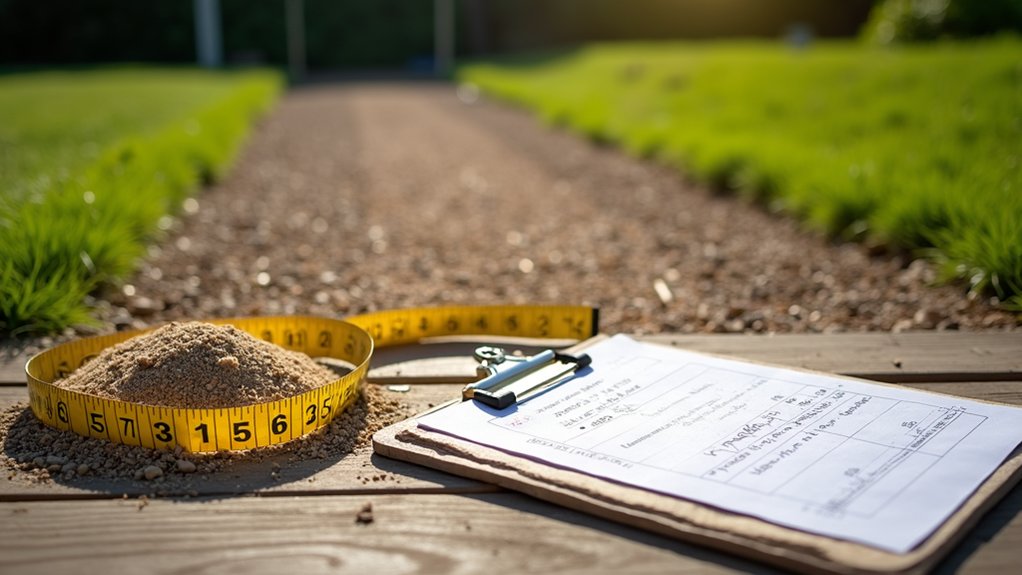
Determine Driveway Dimensions
Accurate measurements are crucial for determining driveway dimensions, as they form the basis of your entire project. Begin by measuring the length and width in feet for rectangular driveways, or use techniques like scaled drawings for irregular shapes. For circular driveways, measure the radius and multiply it by two to get the diameter. Ensuring the minimum thickness for a concrete driveway is 4 inches will contribute to its durability and performance, while a solid sub base is vital for a stable installation.
| Driveway Shape | Measurement Technique | Area Calculation |
|---|---|---|
| Rectangular | Length x Width | Direct multiplication |
| Irregular | Divide into rectangles | Sum of segmented areas |
| Circular | Diameter from radius | π × (Diameter/2)² |
Accurately recording these measurements ensures you’re well-prepared for the next steps in your DIY driveway project.
Calculate Concrete Volume
Calculating the concrete volume for your driveway is crucial to ensure you order the right amount of material. Use the formula: Volume = Length × Width × Depth, remembering to convert depth from inches to metres.
For example, a 20 ft × 50 ft driveway with a depth of 8 inches (0.67 ft) would yield approximately 666.67 cubic feet. Since concrete is sold by cubic yards, divide this by 27 to get about 24.69 cubic yards.
Keep in mind concrete density and adjust the volume as necessary. It’s wise to add around 10% extra to your order to account for waste and ensure you have sufficient material for the project.
This careful planning helps avoid delays and ensures a smooth driveway installation.
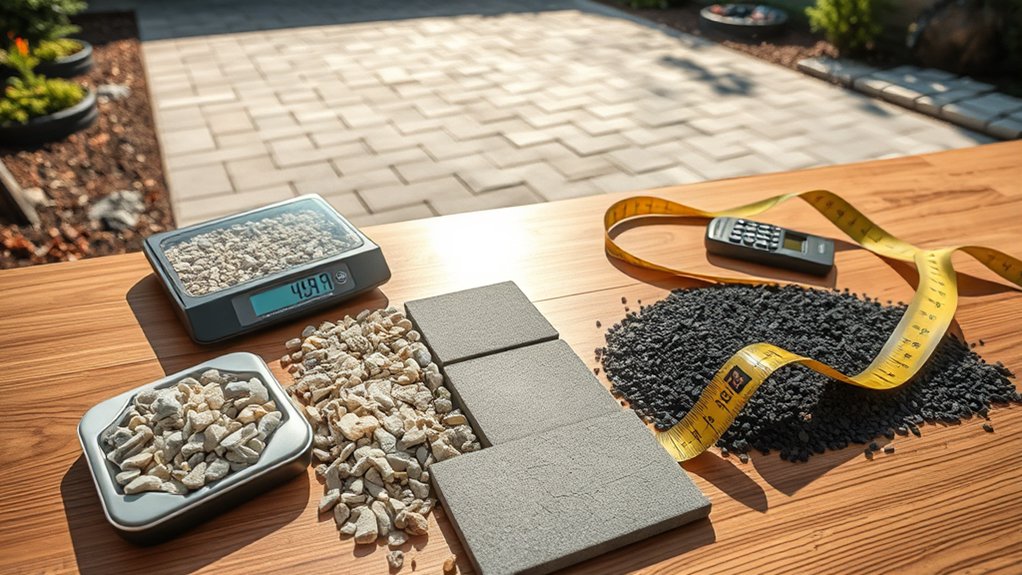
Estimate Additional Materials
Estimating additional materials is essential for a successful DIY concrete driveway project.
Begin by calculating the base layer requirements, which typically include gravel and sand. You should excavate 75 to 125 millimetres below the concrete thickness, plus an extra 50 millimetres for the base itself. To find out how much aggregate you’ll need, multiply the driveway’s surface area by the required depth.
Don’t overlook reinforcement materials like rebar and form boards, which are crucial for shaping the concrete.
Proper drainage is also important to prevent damage over time. Accurately estimating these materials not only helps keep your project on schedule but ensures a durable and long-lasting driveway.
Estimating Gravel Driveway Material and Costs
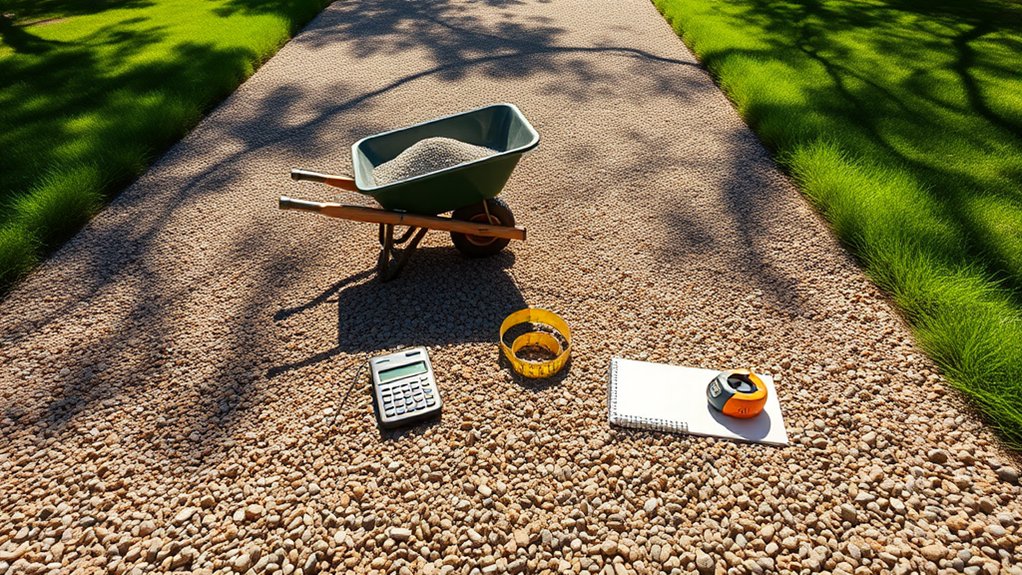
When estimating the materials and costs for your gravel driveway, start by calculating the required gravel volume based on your measurements and desired depth.
Then, compare the costs of various gravel types to find one that suits your budget.
Also, consider maintenance options to ensure your driveway remains in good condition over time.
For example, regular raking and topping up with gravel can help maintain its appearance and functionality.
Gravel Calculation Methodology
To accurately calculate the amount of gravel needed for your driveway project, start by measuring the area and shape of the space. For rectangular driveways, simply multiply the length by the width. For circular driveways, use the formula (π times radius²).
Once you have the area, decide on the gravel depth, which is usually between 2 to 4 inches. Convert this depth into feet for your volume calculations.
Next, multiply the area by the depth to get the volume in cubic feet, then convert this to cubic yards by dividing by 27. This method ensures you order the correct amount of gravel, helping you avoid the costly mistakes of under-ordering or over-ordering.
Accurate volume calculations will set you up for a successful DIY driveway project.
Cost Breakdown Analysis
Understanding the costs involved in your gravel driveway project is crucial for effective budgeting.
Start by researching various types of gravel, as prices can range from £15 to £100 per cubic yard. For instance, steel slag costs around £35 per cubic yard, while bluestone can reach up to £100.
Consider your driveway’s dimensions and the desired gravel depth, which is usually between 75mm to 150mm, to estimate the volume required.
Don’t forget to include delivery charges and site preparation in your total costs.
When comparing these expenses with other materials like tarmac or concrete, gravel is typically the most economical choice.
Maintenance Considerations
Maintaining a gravel driveway requires regular care to keep it functional and attractive.
It’s important to assess how often maintenance is needed; adding gravel once or twice a year is usually sufficient, depending on how heavily the driveway is used and the local climate.
Proper compaction and grading during installation can significantly reduce gravel displacement and the need for frequent upkeep.
The type of gravel you choose will also affect both initial costs and ongoing maintenance.
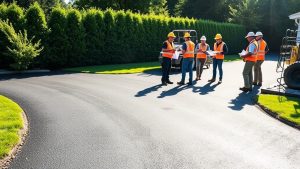
Evaluating Equipment and Labor Expenses
Evaluating equipment and labour expenses is crucial for budgeting your DIY driveway project effectively.
Here are three key factors to consider:
- Labour Rates: You can expect to pay between £30 to £45 per hour, depending on your location and the complexity of the project.
- Equipment Hire Costs: Renting heavy machinery, such as diggers or compactors, can significantly affect your budget. Be sure to include these costs in your estimates.
- Labour Efficiency: For larger projects, you may benefit from reduced labour costs per square metre due to economies of scale, whereas smaller driveways could incur higher costs because of fixed setup times for workers. Additionally, keeping in mind the importance of proper base preparation will help ensure that your project does not run into costly issues later on.
Identifying Additional Materials Needed
When planning your DIY driveway project, it’s important to identify the additional materials you’ll need for a successful outcome.
Start with a compacted gravel base to ensure strength and proper drainage. Consider using geotextile fabric for added stability and moisture prevention.
If you’re choosing concrete or tarmac, include reinforcement materials like rebar or steel mesh to enhance durability and reduce cracking. For a decorative finish, look into options like block paving or resin.
Don’t forget edge restraints to keep everything in place and prevent shifting. Lastly, use sealants to protect your investment, ensuring the driveway lasts and retains its appearance.
Assess these materials carefully for a functional and attractive driveway.
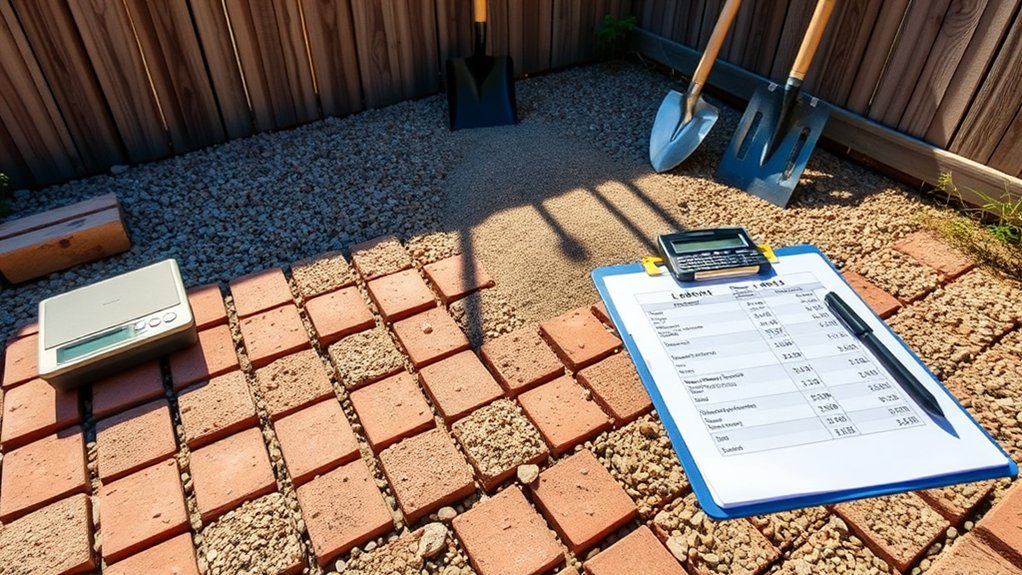
Preparing the Site for Driveway Installation
Preparing the site for your driveway installation is crucial for a successful project. Start by assessing the area to check dimensions, slope, and any obstacles that may be in the way.
Here are three essential steps to follow:
- Mark Boundaries: Use string and stakes to clearly outline the shape and size of your driveway.
- Excavate: Remove any existing material and dig to the correct depth, ensuring a level surface for proper drainage.
- Install Base Layer: Lay down geotextile fabric and spread a layer of crushed stone or gravel, compacting each layer for added stability.
Estimating Total DIY Driveway Costs
Estimating the total cost of your DIY driveway project requires careful consideration of several factors, such as material choices, size, and additional features.
Begin by calculating the square footage of your driveway—length multiplied by width—and factor in depth based on vehicle use.
Compare costs for different materials like gravel, tarmac, concrete, or paving slabs, which vary significantly in price per square metre.
Remember to include necessary extras like a gravel base, reinforcement, or decorative finishes.
Lastly, consider potential unexpected costs, such as permits or soil stabilisation, to ensure you’re well-prepared.
Factors Influencing Driveway Cost Variations
Several factors can significantly influence the cost of your driveway project. Being aware of these can help you make choices that balance aesthetics with practicality.
- Size and Scale: Larger driveways need more materials and labour, which drives up costs. Intricate shapes can also add to the expense.
- Material Selection: The type of material you choose affects your budget. For instance, gravel is generally more affordable, whereas concrete and paving stones can be considerably more expensive.
- Site Preparation: Preparing the site—such as clearing obstacles and ensuring good drainage—can increase costs, particularly on difficult terrains.
Also, think about the environmental impact of your choices. Opting for permeable materials might’ve a higher initial cost but could provide long-term benefits for water management.
Tips for Staying Within Budget on Your Driveway Project

Staying within budget on your driveway project is crucial to avoid unexpected costs that could throw your plans off track. Start by setting a realistic budget that covers materials, tools, and an extra 10–15% for unforeseen expenses. Keep track of your spending to stay on course.
Choose simpler designs to lower labour costs, and consider breaking the project into manageable stages to spread out expenses.
Accurate measurements are key to preventing overordering materials. Look for cost-saving options, such as using recycled materials.
While DIY can save you money, don’t hesitate to hire professionals for essential tasks. With careful planning and smart choices, you can keep your project on budget.
Frequently Asked Questions
How Long Does a Driveway Installation Typically Take?
Driveway installation times differ depending on the material used. For gravel, expect 1-2 days; asphalt generally takes 2-3 days; concrete requires 3-5 days; and pavers can take 5-7 days. Keep in mind that factors like weather and site conditions may extend these timelines. It’s wise to plan ahead.
What Permits Might I Need for Driveway Installation?
When installing a driveway, you may need various permits to ensure safety and compliance. Check your local regulations, as requirements can differ across councils. Common permits include planning permission, especially if you’re altering existing access or if your property is in a conservation area. Be prepared for potential fees associated with these permits to keep your project on track.
Can I Install a Driveway in Winter?
Yes, you can install a driveway in winter, but be aware of challenges like frozen ground and drainage issues. It’s essential to hire skilled contractors and be prepared for potential weather-related delays. For instance, if temperatures drop significantly, it may hinder the installation process. Planning ahead will help you manage these winter factors effectively.
How Do I Maintain My Driveway After Installation?
Consider your driveway as a protective barrier for your home. Regular cleaning and sealing every three to five years will help maintain its strength and prevent cracks and stains from leading to expensive repairs. For instance, using a pressure washer to clean off dirt and debris can keep it looking good, while a sealant can protect it from weather damage.
What Are Common Mistakes to Avoid During Installation?
To avoid common installation mistakes, ensure you plan thoroughly and take precise measurements. For instance, inadequate planning can cause drainage problems, while incorrect measurements might lead to uneven surfaces, which can undermine the durability and appearance of your driveway.
Conclusion
You’ve done the maths and chosen to tackle your driveway project yourself—what could go wrong? While it’s great to save some money, keep in mind that your DIY skills might turn a smooth surface into an accidental water feature. Be prepared for unexpected costs and equipment issues; they’re part of the journey. If your driveway ends up looking like a masterpiece (or a complete mess), at least you’ll have an entertaining story for the next neighbourhood barbecue!
How can a tarmac driveway enhance your home's appeal? Discover the key aspects of cost, installation, and maintenance in our Read more
Wondering if a tarmac driveway is the perfect fit for your home? Uncover the essential pros and cons before making Read more

Choosing between a tarmac and resin driveway can be challenging; discover the key factors that could influence your decision.