To stop driveway sealer from peeling or flaking, begin with a good-quality sealer that matches your local climate. Ensure proper surface preparation by thoroughly cleaning the driveway and fixing any cracks or holes. Apply the sealer in ideal weather—warm and dry—using techniques like even rolling and applying thin layers. Regular maintenance is key; inspect and reseal every 2-3 years. Following these steps will improve your driveway’s durability and appearance. It’s straightforward, and you’ll appreciate the results.
Key Takeaways
- Ensure the surface is well-prepared by thoroughly cleaning it and repairing any cracks before applying the sealer for best adhesion.
- Select high-quality sealers that offer strong resistance to weather and chemicals to enhance durability and minimise peeling.
- Apply the sealer during suitable weather conditions; avoid low temperatures and high humidity to ensure proper drying and adhesion.
- Use a thin layer of sealer, allowing it to dry completely before applying a second coat to prevent flaking.
- Regularly check the driveway for damage and plan to reseal every 2-3 years, depending on wear and weather conditions.
Use High-Quality Driveway Sealer
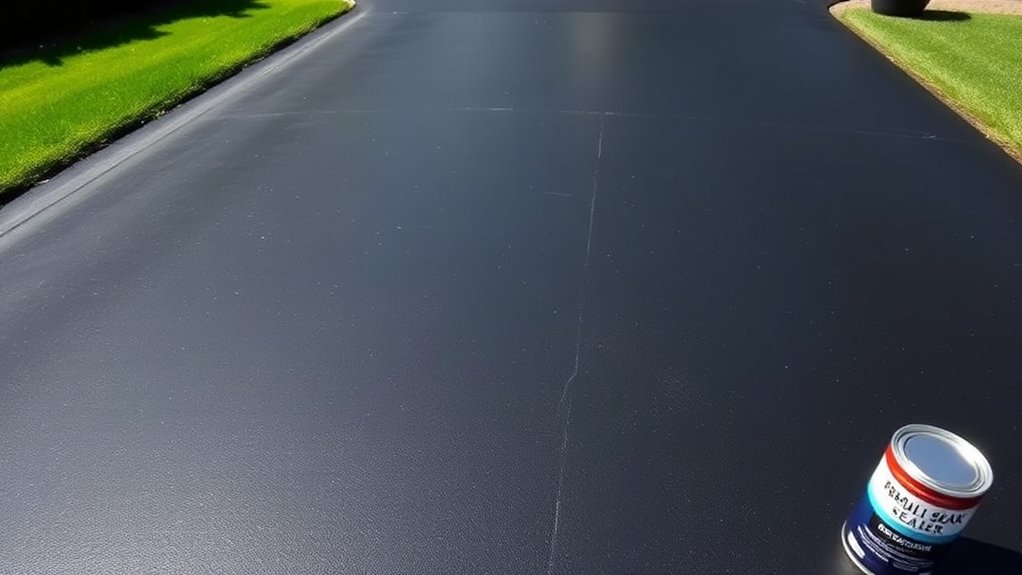
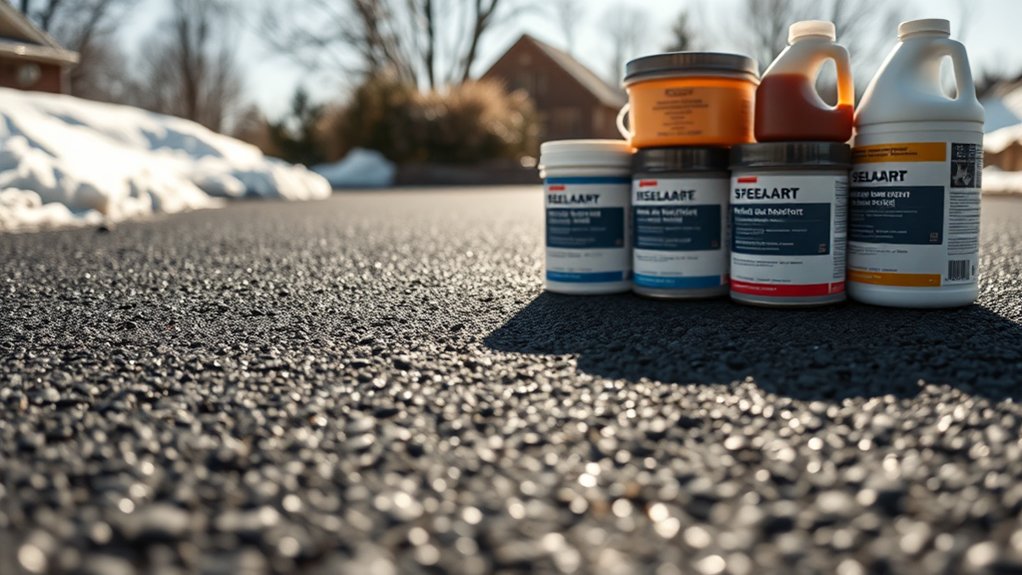
When you opt for a high-quality driveway sealer, you’re ensuring long-lasting protection and a better appearance for your driveway. Premium sealers, such as oil-based or acrylic-resin options, penetrate the asphalt deeply, improving adhesion and revitalising aged surfaces. They’re highly durable, resisting cracking and wear, while offering a glossy finish that enhances your driveway’s look. These sealers often contain polymer additives, which boost flexibility and waterproofing, reducing the chance of peeling and ensuring your driveway can withstand harsh weather. Investing in a quality sealer is essential for prolonging driveway life, ultimately saving you time and money on maintenance and repairs. Additionally, selecting a sealer with excellent weather and chemical resistance can further enhance its protective capabilities.
By investing in a quality sealer, you’re not only enhancing the appearance of your driveway but also extending the lifespan of the sealant, ultimately saving you time and money on maintenance and repairs. Choose wisely for a robust and attractive driveway.
Proper Surface Preparation
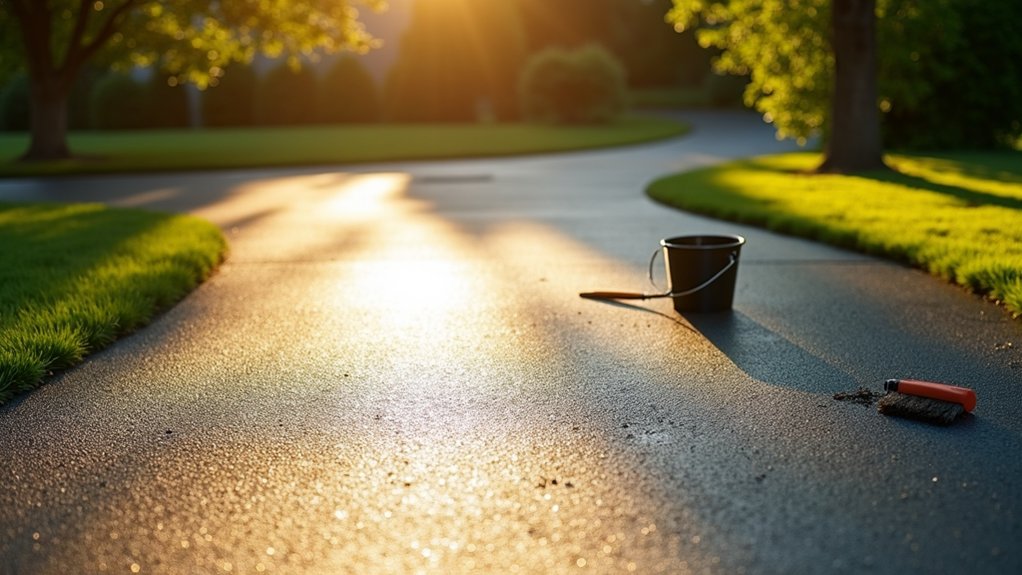
Proper surface preparation is crucial for ensuring your driveway sealer adheres well and lasts longer. Begin by cleaning the surface thoroughly with a gas-powered blower and pressure washer to remove dirt, debris, and oil stains. This provides a clean base for the sealer.
Next, check for cracks and potholes, using high-quality fillers specifically for asphalt or concrete to repair them. Make sure to allow these repairs to dry completely before applying the sealer. Regular maintenance practices can help identify issues before they escalate.
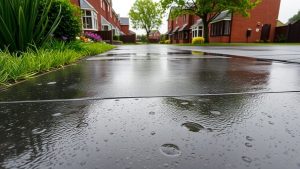
Don’t forget to clear away any weeds or vegetation growing through the cracks, and ensure the surface is dry before you start sealing.
A rough texture on the surface will help with adhesion, so scrub off any loose stones or deteriorated material. Following these steps can significantly improve the performance of your driveway’s seal coat. Additionally, proper preparation ensures maximum adhesion and enhances seal coat effectiveness, creating a strong protective layer against UV rays, moisture, and harsh chemicals.
Ideal Weather and Application Timing
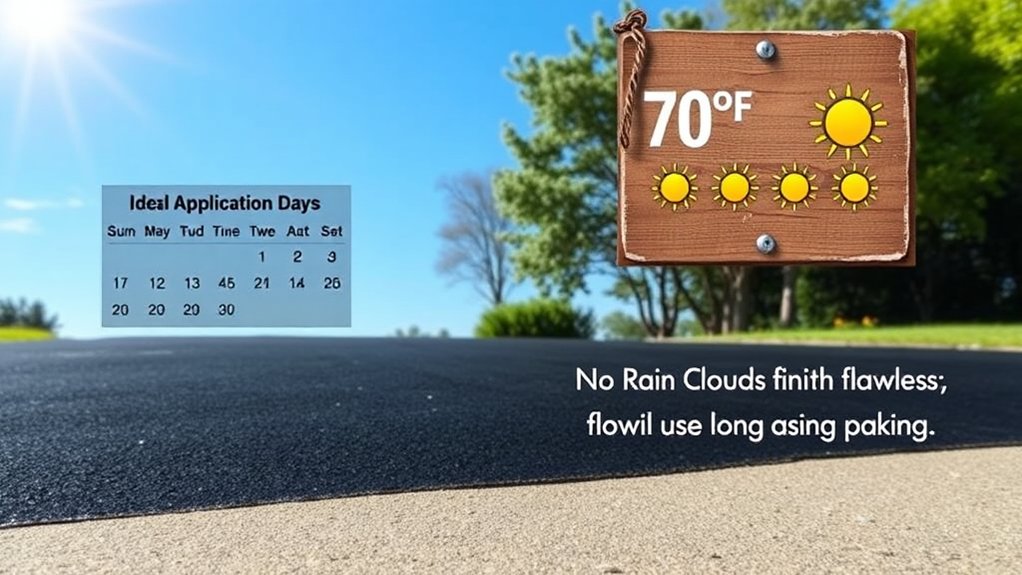
To ensure your driveway sealer adheres properly, aim for a temperature range of 13°C to 32°C during application. It’s best to tackle the job in the early morning when humidity is low and temperatures are on the rise, steering clear of the peak heat to avoid quick drying. Keep an eye on the weather forecast, as stable conditions without rain for at least 24-72 hours are crucial for proper curing. Additionally, ensure that air and surface temperature does not drop below 13°C for 24 hours post-application to prevent issues with adhesion.
Optimal Temperature Range
To get the best results with driveway sealer, it’s crucial to apply it within the ideal temperature range of 13°C to 32°C (55°F to 90°F). This is important because temperature significantly affects how the sealant cures.
For optimal adhesion, try to stick to a narrower range of 21°C to 29°C (70°F to 85°F). Applying sealant when it’s below 10°C (50°F) can cause the binder to harden too quickly, which can lead to poor adhesion and increased risk of peeling.
To avoid freezing, ensure that the surface temperature stays above 13°C (55°F) for at least 24 hours after application. A good strategy is to apply in the morning when temperatures are around 21°C (70°F) and expected to rise, as this improves curing conditions.
This helps the sealant dry properly and form a strong, durable film, ultimately prolonging its lifespan and effectiveness.
Low Humidity Conditions
When humidity levels fall below 60%, it’s an ideal time to apply driveway sealer. Low humidity speeds up drying, allowing moisture to evaporate quickly, which reduces drying times and enhances adhesion.
This results in a smoother finish with fewer imperfections and less risk of moisture trapping, which can cause peeling.
For the best results, apply thin coats and start early in the day to maximise drying time. Choose sealers specifically designed for dry conditions and keep an eye on the weather for favourable conditions.
Avoid common pitfalls like overlooking humidity effects or applying too much product, as these can undermine the sealant’s effectiveness.
Timing of Application
Timing your driveway sealer application is crucial for its effectiveness and durability. For optimal results, apply the sealer when both air and surface temperatures are between 13°C and 32°C.
Mornings around 21°C are ideal, ensuring the temperature doesn’t drop below 13°C for at least 24 to 48 hours afterwards. Avoid applying the sealer during wet weather or within 24 hours of rain, as moisture can impede the drying process.
The best time to seal your driveway is from spring to early autumn when temperatures are consistently warm. Keep an eye on the pavement temperature, as it may differ from the air temperature.
Following these guidelines will help you achieve a long-lasting seal.
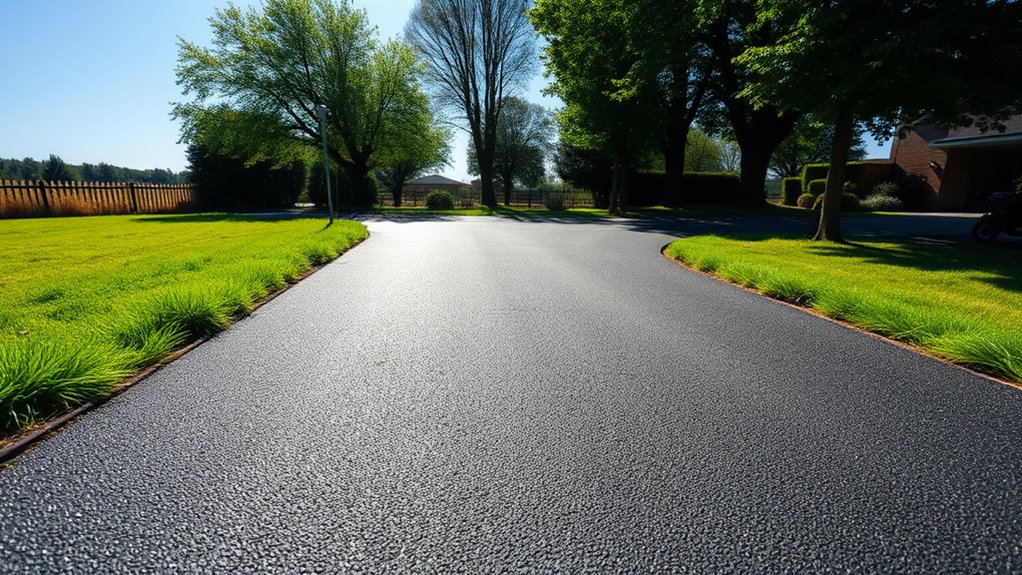
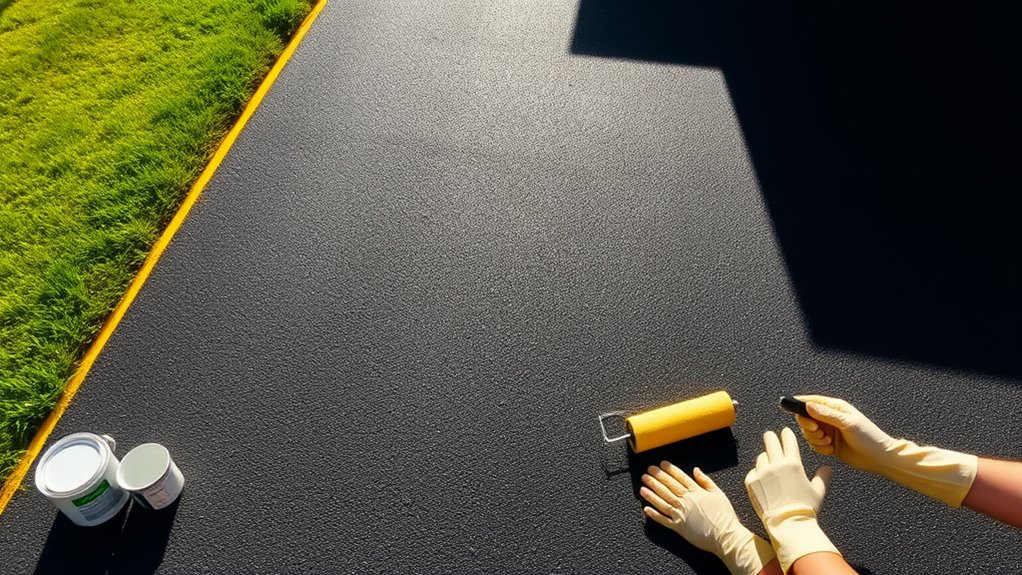
Application Techniques
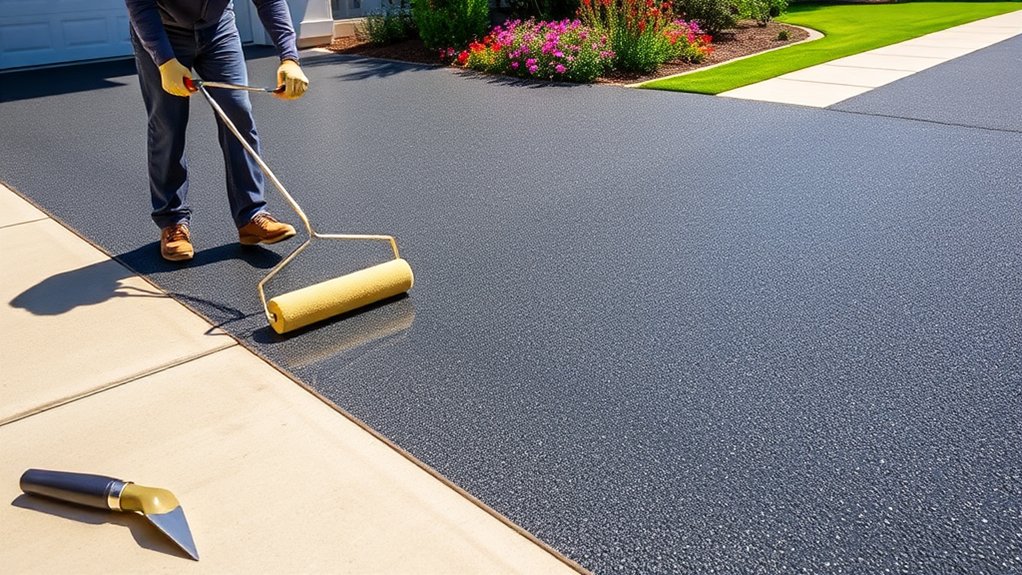
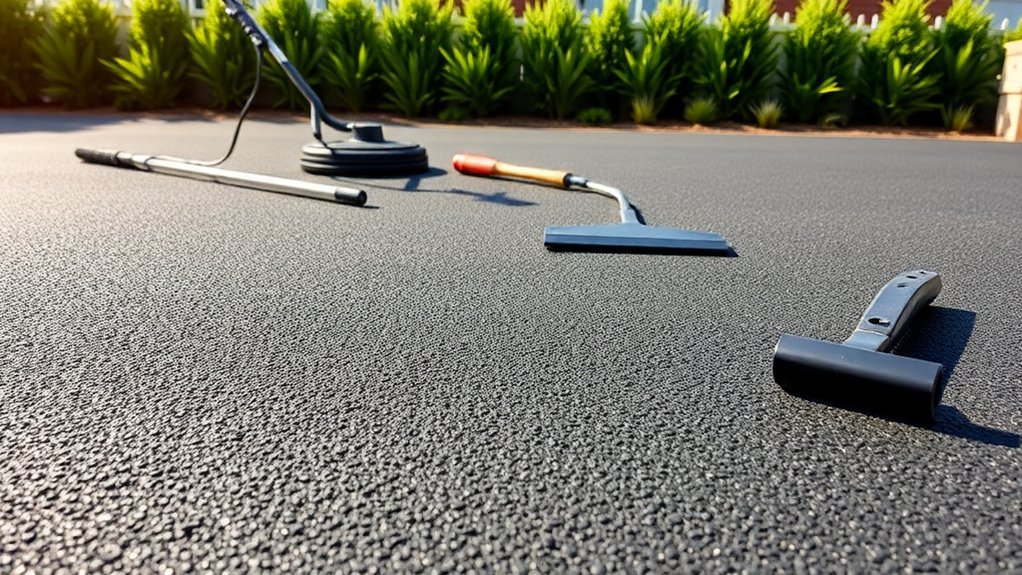
To effectively apply driveway sealer, first ensure the surface is well-prepared, as this is crucial for good adhesion and longevity.
Start at the highest point of the driveway and work your way down towards the road to avoid stepping on wet sealer.
Pour small amounts of sealant directly onto the driveway and use a long-handled roller for even application.
Apply the sealer in overlapping strokes, moving both parallel and perpendicular to fill in any cracks.
Use a soft-bristled brush to cut the edges for a neat finish.
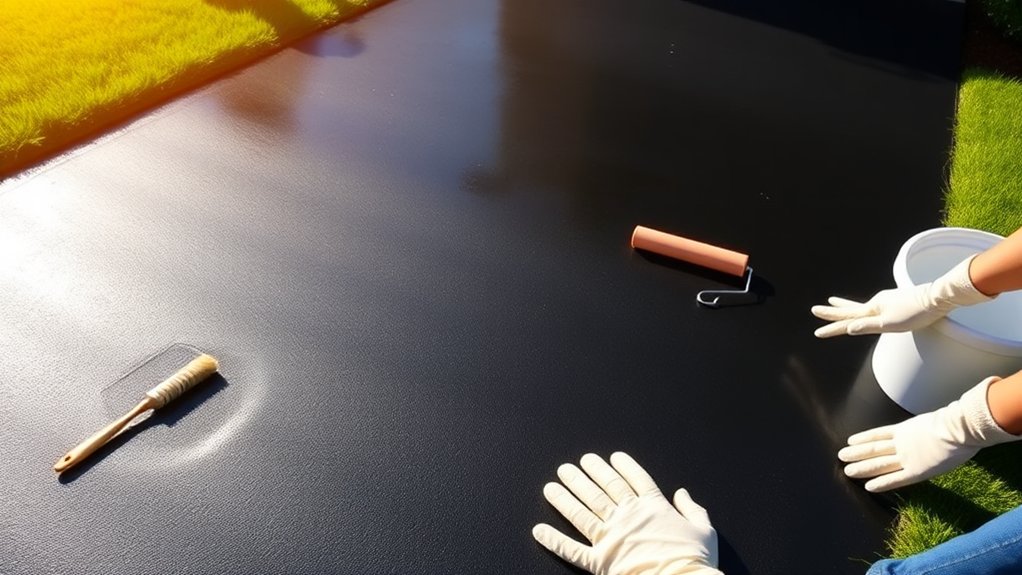
Remember, a thin layer is essential; allow it to dry completely before applying a second coat for added protection.
This method helps prevent peeling and flaking, ensuring a durable finish.
Regular Maintenance and Repairs
Proper application techniques lay the groundwork for a durable driveway, but regular maintenance and timely repairs are equally vital for safeguarding that investment. Taking preventative measures can help you avoid expensive repairs in the future. Here’s a straightforward guide to maintenance frequency:
| Task | Frequency | Notes |
|---|---|---|
| Inspect for damage | Monthly | Check for cracks or potholes |
| Clean surface | Every 3 months | Remove debris and stains |
| Reseal driveway | Every 2-3 years | Adjust based on wear and weather |
| Address traffic damage | As needed | Inspect after heavy use |
| Clear drainage systems | Twice a year | Prevent water from pooling |
Regular maintenance, including resealing resin driveways, can help enhance the longevity and aesthetics of your driveway.
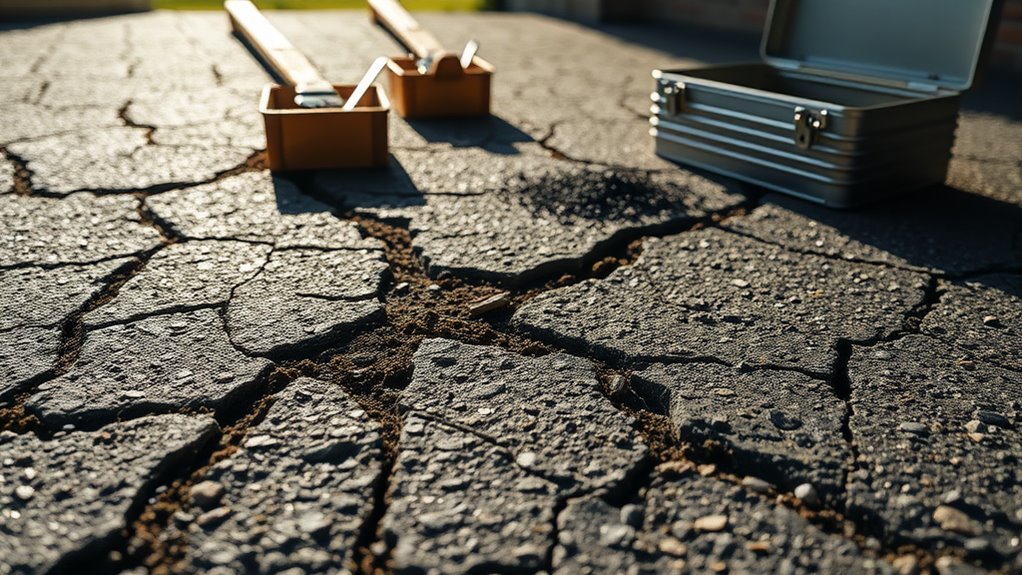
Avoid Common Causes of Peeling and Flaking
Applying driveway sealer can greatly extend the life of your pavement, but it’s important to avoid common mistakes that cause peeling and flaking.
Firstly, ensure the surface is clean and free from contaminants such as dirt, mould, and oil. A pressure washer can be very effective for this.
Avoid applying too much sealer at once; multiple layers can trap moisture, leading to peeling. Aim to seal your driveway approximately every two years, and only when you notice wear.
Use compatible sealers, as mixing different products can compromise adhesion.
Lastly, address any repairs needed on the driveway before sealing to ensure a stable surface, which is crucial for effective bonding and durability.
Choosing the Right Sealer for Your Climate
Choosing the right sealer for your climate is crucial for keeping your driveway in good shape. Here are some key points to consider:
- In cooler areas where freeze-thaw cycles are common, breathable silicone-based penetrating sealers are best to avoid moisture damage.
- For warmer, sunny regions, look for acrylic or polyurethane sealers with UV resistance to prevent fading.
- If you live in a damp climate, select sealers that repel water, but steer clear of non-breathable options to avoid trapping moisture.
- For asphalt driveways, eco-friendly asphalt emulsion sealers are a great choice, especially in residential areas.
Always check local regulations regarding coal tar products due to VOC restrictions.
Choosing a sealer that suits your local conditions will help prevent peeling and flaking, ensuring your driveway remains in top condition.
Importance of Professional Consultation
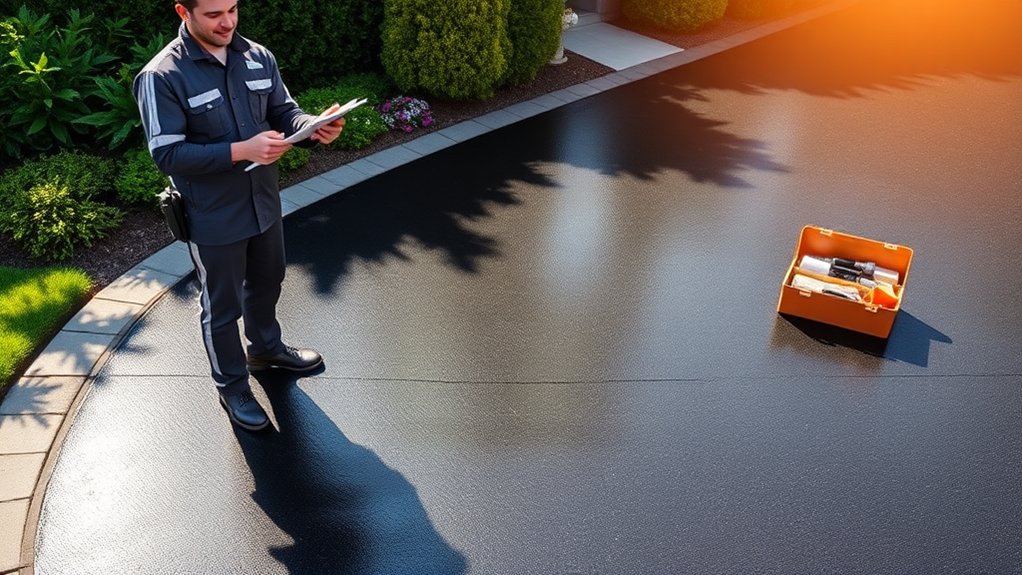
When it comes to sealing your driveway, seeking professional advice can be crucial.
Experts can suggest high-quality materials that are suited to your local climate and the specific condition of your surface, ensuring optimal protection. Their knowledge of application techniques can also help you steer clear of common issues like peeling or flaking, resulting in a durable and attractive driveway.
For instance, using the right sealant can prevent water damage during the winter months, saving you money on repairs down the line.
Expert Material Recommendations
Choosing a driveway sealer might seem simple, but consulting a professional can significantly improve your decision and application process. They can guide you through the various sealer types, taking into account their durability and environmental effects. Here’s a brief overview of common sealers:
| Sealer Type | Durability | Environmental Impact |
|---|---|---|
| Coal Tar | High | High VOCs; often banned |
| Asphalt Emulsion | Moderate | Moderate VOCs |
| Petroleum Resin | Moderate | Lower environmental concern |
| Latex Acrylic | High | Low VOCs; eco-friendly |
| Water-Based | Moderate | Low VOCs; easy to clean up |
A professional ensures compliance with local regulations and helps optimise your sealer choice for durability and effectiveness.
Tailored Application Strategies
Hiring a professional for tailored application strategies not only extends the life of your driveway sealer but also ensures that the specific conditions of your surface are taken into account.
A thorough site assessment allows experts to identify cracks, texture variations, and drainage issues, ensuring the right sealer is used. They’ll suggest preparation methods, such as power washing and crack filling, to create a smooth surface for the sealer.
During application, professionals employ the appropriate tools and techniques to apply even coats, preventing peeling. Timing is crucial; they’ll select the best weather conditions for application.
Their advice on post-application care, including curing times and regular checks, helps maintain your driveway’s integrity and avoid costly repairs in the future.
Frequently Asked Questions
How Do I Choose Between Coal Tar and Acrylic Sealers?
When deciding between coal tar and acrylic sealers, consider their durability and cost. Coal tar provides robust protection for high-traffic areas, making it ideal for driveways or commercial spaces. On the other hand, acrylic sealers excel in appearance and have a lower environmental impact but tend to be pricier. Choose coal tar for longevity and strength; opt for acrylic if looks and eco-friendliness are your priorities.
Can I Seal My Driveway Myself, or Should I Hire a Professional?
Imagine applying a new layer of sealer on your driveway. While sealing it yourself can save you money, hiring a professional brings advantages like enhanced durability and efficiency. This ensures a long-lasting finish without the worry of making mistakes. For instance, a pro will have the right tools and experience to achieve a smooth, even coat, which can be tricky for a novice.
What Is the Best Way to Remove Old Sealer?
To effectively remove old sealer, you can use mechanical methods for a thorough clean or opt for chemical products specifically designed for sealer removal. Following these driveway maintenance tips ensures you prepare the surface properly for new applications.
How Long Should I Wait to Drive on a Newly Sealed Driveway?
Picture a freshly sealed driveway shining in the sunlight. To ensure it cures properly, you should wait at least 24 hours, but ideally 48 to 72 hours before driving on it. This helps the sealant set effectively, preventing damage and ensuring a longer-lasting finish.
What Signs Indicate My Driveway Needs Resealing Sooner Than Expected?
If you see cracks in your driveway or notice water pooling on the surface, it’s a clear sign that you should consider resealing it sooner than you planned. These issues suggest that the sealant is compromised, leaving the asphalt vulnerable to damage from the elements.
Conclusion
To prevent your driveway sealer from peeling or flaking, it’s crucial to note that 90% of sealing failures are due to improper application or surface preparation. Use high-quality sealers and ensure surfaces are well-prepared before applying them in suitable weather conditions. Regular maintenance can help identify issues early, keeping your driveway in good shape. If you’re unsure, seeking advice from a professional can ensure your driveway gets the care it needs.
Maximize the durability of your tarmac driveway by understanding the ideal weather conditions for installation—discover the secrets to perfect timing Read more
Discover the common causes of tarmac driveway cracks and learn effective repair methods to protect your investment—your driveway deserves the Read more
Before you paint your tarmac driveway, discover essential tips and techniques that can transform its appearance and durability—don't miss out Read more