How to Seal a Driveway Step by Step (With Pro Tips)
To seal your driveway, begin by clearing away debris and ensuring there’s a clear access route. Wear safety gear such as sturdy boots, gloves, and goggles. Choose a sealant, like an asphalt emulsion for eco-friendliness, and prepare the surface properly. Apply the sealant using a sprayer or brush, making sure to use overlapping strokes for even coverage. After sealing, avoid any traffic on the driveway for 48 hours and maintain it regularly. Keep reading for more tips to achieve a flawless finish!
Key Takeaways
- Clear the driveway of any debris, vehicles, and pets to create a safe and tidy workspace before sealing.
- Choose the right type of sealant, taking into account its durability and environmental impact. Prepare the surface adequately for application.
- Wear safety gear such as sturdy boots, gloves, overalls, and masks to safeguard against chemicals and other hazards.
- Apply the sealant using appropriate tools, ensuring even coverage with overlapping strokes. Keep an eye on the weather conditions during application.
- Allow the sealer to cure for 48 hours. Afterwards, maintain your driveway by regularly cleaning it and checking for any cracks.
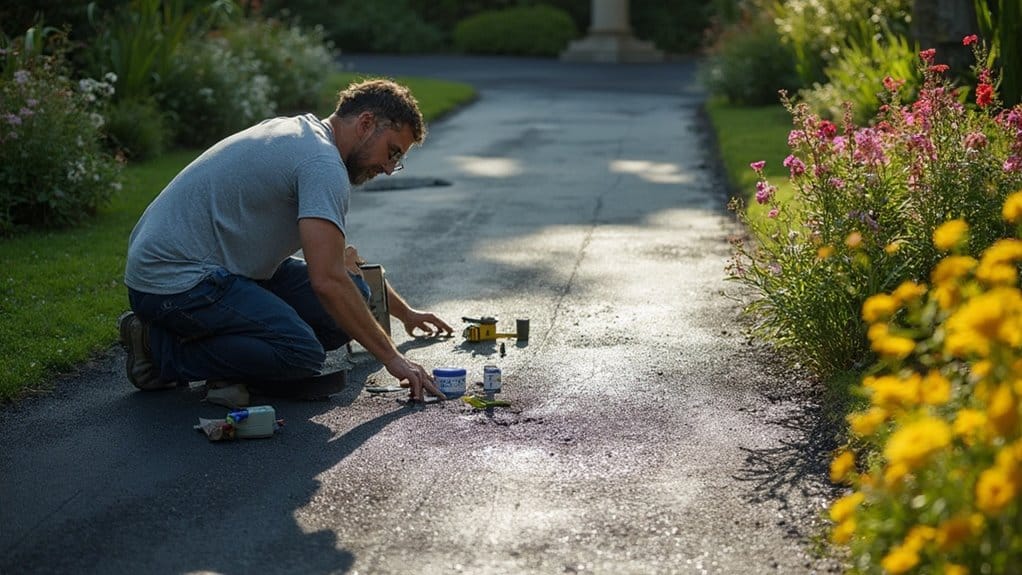
Preparation for Sealing Your Driveway
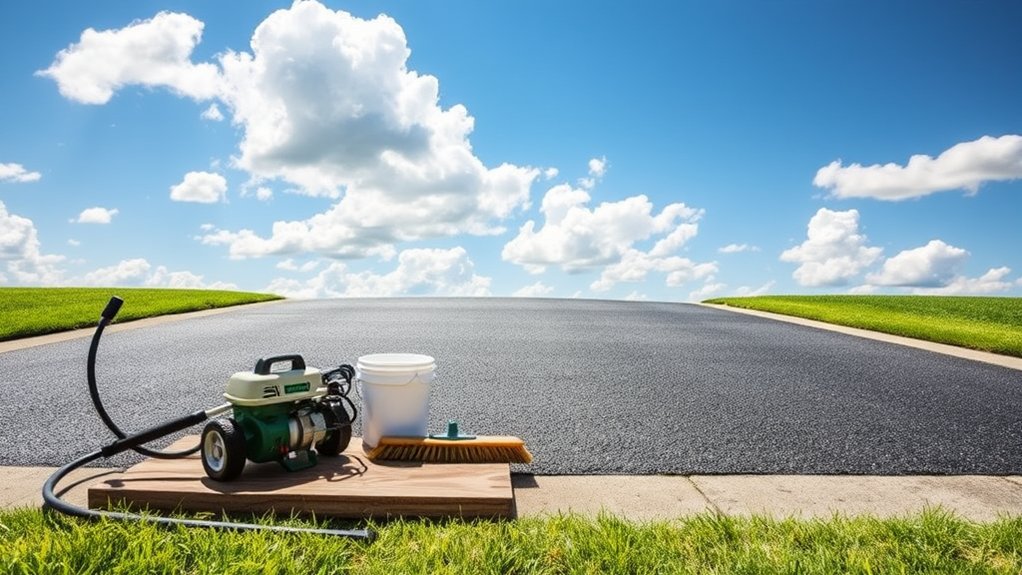
Before sealing your driveway, it’s crucial to prepare the area properly for the best results. Start by removing any debris—clear away loose stones, leaves, and other materials from the surface. Sealcoating preserves driveway surface by applying a protective layer that creates a barrier against damage. Don’t forget to move vehicles, bicycles, and other items to ensure you have clear access. Turn off your sprinklers at least a day prior to sealing to avoid any water interference. If you have pets or children, keep them well away from the area for their safety. Lastly, consider rescheduling any deliveries to prevent access issues while you work. Following these steps will help ensure a smooth sealing process and a driveway that looks great.
Essential Safety Precautions
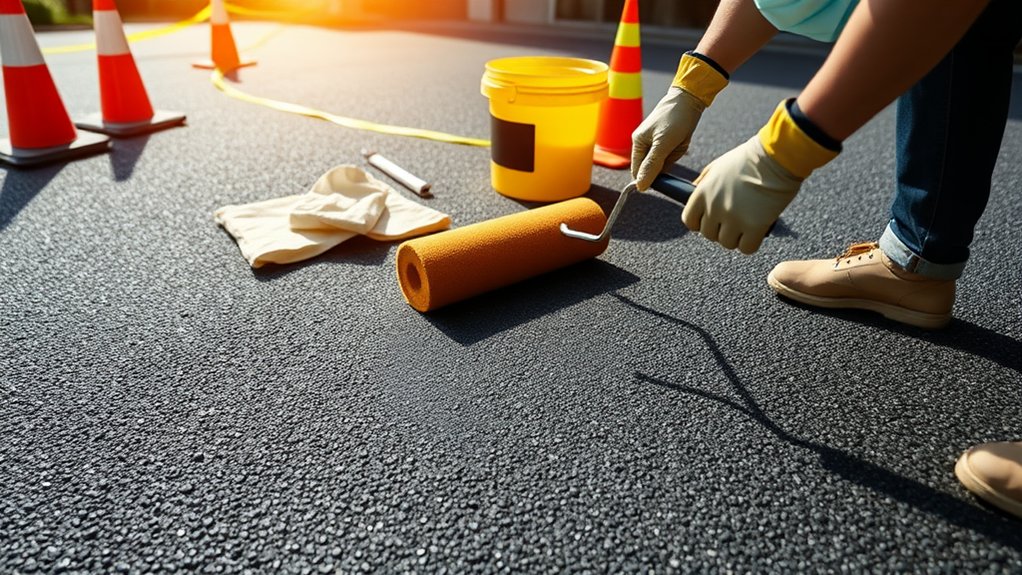
When sealing your driveway, safety is crucial to ensure a smooth and injury-free experience. Following PPE guidelines can significantly minimize the risks associated with chemical exposure. Here’s a quick list of essential safety gear:
| PPE Item | Purpose |
|---|---|
| Safety Boots | Protects feet from spills and slips |
| Coveralls | Shields skin from harmful chemicals |
| Gloves | Prevents chemical burns and irritation |
| Safety Glasses | Protects eyes from splashes and debris |
| Face Masks/Respirators | Prevents inhalation of toxic fumes |
Always ensure proper ventilation and secure the work area with barriers and warning signs. A safe workspace contributes to a successful sealing project. Regular sealcoating maintenance is essential to prevent asphalt from becoming brittle and eroded, further emphasizing the importance of safety during the process.
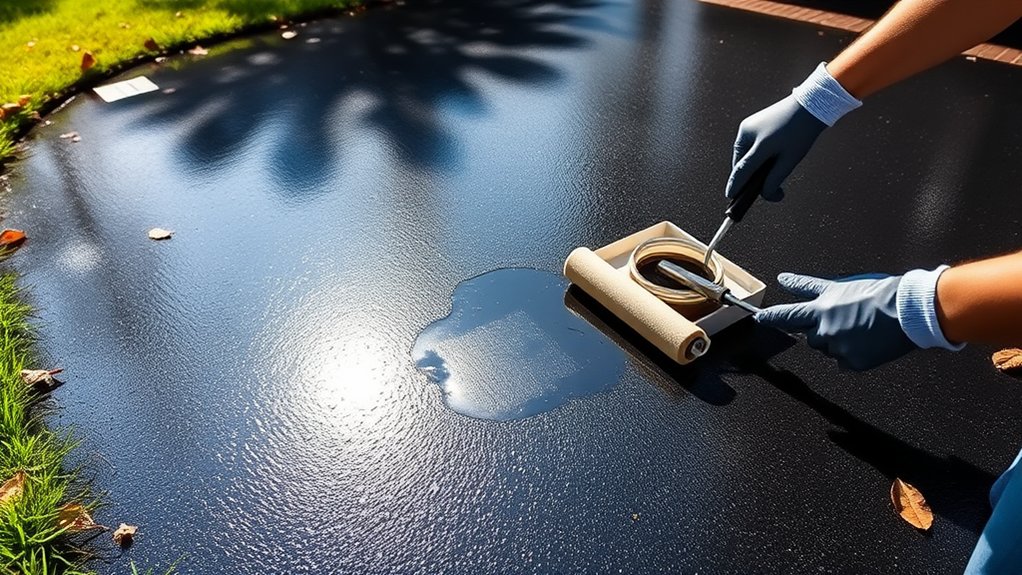
Selecting and Preparing the Sealant
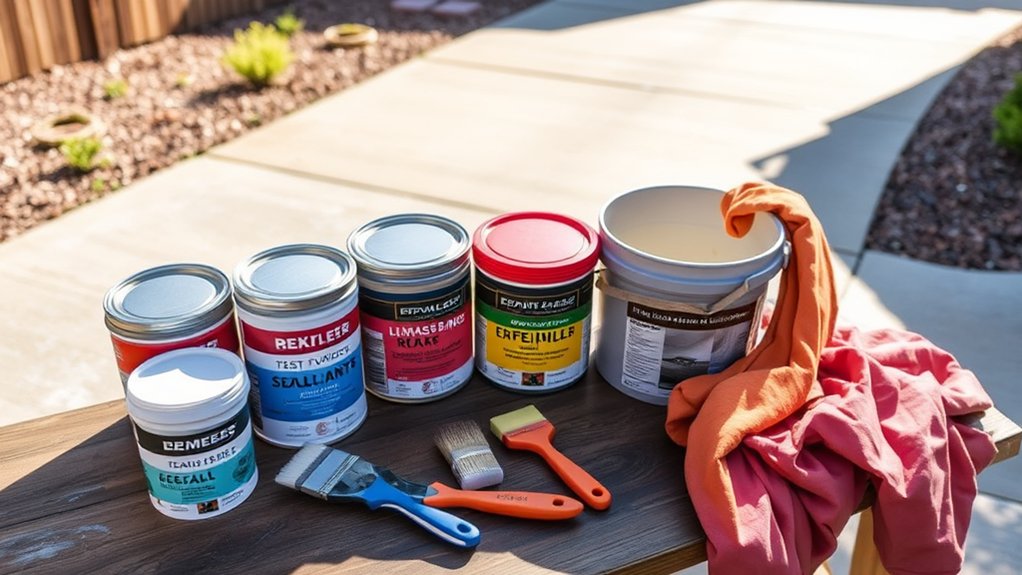
Choosing the right sealant for your driveway is crucial for both its appearance and long-lasting protection. There are several types to consider: coal tar, asphalt emulsion, and acrylic. Coal tar provides excellent chemical resistance but may release high levels of VOCs, which isn’t the most environmentally friendly option. Asphalt emulsion sealers are better for the environment but typically have a shorter lifespan, as they may only last a single season. Acrylic sealers offer durability and UV resistance, making them ideal for sunnier climates.
When selecting a sealant, be mindful of local environmental regulations. Ensure your driveway is clean and dry before application.
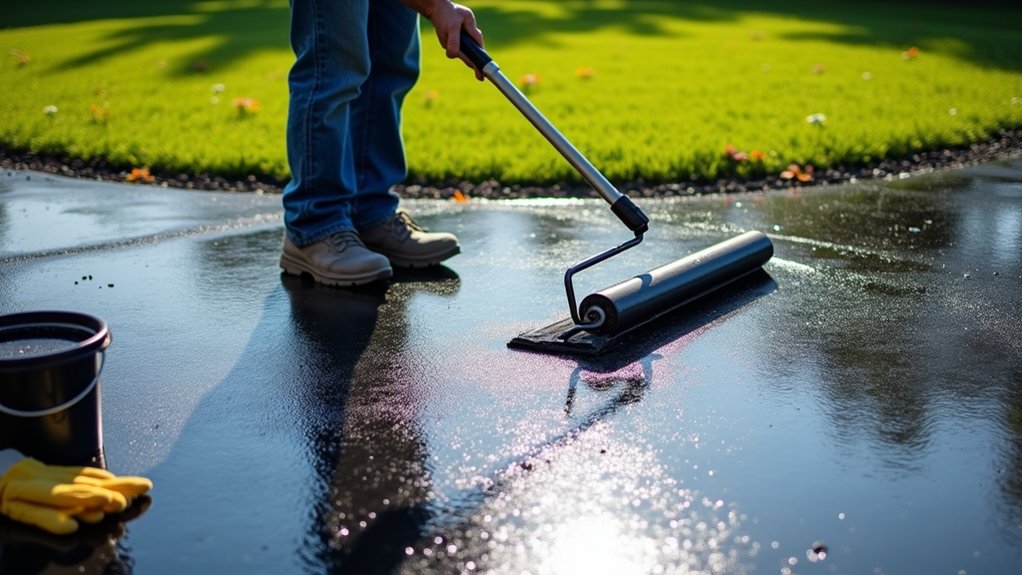
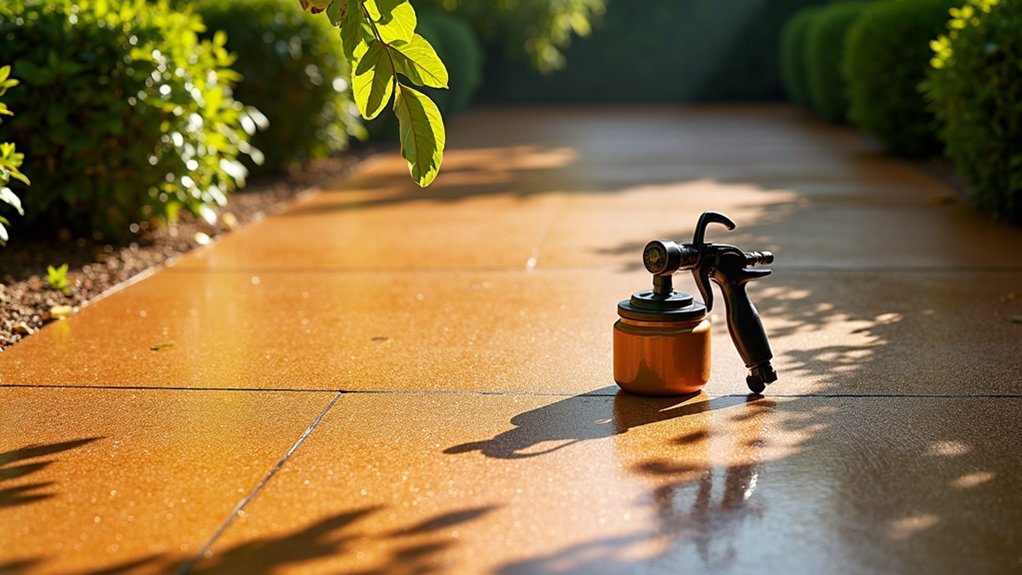
Application Techniques for Even Coverage
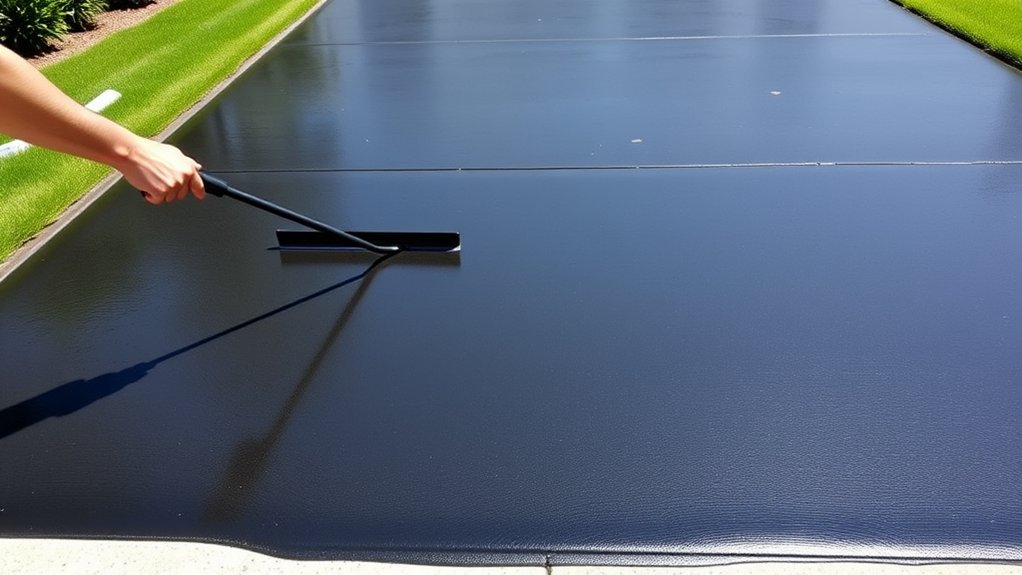
To achieve even coverage when sealing your driveway, it’s important to use the right application techniques.
Start by choosing suitable tools: sprayers are ideal for larger areas, ensuring a uniform finish, while brushes are better for edges.
Before applying the sealant, make sure the surface is clean and clear of debris. Divide the driveway into manageable sections for better control.
Use overlapping strokes to prevent gaps and ensure consistent thickness. If using a sprayer, maintain a steady pace for even distribution.
Be mindful of the weather—avoid applying the sealant when temperatures are below 10°C or during rain.
Following these steps will help you achieve a smooth, professional finish that lasts.
Post-Sealing Care and Maintenance
Sealing your driveway is crucial for its protection, but proper care and maintenance afterwards are just as vital for longevity. Regular inspections can help identify issues early, ensuring your sealant lasts longer. Here’s a straightforward care guide:
| Action | Frequency | Purpose |
|---|---|---|
| Avoid Traffic | First 48 hours | Allows the sealer to cure properly |
| Clean Driveway | Monthly | Prevents dirt and debris accumulation |
| Monitor for Cracks | Every two months | Enables early repairs to prevent further damage |
| Reapply Sealant | Every 2-3 years | Ensures ongoing protection |
| Inspect for Chemicals | Every three months | Protects against damage from spills |
Frequently Asked Questions
How Often Should I Seal My Driveway?
You should seal your driveway every 2 to 3 years for proper maintenance. Consider factors like local weather conditions and how much traffic your driveway sees, as these can affect how often you need to seal it for lasting protection.
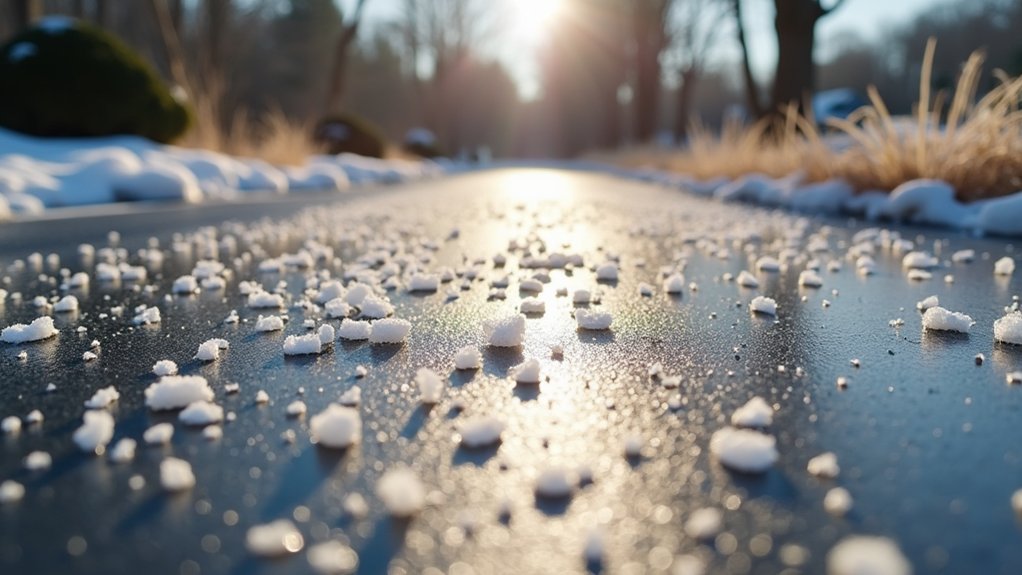
Can I Seal My Driveway in Cold Weather?
You shouldn’t seal your driveway in cold weather. Low temperatures can lead to adhesion problems and slow drying times. It’s best to wait for warmer conditions to ensure optimal results and avoid any potential issues.
What Types of Sealers Are Available?
When it comes to maintaining your driveway, you’ll find several types of sealers available, each with distinct benefits. Coal tar and asphalt emulsion sealers offer robust protection against the elements, while acrylic sealers can enhance your driveway’s appearance. These options not only improve durability but also help extend the lifespan of your driveway.
How Long Does Driveway Sealing Last?
Have you ever wondered how long your driveway sealant lasts? With proper maintenance, you can expect sealcoating to last between 2 to 5 years. This sealing helps protect against damage and can extend the overall lifespan of your driveway.
Can I Walk on My Driveway During Drying?
You can walk on your driveway while it’s drying, but it’s best to limit foot traffic to avoid damaging the surface. Ideally, wait at least 24 hours to ensure the sealcoat hardens properly, which will improve its durability and lifespan.
Conclusion
Sealing your driveway is more than just applying a protective layer; it’s like giving your home’s entrance a sturdy shield. This important task helps protect your investment from the effects of time and the elements. By following the steps to seal your driveway, you ensure it remains strong and welcoming for guests while withstanding the challenges of weather. Regular maintenance is key, so keep it looking smart and well-cared for.
Knowing whether your tarmac driveway needs sealing can save you money, but there's much more to consider before making a Read more
On a resin driveway, rock salt can be effective for ice management, but could it also cause unforeseen damage? Discover Read more
Knowing the right sealer for your resin driveway can keep it looking pristine—discover the top choices that will transform your Read more