What Are the Best YouTube Channels for Learning DIY Driveway Installation?

For DIY driveway installation, check out The DIY Fix for gravel grid techniques, ChrisFix for asphalt advice, and Mateo Stabio for easy paver installations. Each channel provides clear, step-by-step guidance, making your project straightforward. You’ll find practical tips that simplify the work, boosting your confidence to take on any driveway project. There’s plenty to explore to improve your DIY skills!
Key Takeaways
- SimonSaysDIY provides clear, step-by-step guidance for concrete and cement driveway projects, perfect for novices.
- DIY Network showcases various driveway installation methods, including asphalt and paving, complete with practical demonstrations.
- Home Repair Tutor offers in-depth tutorials on DIY driveway construction, covering budgeting and tool use for successful installations.
- This Old House delivers expert tips on driveway options, site preparation, and maintenance advice for durable results.
- YouTube’s DIY Driveway Channel features engaging time-lapse builds, making complex installations easier to understand and follow.
The DIY Fix: Mastering Gravel Grid Driveways

Installing a gravel grid driveway can significantly enhance your home’s appearance while providing durability and effective drainage. To tackle this DIY project, start by preparing the site thoroughly; clear away any vegetation and debris to create a stable foundation. Enhanced stability is crucial, as the BaseCore™ geocell system helps disperse weight evenly, preventing shifting and rut formation under heavy loads. Additionally, consider using dense grade gravel for the infill, as it provides a sturdy base for vehicles.
Excavation is essential; you’ll need to dig deep enough for both the gravel grid and a compacted base layer to support it. During installation, ensure the panels interlock correctly and are level, as this can be a common challenge. Opt for suitable infill materials, like crushed limestone, which promotes good drainage, and take care when filling the grid cells to prevent any displacement. Finally, compact the surface to improve stability and aesthetics, and pay attention to drainage to avoid water pooling. With a bit of effort, you’ll create a functional and attractive driveway.
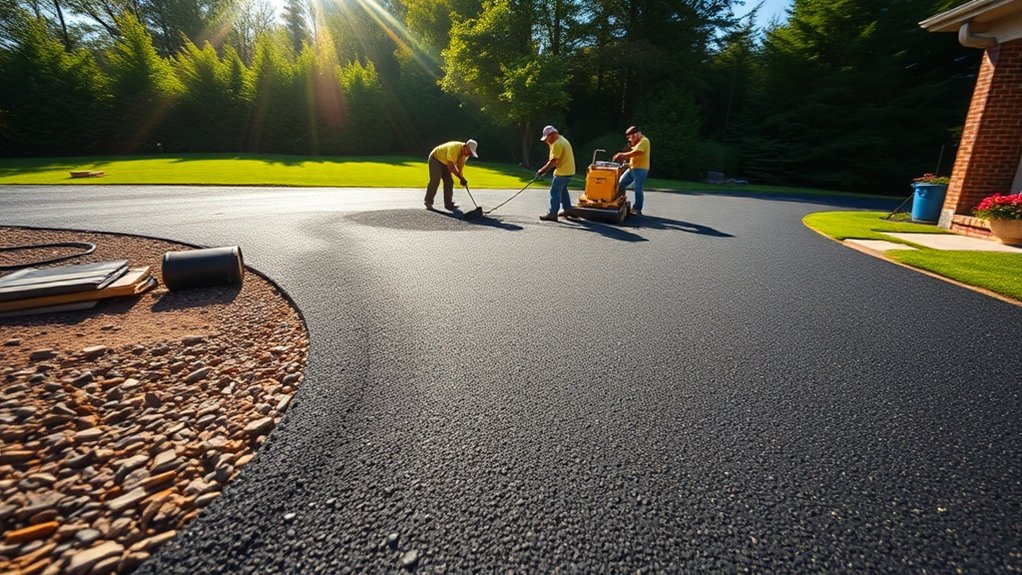
ChrisFix: Asphalt Installation and Replacement Expert
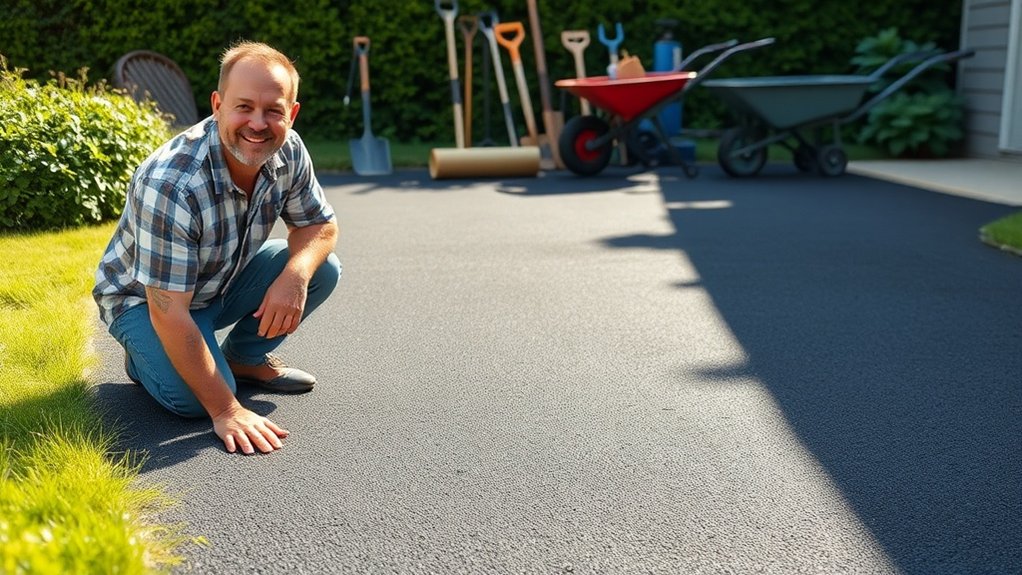
When you’re ready to undertake asphalt installation, ChrisFix provides a range of techniques, tools, and materials to assist you.
You’ll discover the importance of using a mechanical asphalt paver for a smooth finish and how to prepare your subgrade for optimal compaction.
With ChrisFix’s practical advice, you’ll feel confident in creating a durable and professional-looking driveway. Additionally, understanding that asphalt offers excellent grip on steep slopes can help you make informed decisions for your installation.
Asphalt Installation Techniques
To create a durable and well-graded asphalt driveway, it’s essential to follow proper installation techniques for a solid foundation.
Begin by removing the existing driveway and excavating to the appropriate depth. Lay 25 to 50 mm of Quarry Process stone for a stable sub-base, ensuring it’s graded to create a slight slope towards the road for effective drainage.
Use a skid steer for initial levelling, and conduct a “dry run” with the asphalt paver to check for consistency.
When applying fresh hot mix asphalt, aim for an even thickness and compact it immediately to avoid air pockets.
Regularly inspect the slope to prevent water pooling and ensure efficient runoff, which is crucial for lasting durability. Proper drainage assessment is key to preventing water pooling, ensuring your driveway remains in optimal condition over the years.
Tools and Materials Overview
Before starting your asphalt driveway project, it’s important to get acquainted with the necessary tools and materials that will ensure a successful installation. The right tools and materials can significantly impact the outcome of your project. Here’s a straightforward overview:
| Tools | Materials | Purpose |
|---|---|---|
| Squeegee | Hot mix asphalt | For spreading asphalt |
| Plate compactor | Gravel/crushed stone | For compaction and stability |
| Wheelbarrow | Geotextile fabric | For transporting and weed prevention |
| Shovels & pickaxes | Edging materials (bricks/pavers) | For site preparation and defining edges |
Don’t forget to wear safety gear like gloves and goggles for protection. Familiarising yourself with these essentials will help ensure a smooth installation process. Additionally, it’s crucial to grade the soil properly to create a level surface before laying asphalt.
Mateo Stabio: Paver Driveway Installations Simplified
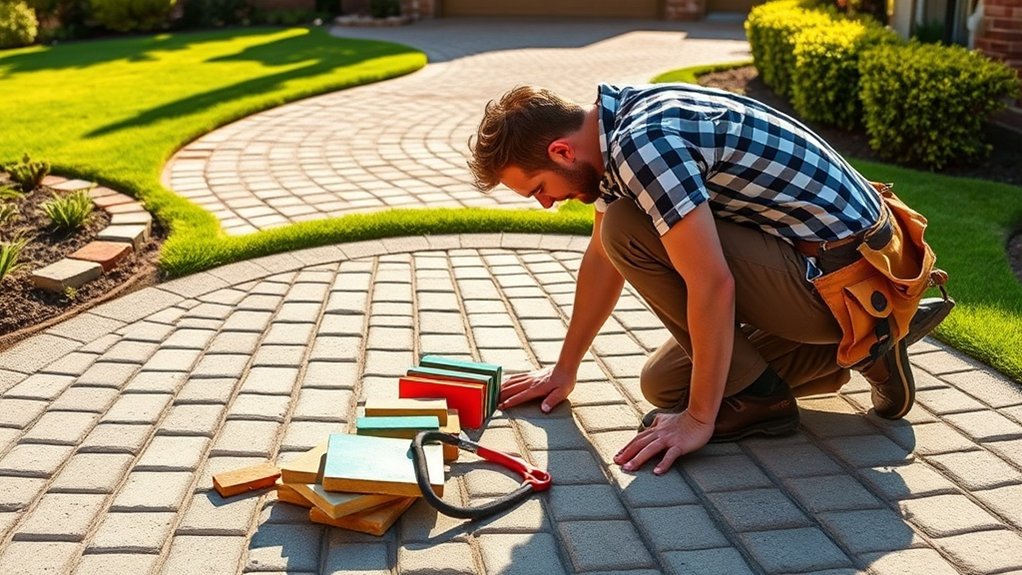
Mateo Stabio simplifies paver driveway installations, making it easy for DIY enthusiasts in the UK.
His channel provides practical insights on essential techniques and various design options.
Here are three key aspects you’ll learn:
- Site Preparation: Grasp the importance of proper excavation and base layer construction for a long-lasting driveway.
- Sand Bed Preparation: Learn about the right sand depth and screeding methods to achieve a level surface, ensuring your pavers fit perfectly.
- Paver Layout Techniques: Discover how to check for square corners and maintain alignment for a professional finish.
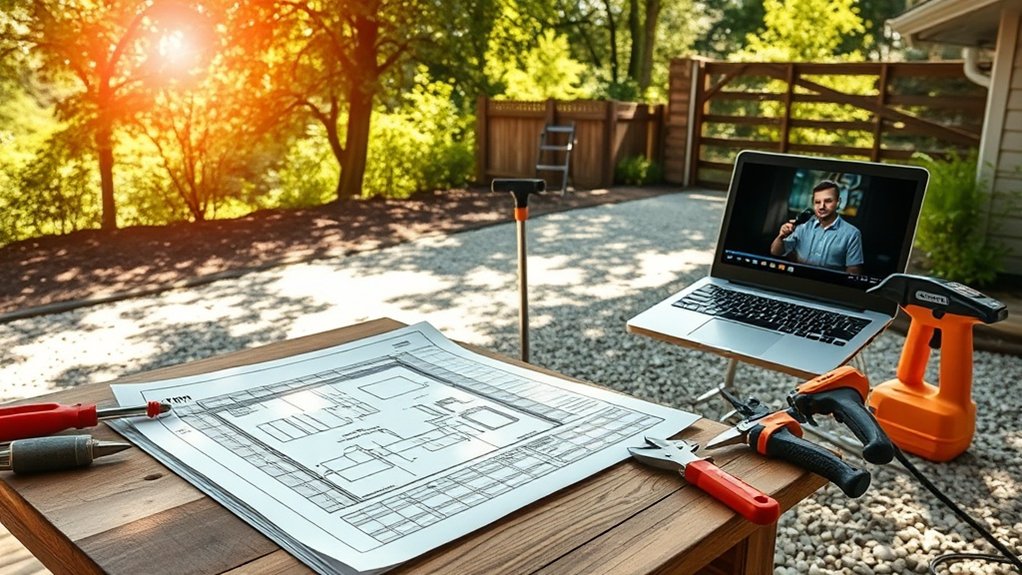
How to Build Your Own Home: Budget-Friendly Gravel Drives
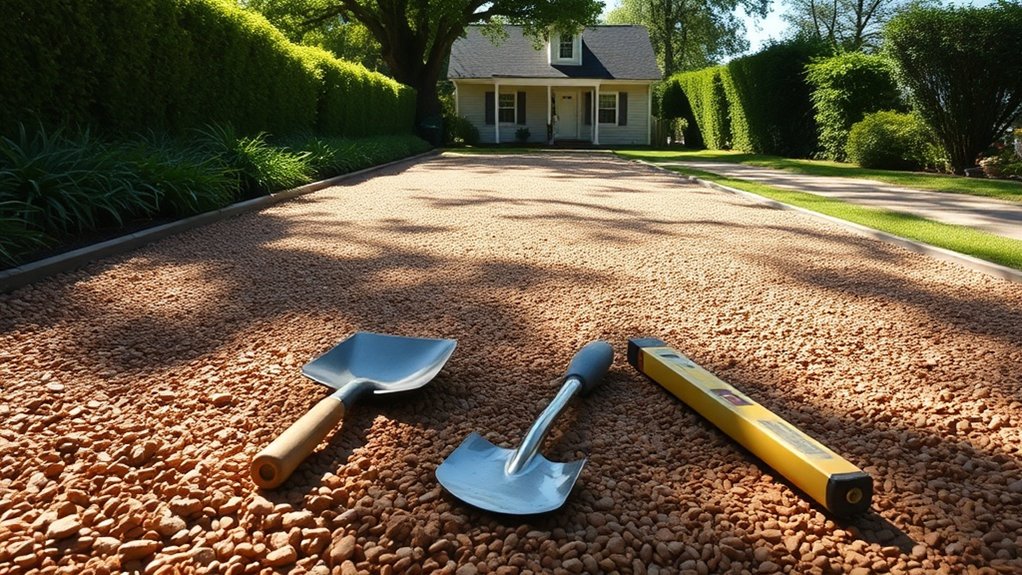
Building a budget-friendly gravel driveway begins with choosing affordable materials that suit your requirements without overspending. It’s essential to have a clear step-by-step installation guide to ensure you cover all aspects, from preparing the site to applying the right layering techniques. Additionally, having the necessary tools ready will streamline the process and improve efficiency. Before starting, make sure to mark out the path of the driveway to clearly define the area you will be working on.
Cost-Effective Material Choices
When creating a cost-effective gravel driveway, it’s important to consider budget-friendly material options. Here are three to consider:
- Crushed Stone: This affordable gravel type interlocks well, providing excellent stability, and is often readily available from local suppliers.
- Chip-Sealed Gravel: Costing between £2 and £5 per square foot, it requires less long-term maintenance than standard gravel.
- Road Base: A combination of rocks and fines, it typically costs around £25 per yard and offers solid compaction and durability.
These environmentally friendly options can help keep installation costs down while reducing your ecological footprint.
Step-by-Step Installation Guide
To create an affordable gravel driveway, follow these straightforward steps for a durable and functional result.
Start by preparing the site: excavate the area, removing any existing soil while checking for underground utilities. Aim for a depth of 100–300mm (4–12 inches), ensuring the ground is sloped for water drainage.
Next, lay a sub-base using Class 2 road base or crushed stone in 75–100mm (3–4 inches) layers, compacting each layer to achieve 95% density.
Place a heavy-duty weed membrane on top, followed by a middle layer of finer material, compacting thoroughly.
Finally, add a 50–100mm (2–4 inches) surface layer of fine gravel, shaping it to direct water runoff and ensuring good compaction for a smooth, lasting finish.
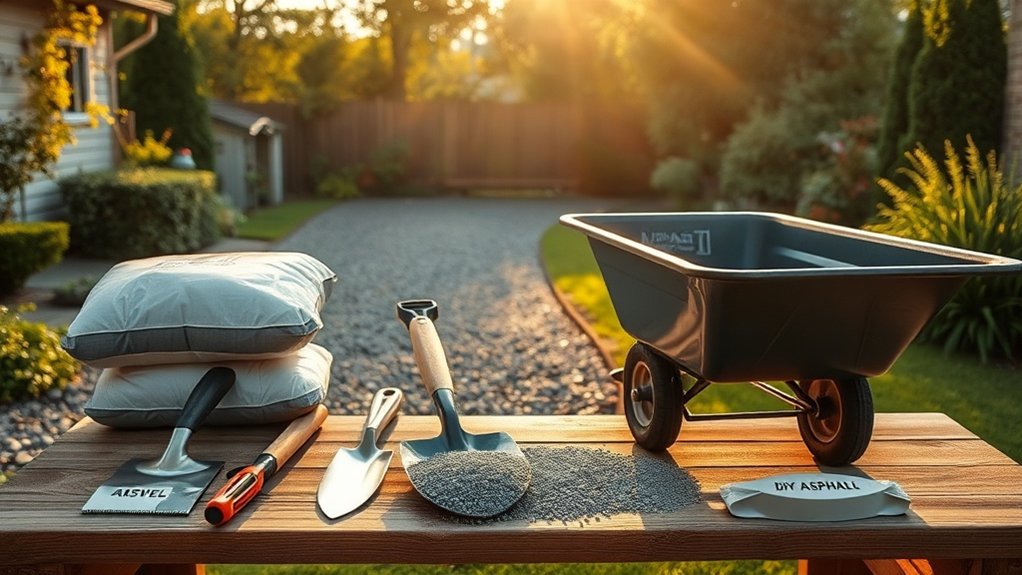
Essential Tools Needed
Essential Tools Needed
Before installing your gravel driveway, it’s important to gather the right tools for a smooth process. Here’s a list of essential tools to help you get started:
- Excavation and Ground Preparation Tools: Shovels, grade stakes, and measuring tapes are vital for marking out your boundaries and dimensions accurately.
- Base Layer Compaction Equipment: A plate compactor is key to ensuring the aggregate locks together properly, which helps prevent settling over time.
- Material Spreading Tools: Wheelbarrows and rakes are handy for efficiently transporting and spreading gravel evenly.
With these tools ready, you’ll be well-prepared for your DIY driveway project.
SimonSaysDIY: Concrete and Cement Driveway Projects
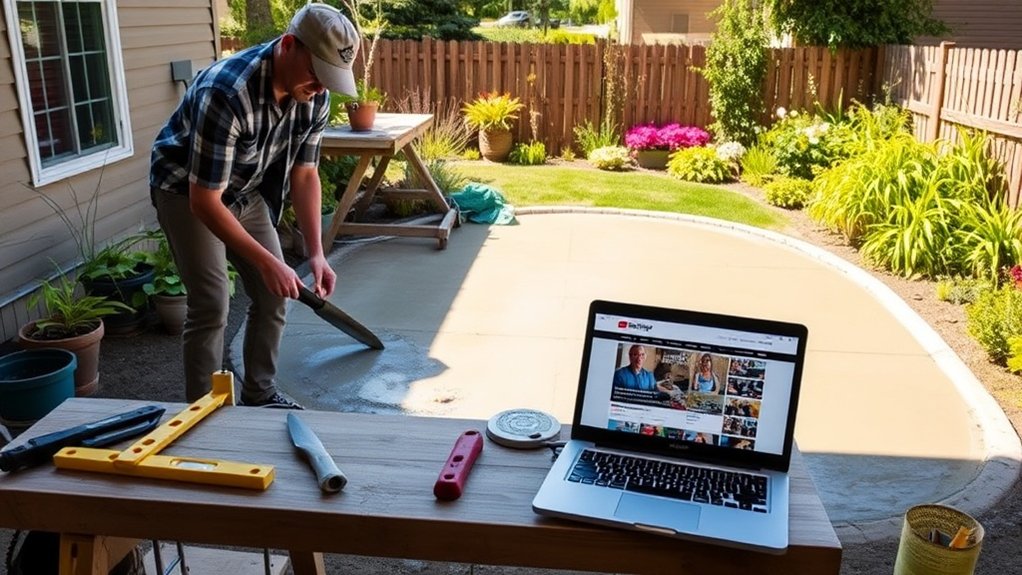
SimonSaysDIY is your top choice for tackling concrete and cement driveway projects. The channel provides clear, step-by-step instructions for pouring concrete and finishing slabs, making tasks easier to manage.
You’ll learn about building forms and levelling with 2x4s, as well as advanced techniques like rebar placement for extra strength. The videos also cover practical strategies for drainage planning and grading, ensuring your driveway functions effectively.
With real-life examples of both successes and challenges, you can benefit from demonstrations tailored to small and medium residential projects.
SimonSaysDIY equips you with the skills to complete your driveway project successfully, turning your DIY aspirations into reality.
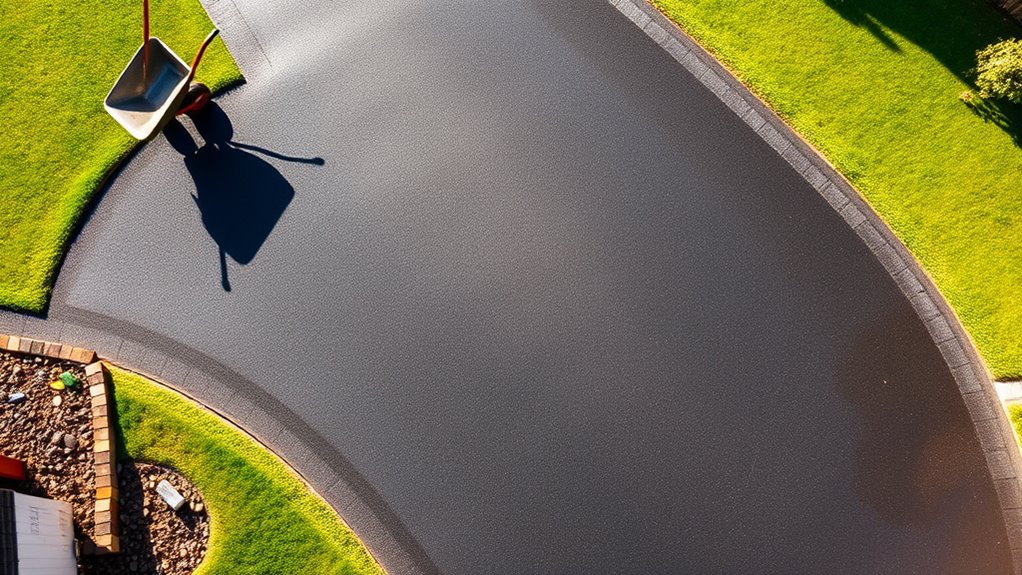
Time-Lapse Builds: Visualizing Your Driveway Transformation
Time-lapse builds provide a fascinating way to see your driveway transformation, compressing hours or even days of work into just a few minutes.
By using time-lapse techniques, you can’t only watch the entire process unfold but also gain valuable insights into how it’s done.
Here are three key benefits:
- Engaging Visual Learning: The quick-paced footage keeps you interested without the need for lengthy explanations.
- Comprehensive Overview: You can observe every stage, from demolition to sealing, all in one video.
- Material Comparisons: Many channels highlight different driveway options, such as concrete or block paving, helping you make informed choices.
These time-lapse videos simplify complex installations and can spark ideas for your own DIY driveway project!
Day-by-Day Project Logs: Detailed Installation Guides
When planning a DIY driveway installation, a day-by-day project log can be invaluable. These logs help you navigate each phase, helping you avoid common mistakes, particularly with drainage. Here’s a brief overview of what to expect:
| Day | Task |
|---|---|
| Day 1-2 | Demolition and site preparation |
| Day 3 | Grading and base layer installation |
| Day 4-5 | Laying and compacting asphalt |
| Day 6-7 | Installing pavers (if applicable) |
| Day 8+ | Curing and final inspections |
This clear roadmap ensures a smoother installation process.
Tool and Material Breakdown: What You Need for Success
For a successful DIY driveway installation, it’s essential to gather the right tools and materials beforehand. Here’s what you’ll need:
- Essential Tools: A plate compactor for stability, a circular saw with a diamond blade for accurate cuts, and a rubber mallet to adjust pavers without causing damage.
- Required Materials: Select the appropriate gravel sub-base and sharp sand to ensure proper drainage and a level surface.
- Safety Gear: Remember to wear gloves and safety glasses to protect yourself during the project.
Choosing the right materials and maintaining your tools will streamline the installation process, helping your driveway last for years.
Check your inventory before starting to avoid delays and complications.
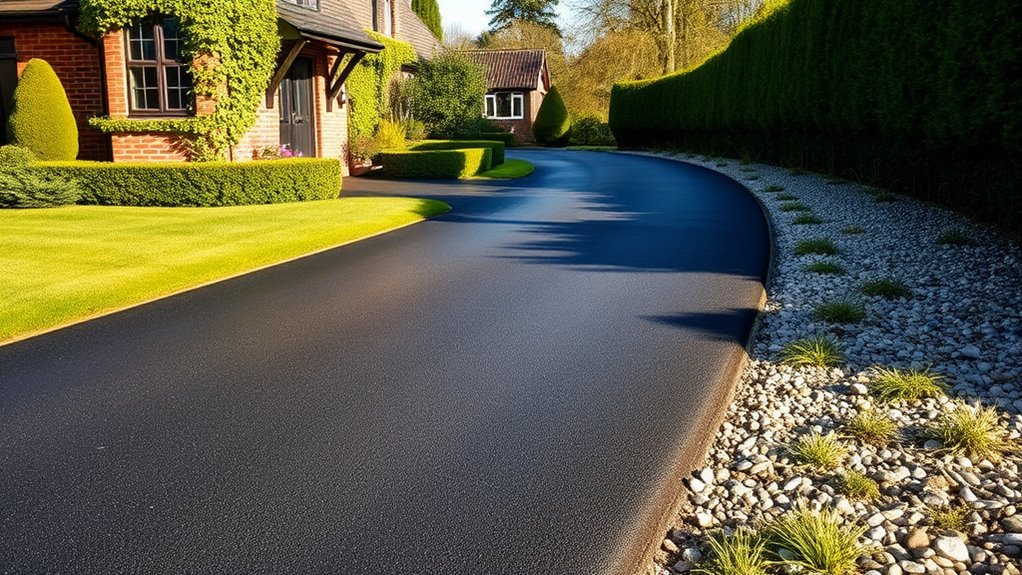
Before-and-After Comparisons: Seeing the Final Results
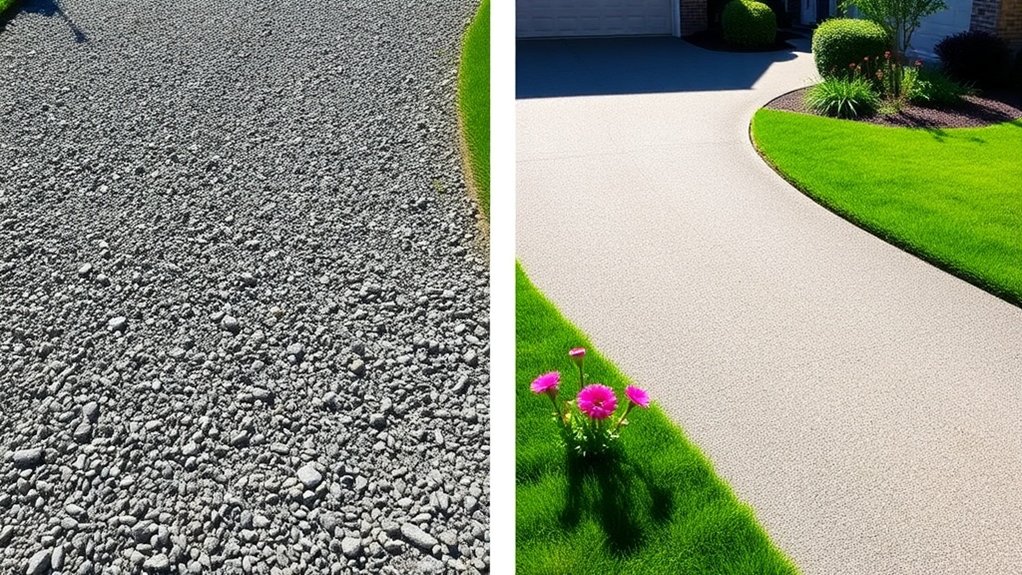
A great way to appreciate the impact of your DIY driveway project is through before-and-after comparisons.
These striking visual transformations clearly show the difference in driveway appearance. Time-lapse videos effectively capture the entire makeover process, highlighting the contrast between old, cracked surfaces and smooth, newly paved finishes.
You’ll notice how changes in shape and width improve both functionality and style. Side-by-side photos of materials like concrete and cobblestones reveal their unique textures and colours, showcasing their durability.
Moreover, you’ll see enhancements in drainage and overall curb appeal, especially when landscaping is integrated.
These visual stories not only motivate you but also boost your confidence to achieve similar transformations in your own project.
Viewer Engagement: Building a Community Around DIY Projects

To build a vibrant community around your DIY driveway projects, engage with viewers in the comments and on social media.
Invite questions and feedback to spark conversations, helping your audience feel appreciated and connected. This interaction not only builds trust but also creates a supportive network for sharing tips and experiences.
For example, if someone shares a challenge they’re facing, offer advice or encourage others to chime in with their own insights.
Active Comment Sections
How can engaging comment sections improve your DIY driveway installation experience? Active comment sections create a sense of community, offering valuable insights and encouragement.
Here are three main benefits:
- Immediate Feedback: You can get answers to your questions about installation steps, materials, and troubleshooting directly from fellow DIYers.
- Shared Experiences: Users often share their successes and challenges, providing practical tips based on real-life projects that can help you avoid common pitfalls.
- Supportive Community: By interacting with others, you can build connections that make navigating your driveway project easier.
Channels like This Old House and SavinABuck benefit greatly from these interactions, making their comment sections valuable resources for DIY enthusiasts.
Get involved to enhance your learning!
Social Media Groups
If you’re tackling a DIY driveway installation, joining social media groups can significantly enhance your experience.
These platforms allow you to connect with others who share the same interest. By engaging with these communities, you can swap tips, share your progress, and seek advice on any challenges you encounter.
Many groups offer useful resources, like tutorials and recommendations for tools, which can help save both time and money.
Interacting with others can also keep you motivated and committed to your DIY project. Plus, once you’ve completed your driveway, you can showcase your work and receive feedback and encouragement from fellow members.
Make the most of these groups to support your DIY journey and bring your driveway vision to life.
Frequently Asked Questions
How Long Does a Typical Driveway Installation Take?
A standard driveway installation usually takes around 10 days or more. This includes several days for preparation, such as excavation and base compaction. The overall timeline can vary depending on the materials used and the complexity of the project. For instance, a simple gravel driveway may be quicker to install than a block paving one.
What Weather Conditions Affect Driveway Installation?
Temperature significantly impacts driveway installation. Rain during the process can compromise the asphalt bond, resulting in problems later on. For optimal results, aim for dry weather and moderate temperatures. For instance, installing your driveway in temperatures between 10°C and 20°C is ideal.
Can I Install a Driveway Without Prior Experience?
Installing a driveway without prior experience can be daunting. However, with the right DIY tips and essential tools, you can achieve it. For instance, researching the materials—such as gravel, tarmac, or block paving—will help you make informed decisions. Be ready for challenges, and don’t hesitate to seek professional advice if you’re unsure about any step. It’s better to ask for help than to end up with a subpar driveway.
Are There Any Permits Required for Driveway Installation?
Yes, you will likely need permits for driveway installation. It’s important to check local regulations, as requirements can differ by area. For example, if you’re in a conservation area or planning to drop a kerb, additional permissions may be necessary. Always consult your local council to ensure compliance and avoid potential fines or delays.
What Maintenance Is Needed After Driveway Installation?
Consider your driveway as you would your skin; it requires proper care. Regular sealing every few years and timely crack repairs will help maintain its appearance and prevent expensive issues down the line. By being proactive, you can extend the life of your driveway significantly!
Conclusion
If you’re looking to tackle a DIY driveway project, these YouTube channels are just what you need. They’ll take you from the basics of gravel grids to the intricacies of stunning paver installations. You’ll learn from experts who have navigated the same challenges you might face. Each video provides practical skills and connects you with a community eager to share tips and successes. So, gather your tools, and let’s transform your driveway!
How can a tarmac driveway enhance your home's appeal? Discover the key aspects of cost, installation, and maintenance in our Read more
Wondering if a tarmac driveway is the perfect fit for your home? Uncover the essential pros and cons before making Read more

Choosing between a tarmac and resin driveway can be challenging; discover the key factors that could influence your decision.