Manchester Driveway Installation: What to Expect Timeline-Wise
When planning your driveway installation in Manchester, it’s important to understand the timeline involved. First, you’ll have an initial consultation, followed by securing any necessary permits and preparing the site. The installation itself usually takes between 5 to 10 days, depending on the materials you choose. For instance, if you opt for concrete, keep in mind it requires 28 days to cure fully. Be aware that weather conditions and site access can affect these timelines, so it’s wise to monitor forecasts and maintain communication with your contractor. By grasping these phases, you’ll be well-prepared for your project.
Key Takeaways
- The initial consultation usually takes 1-2 days to assess your needs, site conditions, and provide a cost estimate with timelines.
- Obtaining the necessary permits may take extra time, depending on local council regulations and checks on utility lines.
- Site preparation, which includes clearing and excavation, can vary but generally takes several days of active work before installation starts.
- Concrete installation typically lasts 5-7 days, with an additional 28 days needed for full curing. Asphalt installation takes 4-10 days and allows for light foot traffic sooner.
- Keep in mind that weather conditions can cause delays in both the installation and curing processes.
Initial Consultation and Planning Process
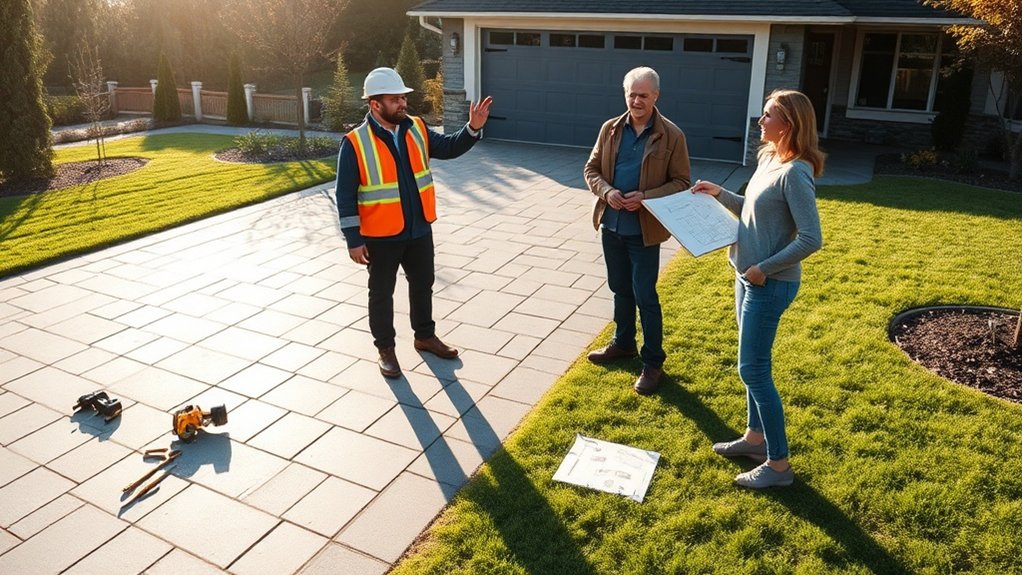
When you’re ready to install a driveway, the initial consultation and planning process is crucial for the success of your project.
During this meeting, you’ll discuss your specific requirements, preferences, and budget. We’ll assess the site conditions, including drainage and soil type, to identify any potential challenges. Professional installation guarantees high-quality results and longevity, which is vital for your driveway’s durability. Additionally, understanding the importance of sub-base preparation can prevent future issues related to your driveway’s integrity.
Accurate measurements will be taken to ensure there’s enough space for vehicles. You can expect an estimate within 1-2 days, detailing costs and timelines.
It’s also important to evaluate existing structures and vegetation during the site survey, as well as to identify any utility lines or obstacles. This preparation helps you make informed decisions, ensuring a smooth installation process.
Securing Permits and Approvals

Before starting your driveway project, it’s crucial to ensure compliance with local regulations. You’ll need to obtain the necessary permits for new concrete driveways to avoid any legal complications later on. Also, marking utility lines is important to prevent damage and ensure a smooth installation. For example, if you accidentally dig into a gas line, it could lead to serious issues. Take the time to check these aspects before you begin.
Compliance With Regulations
Understanding compliance with regulations is crucial for a successful driveway installation in the UK, as planning permissions can significantly affect your project timeline. It’s important to assess surface permeability; materials like gravel can often avoid permit requirements, whereas impermeable surfaces over 5 square metres will require planning permission. Here’s a straightforward reference table to help you navigate these rules:
| Surface Type | Permitting Requirement |
|---|---|
| Permeable Surfacing | No permit needed |
| Impermeable < 5 sq m | No permit needed |
| Impermeable > 5 sq m | Permit required if water drains to roads |
| Listed Buildings | Requires planning permission and consent |
Additionally, be aware that permitted development rights may have been removed for some properties, which could impact your installation process. It’s also advisable to check local council regulations to ensure compliance, as these rules can vary significantly based on geographical location.
Utility Marking Importance
To ensure your driveway installation runs smoothly, it’s essential to address more than just materials and permits.
A crucial step is utility marking, which safeguards against excavation hazards and prevents expensive damage.
Here’s what you should do:
- Call 811 to start the utility marking process.
- Use white paint or flags to clearly outline your intended excavation area.
- Confirm the markings with methods such as electromagnetic locating or Ground Penetrating Radar (GPR).
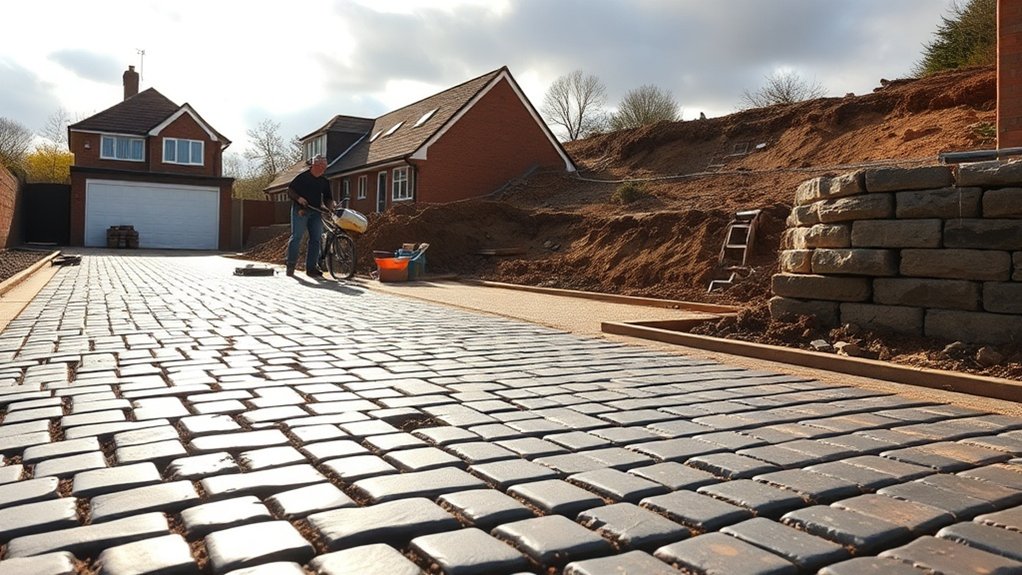
Site Preparation and Excavation Steps
Before beginning your driveway installation, it’s essential to clear the area of any existing pavement and vegetation. This site clearance prepares the ground for the excavation process, where you’ll dig to the necessary depth based on the type of driveway you’re installing. Following these steps is crucial for a stable and well-drained surface for your new driveway. Additionally, effective installation is vital to ensure the longevity and performance of your tarmac driveway, especially in sloped areas.
Site Clearing Process
The site clearing process is crucial for a successful driveway installation and involves a few key steps to prepare the area for excavation.
Start by removing any vegetation to ensure the site is ready for construction. This includes:
- Cutting down grass, shrubs, and small trees using tools like chainsaws or brush cutters.
- Removing or grinding stumps and roots to avoid future ground settling.
- Demolishing any existing surfaces and recycling materials where possible.
Once the area is cleared, it’s important to manage debris disposal properly.
Separate recyclable materials from general waste and take everything to approved disposal facilities. Following these steps will leave you with a clean slate, ready for the next phase of your driveway installation.
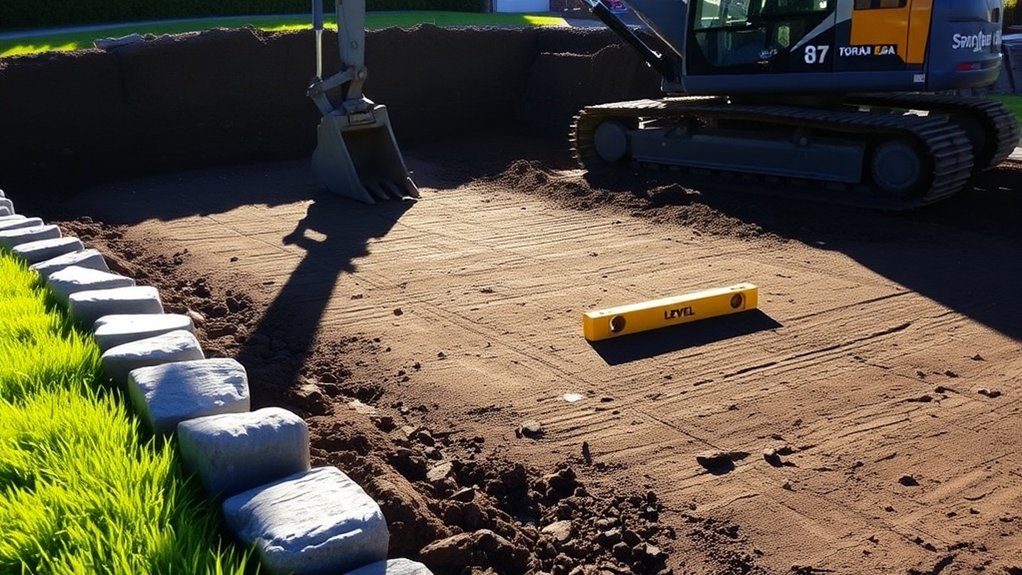
Excavation Depth Requirements
When planning your driveway installation, it’s crucial to understand the excavation depth requirements for durability and stability.
For gravel driveways, you should aim for an excavation depth of 10-15 cm (4-6 inches), while concrete driveways typically require 20-30 cm (8-12 inches). This distinction is important, especially when considering vehicle weight and soil types.
If your area has clay-heavy soil, you may need to excavate deeper to avoid structural issues. Using the right excavation equipment, like a digger for concrete, can help you achieve the correct depth efficiently.
For block paving driveways, expect to excavate 30-35 cm (12-14 inches) to accommodate the layers.
Don’t forget to consider local weather conditions, as these can affect your choice of base material and depth for optimal drainage and stability.
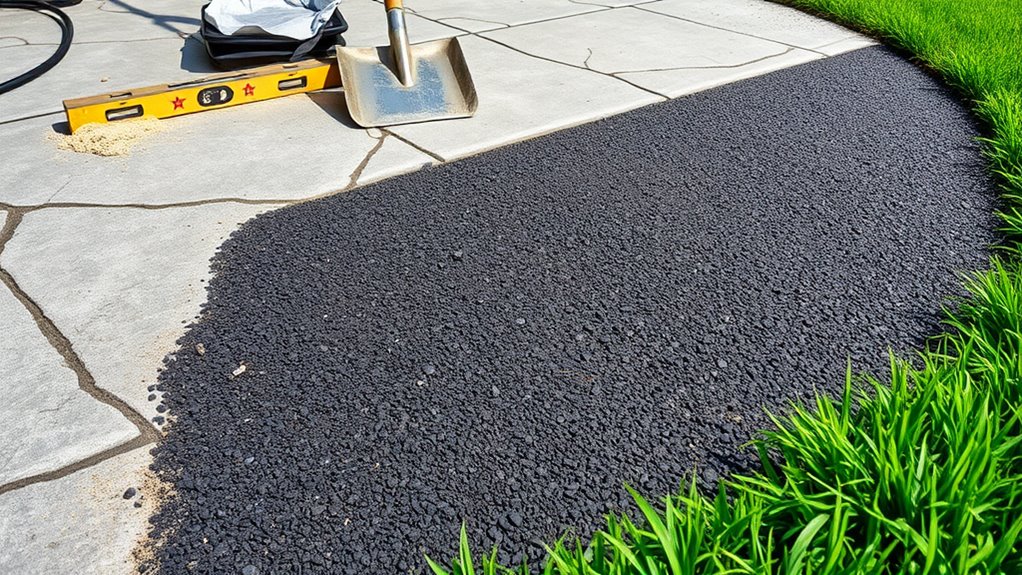
Material-Specific Installation Timelines
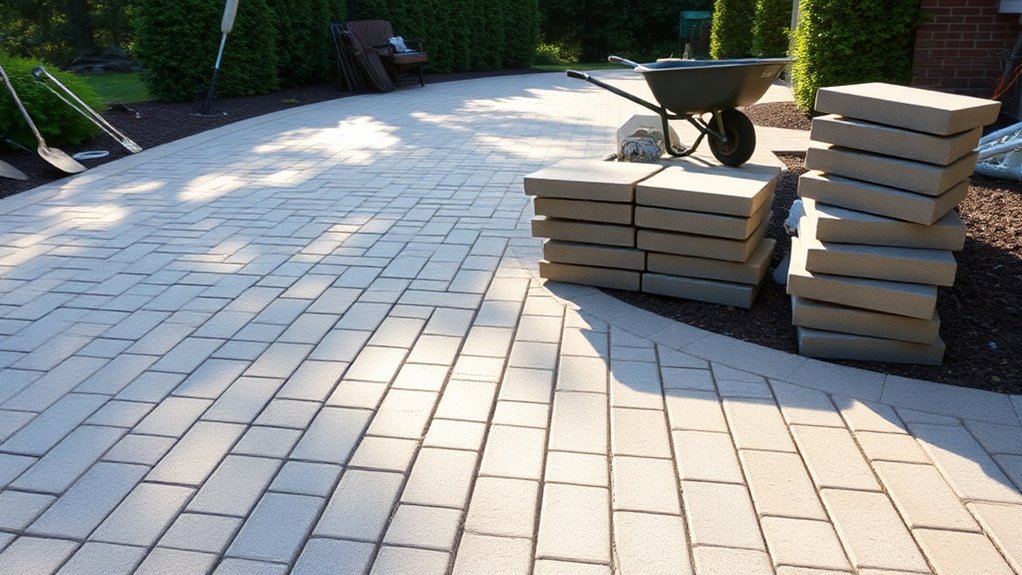
Understanding the installation timelines for different driveway materials can help you plan your project more efficiently. Here’s a quick overview:
- Concrete: Installation takes around 5-7 days. The first two days are for ground preparation, with pouring and finishing happening on days three to five.
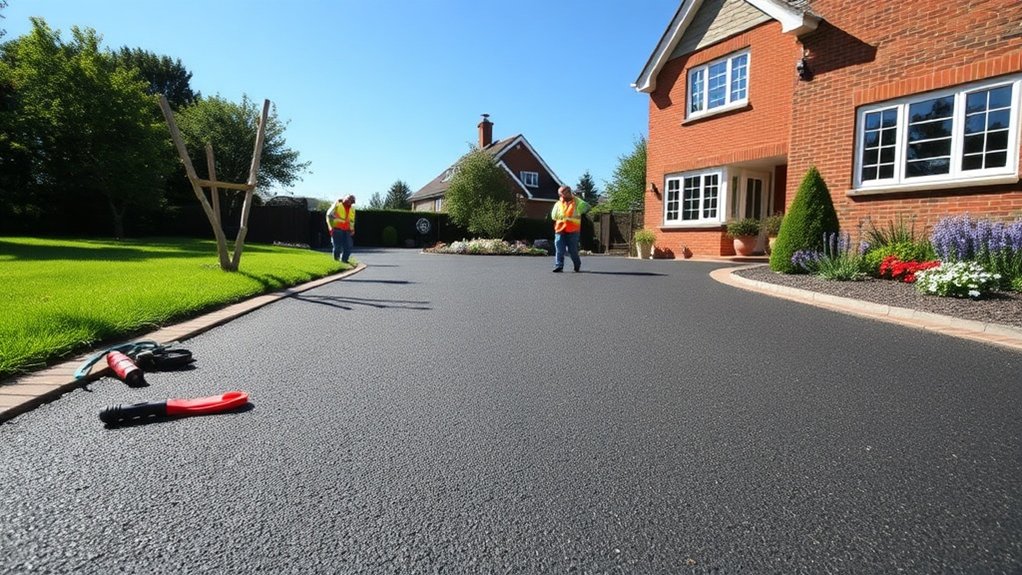
- Asphalt: The total replacement process spans 4-10 days, with active work taking place over just 2-4 days. You can usually drive on it after 3-7 days, making it quicker to use.
Both materials have their benefits. Concrete is known for its durability and longevity, while asphalt offers faster installation and immediate usability.
Choose based on your timeline and preferences for the best outcome!
Curing and Final Steps for Driveway Use
Curing your new driveway is essential for its durability and performance, so it’s important to adhere to the right timeline and guidelines.
For asphalt, the initial curing period lasts 24-48 hours, during which light foot traffic is acceptable. However, avoid heavy vehicles for the next 3-6 months, as full hardening can take up to 12 months.
If you’ve chosen concrete, you can walk on it after 24-48 hours but should wait 28 days for complete curing.
During this period, implement effective curing methods like water curing, and consider seal coating after 21-28 days for extra protection.
Regular maintenance, such as sweeping and cleaning, will help prolong your driveway’s life, keeping it in excellent condition for years to come.
Factors That May Affect Installation Timeline
Several factors can significantly affect the timeline for your driveway installation. Being aware of these can help you plan better.
Here are the main considerations:
- Weather conditions: Rain, extreme temperatures, and high humidity can delay the curing process and slow down installation.
- Size of the driveway: Larger driveways require more materials and labour, which can extend the timeline compared to standard sizes.
- Site preparation: Challenges such as existing driveways, soil conditions, or difficult access can complicate installation and prolong the overall process.
Frequently Asked Questions
How Can I Prepare My Property for Driveway Installation?
To prepare your property for driveway installation, start with a detailed site assessment. Remove any plants, debris, or obstacles, and ensure there are no underground utilities in the way. This will help ensure a smooth installation process and avoid delays. For instance, clearing away tree roots or old paving can save time later on.
What Types of Materials Are Best for Manchester’s Weather?
Imagine a robust asphalt driveway that can handle Manchester’s persistent rain, or a concrete path that stands strong against frost and storms. Both materials excel in durability, providing dependable surfaces that endure the city’s unpredictable weather, keeping your property in top condition.
Can I Drive on My New Driveway Immediately After Installation?
You cannot drive on your new driveway straight after installation. It requires time to cure properly. To protect the surface, wait at least 72 hours before allowing light vehicles on it. This helps prevent damage and ensures it lasts longer.
What Happens if It Rains During Installation?
If it rains during installation, be prepared for delays. Rain can interfere with curing processes and weaken materials, making installation more difficult. Checking weather forecasts in advance can help you plan accordingly and reduce disruptions, ensuring a smoother installation experience.
Are There Any Warranties or Guarantees on Driveway Work?
Picture a smooth, flawless driveway underfoot. You can expect warranty details that provide coverage for up to 10 years on concrete. There are also guarantee options for repairs, ensuring your investment is safeguarded against defects and wear over time.
Conclusion
Installing a driveway is a process that requires time and attention. Understanding the timeline—from the initial consultation to the final curing stage—will help set your expectations. Keep in mind that external factors, like unpredictable weather, can cause delays. However, with proper planning, your driveway will soon be a strong and attractive addition to your home. Embrace the process, and before you know it, you’ll be enjoying a driveway that boosts your property’s appeal.
How can a tarmac driveway enhance your home's appeal? Discover the key aspects of cost, installation, and maintenance in our Read more
Not sure if you can lay tarmac over your existing driveway? Discover the crucial steps and benefits you need to Read more
Not sure how long a tarmac driveway installation takes? Discover the essential steps and timelines that could surprise you.