Taking a DIY approach to driveway installation can save you 30-50% compared to hiring professionals. When you handle the job yourself, the costs for materials like gravel and tarmac can be significantly lower. You’ll also have control over design choices and can budget for any tools or equipment you might need to rent. Plus, you’ll pick up valuable skills along the way. If you want to maximise your savings and ensure a successful project, it’s worth looking into planning and materials in more detail.
Key Takeaways
How Much Can You Save With a DIY Driveway Installation?
- Opting for a DIY driveway can significantly cut labour costs, which often make up 30-50% of the total expense.
- Using materials like gravel can bring costs down to as low as £10 per square metre, compared to pricier alternatives.
- By avoiding professional fees, you gain flexibility in your budget and can choose materials and project timelines that suit you best.
- Taking on a DIY project also allows you to learn new skills, which can save you money on future repairs and increase your property’s value.
- It’s wise to set aside a contingency budget of 10-15% to cover any unexpected costs, helping you maximise your savings.
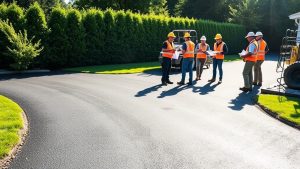
Understanding Land Preparation and Excavation Savings
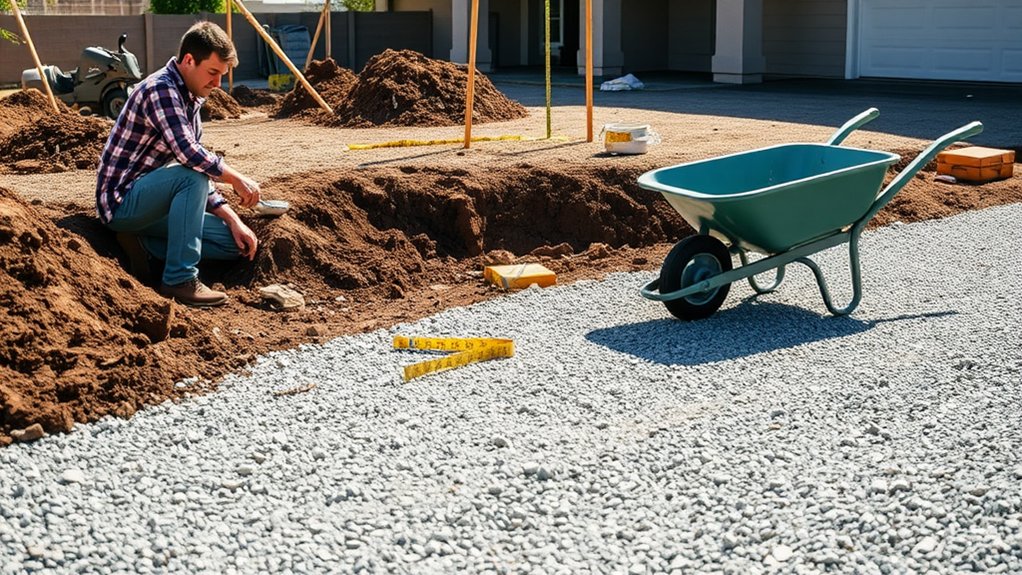
When planning your DIY driveway installation, it’s crucial to understand the potential savings on land preparation and excavation to manage costs effectively.
Land preparation typically ranges from £1 to £6 per square metre, depending on the depth and materials used. Excavation costs can vary significantly based on site conditions. For instance, grading for proper drainage usually adds £1 to £2 per square metre, while laying crushed stone or gravel may cost an additional £1 to £3 per square metre. If you choose to do this yourself, remember that hiring equipment like mini excavators can cost around £250 per day. Your level of experience will also impact how efficiently you work, which could affect your overall savings on the project. Investing in proper drainage solutions is essential, as it can prevent future repair costs and enhance the longevity of your gravel driveway.
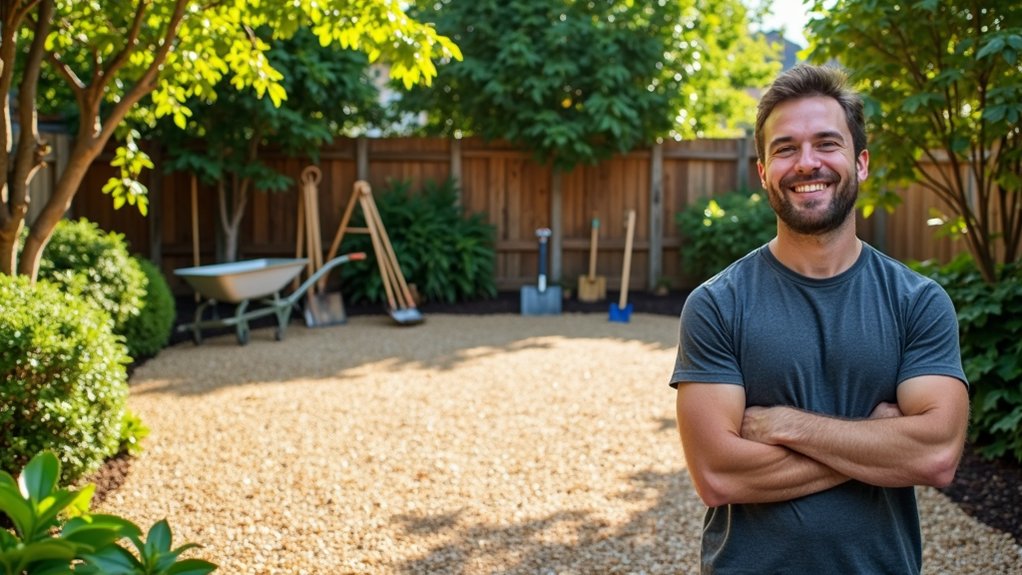
The Benefits of a DIY Installation Approach
Taking on a DIY driveway installation not only saves you money but also brings several personal and practical advantages. One major benefit is the satisfaction that comes from completing a project with your own hands. You can tailor your driveway’s design and materials to suit your vision exactly. Plus, you have full control over your budget, which helps you manage costs more effectively. The flexibility of a DIY approach allows you to work at your own pace, and it’s a great chance to learn new skills along the way. Additionally, by choosing cost-effective options, this project can improve your home’s curb appeal and boost your confidence for future home improvements. Proper base preparation is crucial for ensuring the durability and longevity of your driveway.
Selecting the Right Materials for Your Driveway
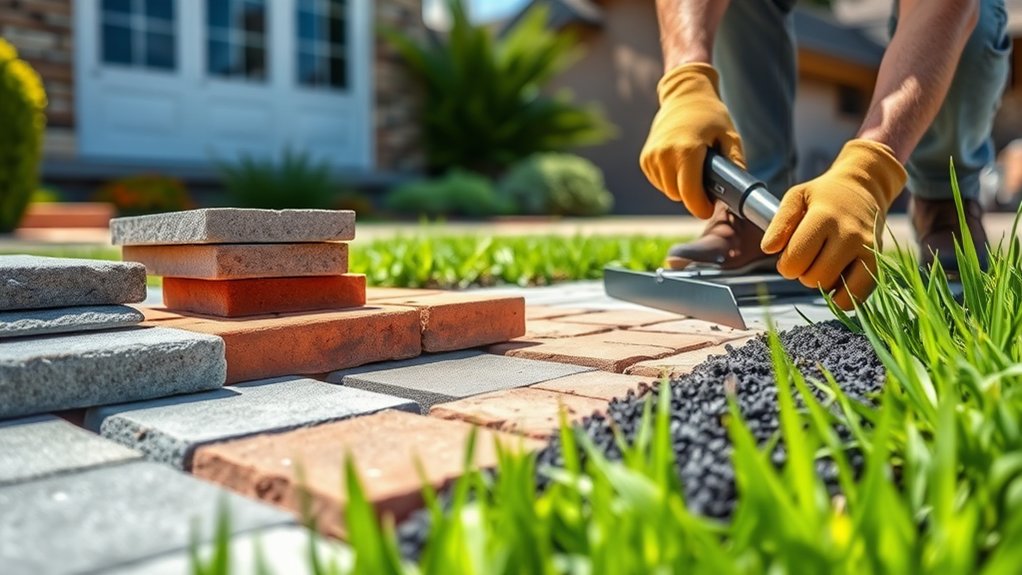
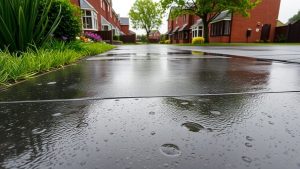
Completing your DIY driveway installation involves making key decisions about the materials you choose. Durability should be a top priority; materials like concrete and block paving can last for decades with the right care. Additionally, some materials like plain concrete are a durable and versatile option that can withstand varying weather conditions. For example, resin driveways can modernize home appearance while allowing for water drainage, which is essential for preventing puddles.
If you’re on a budget, options like gravel or tar and chip may be appealing, but remember they require more maintenance. Don’t overlook aesthetics; block paving offers a range of attractive patterns, while stamped concrete allows for personalisation. If environmental concerns are important to you, consider permeable paving, which facilitates water drainage and reduces surface runoff.
Weigh these factors carefully, as the right materials can improve both the lifespan and look of your driveway while staying within your budget.
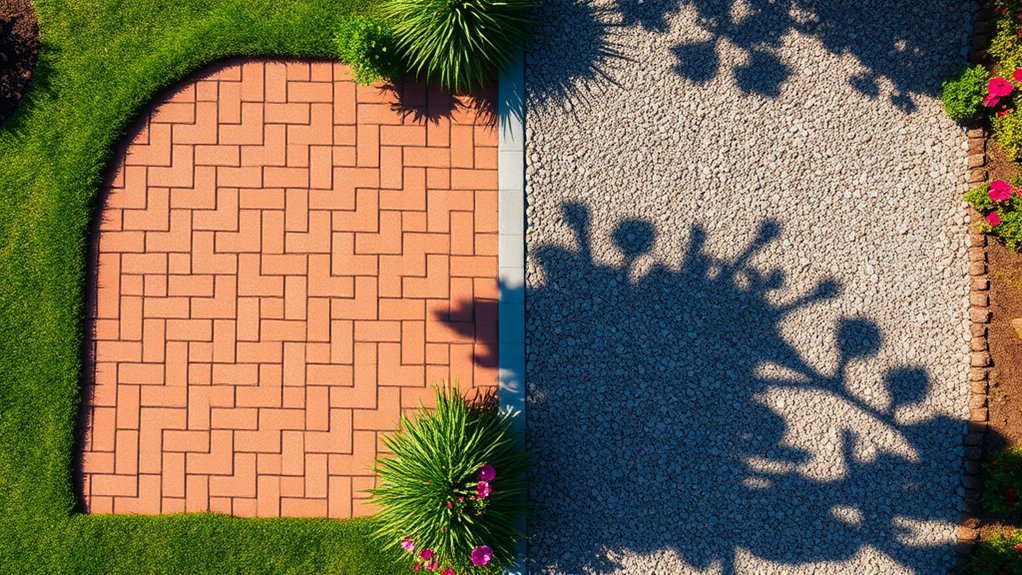
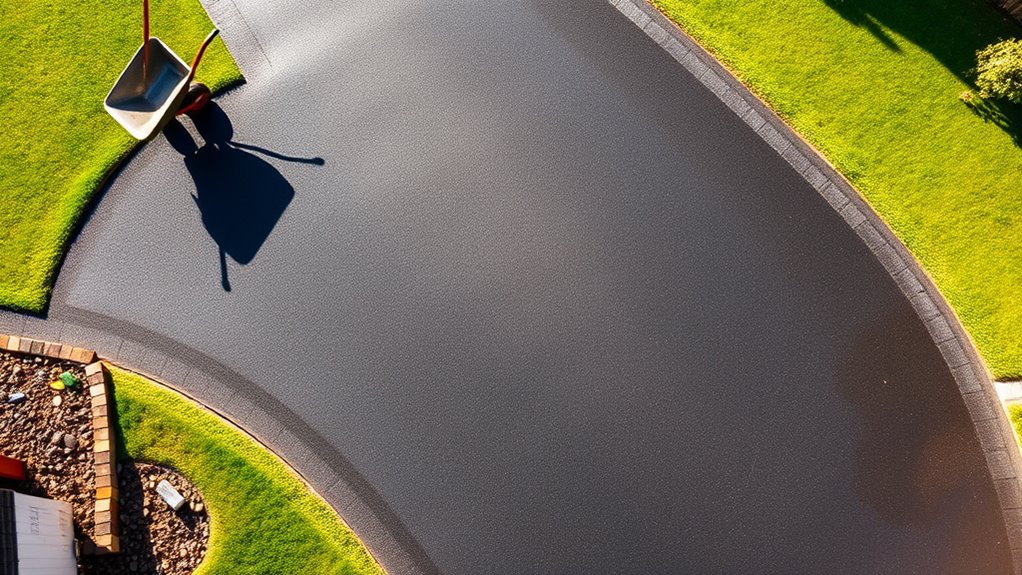
Comparing Costs: Asphalt, Concrete, Gravel, and Pavers
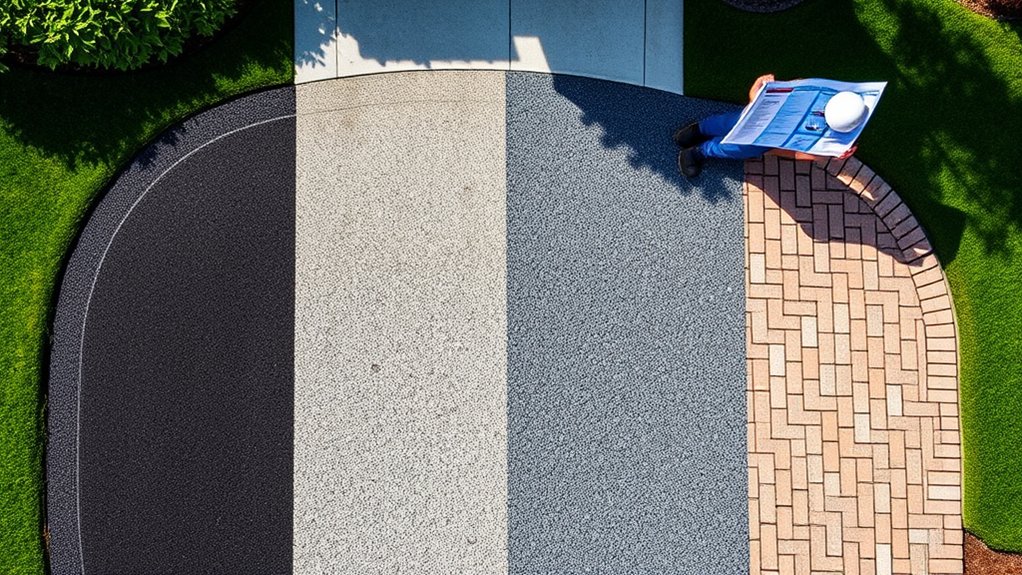
When considering driveway installation, it’s essential to compare the costs of asphalt, concrete, gravel, and block paving.
Asphalt driveways typically cost between £25 and £50 per square metre, known for their quick installation and flexibility.
Concrete, on the other hand, ranges from £30 to £65 per square metre, but it can be difficult to install yourself and requires sealing.
Gravel is a more budget-friendly option, costing only £10 to £30 per square metre, and it’s straightforward for DIY enthusiasts to install with minimal upkeep.
Lastly, block paving can be more expensive, costing between £80 and £240 per square metre, demanding skilled labour but providing excellent durability.
Ultimately, your choice should reflect your budget and your ability to install it yourself. Additionally, proper installation is crucial for maximizing the longevity of your driveway regardless of the material chosen.
Adding Finishes and Sealants for Longevity

Adding finishes and sealants to your driveway not only improves its appearance but also prolongs its lifespan.
Employing proper application techniques can save you money over time, especially when you opt for budget-friendly finishes that require less frequent upkeep.
Sealant Application Techniques
To keep your driveway in prime condition for years, it’s crucial to master sealant application techniques.
First, select the appropriate sealant for your driveway’s material. Ensure the temperature is at least 13°C (55°F) before you begin and clean the surface thoroughly to remove any debris.
For an even application, use a squeegee or a stiff-bristled broom, working in small sections. Apply the sealant in one direction to prevent runoff, and start by sealing the edges for a tidy finish.
Overlap your coats slightly for complete coverage. Don’t forget to wear safety gear and protect nearby surfaces with plastic sheeting.
Lastly, allow the sealant to dry according to the manufacturer’s instructions before using the driveway to ensure its durability. Follow these tips for the best results.
Cost-Effective Finish Options
While a simple driveway installation may seem sufficient, incorporating cost-effective finishes and sealants can significantly improve both durability and appearance.
For example, applying an asphalt sealant costs around £0.10 to £0.30 per square foot, enhancing the surface’s longevity. If you choose a concrete sealer, it offers up to five years of protection against cracking.
Eco-friendly options like gravel driveways facilitate natural drainage and require minimal resurfacing, keeping expenses low. Regularly applying a paver sealant every few years can also maintain your driveway’s aesthetic.
Maintenance Frequency Considerations
Incorporating finishes and sealants not only improves your driveway’s appearance but also facilitates effective maintenance.
To ensure longevity, follow these maintenance best practices: apply sealant every 2-3 years and reseal every 2-5 years.
Seasonal checks are crucial; regularly inspect your driveway for cracks and potholes, addressing any damage promptly to prevent further issues.
Factors such as climate, traffic levels, and the age of your driveway can affect maintenance frequency. For example, if you live in an area with harsh winters, you may need to seal the surface more often.
Avoid common pitfalls, like using oil-based sealers or ignoring pothole repairs, as these can lead to costly fixes.
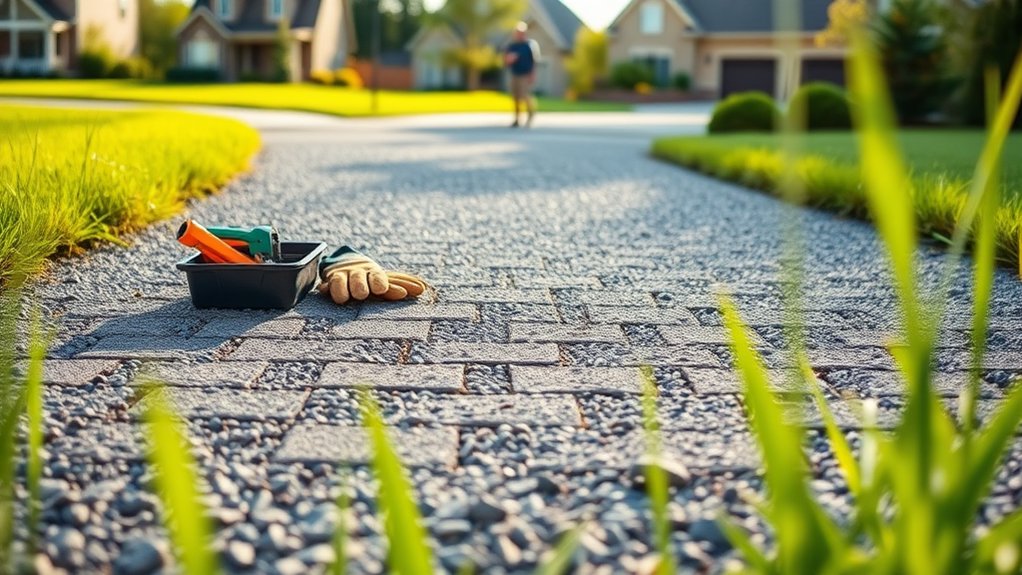
The Advantages of Paver and Gravel Driveways
When choosing a new driveway, it’s essential to weigh the benefits of paver and gravel options.
Pavers are exceptionally durable, lasting between 25 to 50 years, and come in various designs that can enhance your property’s appeal. They’re also low-maintenance, as individual pavers can be easily replaced if damaged.
In contrast, gravel driveways are cheaper to install, typically costing between £25 to £35 per square metre, and are quick to lay down. They require minimal maintenance, mainly needing periodic topping up.
Both driveway types allow for water permeability, helping with drainage.
However, while pavers have a higher initial cost, they tend to offer better long-term savings. Choosing the right material can help you achieve a driveway that fits your needs and budget effectively.
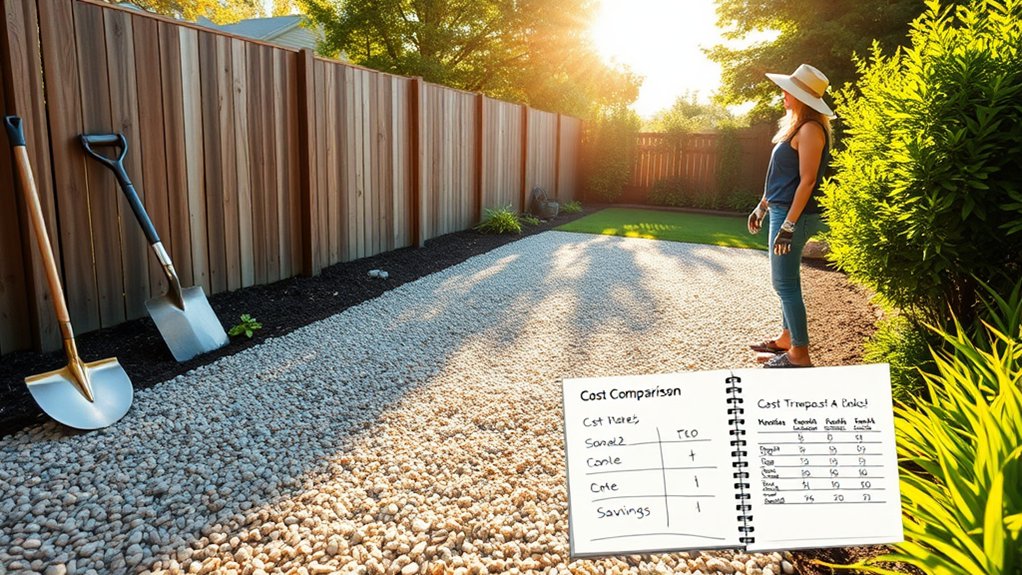
Effective Budget Planning for Your Project
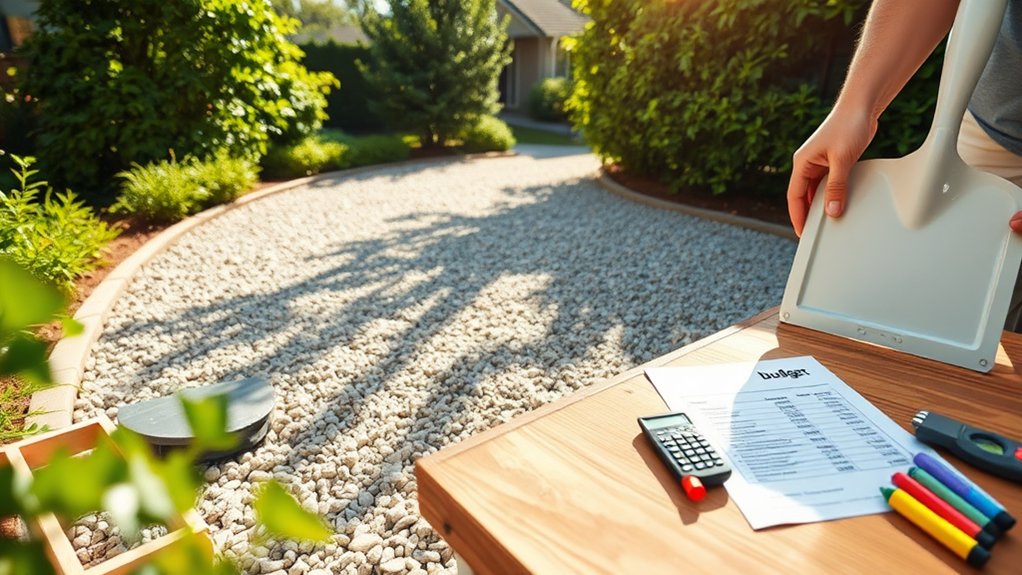
Effective budget planning is crucial for a successful DIY driveway installation, helping you steer clear of unexpected costs and keeping you within your financial limits.
Begin by calculating the total square footage of your driveway to accurately estimate the materials required. Research bulk material costs from various suppliers to find the best deals within your budget.
Remember to set aside funds for any necessary tools or equipment rentals. It’s wise to include a contingency budget of 10-15% for unforeseen challenges.
Additionally, carefully plan your project timeline; rushing can lead to mistakes and higher expenses. By staying organised and well-informed, you’ll maximise savings and ensure a smooth installation process.
Simplifying Your Driveway Design
A well-designed driveway boosts your home’s curb appeal and simplifies installation. By opting for a straightforward design, you can reduce material and labour costs. Here’s a brief overview of driveway shapes:
| Driveway Shape | Advantages | Installation Complexity |
|---|---|---|
| L-shaped | Maximises garden space, easy access | Moderate |
| Circular | Efficient for guest parking | High |
| S-shaped | Attractive, works well in wooded areas | Moderate |
| Straight | Minimal materials and labour required | Low |
Choosing simple materials like concrete or gravel, along with basic finishes, can further streamline your project. By prioritising simplicity in your driveway design, you’ll save time and money.
The Importance of Research and Knowledge in DIY Projects

When taking on a DIY driveway project, it’s essential to understand local regulations to avoid fines or delays.
Familiarising yourself with proper installation techniques not only boosts your confidence but also ensures your driveway lasts longer.
For instance, knowing the right materials to use can prevent costly repairs down the line.
Doing your research in these areas will save you both time and money in the long run.
Understanding Local Regulations
Navigating local regulations is crucial for anyone considering a DIY driveway installation. It’s important to grasp the zoning permits and local bylaws that could impact your project. Here’s a concise overview of key factors to consider:
| Factor | Details | Action |
|---|---|---|
| Zoning Permits | Needed for adding or altering driveways | Consult your local council |
| Local Bylaws | Dictate materials and building standards | Review your area’s regulations |
| Permit Fees | Vary depending on the project’s size | Check with the Building Control |
| Inspection Requirements | Ensure adherence to local codes | Arrange inspections as necessary |
Understanding these elements helps avoid potential setbacks and ensures your installation runs smoothly.
Material Installation Techniques
Proper material installation techniques are crucial for ensuring your DIY driveway lasts.
Start with a solid base using crushed stone and geotextile fabric to prevent soil mixing. Use layering methods, keeping each layer 10 to 15 centimetres thick.
After laying each layer, compact it using heavy machinery or vehicles to enhance stability. For gravel driveways, ensure thorough compaction before adding the next layer.
If you’re installing concrete, consider reinforcing it with rebar to reduce the risk of cracking.
Don’t overlook drainage; proper grading is essential.
Investing time in understanding these techniques will lead to a durable driveway that boosts your property’s value and functionality.
Frequently Asked Questions
How Do I Choose the Right Tools for DIY Driveway Installation?
To select the right tools for your DIY driveway installation, focus on key equipment such as levelling tools, digging tools, and compaction tools. For instance, a spirit level is essential for ensuring your driveway is even, while a spade or shovel will help you dig out the area. A plate compactor is vital for compacting the base material, which ensures a sturdy and long-lasting surface. Each of these tools is important for achieving a smooth and durable driveway.
What Are Common Mistakes to Avoid During DIY Driveway Projects?
When undertaking DIY driveway projects, steer clear of common pitfalls such as selecting the wrong materials and not budgeting properly. For instance, using subpar gravel can lead to a driveway that deteriorates quickly. Ensure you choose quality materials and factor in all potential costs to avoid complications and enhance the longevity of your driveway.
How Can Weather Affect My DIY Driveway Installation Timeline?
Weather can significantly impact your DIY driveway installation timeline. Rain can extend drying times, and temperature changes can interfere with the curing process. For instance, if it’s particularly cold, the material may take longer to set properly. It’s important to keep an eye on the weather forecast and adjust your plans as needed to ensure a successful installation.
Do I Need Any Permits for a DIY Driveway Installation?
You will likely need permits for your DIY driveway installation, depending on local regulations in the UK. Always check the requirements, especially if you’re altering existing structures or using specific materials. This will help ensure compliance and prevent any potential fines. For instance, if you’re planning to lay a new surface or change the drainage, it’s best to confirm with your local council first.
What Safety Precautions Should I Take During the Installation Process?
Installing a driveway is a serious task, so prioritise safety. Always wear appropriate safety gear, including goggles to protect your eyes. Handle materials with care and use the correct techniques. Keep a first aid kit on hand in case of emergencies.
Conclusion
By opting for a DIY driveway installation, you can save a considerable amount of money, much like unearthing a hidden gem in your garden. With proper planning, the right materials, and a bit of hard work, you can create a sturdy and attractive driveway that meets your requirements. Remember, doing your research is crucial—it will ensure your project succeeds and help you maximise your savings for your next home improvement project.
How can a tarmac driveway enhance your home's appeal? Discover the key aspects of cost, installation, and maintenance in our Read more
Wondering if a tarmac driveway is the perfect fit for your home? Uncover the essential pros and cons before making Read more

Choosing between a tarmac and resin driveway can be challenging; discover the key factors that could influence your decision.